Download to read offline


![Install Docker
The OpenShift and Kubernetes (KubeAdm) instructions both have a section for installing docker. Installing docker now won’t cause any
issues but you may wish to configure Docker storage before bringing everything up. Configuring Docker Storage is different from Storage
Configuration referenced later in the instructions and is not covered here.
For a basic docker installation, you can follow the instructions below. Please refer to the respective installation guide for the version of
Kubernetes you are installing for more specific details.
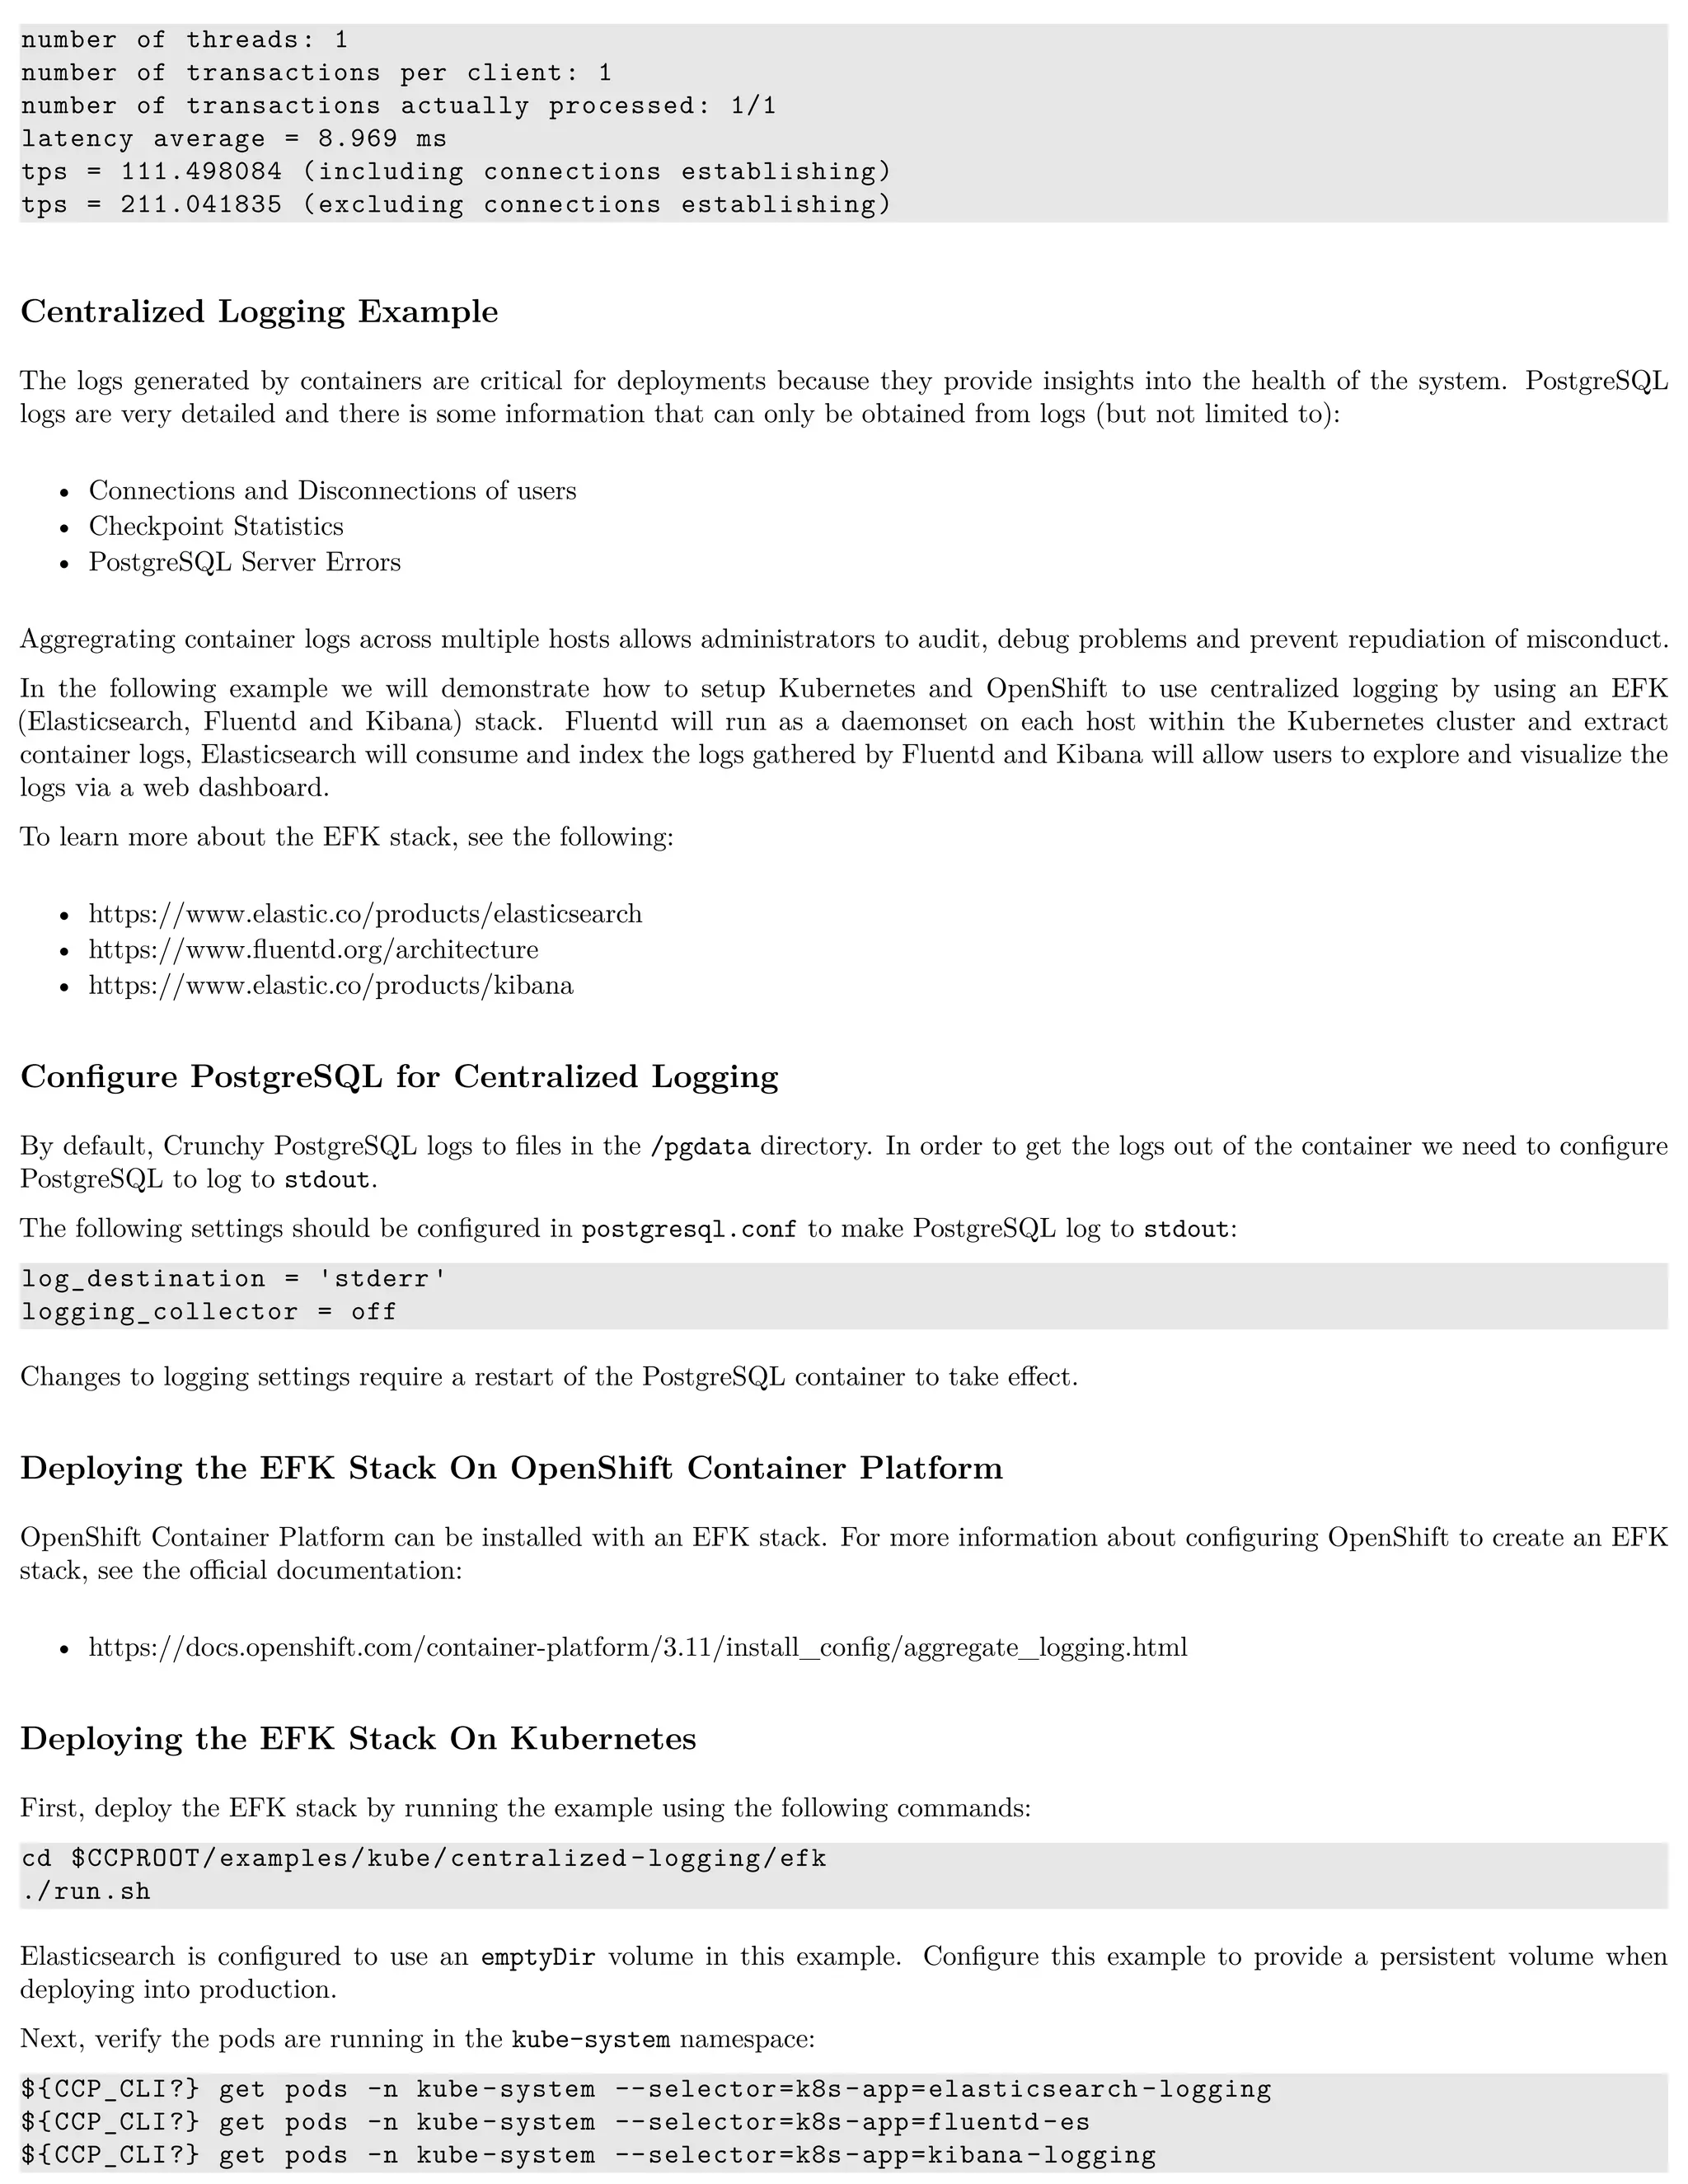
Install Docker
sudo yum -y install docker
It is necessary to add the docker group and give your user access to that group:
sudo groupadd docker
sudo usermod -a -G docker <username >
Logout and login again as the same user to allow group settings to take effect.
Enable Docker service and start Docker (once all configuration is complete):
sudo systemctl enable docker.service
sudo systemctl start docker.service
At this point you should be able to build the containers. Please to go to Building the Containers page and continue from there.
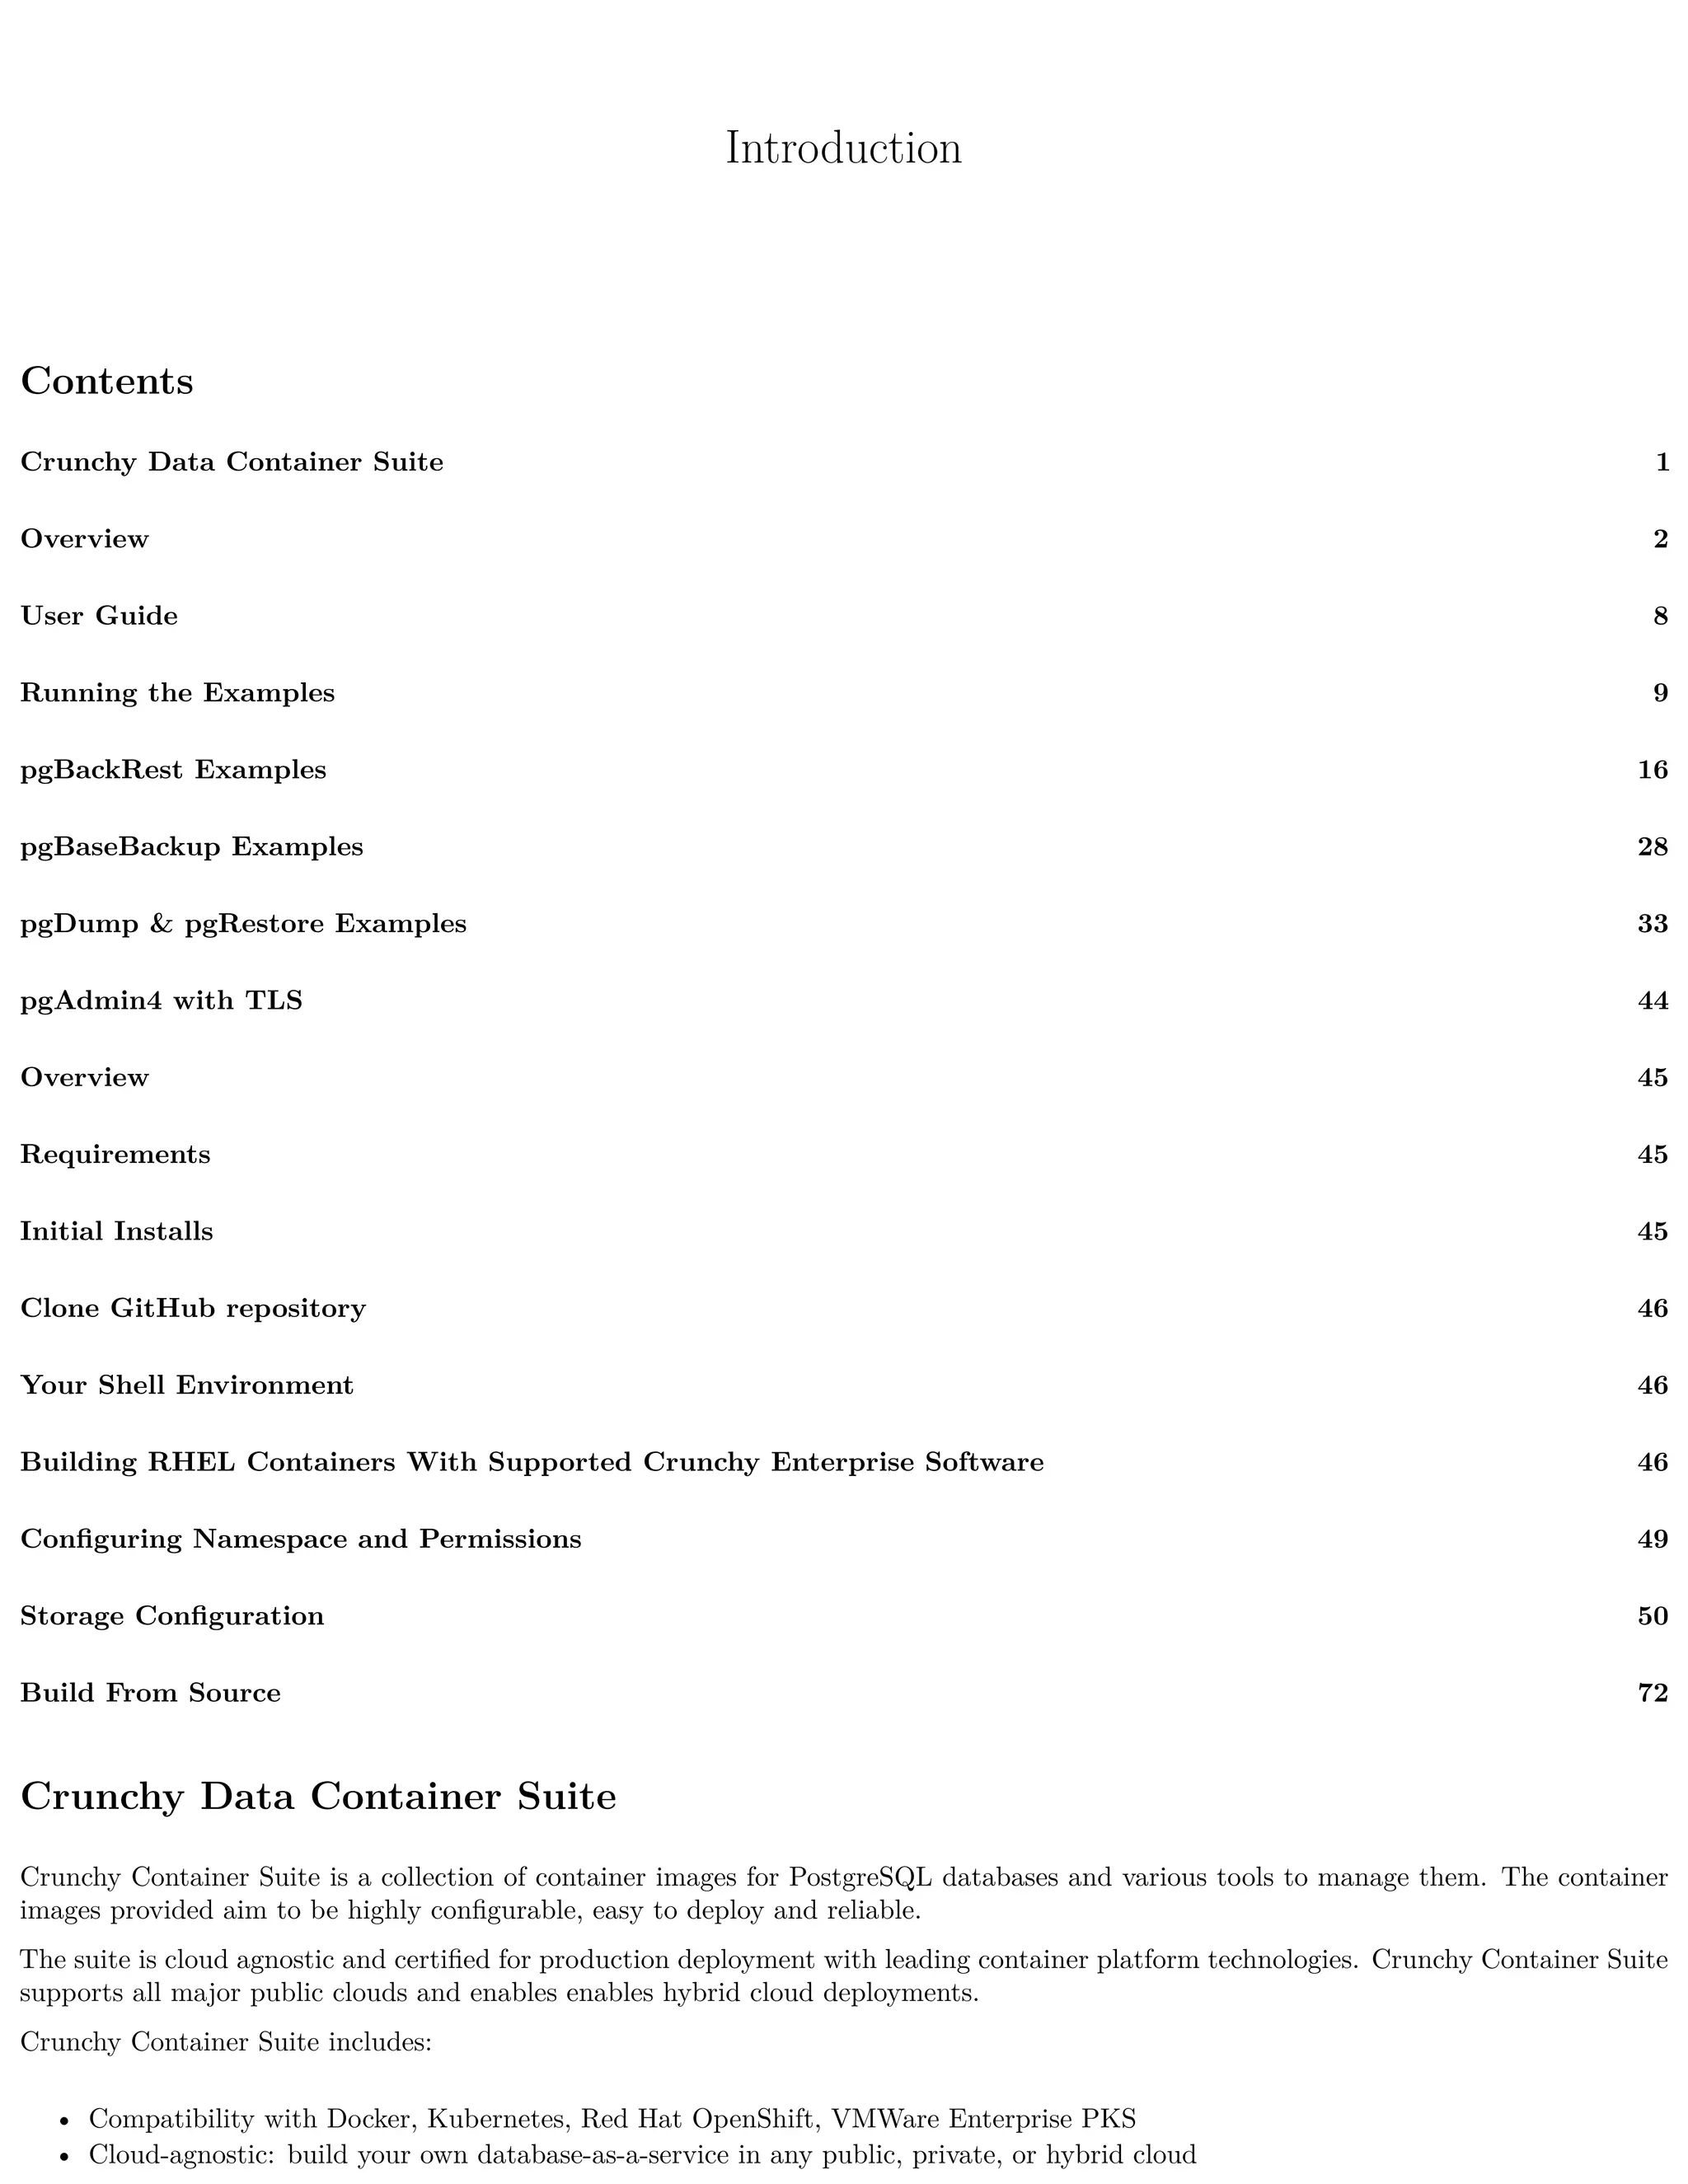
Install PostgreSQL
You only need to install PostgreSQL locally if you want to use the examples - it is not required for either building the containers or
installing the containers into Kubernetes.
These installation instructions assume the installation of PostgreSQL 10 through the official Postgresql Development Group (PGDG)
repository. View the documentation located here in order to view more detailed notes or install a different version of PostgreSQL.
Locate and edit your distribution’s .repo file, located:
• On CentOS: /etc/yum.repos.d/CentOS-Base.repo, [base] and [updates] sections
• On RHEL: /etc/yum/pluginconf.d/rhnplugin.conf [main] section
To the section(s) identified above, depending on OS being used, you need to append a line to prevent dependencies from getting resolved
to the PostgreSQL supplied by the base repository:
• On CentOS and RHEL:
exclude=postgresql*
Next, install the RPM relating to the base operating system and PostgreSQL version you wish to install. The RPMs can be found here.
Below we chose Postgresql 10 for the example (change if you need different version):
On CentOS system:
sudo yum -y install
https://download.postgresql.org/pub/repos/yum/10/redhat/rhel-7-x86_64/pgdg-centos10 -10-2.noarch.rp
On RHEL system:
sudo yum -y install
https://download.postgresql.org/pub/repos/yum/testing/10/redhat/rhel-7-x86_64/pgdg-redhat10 -10-2.n
Update the system:
sudo yum -y update
Install the PostgreSQL server package.
sudo yum -y install postgresql10 -server.x86_64
Update the system:
sudo yum -y update](https://image.slidesharecdn.com/crunchycontainers-220105194156/75/Crunchy-containers-47-2048.jpg)

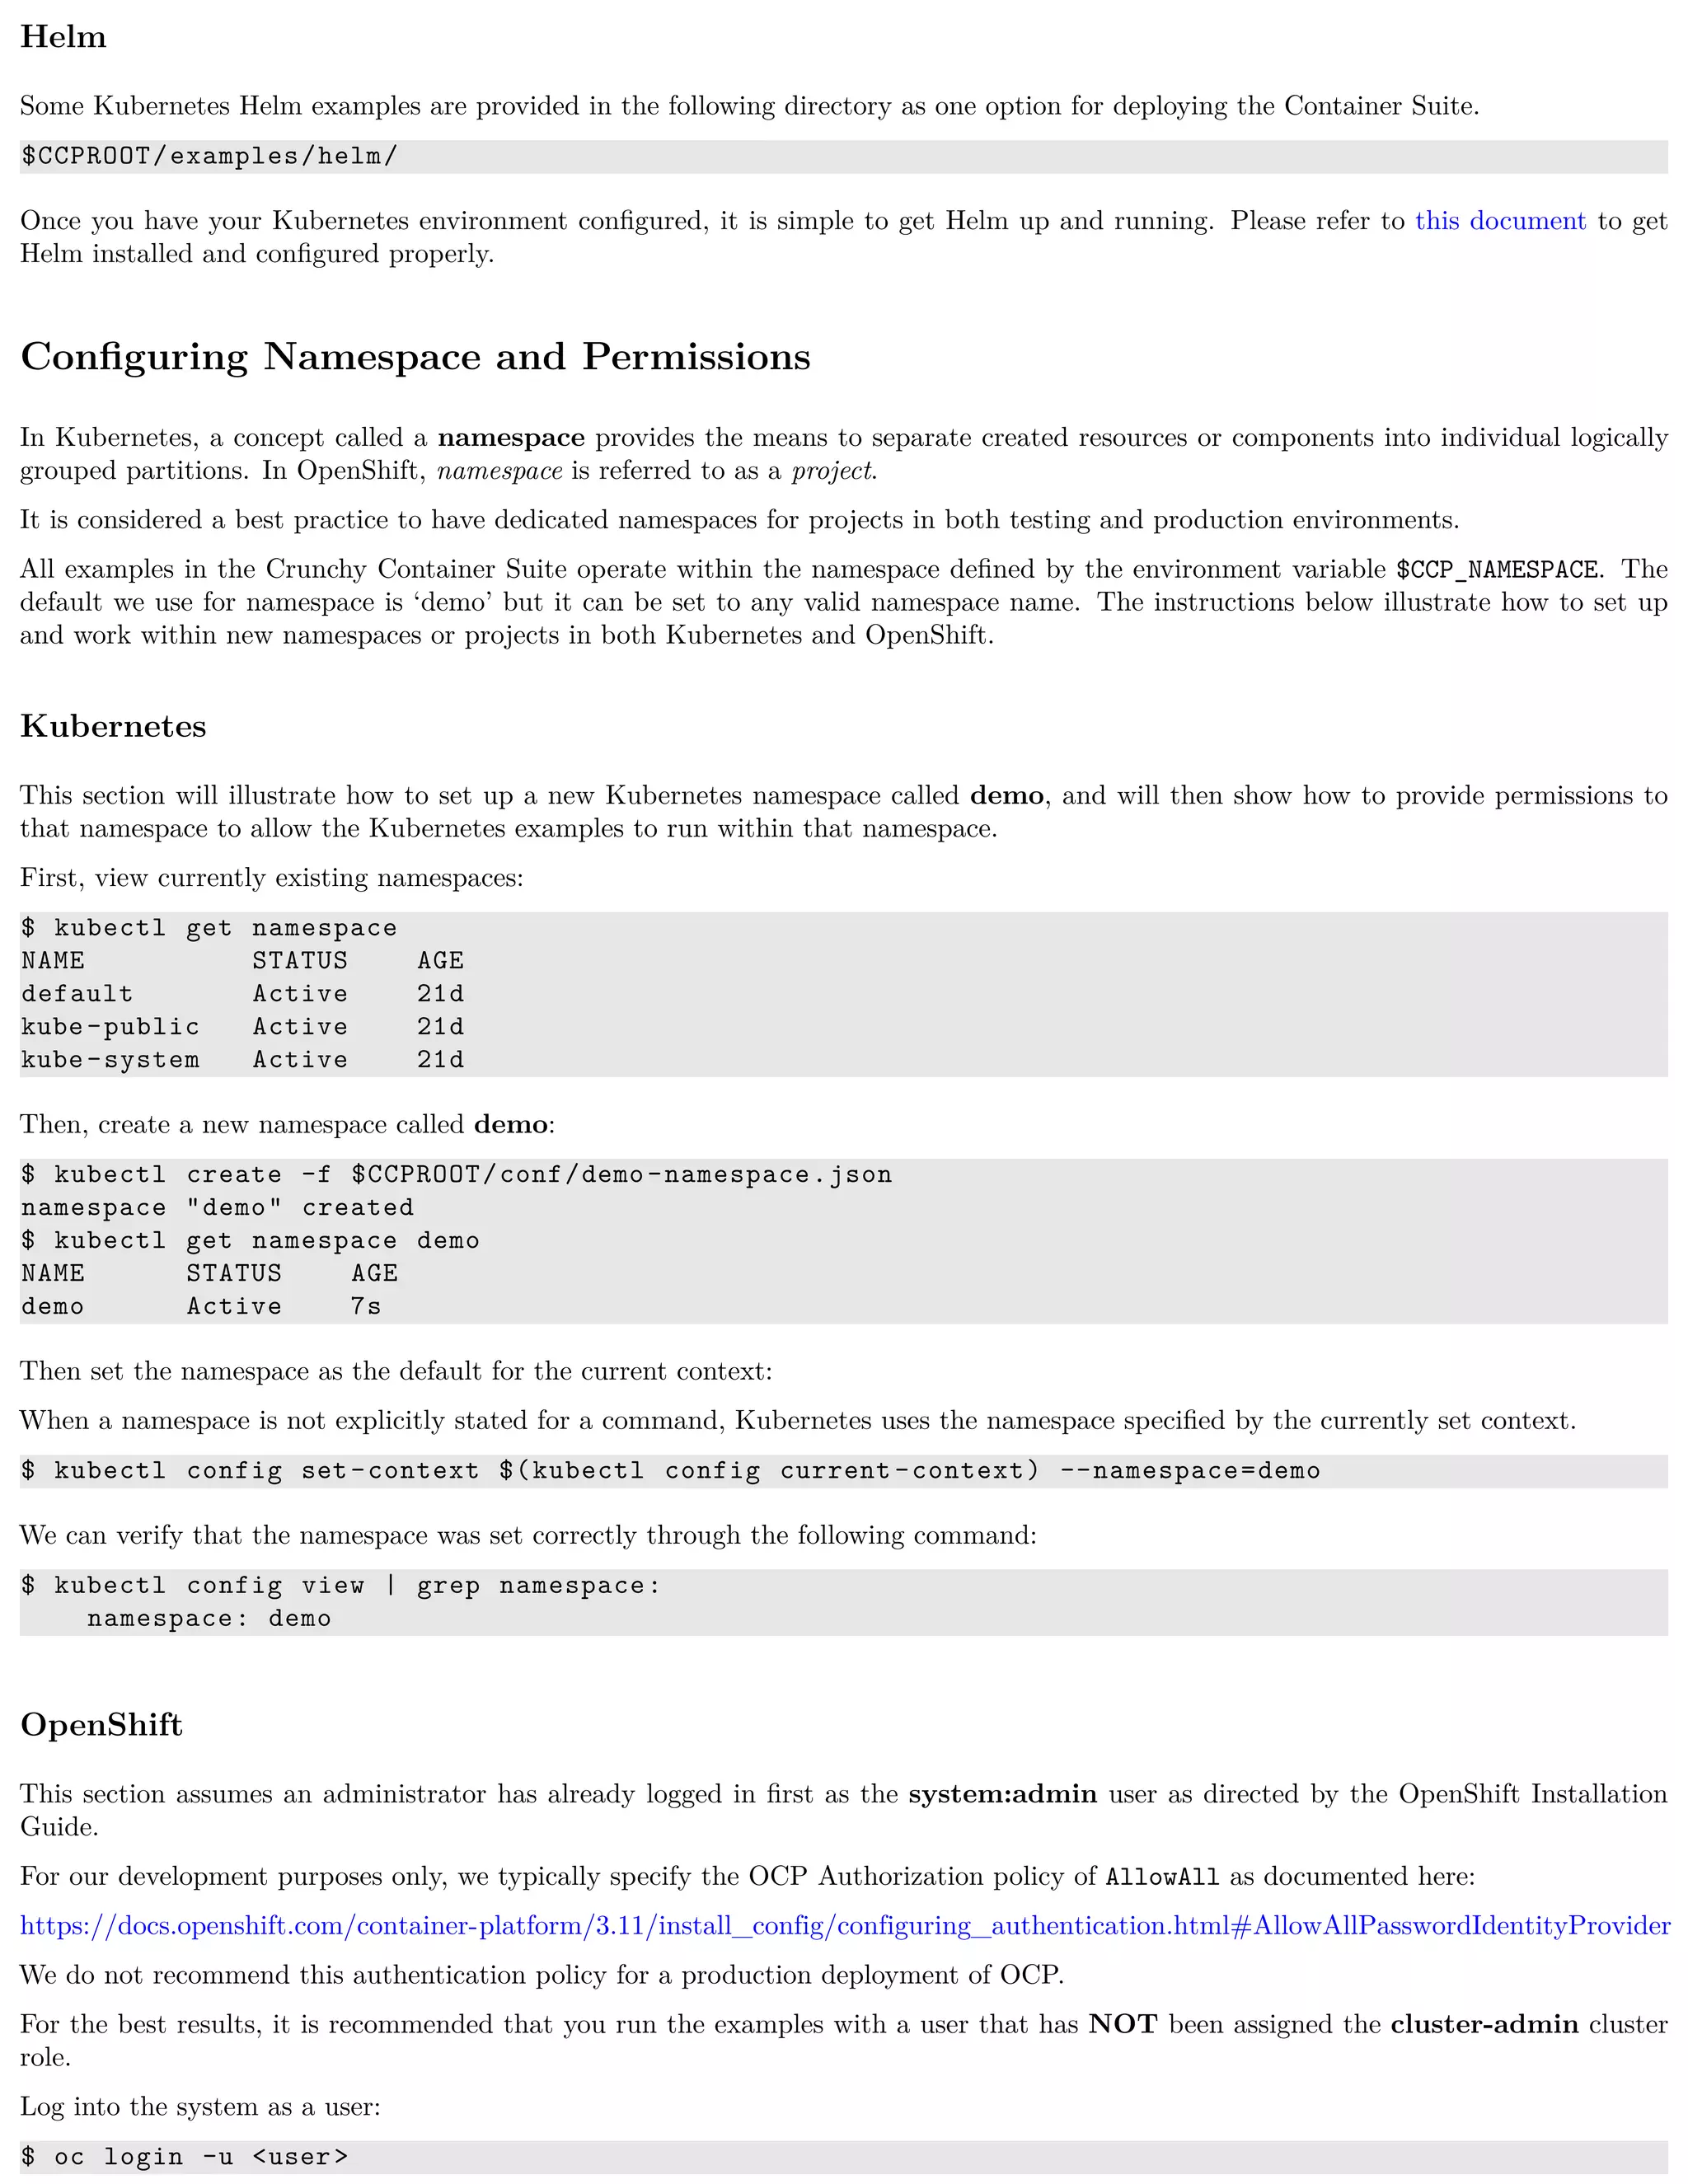

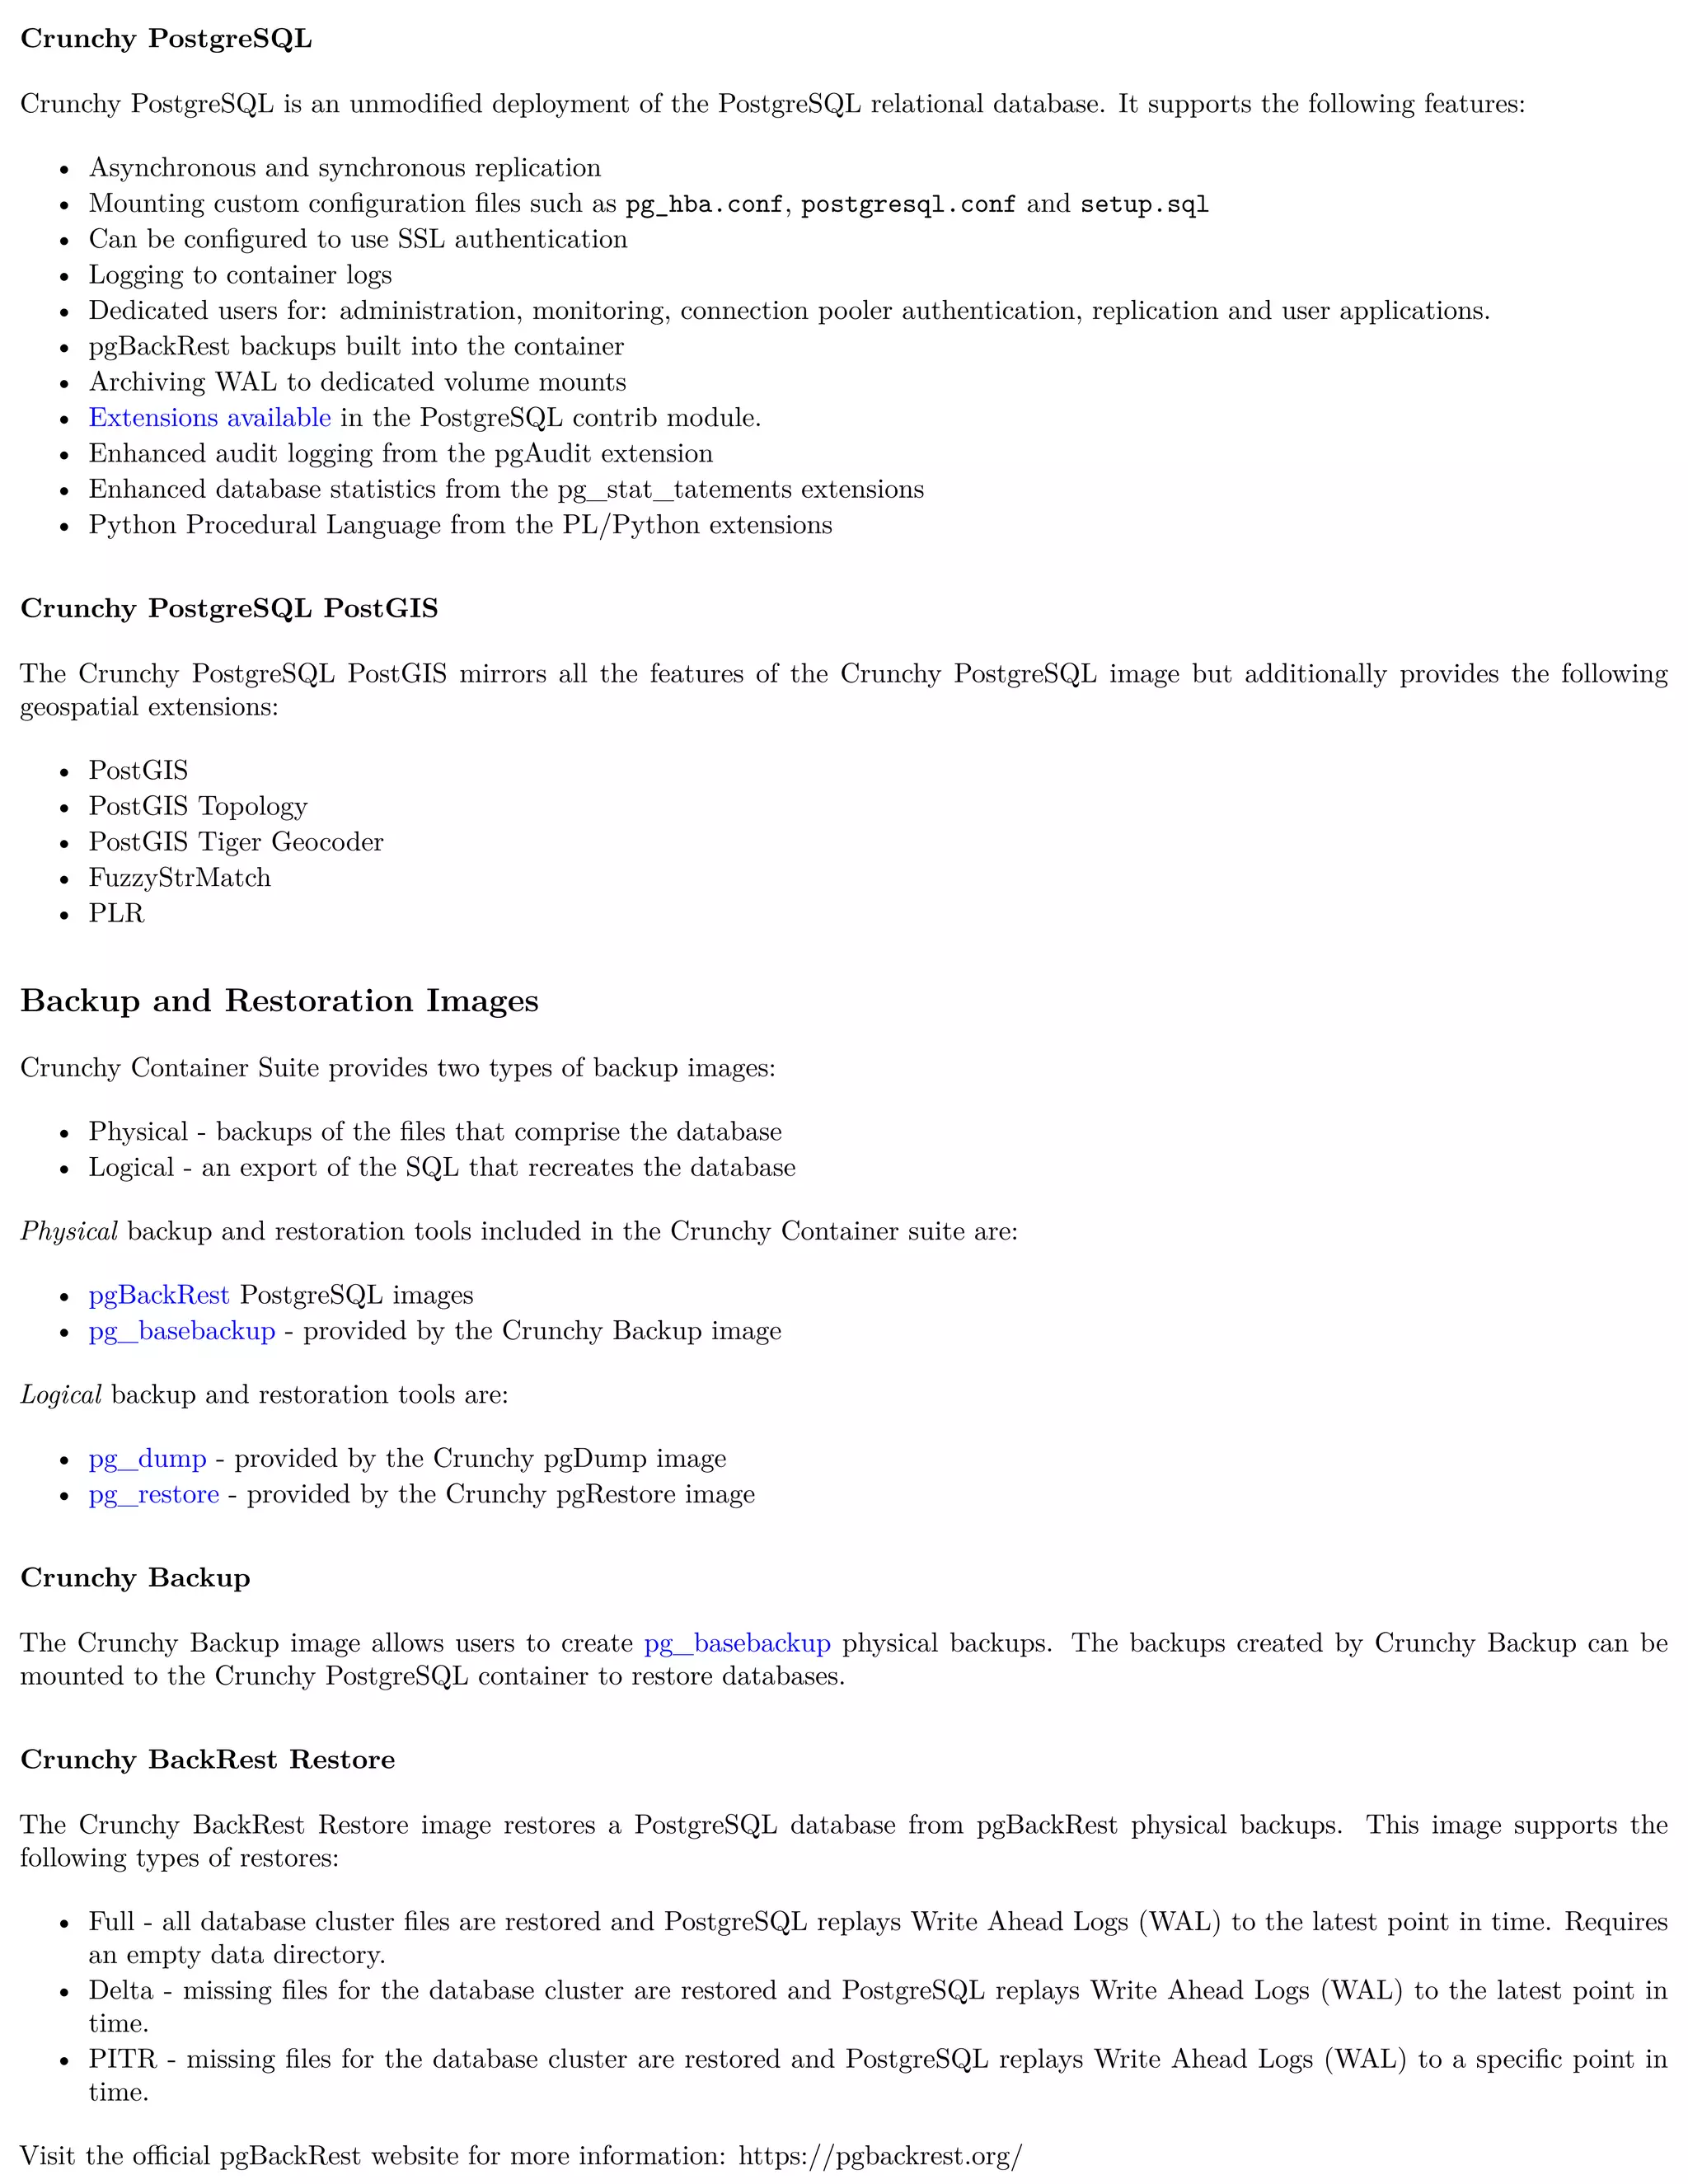
![HostPath
HostPath is the simplest storage backend to setup. It is only feasible on a single node but is sufficient for testing the examples. In your
.bashrc file, add the following variables to specify the proper settings for your the HostPath storage volume:
export CCP_SECURITY_CONTEXT=""
export CCP_STORAGE_PATH=/data
export CCP_STORAGE_MODE=ReadWriteMany
export CCP_STORAGE_CAPACITY=400M
NOTE: It may be necessary to grant your user in OpenShift or Kubernetes the rights to modify the hostaccess SCC. This can be done
with the following command:
oadm policy add-scc-to-user hostaccess $(oc whoami)
NFS
NFS can also be utilized as a storage mechanism. Instructions for setting up a NFS can be found in the Configuration Notes for NFS
section below.
For testing with NFS, include the following variables in your .bashrc file, providing the proper configuration details for your NFS:
export CCP_SECURITY_CONTEXT='"supplementalGroups": [65534]'
export CCP_STORAGE_PATH=/nfsfileshare
export CCP_NFS_IP=<IP OF NFS SERVER>
export CCP_STORAGE_MODE=ReadWriteMany
export CCP_STORAGE_CAPACITY=400M
In the example above the group ownership of the NFS mount is assumed to be nfsnobody or 65534. Additionally, it is recommended
that root not be squashed on the NFS share (using no_root_squash) in order to ensure the proper directories can be created, modified
and removed as needed for the various container examples.
Additionally, the examples in the Crunchy Container suite need access to the NFS in order to create the directories utilized by the examples.
The NFS should therefore be mounted locally so that the run.sh scripts contained within the examples can complete the proper setup.
Configuration Notes for NFS
• Most of the Crunchy containers run as the postgres UID (26), but you will notice that when supplementalGroups is specified, the
pod will include the nfsnobody group in the list of groups for the pod user
• If you are running your NFS system with SELinux in enforcing mode, you will need to run the following command to allow NFS
write permissions:
sudo setsebool -P virt_use_nfs 1
• Detailed instructions for setting up a NFS server on Centos 7 can be found using the following link:
http://www.itzgeek.com/how-tos/linux/centos-how-tos/how-to-setup-nfs-server-on-centos-7-rhel-7-fedora-22.html
• If you are running your client on a VM, you will need to add insecure to the exportfs file on the NFS server due to the way port
translation is done between the VM host and the VM instance. For more details on this bug, please see the following link:
http://serverfault.com/questions/107546/mount-nfs-access-denied-by-server-while-mounting
• A suggested best practice for tuning NFS for PostgreSQL is to configure the PostgreSQL fstab mount options like so:
proto=tcp,suid,rw,vers=3,proto=tcp,timeo=600,retrans=2,hard,fg,rsize=8192,wsize=8192
And to then change your network options as follows:
MTU=9000
• If interested in mounting the same NFS share multiple times on the same mount point, look into the noac mount option
When using NFS storage and two or more clusters share the same NFS storage directory, the clusters need to be uniquely named.](https://image.slidesharecdn.com/crunchycontainers-220105194156/75/Crunchy-containers-51-2048.jpg)


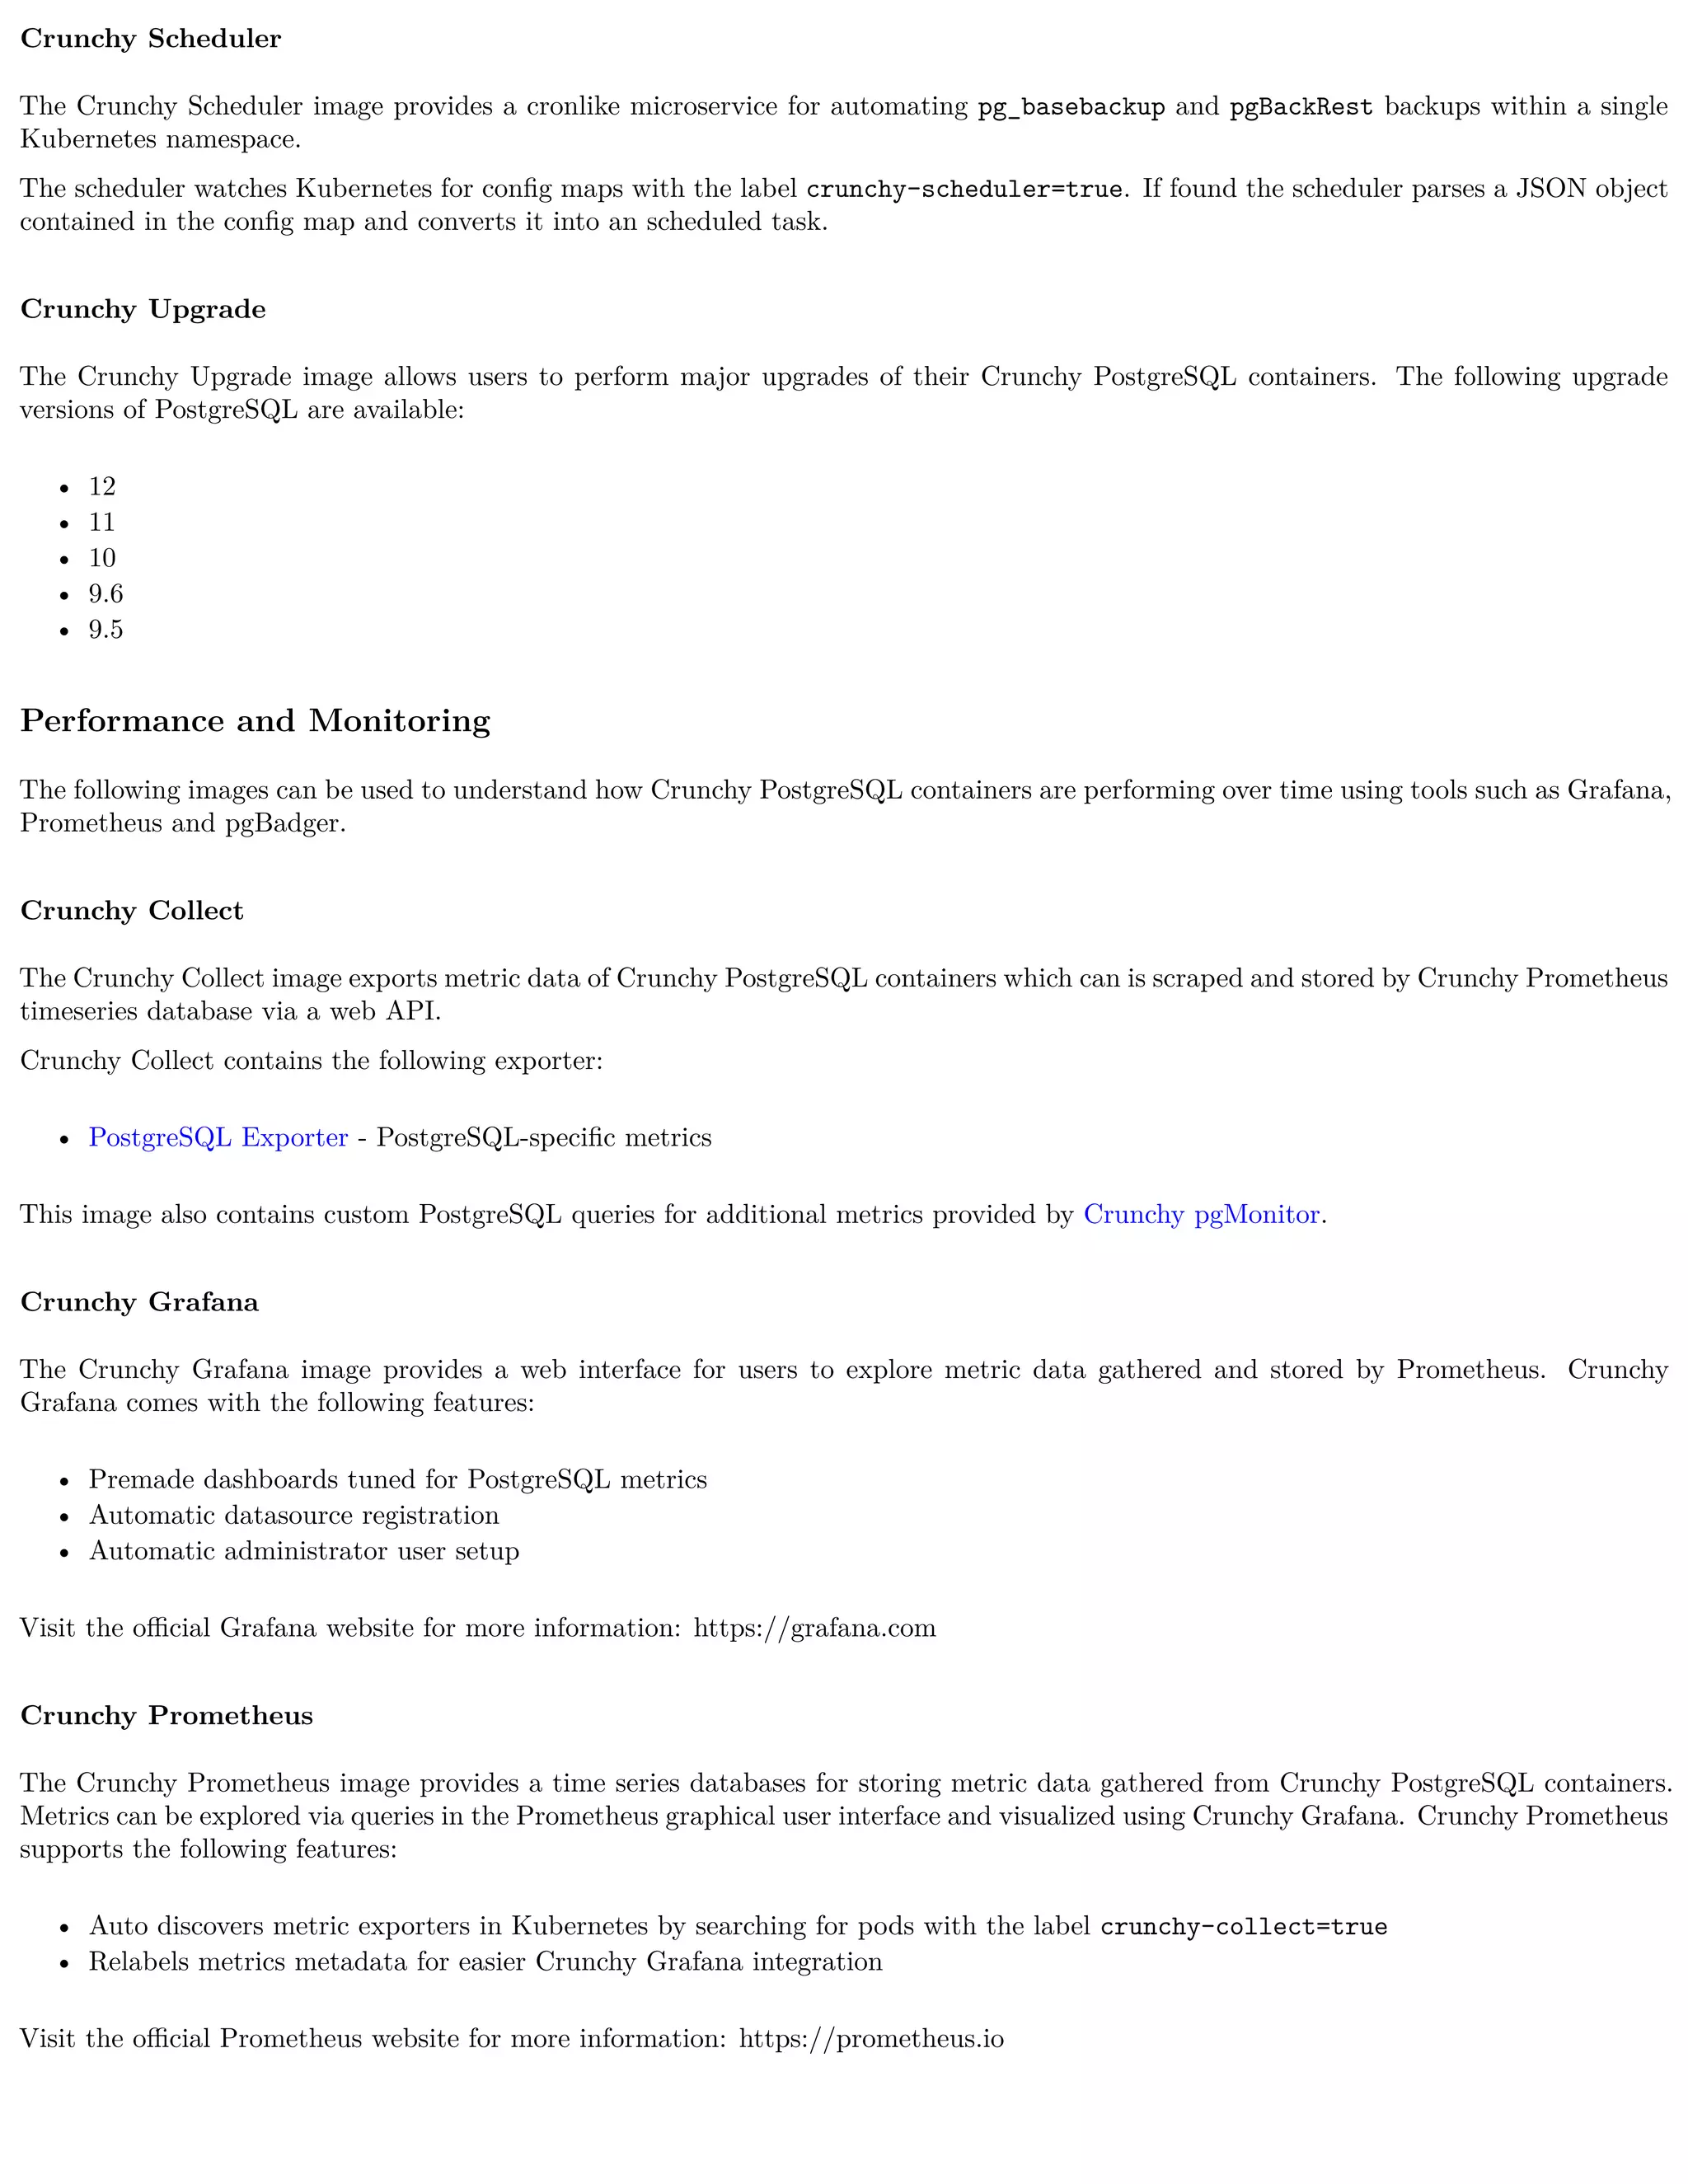
![Name Description
pg_hba.conf Client authentication rules for the database
pg_ident.conf Mapping of external users (such as SSL certs, GSSAPI, LDAP) to database users
postgresql.conf PostgreSQL settings
server.key Key used by the server when using SSL authentication
server.crt Certificate used by the server when using SSL authentication
setup.sql Custom SQL to execute against the database. Note: only run during the first startup (initialization)
Verifying PL/R
In order to verify the successful initialization of the PL/R extension, the following commands can be run:
create extension plr;
SELECT * FROM plr_environ();
SELECT load_r_typenames();
SELECT * FROM r_typenames();
SELECT plr_array_accum('{23,35}', 42);
CREATE OR REPLACE FUNCTION plr_array (text, text)
RETURNS text[]
AS '$libdir/plr','plr_array'
LANGUAGE 'c' WITH (isstrict);
select plr_array('hello','world');
PostgreSQL (pronounced “post-gress-Q-L”) is an open source, ACID compliant, relational database management system (RDBMS) devel-
oped by a worldwide team of volunteers. The crunchy-postgres-gis container image is unmodified, open source PostgreSQL packaged and
maintained by professionals. This image is identical to the crunchy-postgres image except it includes the open source geospatial extension
PostGIS for PostgreSQL in addition to the language extension PL/R which allows for writing functions in the R statistical computing
language.
Features
The following features are supported by the crunchy-postgres-gis container:
• Kubernetes and OpenShift secrets
• Backup and restoration from various tools: pgbackrest, pg_basebackup and pg_dump/pg_restore.
• Custom mounted configuration files (see below)
• Async and Sync Replication
• PostGIS
• PL/R
Packages
The crunchy-postgres-gis Docker image contains the following packages (versions vary depending on PostgreSQL version):
• PostgreSQL (12.1, 11.6, 10.11, 9.6.16 and 9.5.20)
• pgBackRest (2.18)
• CentOS7 - publicly available
• RHEL7 - customers only
Environment Variables
Required
Name Default Description
PG_DATABASE None Set this value to create an initial database](https://image.slidesharecdn.com/crunchycontainers-220105194156/75/Crunchy-containers-64-2048.jpg)

![Name Description
/pgdata Volume used to store the data directory contents for the PostgreSQL database.
/pgwal Volume used to store Write Ahead Log (WAL) when XLOGDIR environment variable is set to true.
/recover Volume used for Point In Time Recovery (PITR) during startup of the PostgreSQL database.
Custom Configuration
The following configuration files can be mounted to the /pgconf volume in the crunchy-postgres container to customize the runtime:
Name Description
ca.crt Certificate of the CA used by the server when using SSL authentication
ca.crl Revocation list of the CA used by the server when using SSL authentication
pg_hba.conf Client authentication rules for the database
pg_ident.conf Mapping of external users (such as SSL certs, GSSAPI, LDAP) to database users
postgresql.conf PostgreSQL settings
server.key Key used by the server when using SSL authentication
server.crt Certificate used by the server when using SSL authentication
setup.sql Custom SQL to execute against the database. Note: only run during the first startup (initialization)
Verifying PL/R
In order to verify the successful initialization of the PL/R extension, the following commands can be run:
create extension plr;
SELECT * FROM plr_environ();
SELECT load_r_typenames();
SELECT * FROM r_typenames();
SELECT plr_array_accum('{23,35}', 42);
CREATE OR REPLACE FUNCTION plr_array (text, text)
RETURNS text[]
AS '$libdir/plr','plr_array'
LANGUAGE 'c' WITH (isstrict);
select plr_array('hello','world');
pgBench is a simple program for running benchmark tests on PostgreSQL. It runs the same sequence of SQL commands over and over,
possibly in multiple concurrent database sessions, and then calculates the average transaction rate (transactions per second).
Features
The following features are supported by the crunchy-pgbench container:
• Kubernetes and OpenShift secrets
• Custom mounted transaction files (see below)
• Configurable benchmarking options
Packages
The crunchy-pgbench Docker image contains the following packages (versions vary depending on PostgreSQL version):
• pgBench (12.1, 11.6, 10.11, 9.6.16, 9.5.20)
• CentOS7 - publicly available
• RHEL7 - customers only](https://image.slidesharecdn.com/crunchycontainers-220105194156/75/Crunchy-containers-66-2048.jpg)


![If you would like to submit an feature / issue for us to consider please submit an issue to the official GitHub Repository.
If you would like to work any current or open issues, please update the issue with your efforts so that we can avoid redundant or unnecessary
work.
If you have any questions, you can submit a Support - Question and Answer issue and we will work with you on how you can get more
involved.
So you decided to submit an issue and work it. Great! Let’s get it merged in to the codebase. The following will go a long way to helping
get the fix merged in quicker:
1. Fork the Github repository and make a branch off of the master branch
2. Create a Pull Request from your Fork back to the master branch.
3. Update the checklists in the Pull Request description.
4. Reference which issues this Pull Request is resolving.
Kubernetes
Troubleshooting kubeadm
509 Certificate Errors
If you see Unable to connect to the server: x509: certificate has expired or is not yet valid, try resetting ntp. This gen-
erally indicates that the date/time is not set on local system correctly.
If you see Unable to connect to the server: x509: certificate signed by unknown authority (possibly because of
"crypto/rsa: verification error" while trying to verify candidate authority certificate "kubernetes"), try running
these commands as a regular user:
mv $HOME/.kube $HOME/.kube.bak
mkdir -p $HOME/.kube
sudo cp -i /etc/kubernetes/admin.conf $HOME/.kube/config
sudo chown $(id -u):$(id -g) $HOME/.kube/config
gcloud Errors
If you see the error ERROR: (gcloud.container.clusters.get-credentials)Unable to create private file [/etc/kubernetes/admi
[Errno 1] Operation not permitted: '/etc/kubernetes/admin.conf', create a backup of admin.conf and delete the admin.conf
before attempting to reconnect to the cluster.
gcloud Authentication Example
The commands used to authenticate to gcloud are the following:
gcloud auth login
gcloud config set project <your gcloud project >
gcloud auth configure -docker
If you see gcloud authentication errors, execute gcloud config list then re-authenticate using the commands from above. Finally, rerun
gcloud config list - the results should show different values if authentication was indeed the issue.
OpenShift Container Platform
Troubleshooting OpenShift Container Platform: Basics](https://image.slidesharecdn.com/crunchycontainers-220105194156/75/Crunchy-containers-73-2048.jpg)

This document provides a summary of the Crunchy Container Suite, including: - An overview of the container images included in the suite for PostgreSQL databases, tools to manage databases, backup/restore, administration, performance monitoring, and connection pooling. - Descriptions of the key features and benefits of the Crunchy Container Suite, such as compatibility with various platforms, cloud-agnostic deployment, open source, and certified builds. - Instructions for users to set up their environment, install the Crunchy Container Suite, configure storage, and run examples to demonstrate the capabilities of the software.


![Coded Agents – with UiPath SDK + LangGraph [Virtual Hands-on Workshop]](https://cdn.slidesharecdn.com/ss_thumbnails/codedagentsdeck-251215155422-5497c599-thumbnail.jpg?width=640&height=640&fit=bounds)


