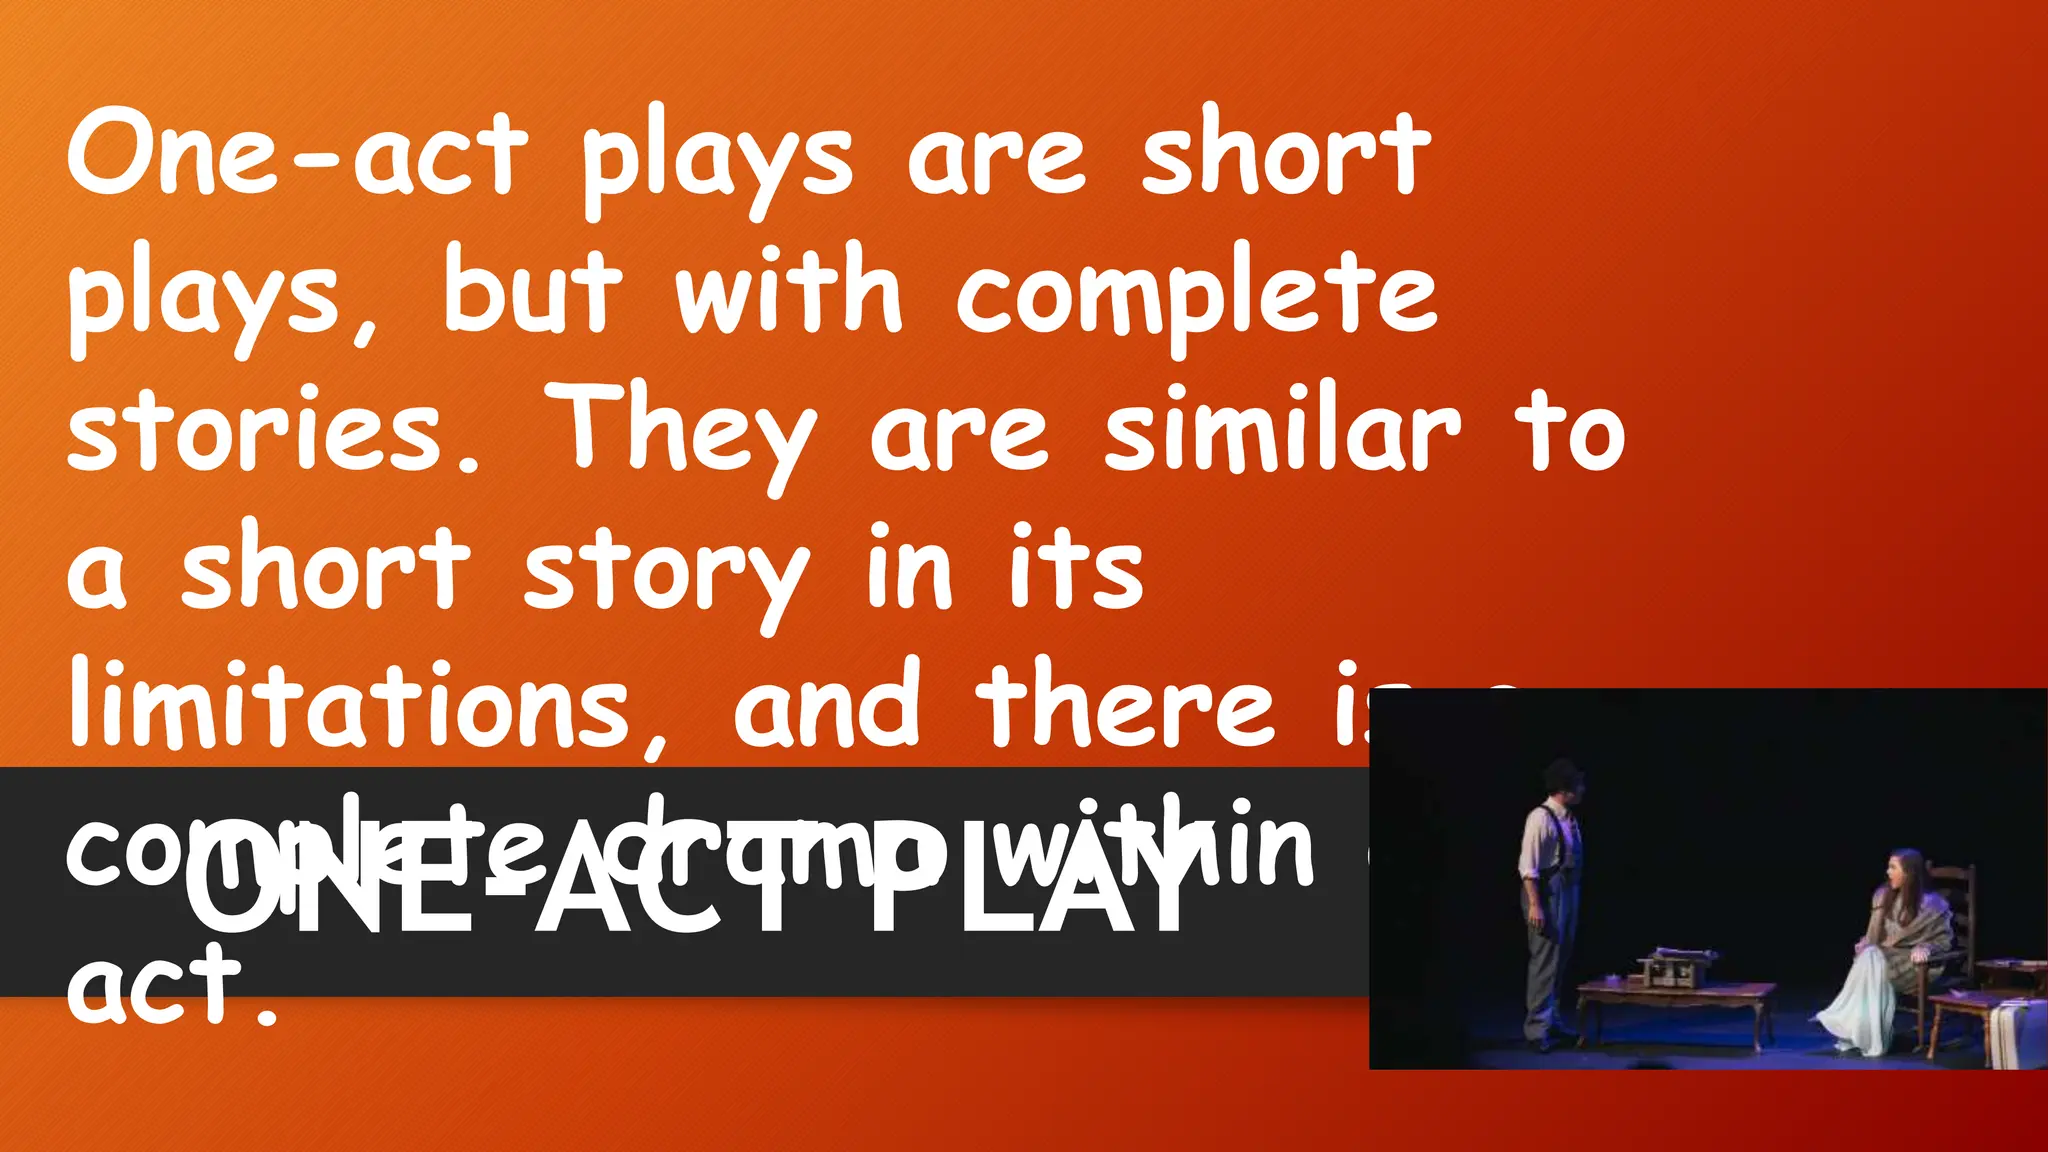
9. DRAMA
Drama has become one of
the effective ways of
portraying life’s up s and
downs of the realities of
life. Most of us, Filipinos,
have witnessed dramas
which made us smile, laugh,
angry, and even cry.
10. ONE-ACT PLAY
One-act plays are short
plays, but with complete
stories. They are similar to
a short story in its
limitations, and there is a
complete drama within one
act.
11. “
”
JOSE & LARIOQUE, 2017
A drama, or a play, is a piece of
writing that is presented
almost exclusively through
dialogue.
12. TECHNIQUES IN WRITING SCENES FOR ONE-
ACT PLAY
A good one-act play focuses only on one main
action or problem. As a writer, you have to avoid
complicated layers of plot as they may take longer
time in presenting on stage.
13. Some considerations and innovative
techniques:
• Be clear with your theme.
• Develop the plot simply.
• Develop the characters.
• Generate the setting.
2
1
3
4
• Craft meaningful dialogues.
• Add in the stage directions
after you write the actions.
• Include other literary devices.
14. 1. Be clear with your theme.
• One of the main considerations that you may have in
planning for scenes in play.
• You may ask yourself some questions like:
-What will my play be all about? Is it about friendship?
About love? About struggles or success in life?
• You have to have a clear picture about the theme because
the other elements like plot, characters, and settings will
point to or support the theme.
15. 2. Develop the plot simply.
• In a one-act play, identify only one significant event.
• Things to do:
1. Develop the action
2. Compose the dialogue before deciding on other
elements.
3. Keep the plot simple for one-act play.
4. Move consistently throughout the play.
16. 3. Develop the characters.
• You may have a character sketch first before you bring
them to life.
• You have to limit characters that you have to develop.
• The hero or the protagonist’s characters need to be
focused one or to be or to be more developed, while the
antagonist needs to be developed to show conflict which is
one of the central elements in a play. Thus, you have to
allow your characters to face a problem.
17. 4. Generate the setting.
• The setting for one-act play will be one scene.
Thus, you have to develop the scene in order
for the audience to see everything about the
story line. Include imagery so that the
audience can imagine the setting. Make sure
you describe how the lightings and the scene
should look like.
18. 5. Craft meaningful dialogues.
• The dialogues that you will create need to be
terse, but concise and meaningful.
• Each line must be crafted carefully. You have
to make sure that the lines point out on the
theme, the plot and the characters of the
protagonist.
19. 6. Add in the stage directions after you
write the action.
• You may write notes about how the characters
should respond, what sounds to make, and
what props are needed. For example, if the
character should be standing near the window,
talking to someone over the phone, and looking
scared, you have to note in the script. This
way, the audience can see or imagine the
picture of the scene and action.
20. 7. Include some literary devices.
• Include some literary devices such as
foreshadowing, imagery, personification, satire
and symbolism. This will help enhance
emotional, aural, and visual experience of the
audience. This will also underline scripts
meaning.
Notes to presenter:
What is your purpose for sharing this reflection?
Is it at the end of a unit or project?
Are you sharing this reflection, at the attainment of a learning goal you set for yourself?
Is it at the end of a course?
State your purpose for the reflection or even the purpose of the learning experience or learning goal. Be clear and be specific in stating your purpose.
Notes to presenter:
What did you think at first?
What obstacles did you encounter along the way?
How did you overcome those obstacles?
What images can you add to support your process?
This SmartArt allows you add images and text to help outline your process. If a picture is worth a thousand words, then pictures and words should help you communicate this reflection on learning perfectly! You can always click on Insert>SmartArt to change this graphic or select the graphic and click on the Design contextual menu to change the colors.
Feel free to use more than one slide to reflect upon your process. It also helps to add some video of your process.
Notes to presenter:
What steps will you be taking as a result of this learning experience?
Did you learn from any failed experiences? How will you do things differently?
What advice will you give to others so they can learn from your experiences?
How can you share what you learned with a real-world audience?
Some examples of next steps might be:
After delivering my first persuasive presentation, I am thinking about joining the debate team.
After making my first film, I’m considering entering it in our school film festival or local film festival.
After connecting with this career expert, I’d like to do some research on that career field because it sounds interesting to me.
This SmartArt allows you add images and text to help outline your process. If a picture is worth a thousand words, then pictures and words should help you communicate this reflection on learning perfectly! You can always click on Insert>SmartArt to change this graphic or select the graphic and click on the Design contextual menu to change the colors.
Feel free to use more than one slide to share your next steps. It also helps to add some video content to explain your message.
Notes to presenter:
What was important about this learning experience?
How is it relevant to your course, yourself, or your society or community?
Why is this significant?
This SmartArt allows you add images and text to help outline your process. If a picture is worth a thousand words, then pictures and words should help you communicate this reflection on learning perfectly! You can always click on Insert>SmartArt to change this graphic or select the graphic and click on the Design contextual menu to change the colors.