This document provides instructions for hardening Windows servers to improve security. It describes removing unnecessary roles and services, configuring the Windows firewall, applying security baselines, and resetting passwords. The lab is divided into three sections - the first involves manually hardening a server, the second applies what was learned with alternative methods, and the third involves independent challenges. Upon completing the lab, students will have hands-on experience hardening Windows servers in various ways to reduce vulnerabilities and unauthorized access. Screenshots and descriptions of the configuration changes are required deliverables.
![Controller]
· TargetWindows02 (Windows Server 2019)
Tools and Software
The following software and/or utilities are required to complete
this lab. Students are encouraged to explore the Internet to learn
more about the products and tools used in this lab.
· Windows Distributed File System (DFS)
· Windows PowerShell
· Windows Server Backup
Deliverables
Upon completion of this lab, you are required to provide the
following deliverables to your instructor:
SECTION 1:
1. Lab Report file including screen captures of the following;
· successful DFS and net share commands on TargetWindows01;
· successful DFS and net share commands on TargetWindows02;
· Review Settings and Create Namespace page;
· Confirmation page;
· Namespace entries;
· successful backup schedule on the Summary page;
· contents of the backup folder on TargetWindows01;
· contents of the backup folder on TargetWindows02;
2. Any additional information as directed by the lab:
· none;](https://image.slidesharecdn.com/creatingascheduledbackupandreplicatingsystemfoldersintroduct-221114171603-57107056/75/Creating-a-Scheduled-Backup-and-Replicating-System-Folders-Introduct-docx-4-2048.jpg)

![Server Operating Systems
2. Harden Windows Server 2016 by using the Windows Security
Manager to remove roles
3. Harden Windows Server 2016 by stopping and disabling
services to optimize performance and security
4. Harden Windows Server 2016 by activating the Windows
Firewall
5. Section 2: Harden Windows Server 2019 by using security
baselines to create new Group Policy Objects
6. Section 2: Harden a Domain Controller by updating the
DSRM password
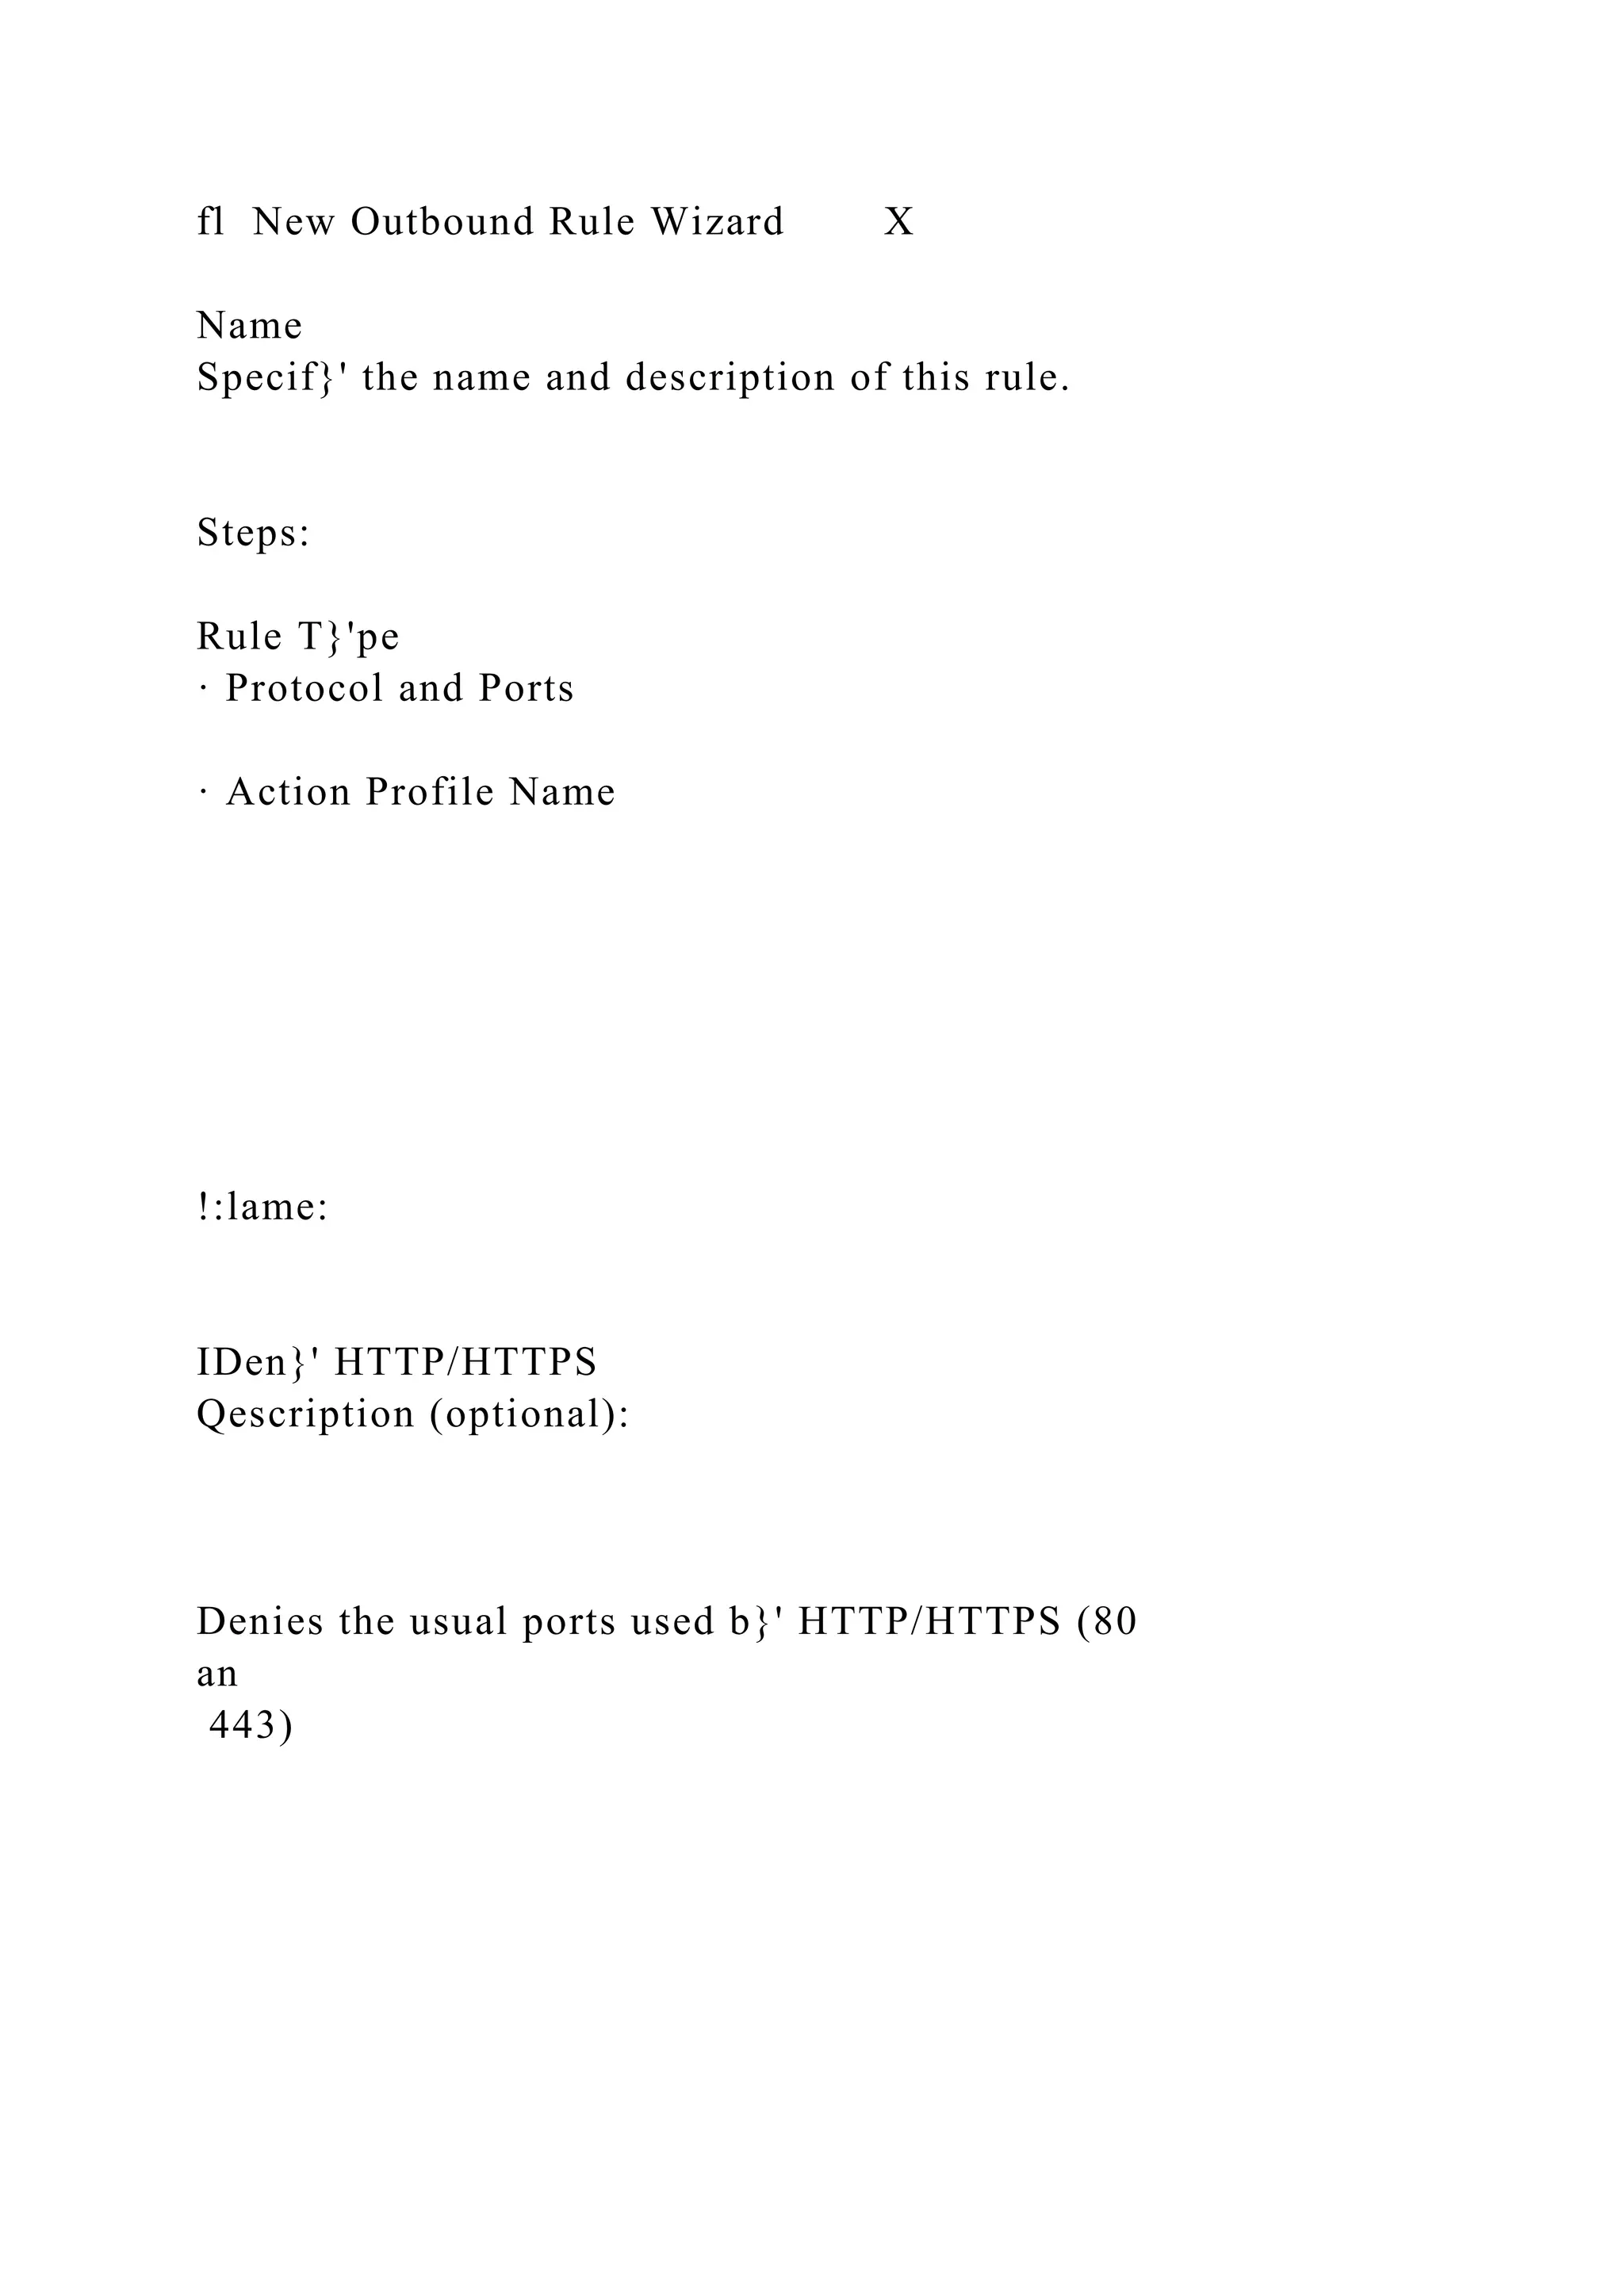
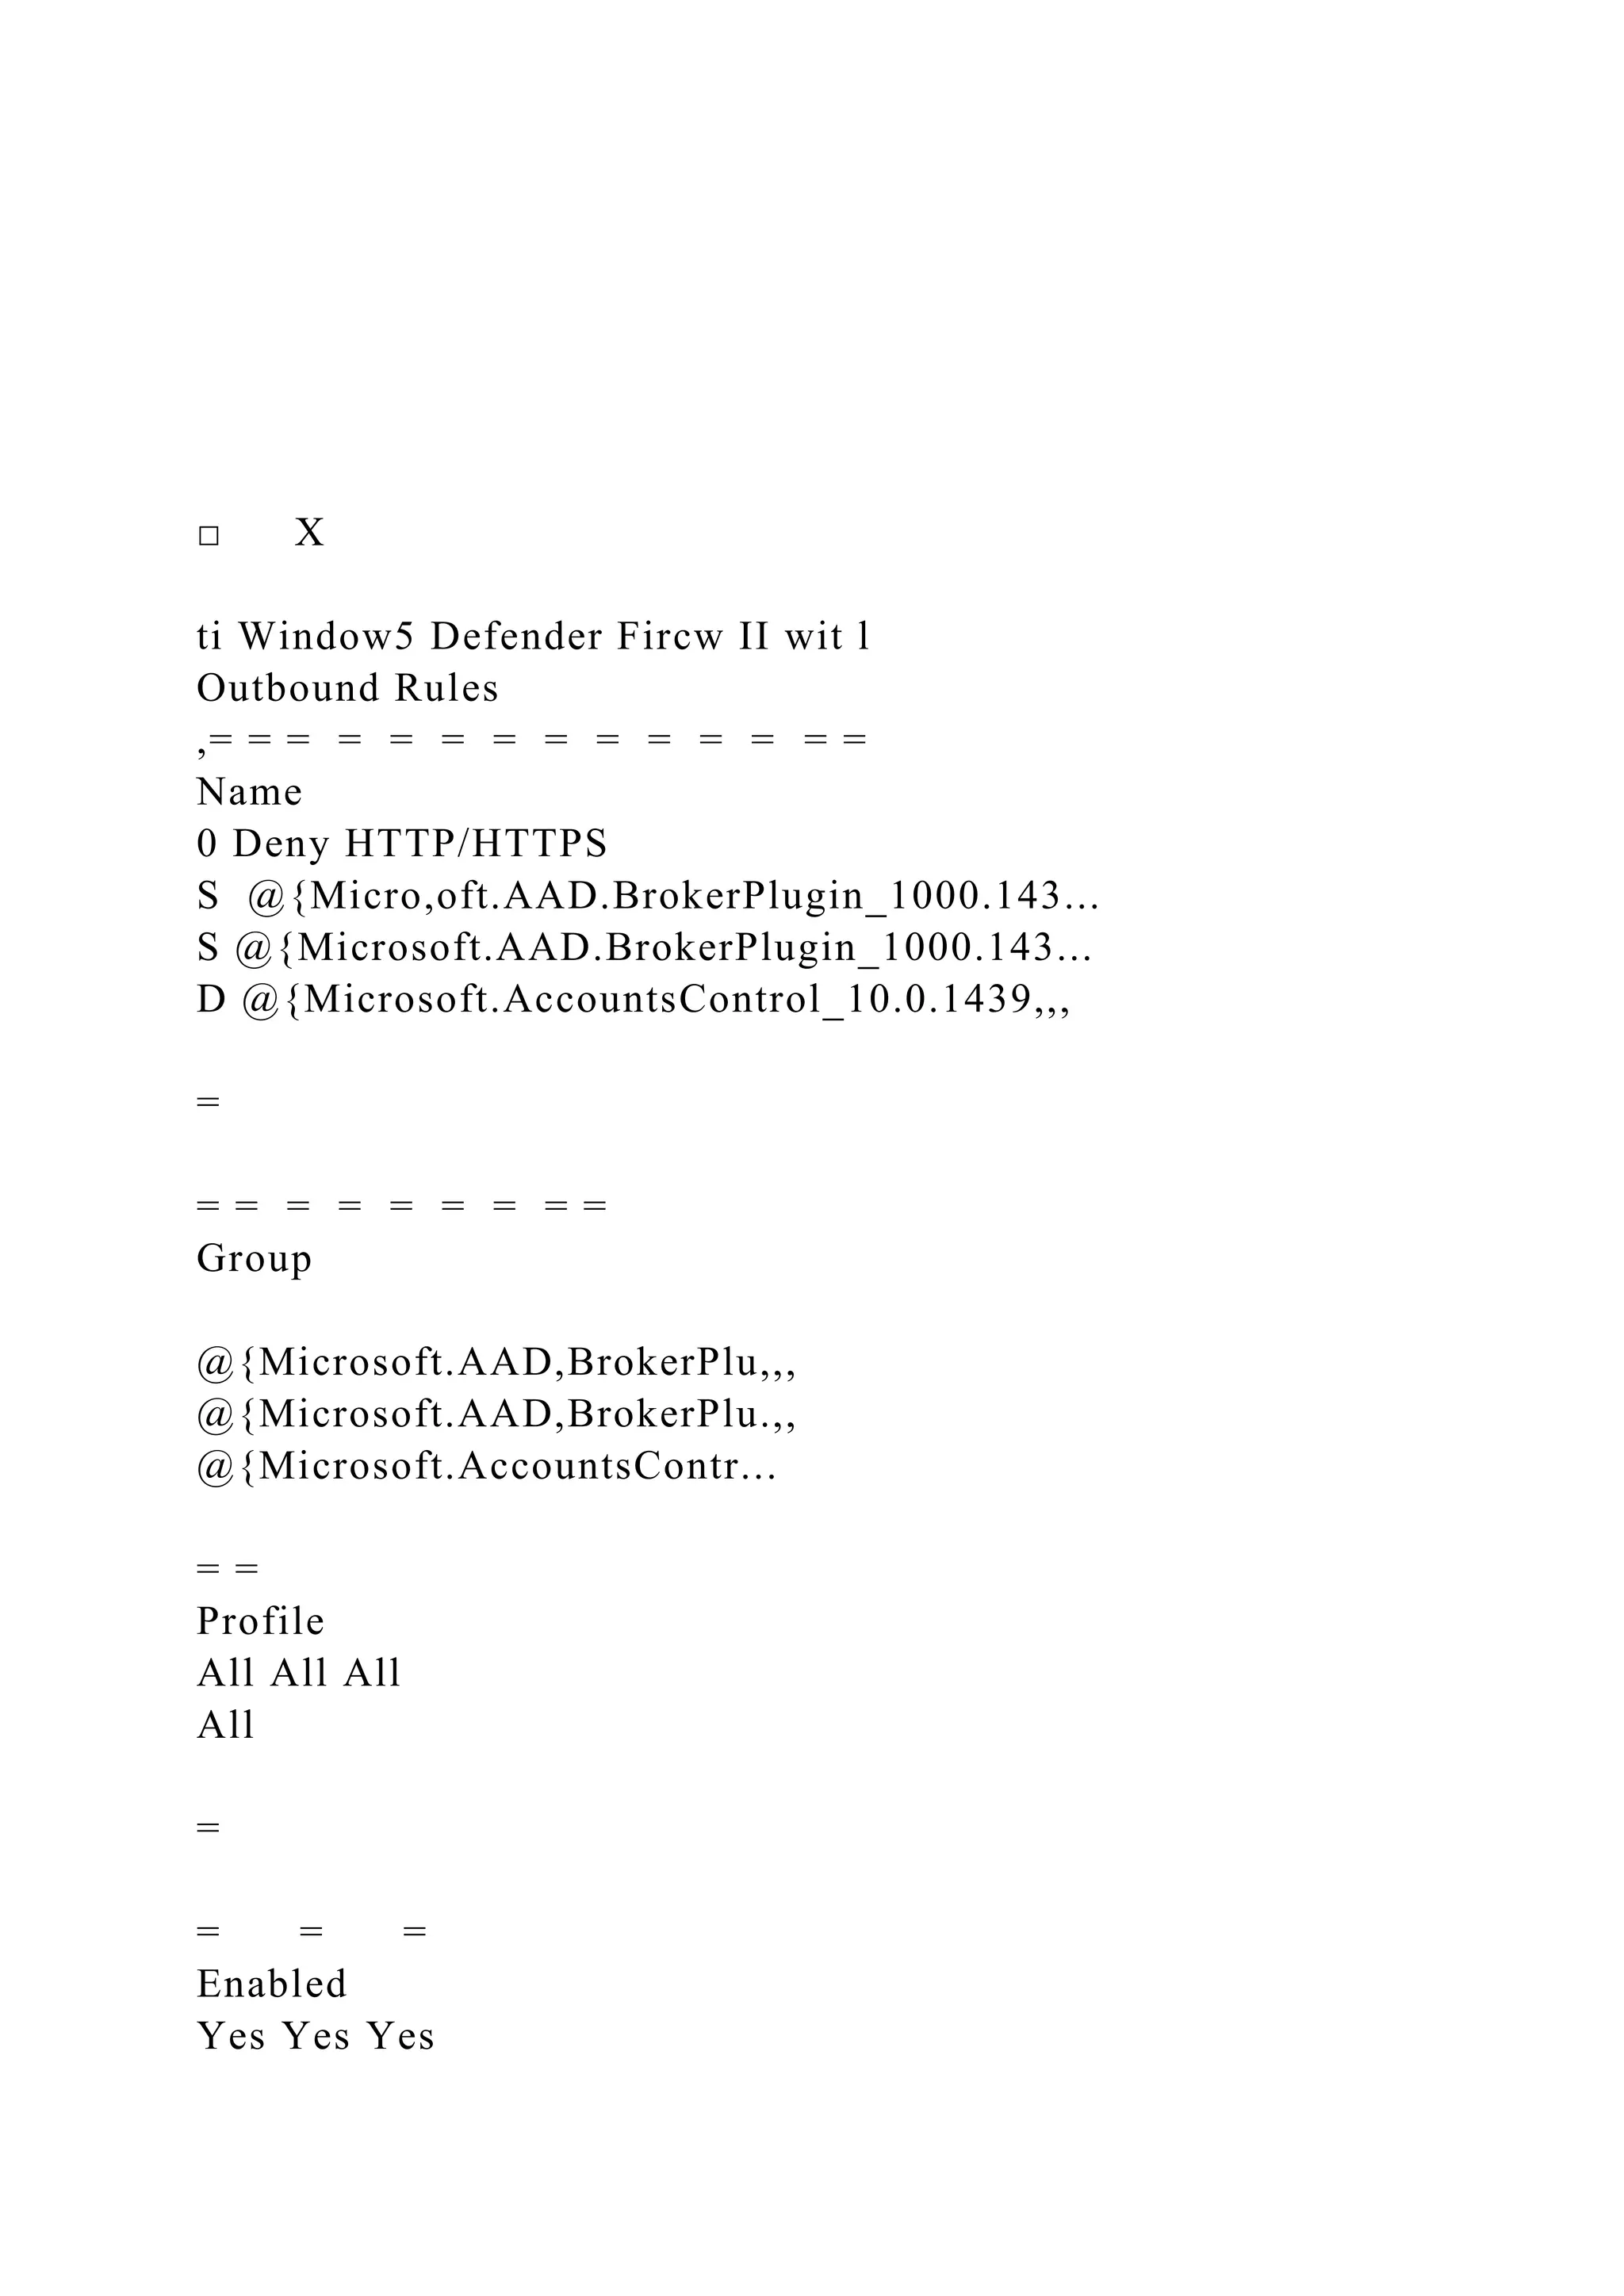
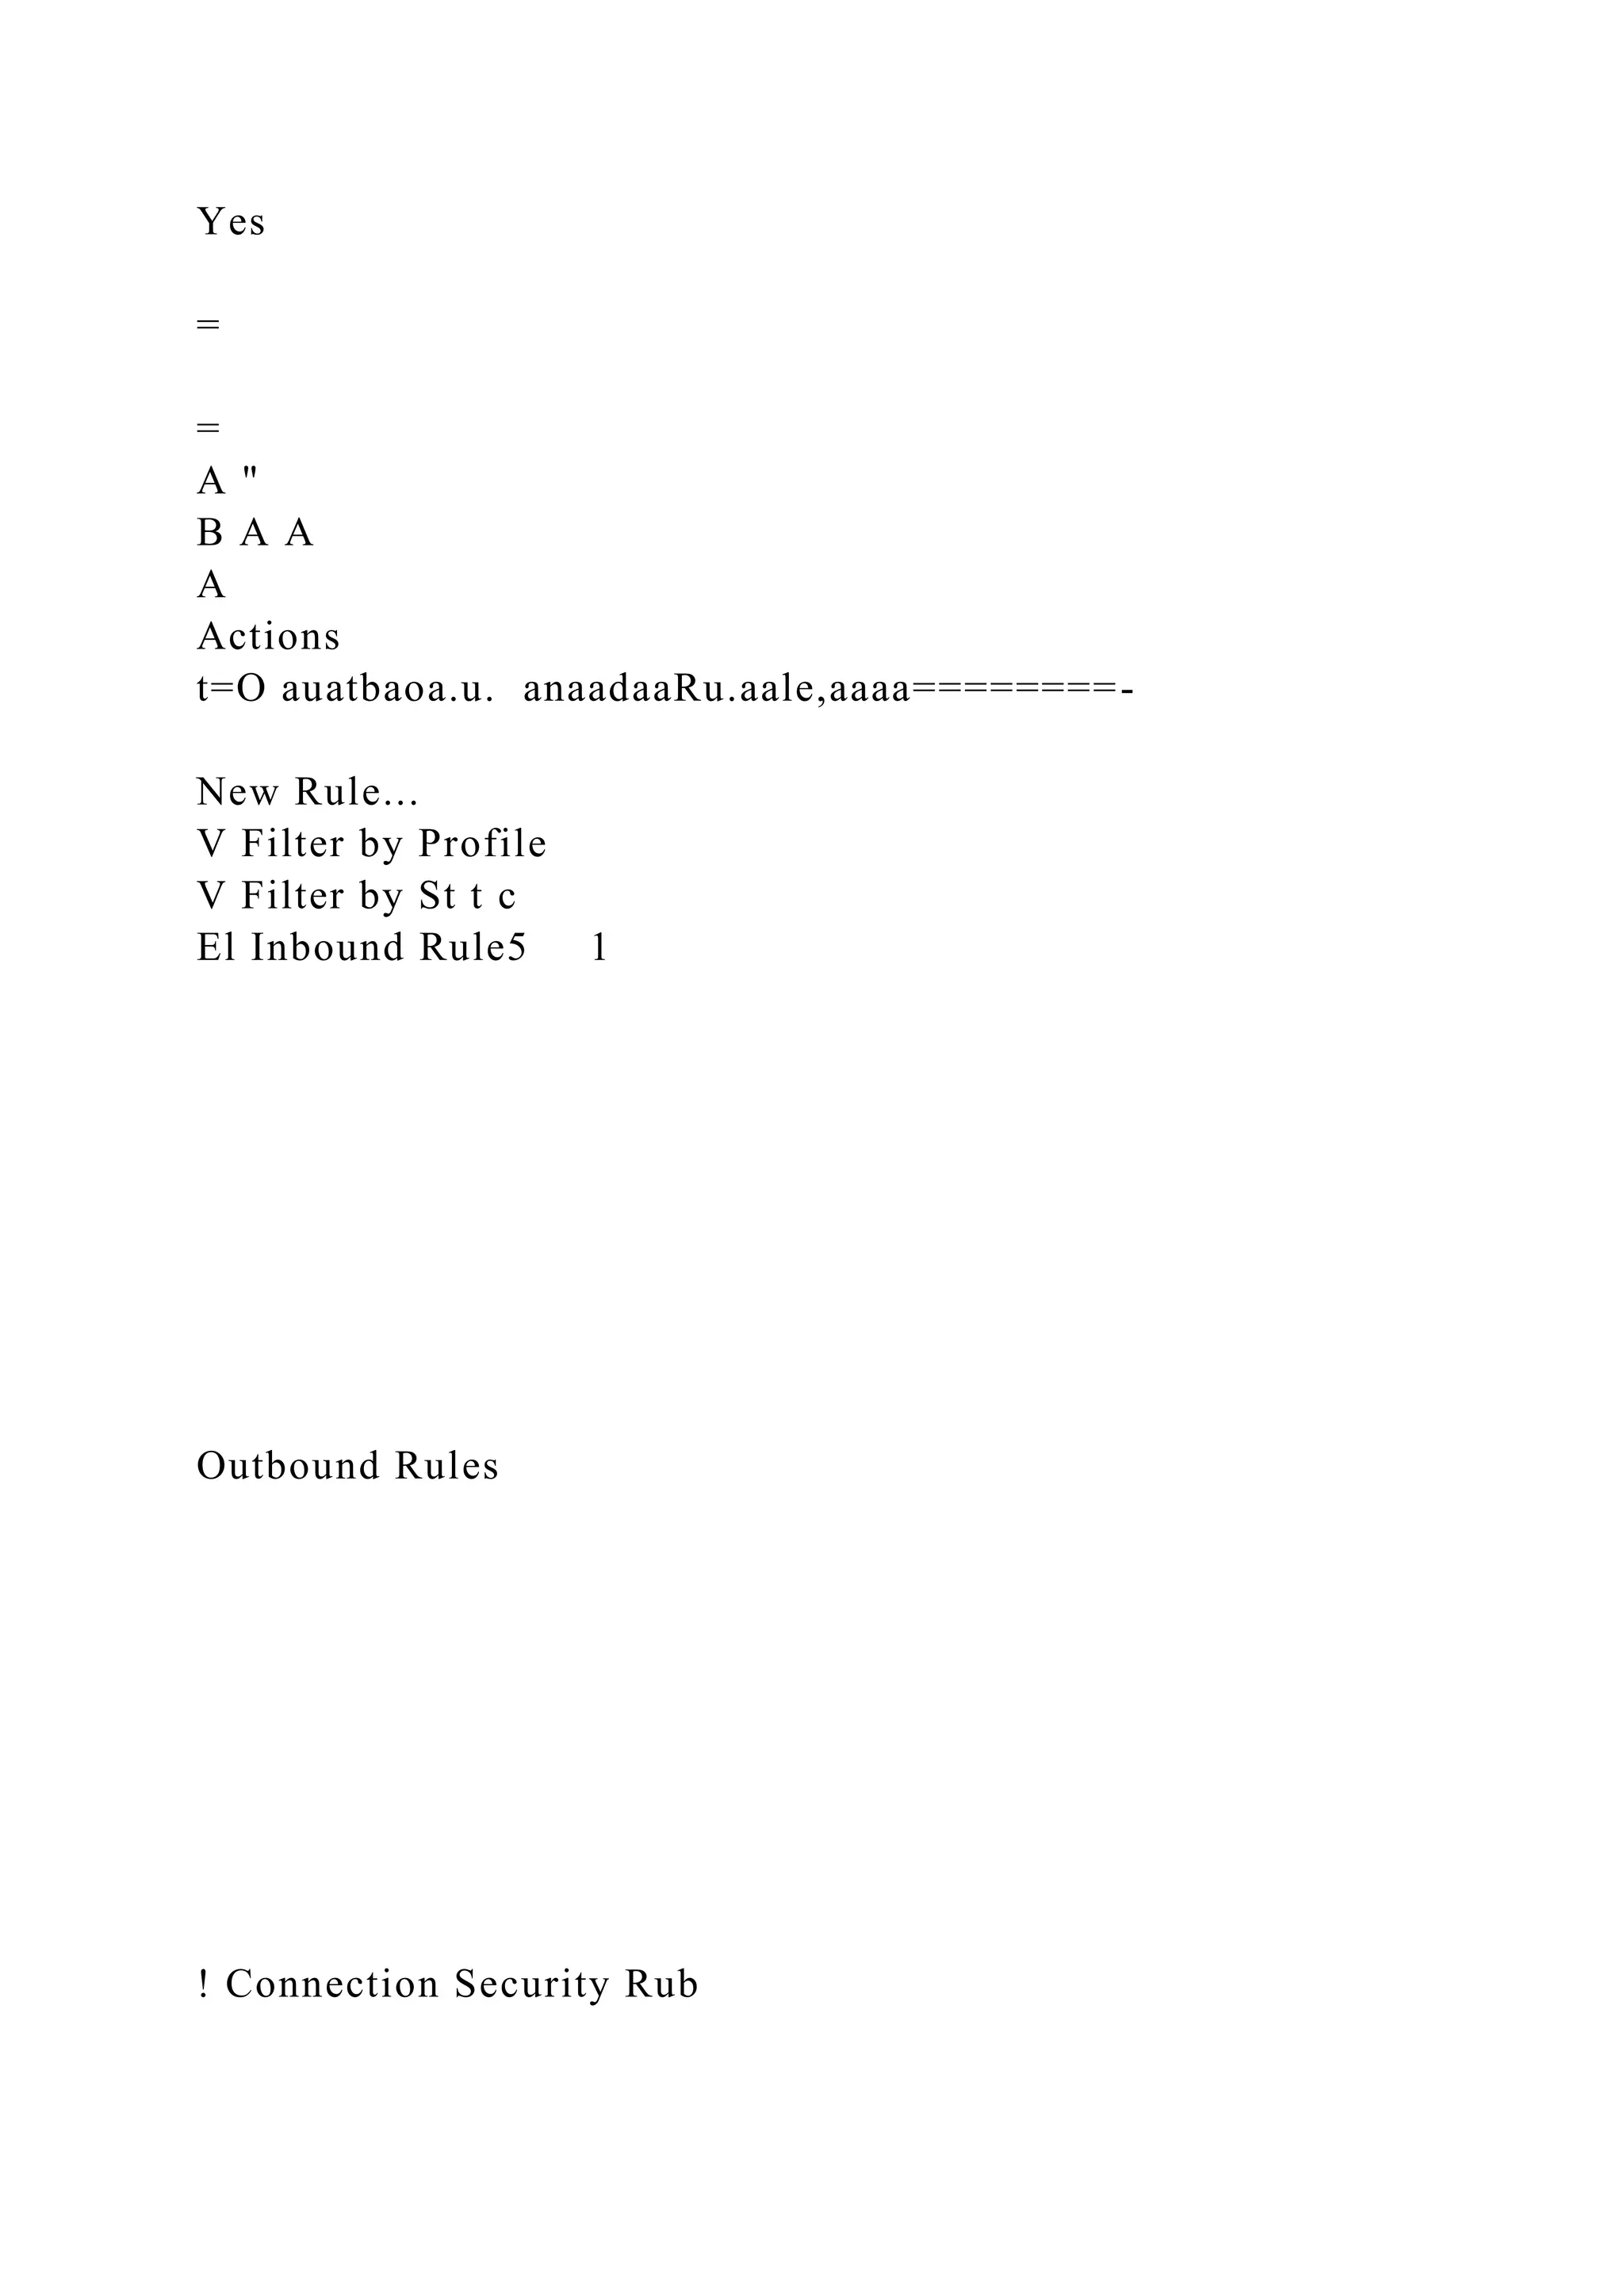
7. Section 2: Harden Windows Server 2019 by editing inbound
rules in the Windows Defender Firewall
Topology
This lab contains the following virtual machines. Please refer to
the network topology diagram below.
· TargetWindows01 (Windows Server 2019) [Domain
Controller]
· TargetWindows04 (Windows Server 2016)
Tools and Software
The following software is required to complete this lab.
Students are encouraged to explore the Internet to learn more
about the products and tools used in this lab.
· Security Compliance Toolkit (SKT)
· Group Policy Management Console (GPMC)
· Ntdsutil
· Windows Firewall
· Windows Defender Firewall with Advanced Security
Deliverables
Upon completion of this lab, you are required to provide the
following deliverables to your instructor:](https://image.slidesharecdn.com/creatingascheduledbackupandreplicatingsystemfoldersintroduct-221114171603-57107056/75/Creating-a-Scheduled-Backup-and-Replicating-System-Folders-Introduct-docx-11-2048.jpg)