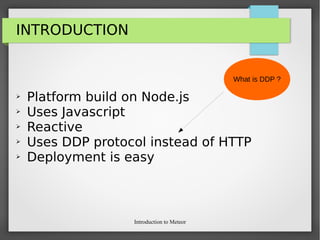
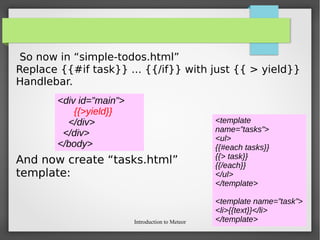
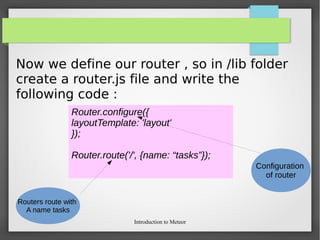
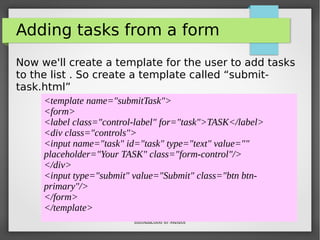
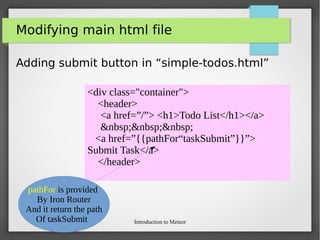
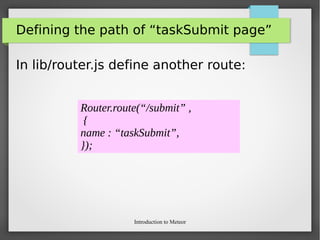
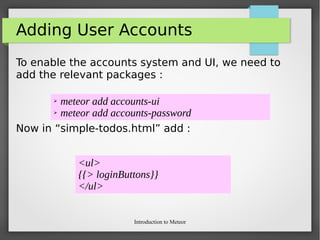
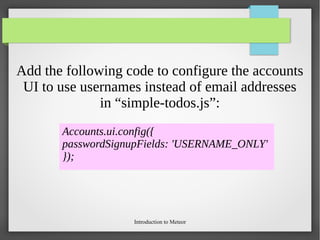
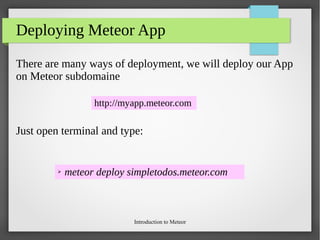
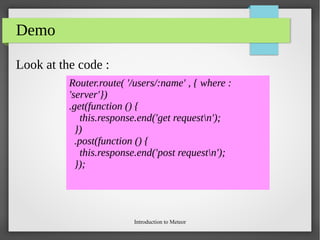
This document provides an introduction to the Meteor platform for building web applications. It outlines Meteor's key features like using JavaScript on both the client and server, reactive programming, and the Distributed Data Protocol. The document then covers installing Meteor, creating a sample todo list app, using Meteor packages and templates, defining collections, routing, security concepts, and deploying built Meteor apps. It concludes with an example of building a blog posting app called "post-by-me" that demonstrates additional Meteor features like user accounts, editing content, and email functionality.


![Introduction to Meteor
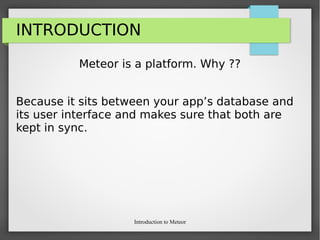
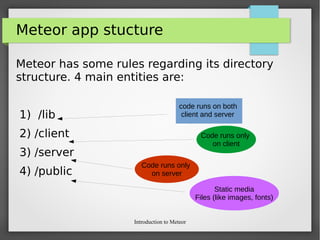
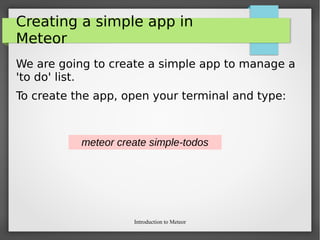
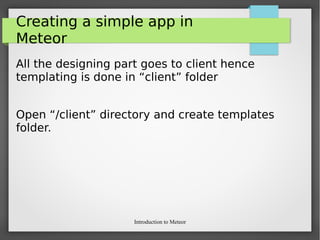
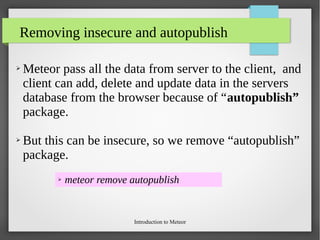
Meteor Collections
● Collections are defined really simple.
● After that MyCollection.[insert|update|remove]
methods can be called both on client ans
server.
● They can be fired by any user from console in
browser.
MyCollection = new Mongo.Collection(“my-collection”);](https://image.slidesharecdn.com/992670c5-9c0e-46a6-a303-daff7a3c4839-160815113243/85/code-camp-meteor-25-320.jpg)
![Introduction to Meteor
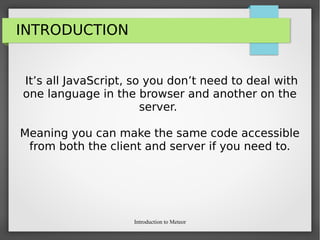
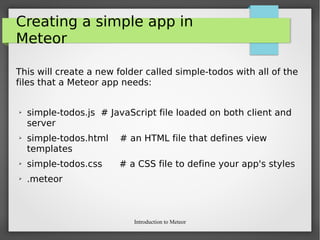
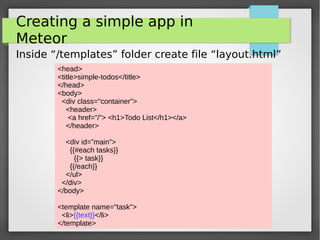
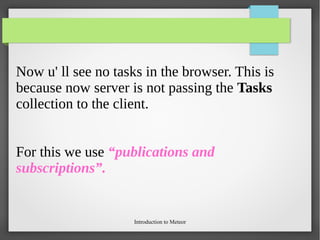
Creating a simple app in
Meteor
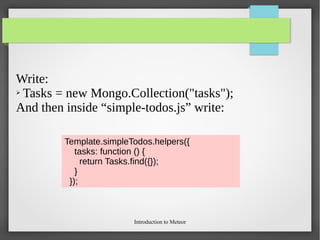
Create “simple-todos.js” for writing helpers code:
Template.simpleTodos.helpers({
tasks: [
{ text: "This is task 1" },
{ text: "This is task 2" },
{ text: "This is task 3" }
]
});](https://image.slidesharecdn.com/992670c5-9c0e-46a6-a303-daff7a3c4839-160815113243/85/code-camp-meteor-32-320.jpg)
![Introduction to Meteor
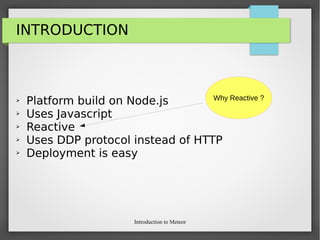
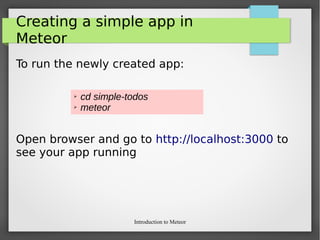
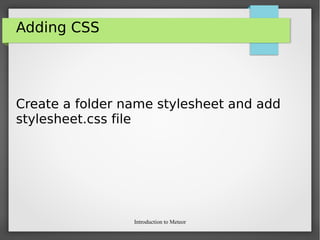
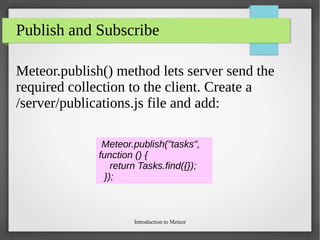
Adding JS file
Insert in Tasks DB:
Template.taskSubmit.events({
'submit form': function(e) {
e.preventDefault();
var tasks = {
text: $(e.target).find('[name=task]').val(),
createdAt : new Date()
};
task._id = Tasks.insert(tasks);
Router.go(“tasks”, tasks);
}
});](https://image.slidesharecdn.com/992670c5-9c0e-46a6-a303-daff7a3c4839-160815113243/85/code-camp-meteor-42-320.jpg)


![The End of Dinosaurs happened because of [a] Meteor](https://cdn.slidesharecdn.com/ss_thumbnails/meteor-131122103211-phpapp02-thumbnail.jpg?width=640&height=640&fit=bounds)


![Intro to Meteor [Deprecated]](https://cdn.slidesharecdn.com/ss_thumbnails/meteor-intro-141113203821-conversion-gate02-thumbnail.jpg?width=640&height=640&fit=bounds)


