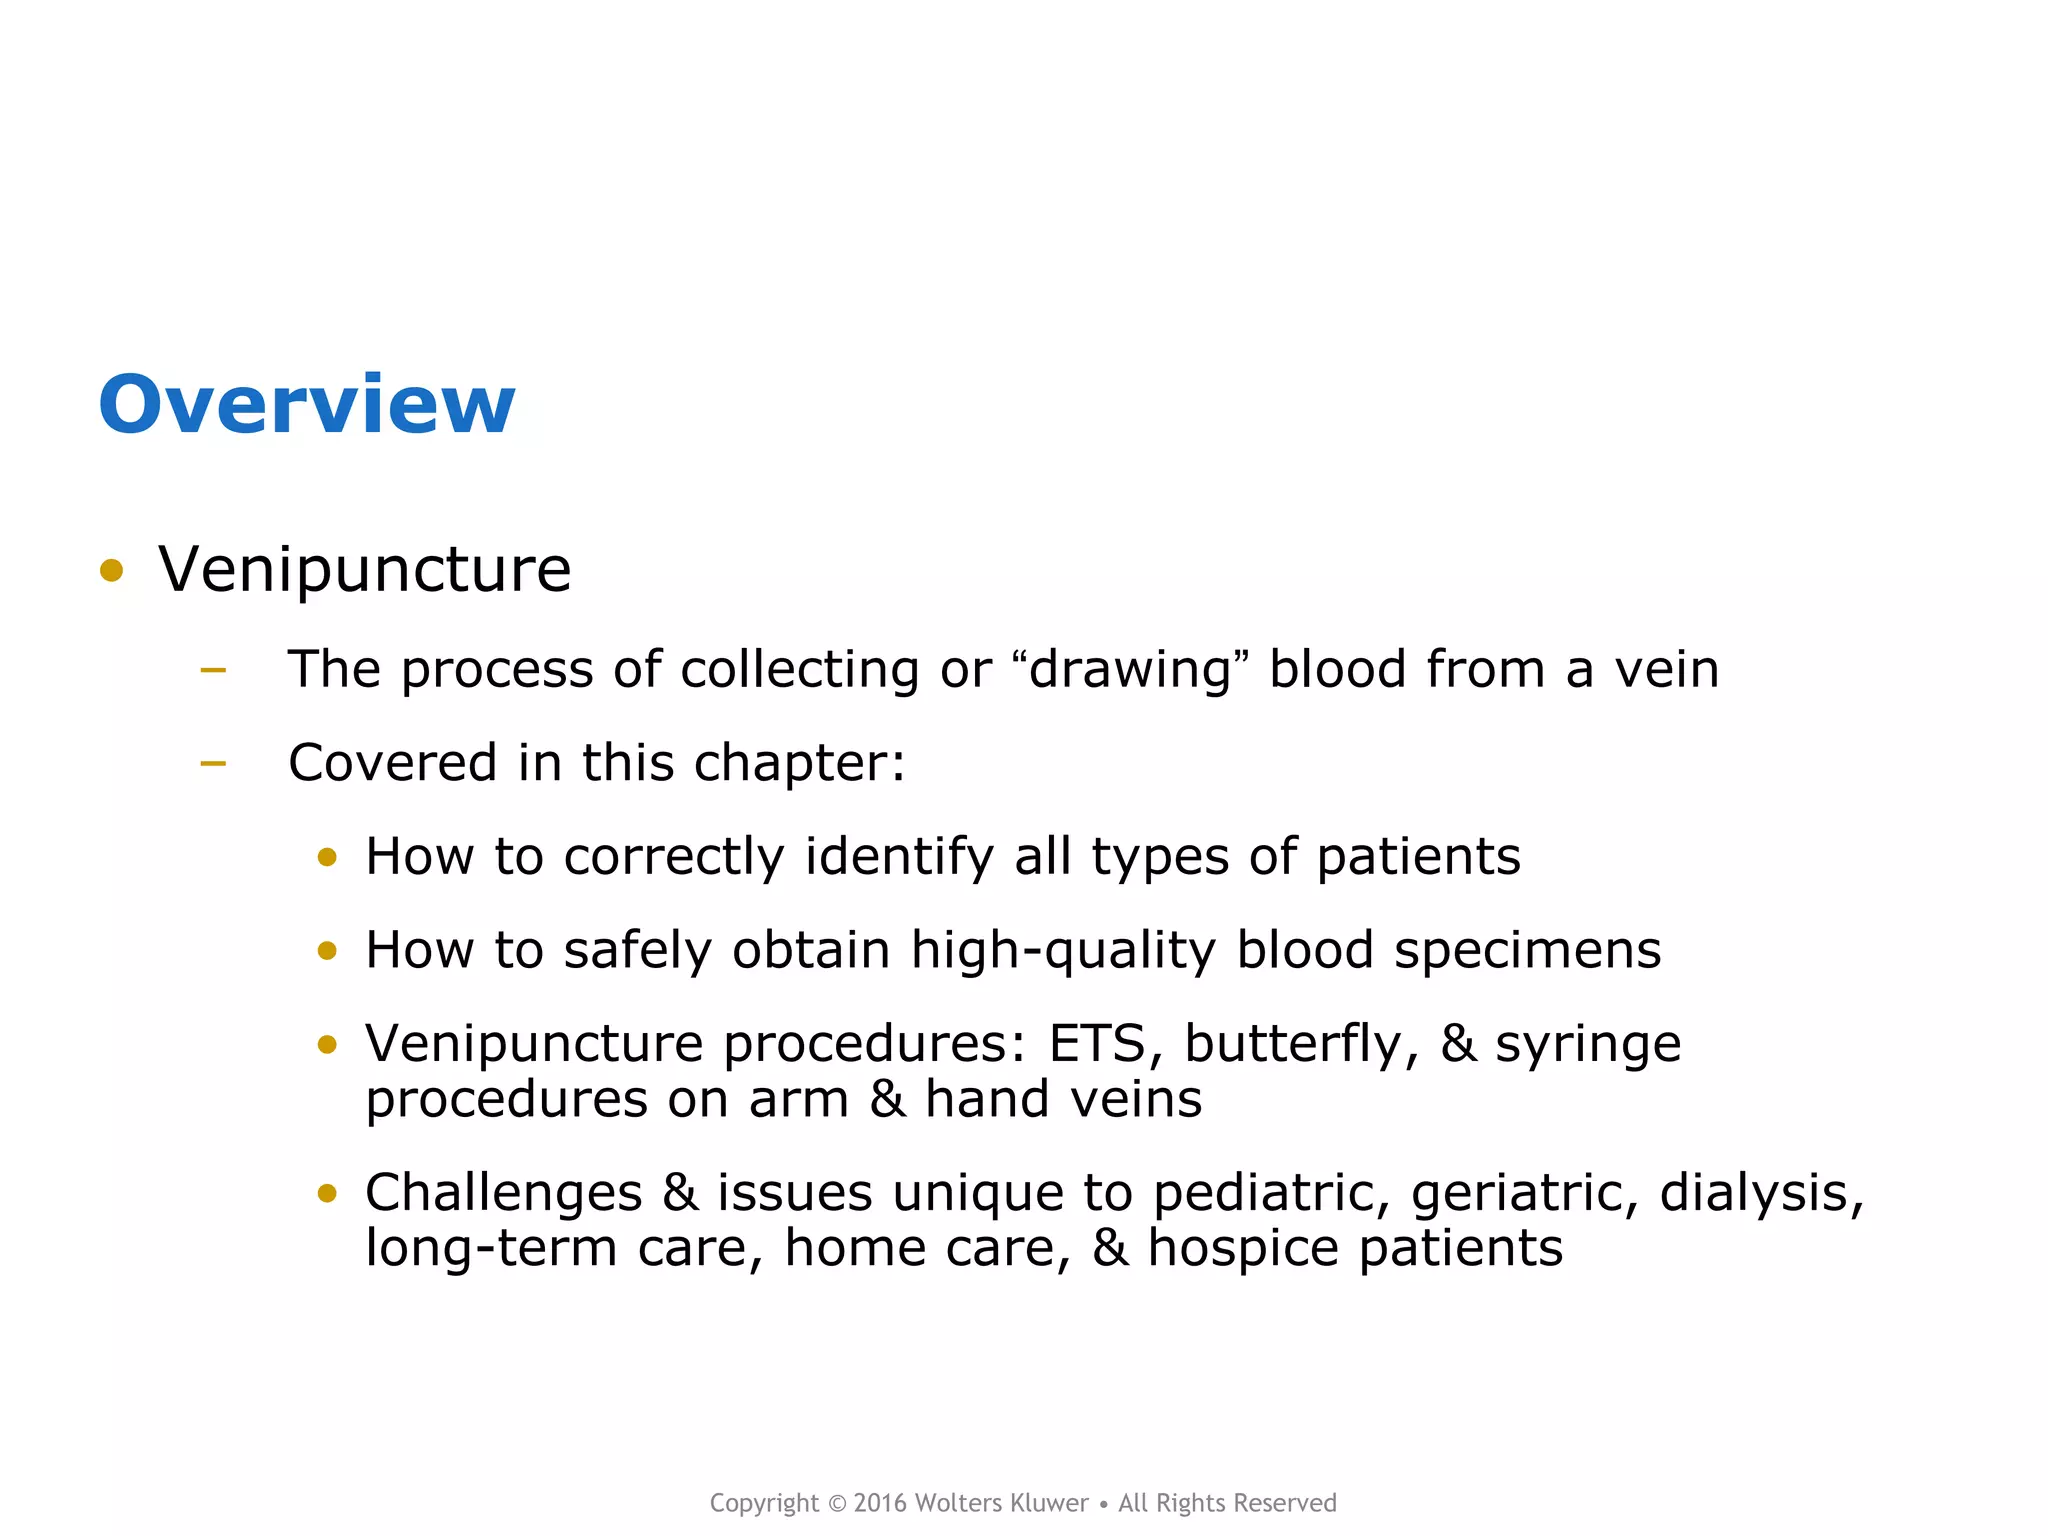
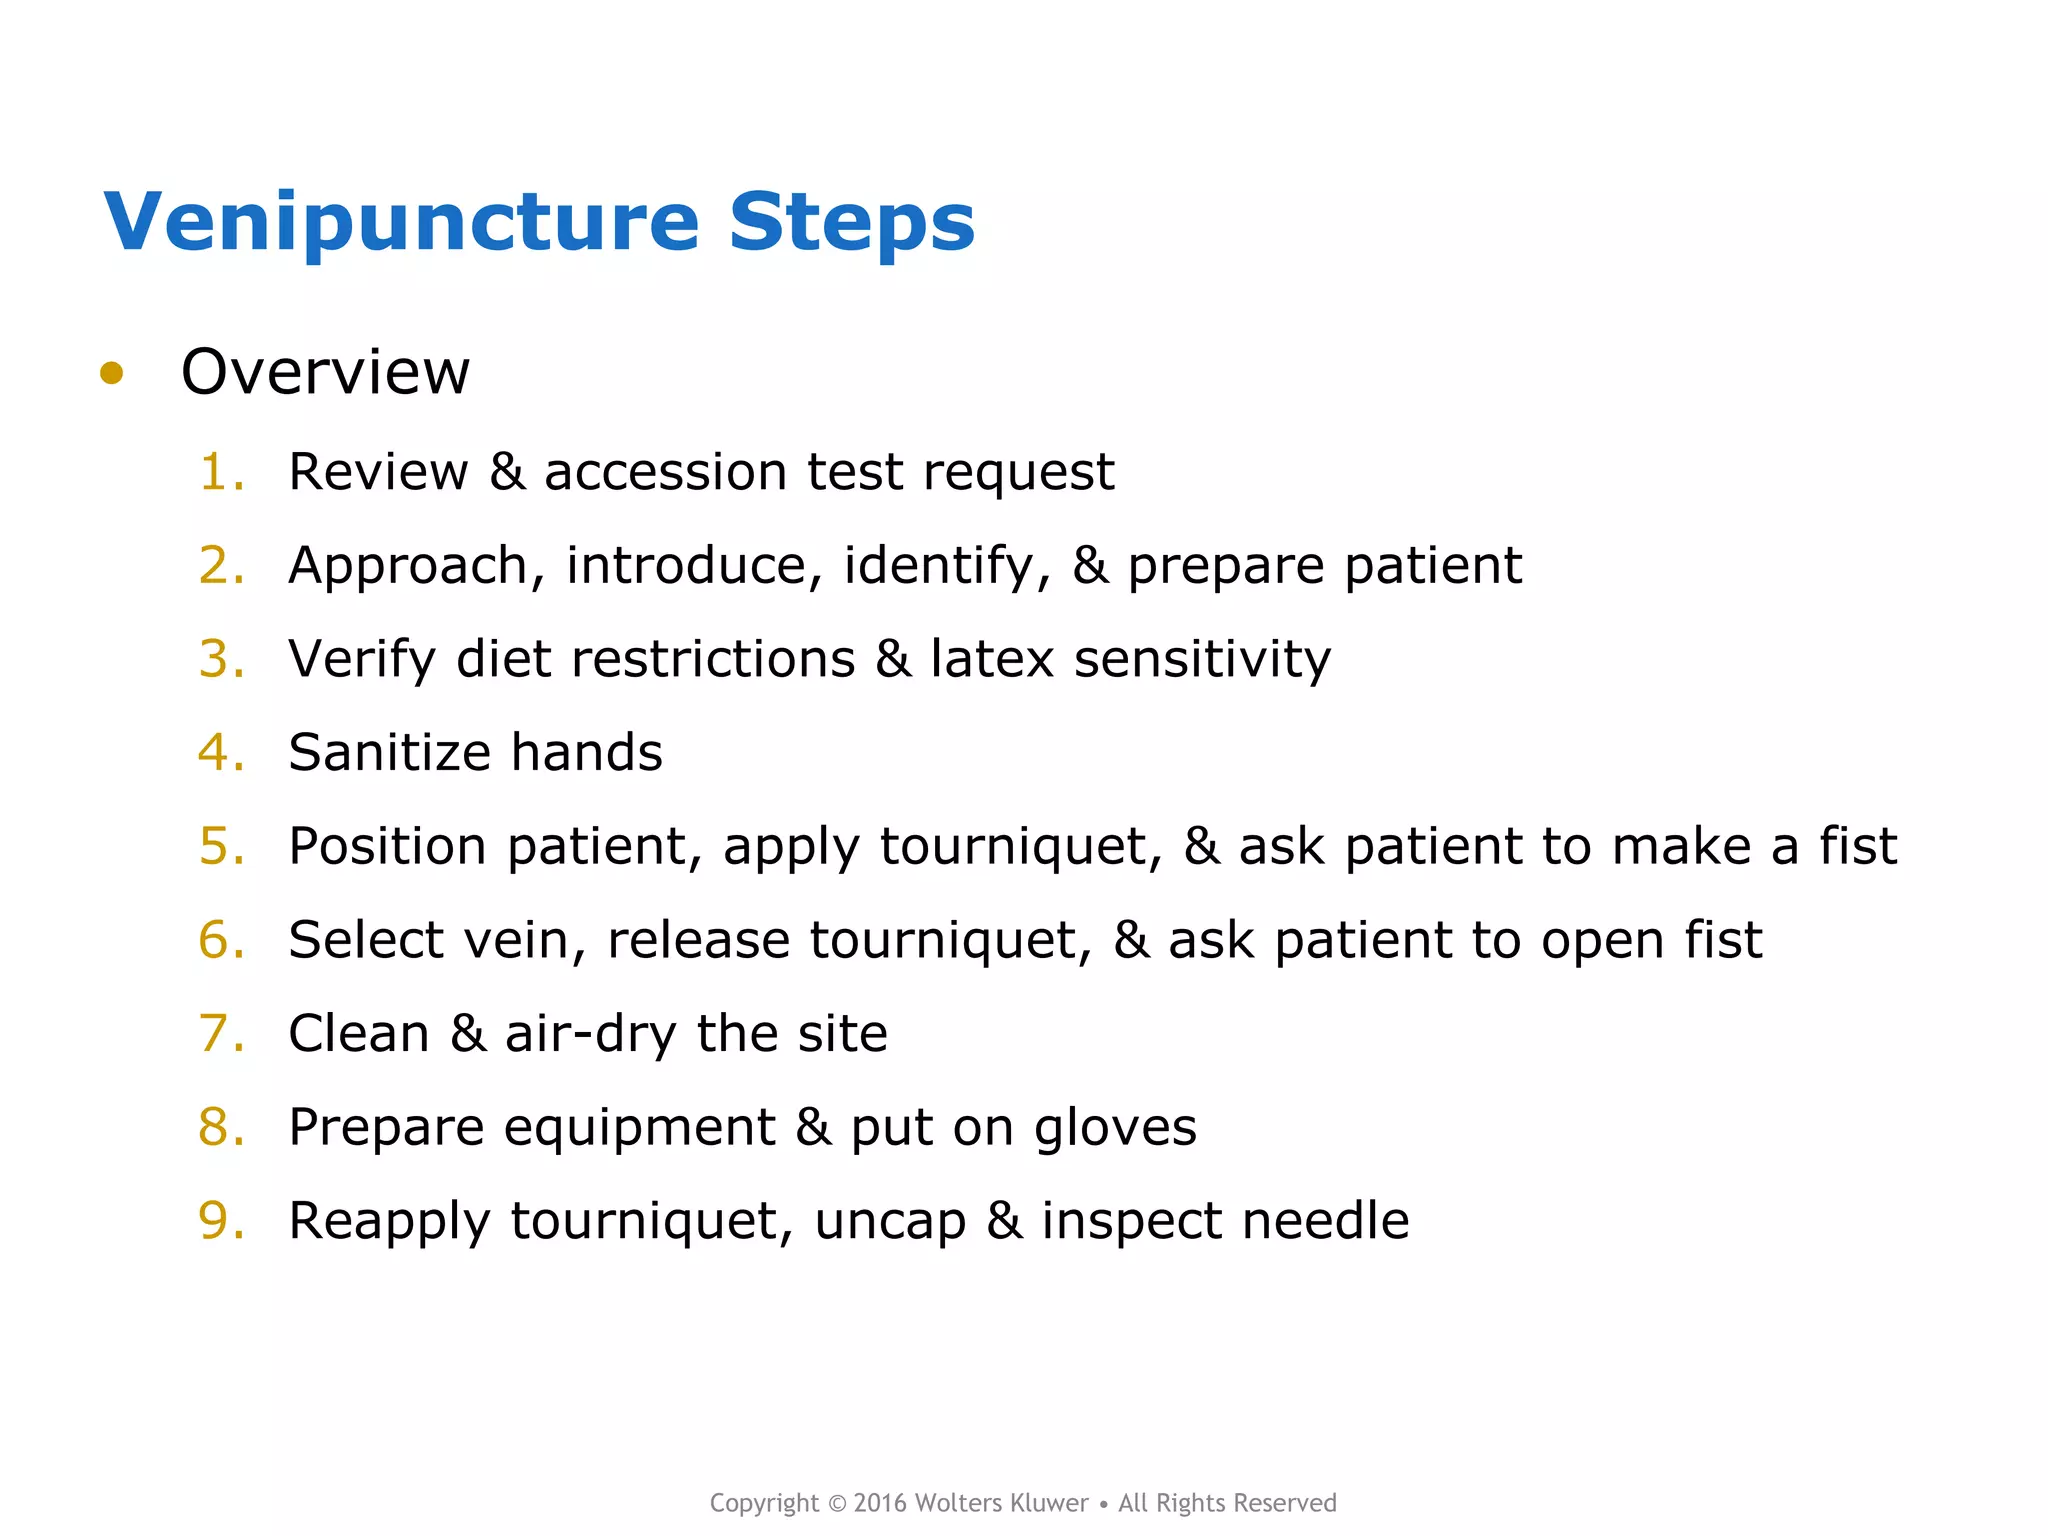
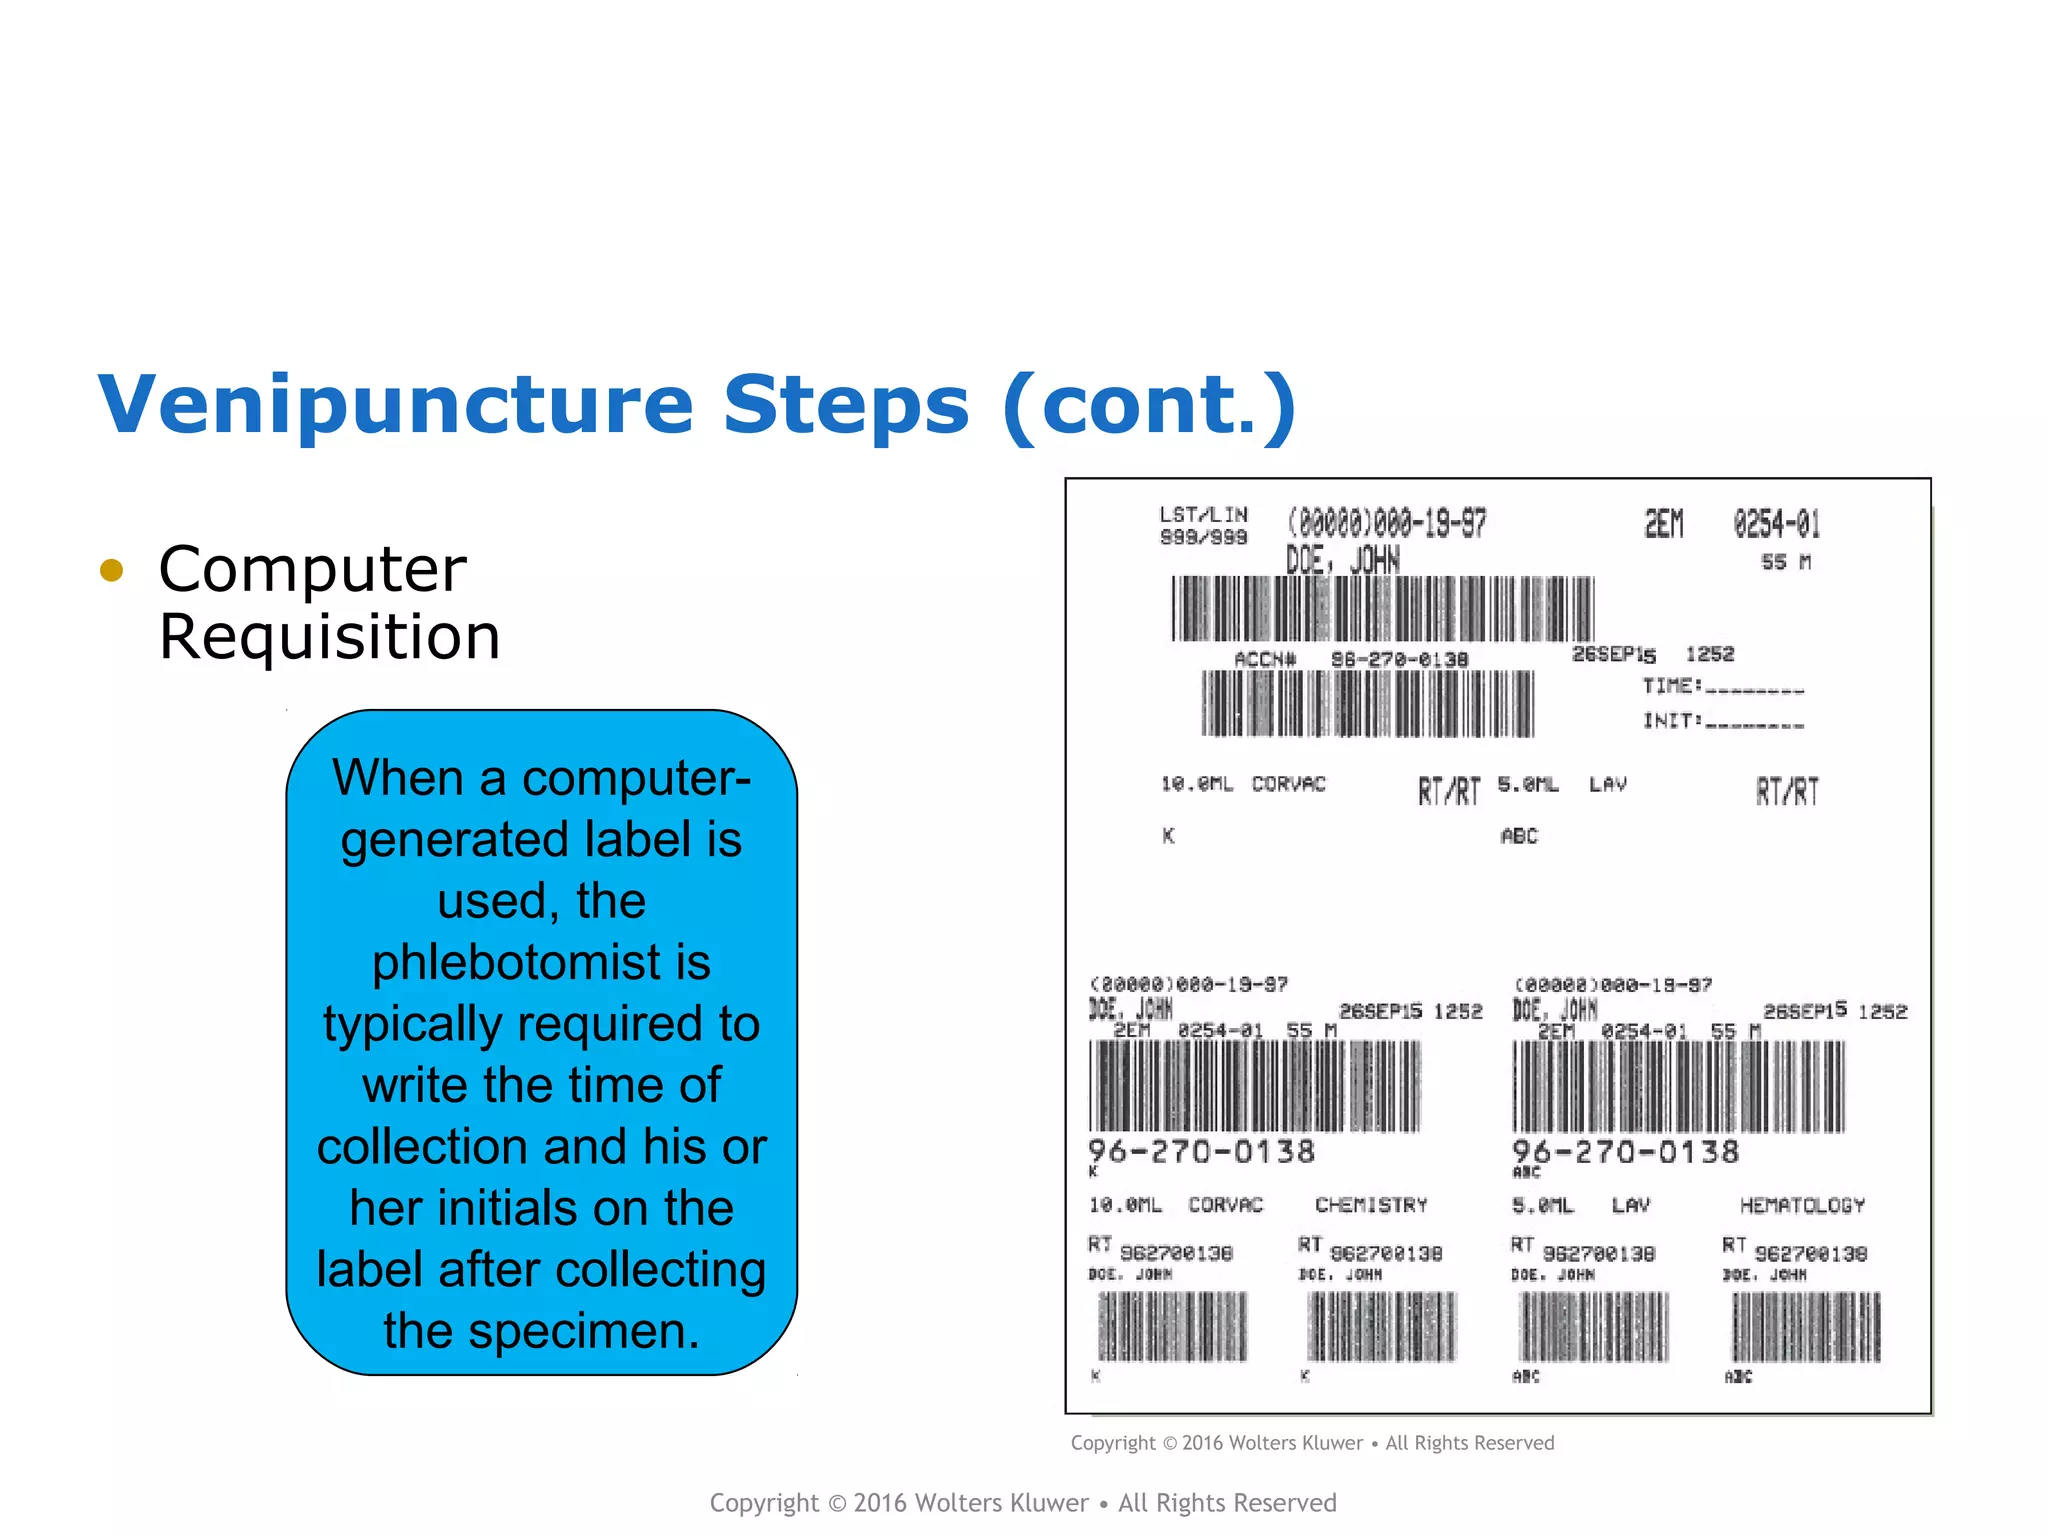
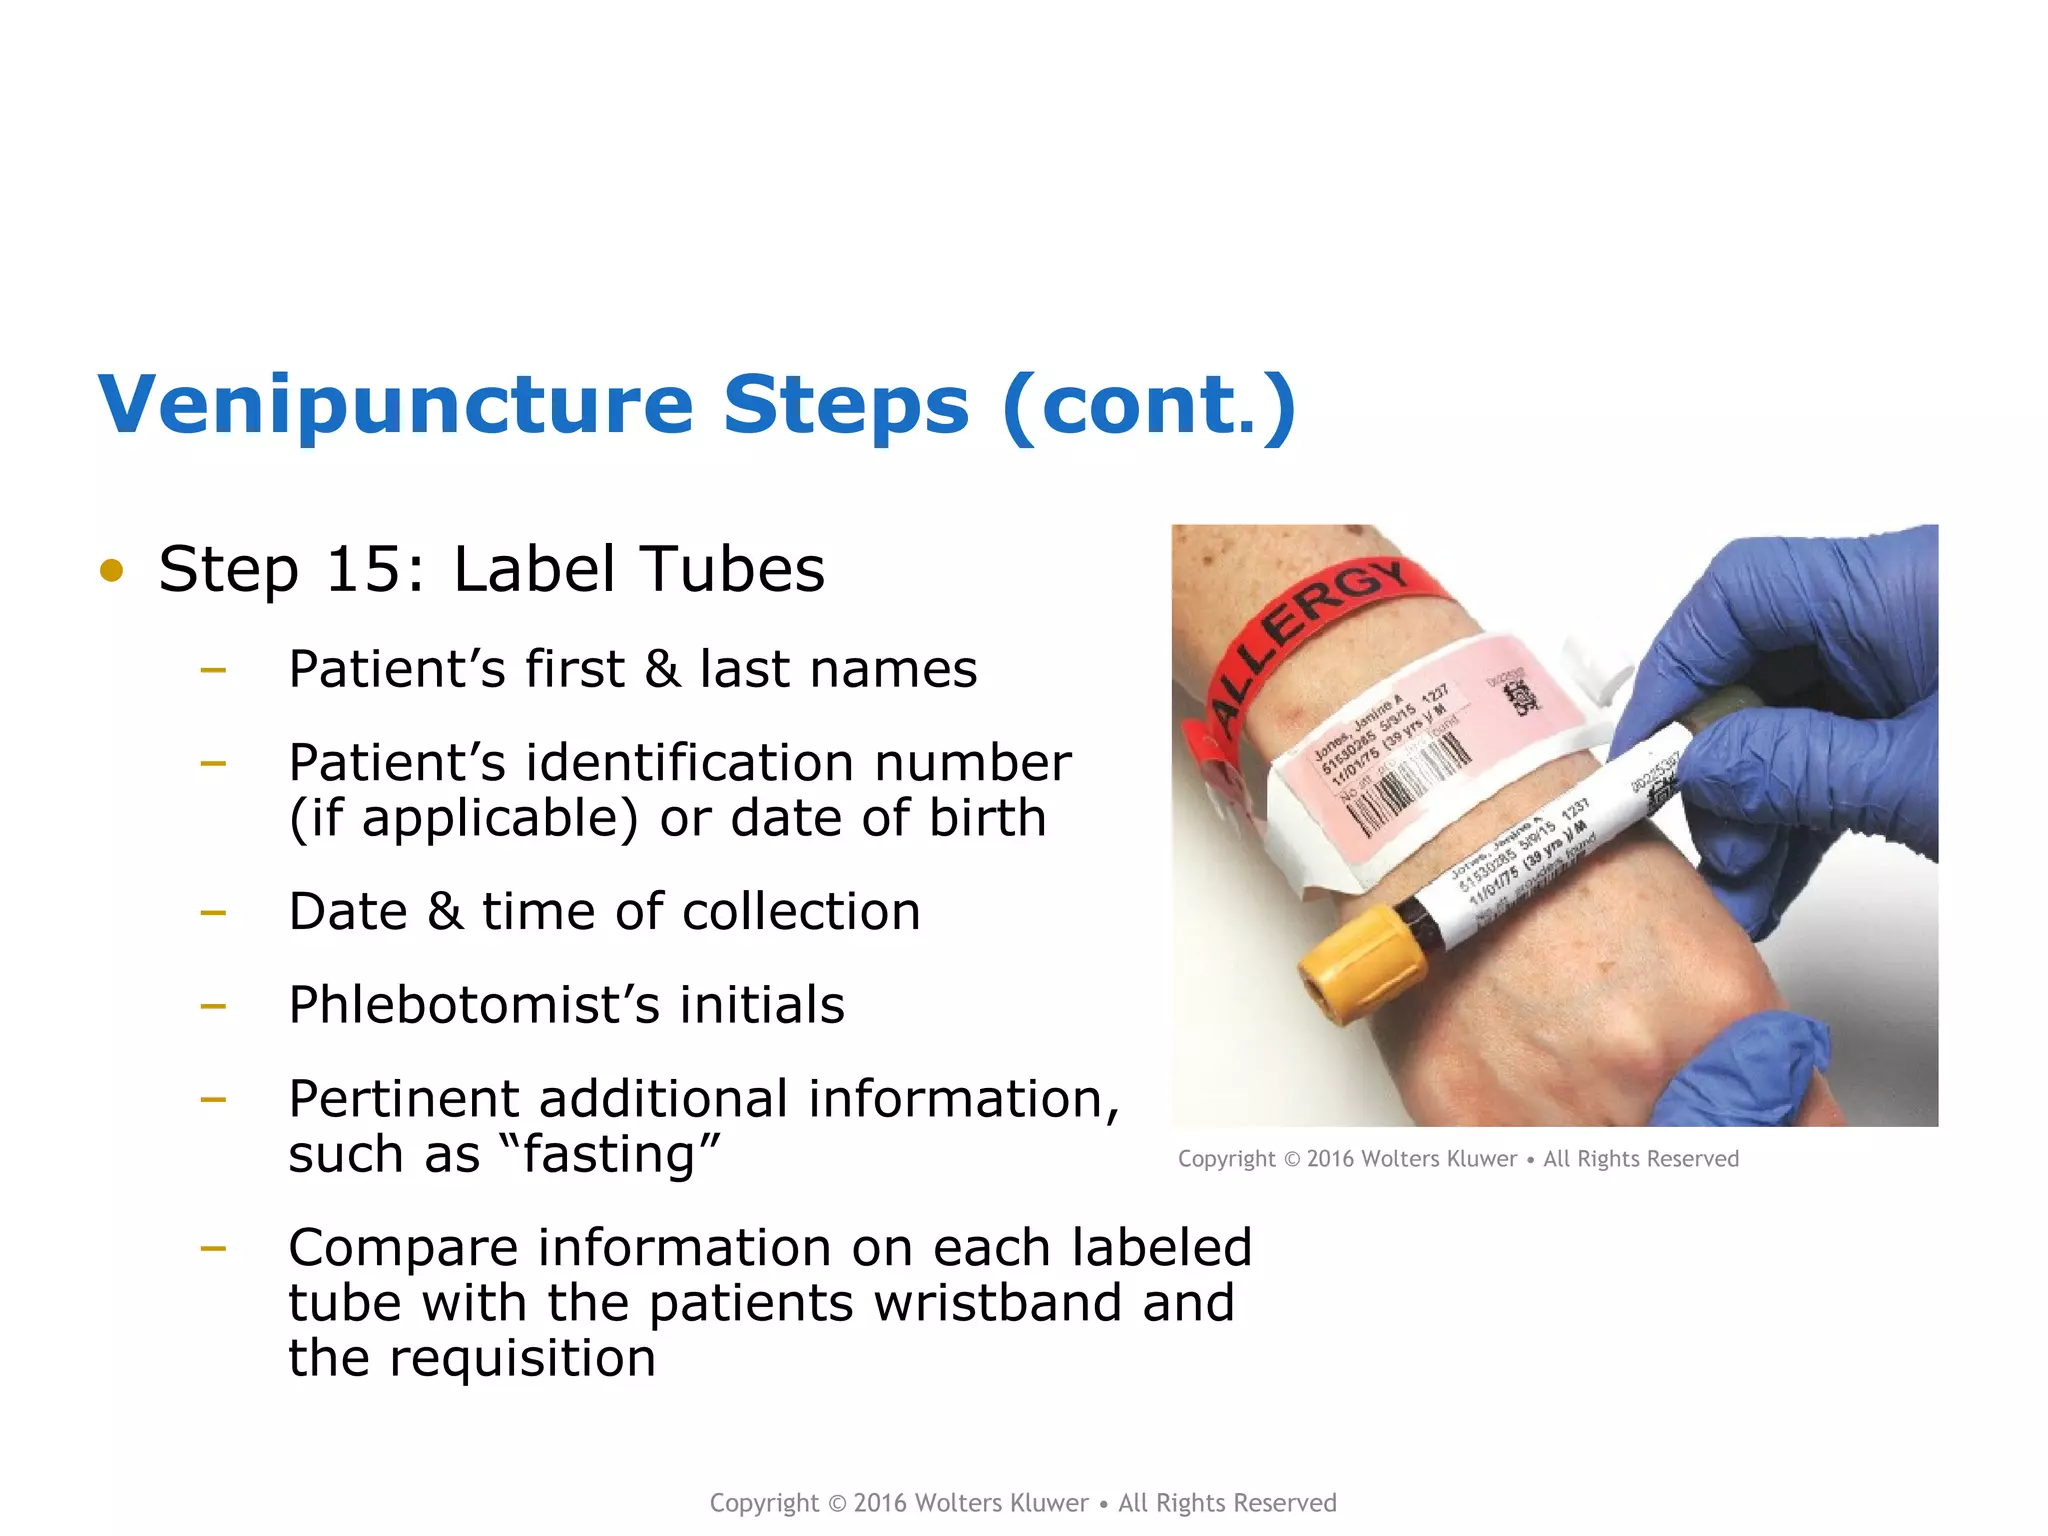
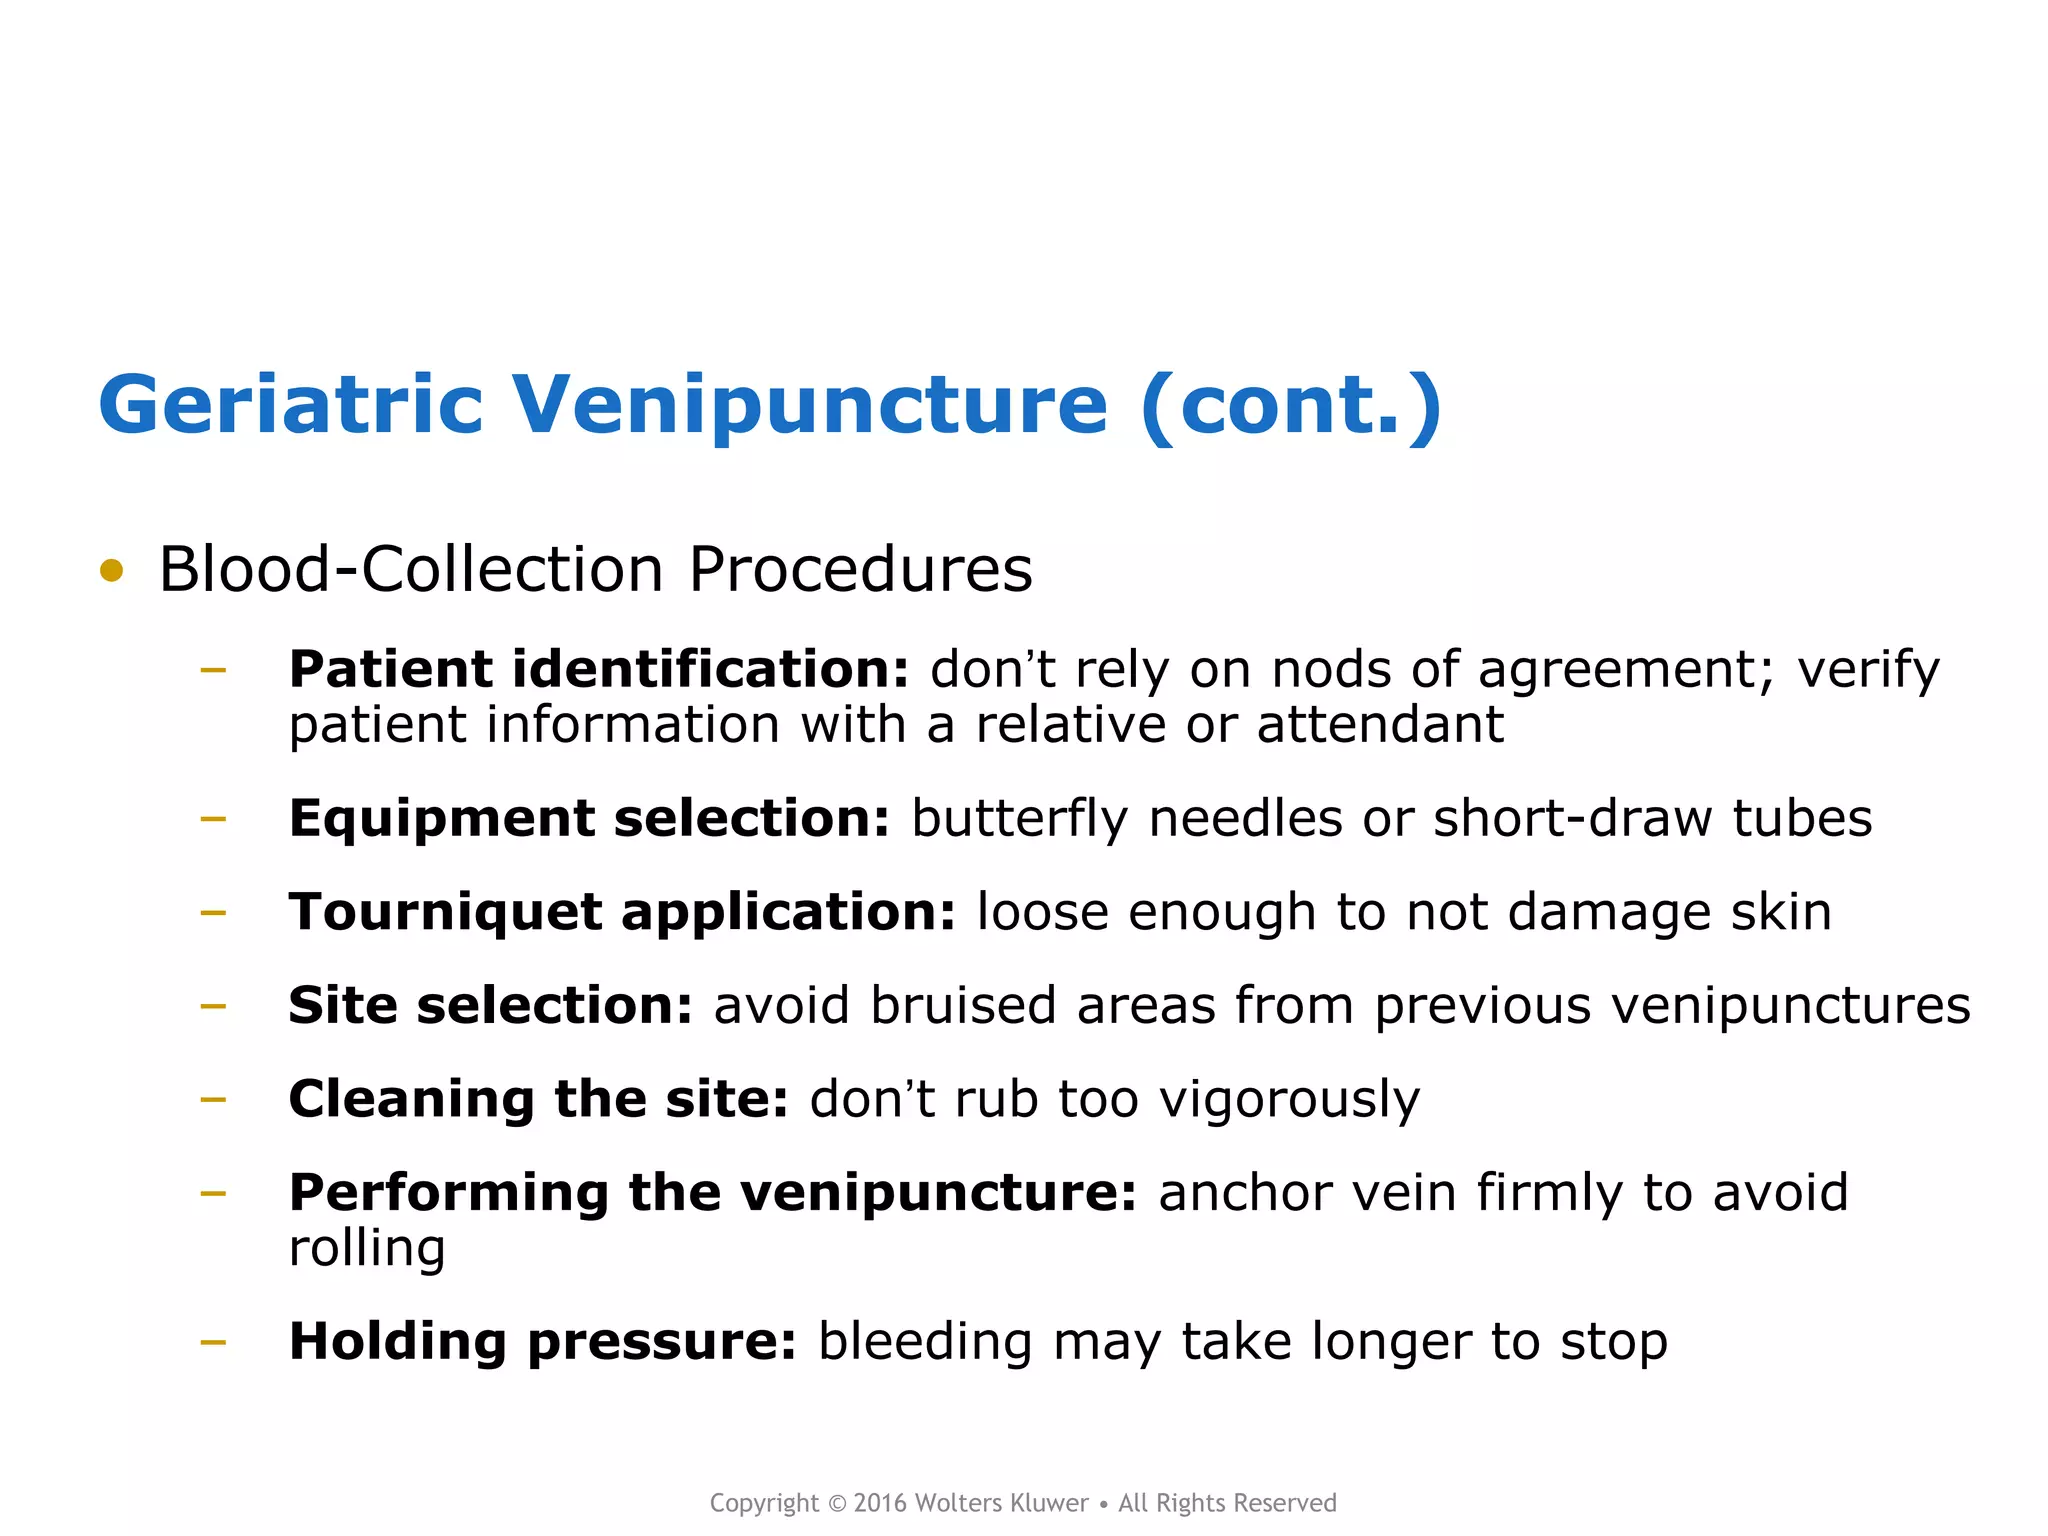
More Related Content
Similar to Chapter 8 powerpoint (20)
Chapter 8 powerpoint
- 1. Copyright © 2016 Wolters Kluwer Health | Lippincott Williams & Wilkins
Chapter 8: Venipuncture
Procedures
- 2. Copyright © 2016 Wolters Kluwer • All Rights Reserved
Objectives
1. Demonstrate knowledge of each venipuncture step from
the time the test request is received until the specimen
is delivered to the lab, and define associated
terminology.
2. Describe how to perform a venipuncture using ETS,
syringe, or butterfly, list required patient and specimen
identification information, describe how to handle
patient ID discrepancies, and state the acceptable
reasons for inability to collect a specimen.
- 3. Copyright © 2016 Wolters Kluwer • All Rights Reserved
Objectives (cont.)
3. Identify challenges and unique aspects associated with
collecting specimens from pediatric and geriatric
patients.
4. Describe why a patient would require dialysis and how it
is performed, and exhibit an awareness of the type of
care provided for long-term care, home care, and
hospice patients.
- 4. Copyright © 2016 Wolters Kluwer • All Rights Reserved
Overview
• Venipuncture
– The process of collecting or “drawing” blood from a vein
– Covered in this chapter:
• How to correctly identify all types of patients
• How to safely obtain high-quality blood specimens
• Venipuncture procedures: ETS, butterfly, & syringe
procedures on arm & hand veins
• Challenges & issues unique to pediatric, geriatric, dialysis,
long-term care, home care, & hospice patients
- 5. Copyright © 2016 Wolters Kluwer • All Rights Reserved
Venipuncture Steps
• Overview
1. Review & accession test request
2. Approach, introduce, identify, & prepare patient
3. Verify diet restrictions & latex sensitivity
4. Sanitize hands
5. Position patient, apply tourniquet, & ask patient to make a fist
6. Select vein, release tourniquet, & ask patient to open fist
7. Clean & air-dry the site
8. Prepare equipment & put on gloves
9. Reapply tourniquet, uncap & inspect needle
- 6. Copyright © 2016 Wolters Kluwer • All Rights Reserved
Venipuncture Steps (cont.)
10. Ask patient to remake a fist, anchor vein, & insert needle
11. Establish blood flow, release tourniquet, & ask patient to open
fist
12. Fill, remove, & mix tubes in order of draw or fill syringe
13. Place gauze, remove needle, activate safety feature, & apply
pressure
14. Discard collection unit, syringe needle, or transfer device
15. Label tubes
16. Observe special handling instructions
17. Check patient’s arm & apply bandage
18. Dispose of contaminated materials
- 7. Copyright © 2016 Wolters Kluwer • All Rights Reserved
Venipuncture Steps (cont.)
19. Thank patient, remove gloves, & sanitize hands
20. Transport specimen to lab
WORKBOOK Skills Drill 8-3
can help you commit these
steps to memory.
- 8. Copyright © 2016 Wolters Kluwer • All Rights Reserved
Venipuncture Steps (cont.)
• Step 1: Review & Accession Test Request
– Types
• Manual requisitions
• Computer requisitions
• Bar-code requisitions
– Phlebotomist must:
• Check to see that all required info is present & complete
• Verify tests to be collected & time & date of collection
• Identify diet restrictions or other special circumstances
• Accession or record the order received
- 9. Copyright © 2016 Wolters Kluwer • All Rights Reserved
Venipuncture Steps (cont.)
• Manual
Requisition
With any type of
requisition it is
essential for the
information to be
transcribed or
entered correctly.
Copyright © 2016 Wolters Kluwer • All Rights Reserved
- 10. Copyright © 2016 Wolters Kluwer • All Rights Reserved
Copyright © 2016 Wolters Kluwer • All Rights Reserved
Venipuncture Steps (cont.)
• Computer
Requisition
When a computer-
generated label is
used, the
phlebotomist is
typically required to
write the time of
collection and his or
her initials on the
label after collecting
the specimen.
- 11. Copyright © 2016 Wolters Kluwer • All Rights Reserved
Copyright © 2016 Wolters Kluwer • All Rights Reserved
Venipuncture Steps (cont.)
• Step 2: Approach, Identify, & Prepare Patient
– Approaching the patient
• Be organized & prepared w. paperwork
• Look for signs containing patient info. (e.g., DNR, DNAR)
• Knock lightly on door
• Ask visitors to step out
• Identify yourself
• Obtain consent for procedure
• Put patient at ease, using professional bedside manner
- 12. Copyright © 2016 Wolters Kluwer • All Rights Reserved
Venipuncture Steps (cont.)
• Step 2: Approach, Identify, & Prepare Patient (cont.)
– Patient identification
• Verify name & date of birth
• Check ID bracelet
• Notify nurse of ID discrepancies
• Search for missing IDs
• Wake sleeping patients
• Ask a relative or nurse to identify a patient who is
unconscious, young, mentally incompetent, or non-English
speaking
- 13. Copyright © 2016 Wolters Kluwer • All Rights Reserved
Venipuncture Steps (cont.)
• Step 2: Approach, Identify, & Prepare Patient (cont.)
– Preparing the patient
• Explain the procedure
• Address patient inquiries
• Handle patient objections
• Address difficult patients
• Address objects in patient’s mouth
Regardless of the
difficulties involved,
you must always
determine that the
patient understands
what is about to take
place and obtain
permission before
proceeding. This is
part of informed
consent.
- 14. Copyright © 2016 Wolters Kluwer • All Rights Reserved
Copyright © 2016 Wolters Kluwer • All Rights Reserved
Venipuncture Steps (cont.)
• Step 2:
Approach,
Identify, &
Prepare
Patient
(cont.)
- 15. Copyright © 2016 Wolters Kluwer • All Rights Reserved
Copyright © 2016 Wolters Kluwer • All Rights Reserved
Venipuncture Steps (cont.)
• Step 3: Verify Diet Restrictions & Latex Sensitivity
If the patient has
eaten and you are
told to proceed with
specimen collection,
it is important to
write “nonfasting” on
the requisition and
the specimen label.
- 16. Copyright © 2016 Wolters Kluwer • All Rights Reserved
Copyright © 2016 Wolters Kluwer • All Rights Reserved
Venipuncture Steps (cont.)
• Step 4: Sanitize Hands
- 17. Copyright © 2016 Wolters Kluwer • All Rights Reserved
Venipuncture Steps (cont.)
• Step 5: Position Patient, Apply Tourniquet, and Ask
Patient to Make a Fist
– Positioning patient
• Inpatients: typically are lying down in bed
• Outpatients: sitting up in blood-drawing chair
• Patients prone to fainting: reclining chair, sofa, or bed
• Support hand or arm that is to be site of venipuncture
- 18. Copyright © 2016 Wolters Kluwer • All Rights Reserved
Venipuncture Steps (cont.)
• Step 5: Position Patient, Apply Tourniquet, and Ask
Patient to Make a Fist (cont.)
– Tourniquet application & fist clenching
• Apply tourniquet snugly 3 to 4 inches above intended site
• Never apply over open sore
• Apply over a dry washcloth or gauze if patient has sensitive
skin
• Ask patient to make a fist
- 19. Copyright © 2016 Wolters Kluwer • All Rights Reserved
Copyright © 2016 Wolters Kluwer • All Rights Reserved
Venipuncture Steps (cont.)
• Step 5: Position Patient, Apply Tourniquet, and Ask
Patient to Make a Fist (cont.)
A tourniquet has a greater
tendency to roll or twist on the
arms of obese patients.
Bariatric tourniquets are
available from manufacturers.
However, if one is not
available, two tourniquets
placed on top of each other
and used together will
sometimes be sturdy enough
to prevent this problem.
- 20. Copyright © 2016 Wolters Kluwer • All Rights Reserved
Venipuncture Steps (cont.)
• Step 6: Select Vein, Release Tourniquet, and Ask Patient
to Open Fist
– Preferred site is antecubital area of arm
– First choices are median cubital & median veins
– Palpate patient’s dominant arm with index finger
– Roll finger side to side while pressing against vein to judge size
– Avoid veins that feel hard & cord-like or lack resilience
– Release tourniquet & have patient open fist
- 21. Copyright © 2016 Wolters Kluwer • All Rights Reserved
Copyright © 2016 Wolters Kluwer • All Rights Reserved
Venipuncture Steps (cont.)
• Step 6: Select Vein,
Release Tourniquet,
and Ask Patient to
Open Fist (cont.)
- 22. Copyright © 2016 Wolters Kluwer • All Rights Reserved
Venipuncture Steps (cont.)
• Step 7: Clean and Air-Dry the Site
– Clean site with an antiseptic to avoid infection or contamination
– Use 70% isopropyl alcohol
– Use circular motion, moving outward in widening concentric
circles
– Clean an area about 2 to 3 inches in diameter
– Allow area to dry 30 seconds to 1 minute (until dry)
– Don’t dry alcohol w. unsterile gauze or fan or blow on site
– Don’t touch site after cleaning it
- 23. Copyright © 2016 Wolters Kluwer • All Rights Reserved
Copyright © 2016 Wolters Kluwer • All Rights Reserved
Venipuncture Steps (cont.)
• Step 7: Clean
and Air-Dry the
Site, leaving an
alcohol pad
pointing in the
direction of the
vein, if needed
for marking the
site.
If it is necessary
to repalpate the
vein after the
site has been
cleaned, the site
must be cleaned
again.
- 24. Copyright © 2016 Wolters Kluwer • All Rights Reserved
Venipuncture Steps (cont.)
• Step 8: Prepare Equipment and Put on Gloves
– ETS equipment preparation
– Preparation of a winged infusion set (butterfly)
– Preparation of syringe equipment
– Positioning equipment for use
• Step 9: Reapply Tourniquet, Uncap and Inspect Needle
According to the CLSI, when a tourniquet has
been in place for longer than one minute, it
should be released and reapplied after 2 minutes.
- 25. Copyright © 2016 Wolters Kluwer • All Rights Reserved
Copyright © 2016 Wolters Kluwer • All Rights Reserved
Venipuncture Steps (cont.)
• Steps 8 & 9: Prepare Equipment and Reapply Tourniquet
- 26. Copyright © 2016 Wolters Kluwer • All Rights Reserved
Copyright © 2016 Wolters Kluwer • All Rights Reserved
Venipuncture Steps (cont.)
• Step 10: Ask Patient to
Remake a Fist, Anchor Vein,
and Insert Needle
– Anchoring
• Use nondominant hand to
anchor (secure firmly) the
vein
• Place thumb at least 1 to 2
inches below & slightly to
side of site
• Pull skin toward wrist
- 27. Copyright © 2016 Wolters Kluwer • All Rights Reserved
Copyright © 2016 Wolters Kluwer • All Rights Reserved
Venipuncture Steps (cont.)
– Needle insertion
• Hold collection device
or butterfly needle in
dominant hand
• With bevel facing up,
position needle
above insertion site
• Insert at 30-degree
angle or less in
smooth, steady
forward motion
- 28. Copyright © 2016 Wolters Kluwer • All Rights Reserved
Copyright © 2016 Wolters Kluwer • All Rights Reserved
Venipuncture Steps (cont.)
• Step 10: Ask
Patient to
Remake a Fist,
Anchor Vein, and
Insert Needle
- 29. Copyright © 2016 Wolters Kluwer • All Rights Reserved
Venipuncture Steps (cont.)
• Step 11: Establish Blood Flow, Release Tourniquet, and
Ask Patient to Open Fist
– Advance collection tube into tube holder until stopper is
completely penetrated by needle
– Push tube with thumb while index & middle fingers straddle &
grasp flanges of tube holder, pulling back slightly
– Blood will begin to flow into tube
– Release tourniquet
– Have patient release fist
- 30. Copyright © 2016 Wolters Kluwer • All Rights Reserved
Copyright © 2016 Wolters Kluwer • All Rights Reserved
Venipuncture Steps (cont.)
• Step 11:
Establish Blood
Flow, Release
Tourniquet, and
Ask Patient to
Open Fist
(cont.)
- 31. Copyright © 2016 Wolters Kluwer • All Rights Reserved
Copyright © 2016 Wolters Kluwer • All Rights Reserved
Venipuncture Steps (cont.)
• Step 12: Fill,
remove, and
mix tubes
immediately
after removal
from the holder.
- 32. Copyright © 2016 Wolters Kluwer • All Rights Reserved
Copyright © 2016 Wolters Kluwer • All Rights Reserved
Venipuncture Steps (cont.)
• Step 13: Place
Gauze, Remove
Needle, Activate
Safety Feature,
and Apply
Pressure
- 33. Copyright © 2016 Wolters Kluwer • All Rights Reserved
Copyright © 2016 Wolters Kluwer • All Rights Reserved
Venipuncture Steps (cont.)
• Step 14: Discard Collection Unit, Syringe Needle, or
Transfer Device
- 34. Copyright © 2016 Wolters Kluwer • All Rights Reserved
Copyright © 2016 Wolters Kluwer • All Rights Reserved
Venipuncture Steps (cont.)
• Step 15: Label Tubes
– Patient’s first & last names
– Patient’s identification number
(if applicable) or date of birth
– Date & time of collection
– Phlebotomist’s initials
– Pertinent additional information,
such as “fasting”
– Compare information on each labeled
tube with the patients wristband and
the requisition
- 35. Copyright © 2016 Wolters Kluwer • All Rights Reserved
Copyright © 2016 Wolters Kluwer • All Rights Reserved
Venipuncture Steps (cont.)
• Step 15: Label Tubes
(cont.)
- 36. Copyright © 2016 Wolters Kluwer • All Rights Reserved
Copyright © 2016 Wolters Kluwer • All Rights Reserved
Venipuncture Steps (cont.)
• Step 16:
Observe Special
Handling
Instructions
- 37. Copyright © 2016 Wolters Kluwer • All Rights Reserved
Copyright © 2016 Wolters Kluwer • All Rights Reserved
Venipuncture Steps (cont.)
• Step 18: Dispose of Contaminated Materials
• Step 19: Thank Patient, Remove Gloves, and Sanitize
Hands
• Step 20: Transport Specimen
to the Lab
• Step 17: Check Patient’s Arm and Apply Bandage
See how well you know the key points and
cautions in this chapter with WORKBOOK
Knowledge Drill 8-1.
- 38. Copyright © 2016 Wolters Kluwer • All Rights Reserved
Pediatric Venipuncture
• Overview
– Children <2 years: limit to superficial veins
• Challenges
– Small, undeveloped veins
– Considerable risk of permanent damage
– Smaller blood volume in body; risk for anemia
• Dealing With Parents or Guardians
– Earn trust by being warm, friendly, calm, confident, & caring
– Ask about child’s past experiences with blood collection
– Allow to stay in room, if desired
- 39. Copyright © 2016 Wolters Kluwer • All Rights Reserved
Pediatric Venipuncture (cont.)
• Dealing With the Child
– Gain trust; approach slowly &
determine level of anxiety
– Explain procedure in terms a
child can understand
– Emphasize importance of
remaining still
– Offer a reward for cooperating
• Pain Interventions
– Eutectic mixture of local anesthetics (EMLA)
– Available in a cream & in oral solution
– Takes about 1 hour to anesthetize area
Never tell a child
that it won’t hurt.
Instead, say that it
may hurt just a little
bit, but it will be
over quickly.
- 40. Copyright © 2016 Wolters Kluwer • All Rights Reserved
Pediatric Venipuncture (cont.)
• Selecting a Method of Restraint
– Infants: wrap in a blanket
– Toddlers: have parent hold on lap
– Have second person lean over child who is lying down
• Equipment Selection
– 23-gauge butterfly needle attached to an evacuated tube or
syringe
• Procedures
– Collect minimum amount of blood required for testing
- 41. Copyright © 2016 Wolters Kluwer • All Rights Reserved
Copyright © 2016 Wolters Kluwer • All Rights Reserved
Pediatric Venipuncture (cont.)
- 42. Copyright © 2016 Wolters Kluwer • All Rights Reserved
Geriatric Venipuncture
• Challenges
– Skin changes
– Hearing impairment
– Visual impairment
– Mental impairment
– Effects of disease
• Arthritis
• Diabetes
• Parkinson’s & stroke
• Pulmonary function
• Safety Issues
– More space need for
wheelchairs & walkers
– Nonslip & clutter-free floors
• Patients in Wheelchairs
– Lock wheels when drawing
blood, assisting from chair
Matching 8-3 in the WORKBOOK tests
knowledge of geriatric tests and
indications for ordering them.
- 43. Copyright © 2016 Wolters Kluwer • All Rights Reserved
Geriatric Venipuncture (cont.)
• Blood-Collection Procedures
– Patient identification: don’t rely on nods of agreement; verify
patient information with a relative or attendant
– Equipment selection: butterfly needles or short-draw tubes
– Tourniquet application: loose enough to not damage skin
– Site selection: avoid bruised areas from previous venipunctures
– Cleaning the site: don’t rub too vigorously
– Performing the venipuncture: anchor vein firmly to avoid
rolling
– Holding pressure: bleeding may take longer to stop
- 44. Copyright © 2016 Wolters Kluwer • All Rights Reserved
Patients on Dialysis and Those in Other
Settings
• Dialysis Patients
– Do not use arm with AV fistula for venipuncture
• Long-Term Care Patients
– Adult daycare
– Assisted living
– Rehabilitation facilities
– Private homes
- 45. Copyright © 2016 Wolters Kluwer • All Rights Reserved
Patients on Dialysis and Those in Other
Settings (cont.)
• Home Care Patients
– Home care phlebotomists must have:
• Exceptional phlebotomy, interpersonal, & organizational skills
• Ability to function independently
• Ability to be comfortable working in varied & unusual
circumstances
• Ability to carry all equipment with them
• Hospice Patients
– Require extra care, kindness, & respect
Don’t forget that questions
in the EXAM REVIEW can
help you see how well you
have learned
venipuncture procedures.
- 46. Copyright © 2016 Wolters Kluwer • All Rights Reserved
NAACLS Entry Level Competencies Met in
This Chapter
• 6.00 Follow standard operating procedures to collect
specimens.
• 6.3 Describe and demonstrate the steps in the preparation of
a puncture site.
• 6.5 Recognize proper needle insertion and withdrawal
techniques, including direction, angle, depth and
aspiration, for venipuncture.
• 6.9 Describe signs and symptoms of physical problems that
may occur during blood collection.
• 6.10 List the steps necessary to perform a venipuncture and a
capillary (dermal) puncture in order.
• 6.11 Demonstrate a successful venipuncture following standard
operating procedures.
- 47. Copyright © 2016 Wolters Kluwer • All Rights Reserved
NAACLS Entry Level Competencies Met in
This Chapter (cont.)
• 7.00 Demonstrate understanding of requisitioning, specimen
transport, and specimen processing.
• 7.1 Describe the process by which a request for a laboratory
test is generated.
• 9.00 Communicate (verbally and nonverbally) effectively and
appropriately in the workplace.
• 9.1 Maintain confidentiality of privileged information on
individuals, according to federal regulations (e.g., HIPAA).
• 9.3 Interact appropriately and professionally.