Download to read offline
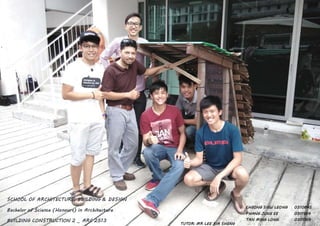
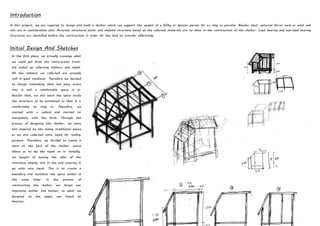


1) A group of architecture students were tasked with designing and building a shelter that could support the weight of a person for as long as possible while withstanding external forces like wind and rain. 2) They collected materials like timber and nipah leaves from construction trash to design a cubical structure with a slanted roof for ventilation. 3) The completed shelter used bolts, nuts, brackets and screws to join the timber frame and install a roof made of wood panels and nipah leaves. Testing showed it could withstand heavy rain and support multiple people's weight, demonstrating their understanding of skeletal construction.


