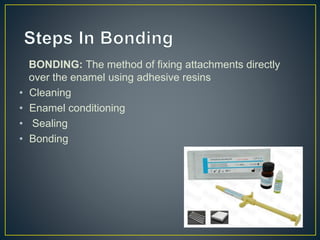
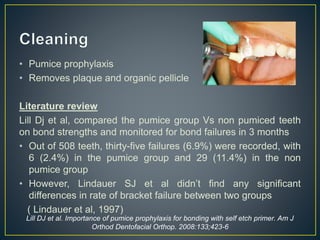
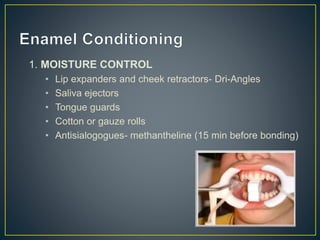
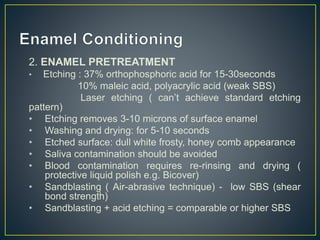
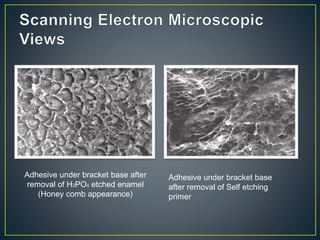
1. Bonding involves cleaning the enamel, conditioning it using acid, and applying adhesive resin to chemically bond brackets. Proper moisture control and enamel pretreatment are important for achieving optimal bond strength.
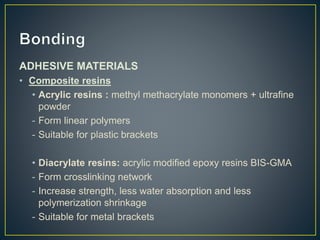
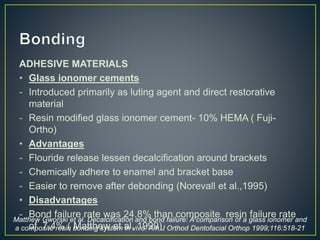
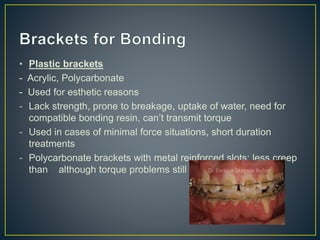
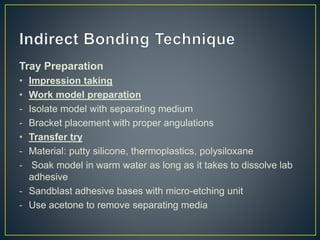
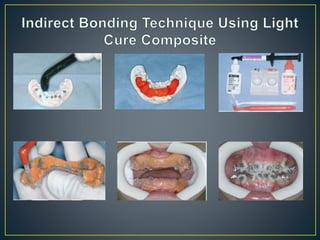
2. Various adhesive materials like composite resins, glass ionomer cements, and self-etching primers are used. Different light curing sources help polymerize the adhesives. Trays can aid in accurate bracket placement.
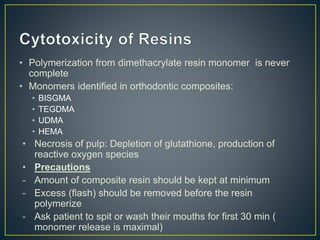
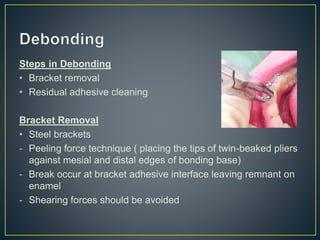
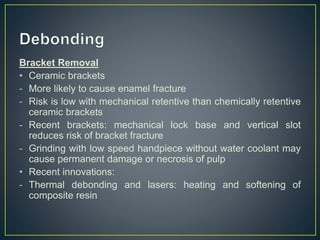
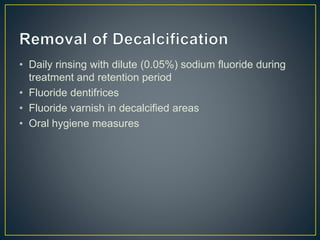
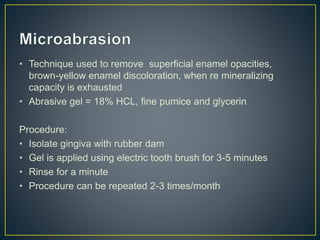
3. Debonding requires carefully removing brackets and cleaning residual adhesive to minimize enamel damage. Daily fluoride and good oral hygiene help prevent decalcification during treatment. Polishing can remove superficial discoloration when remineralization is exhausted.