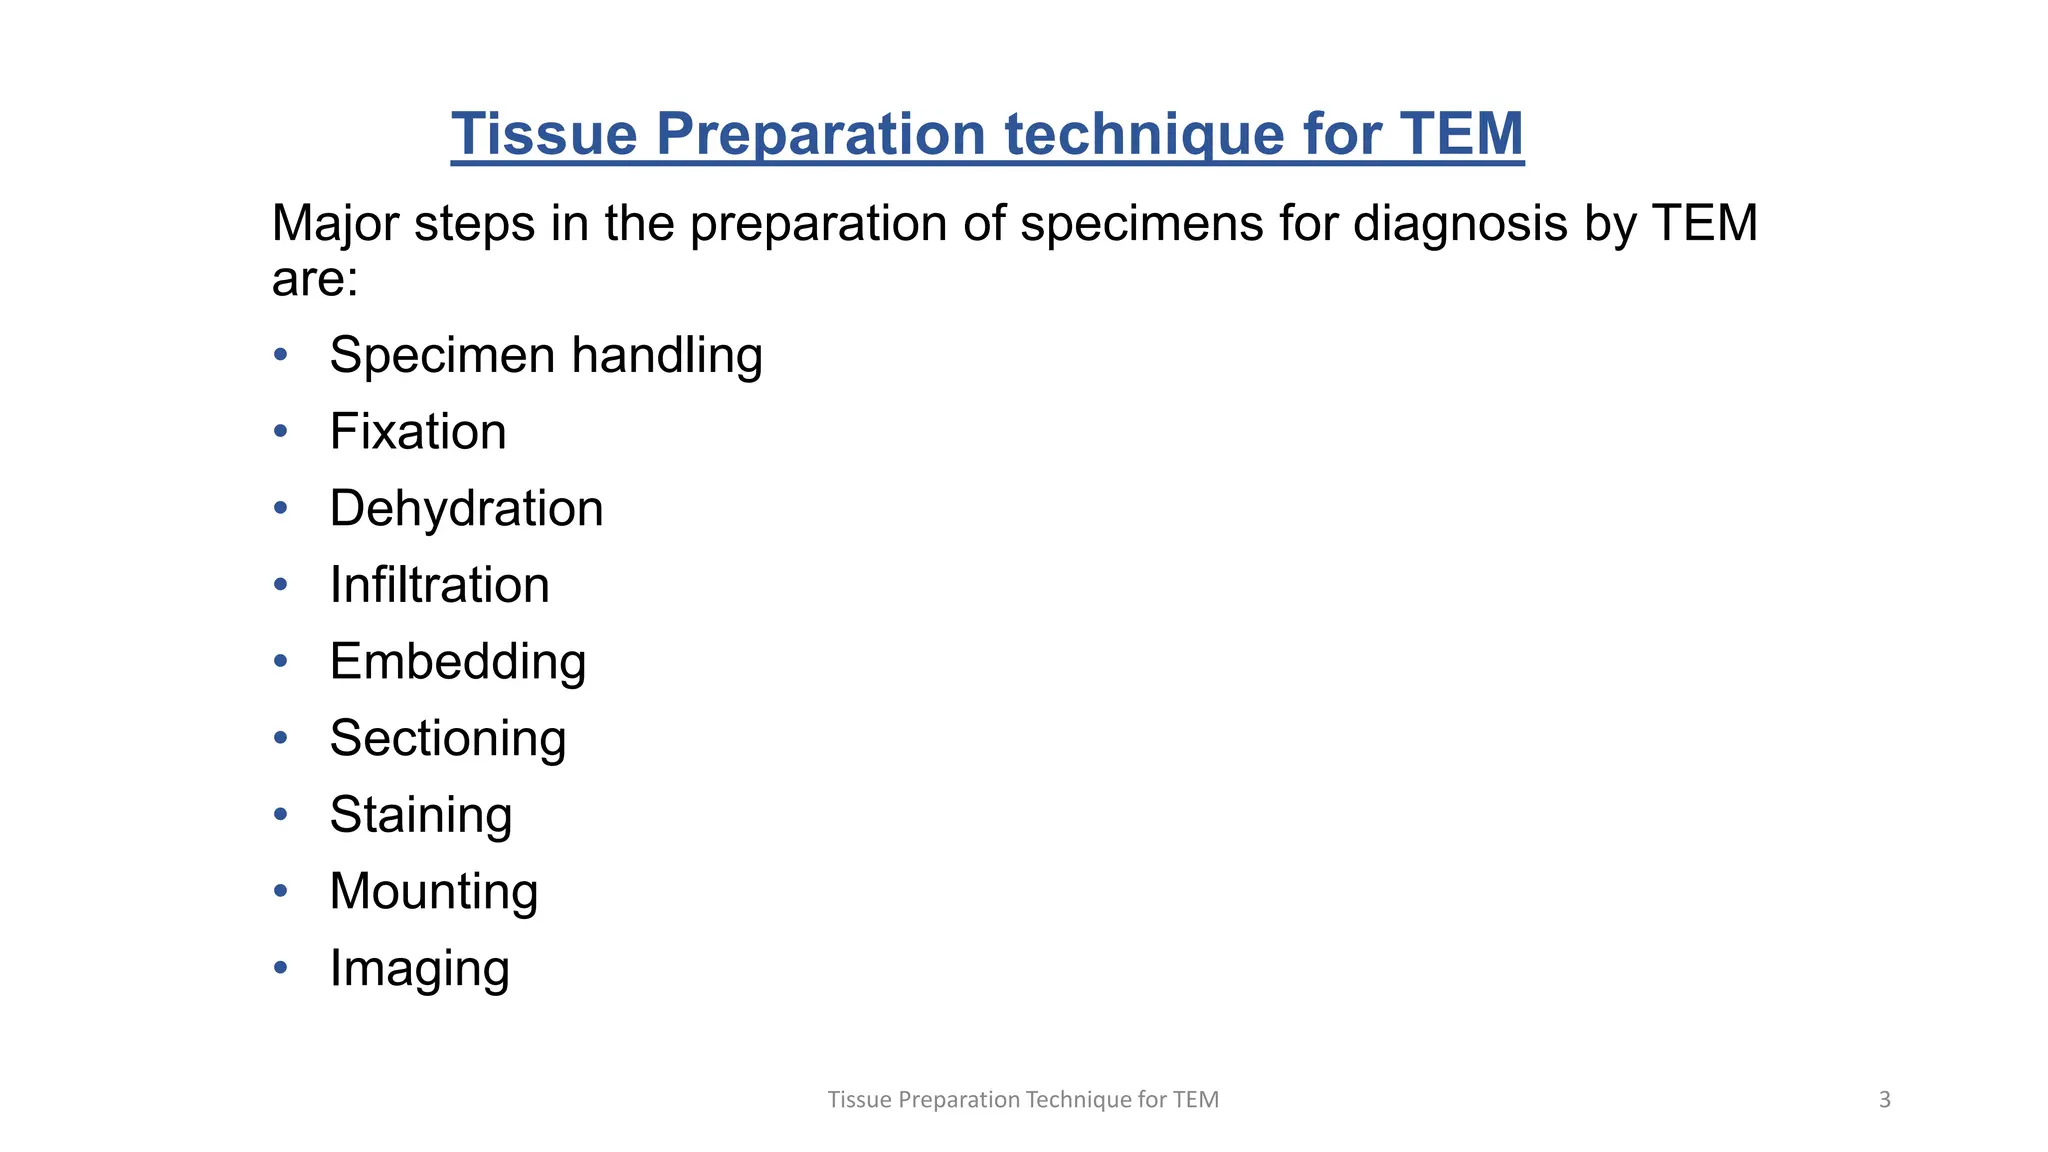
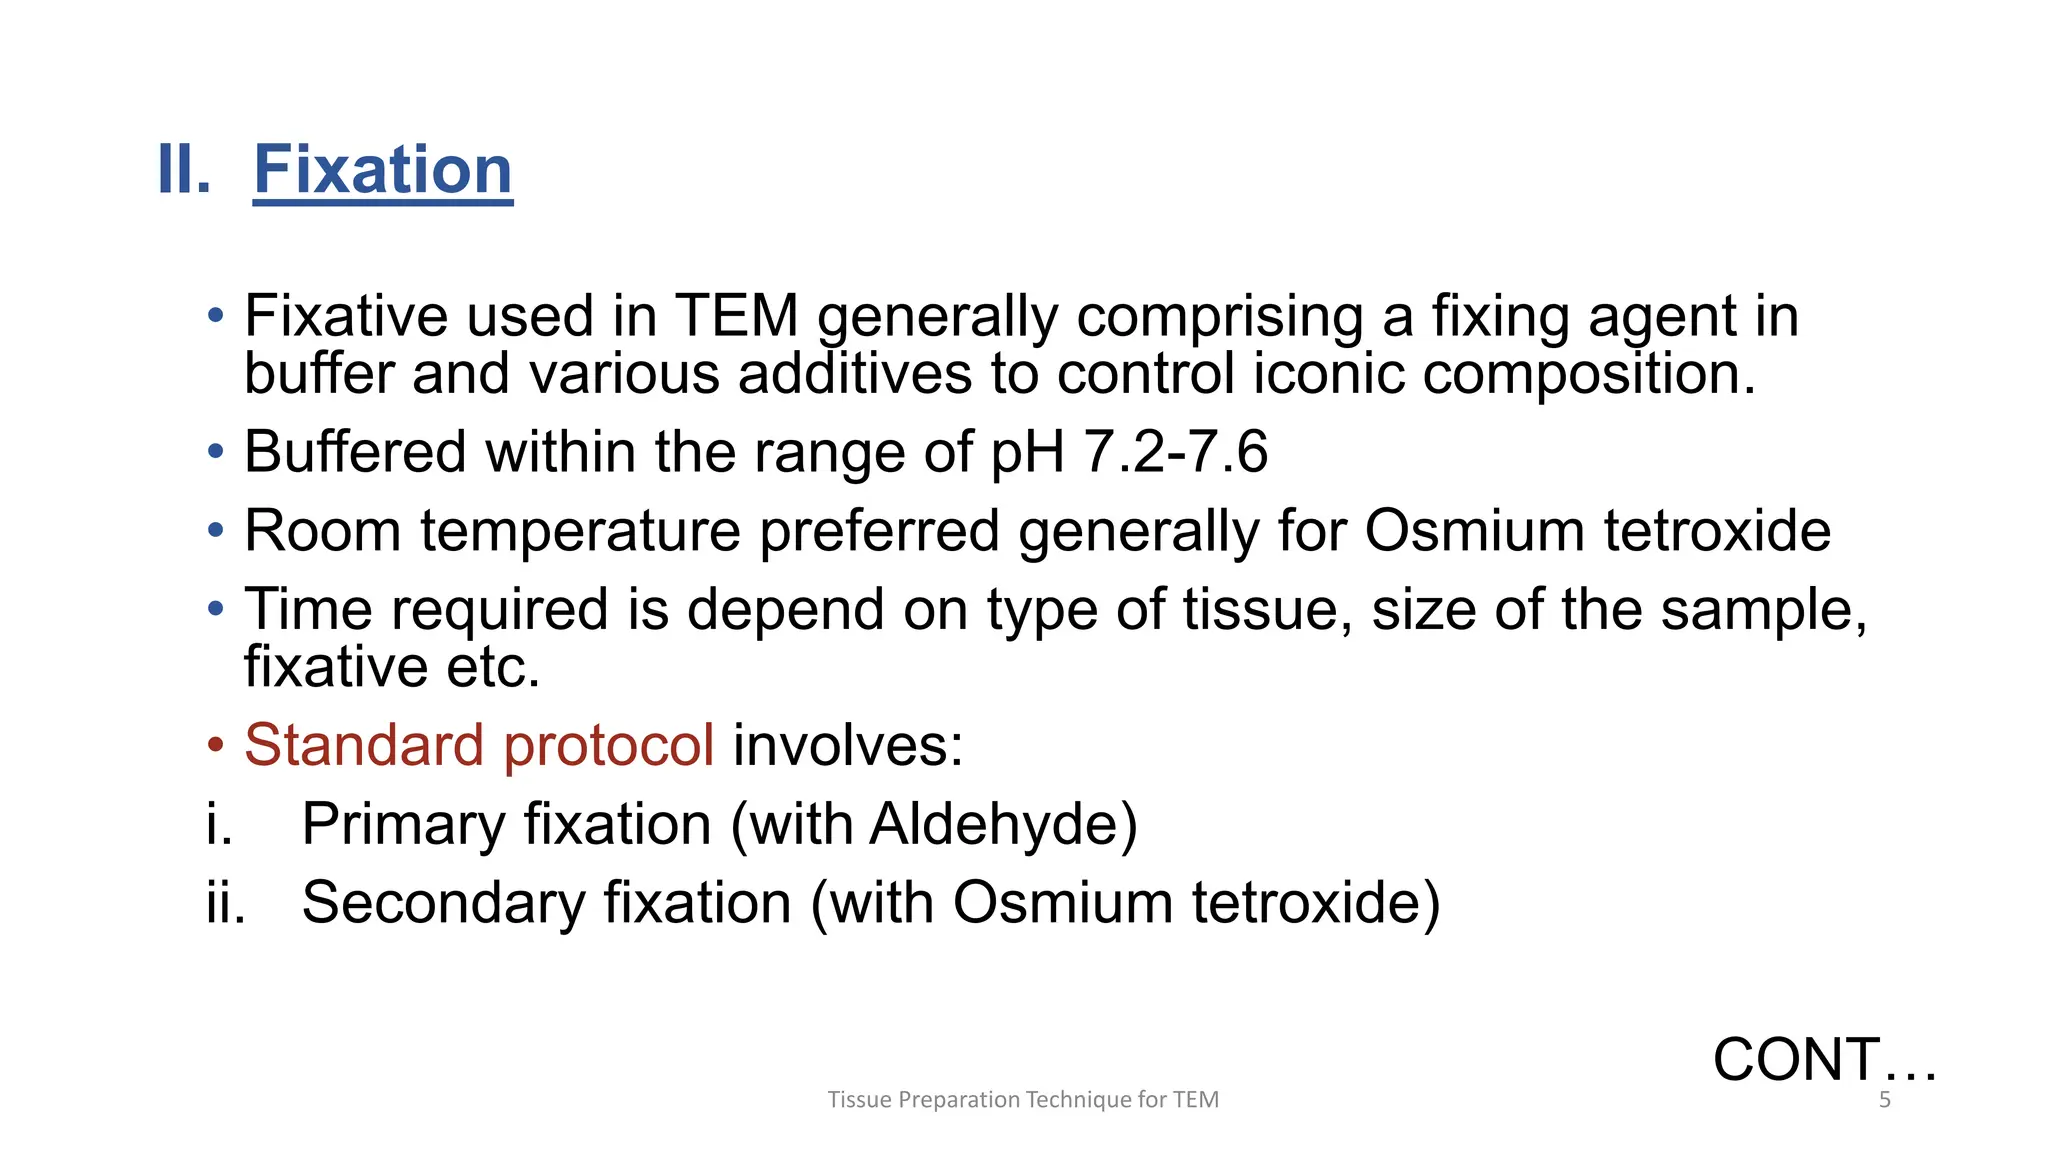
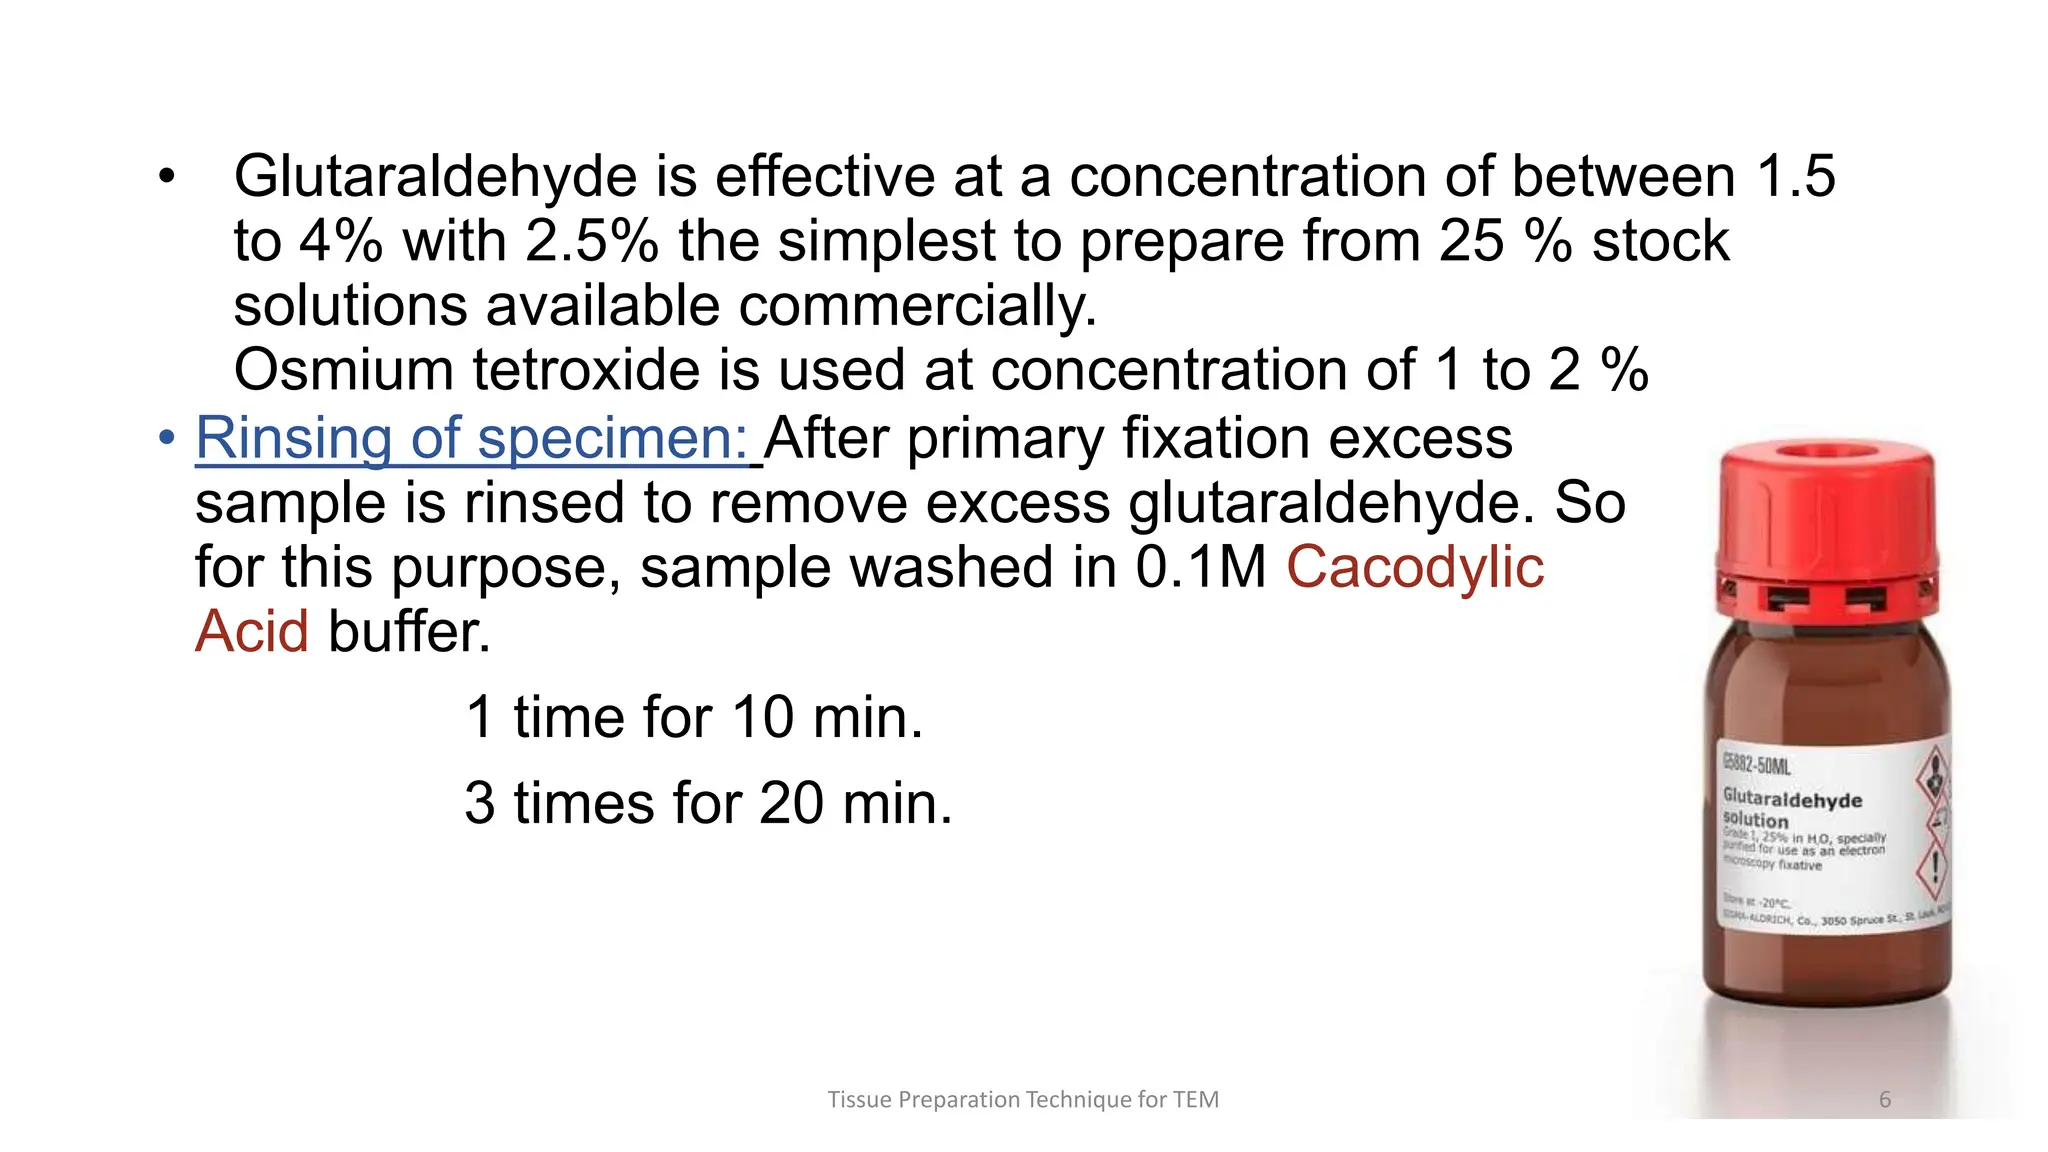
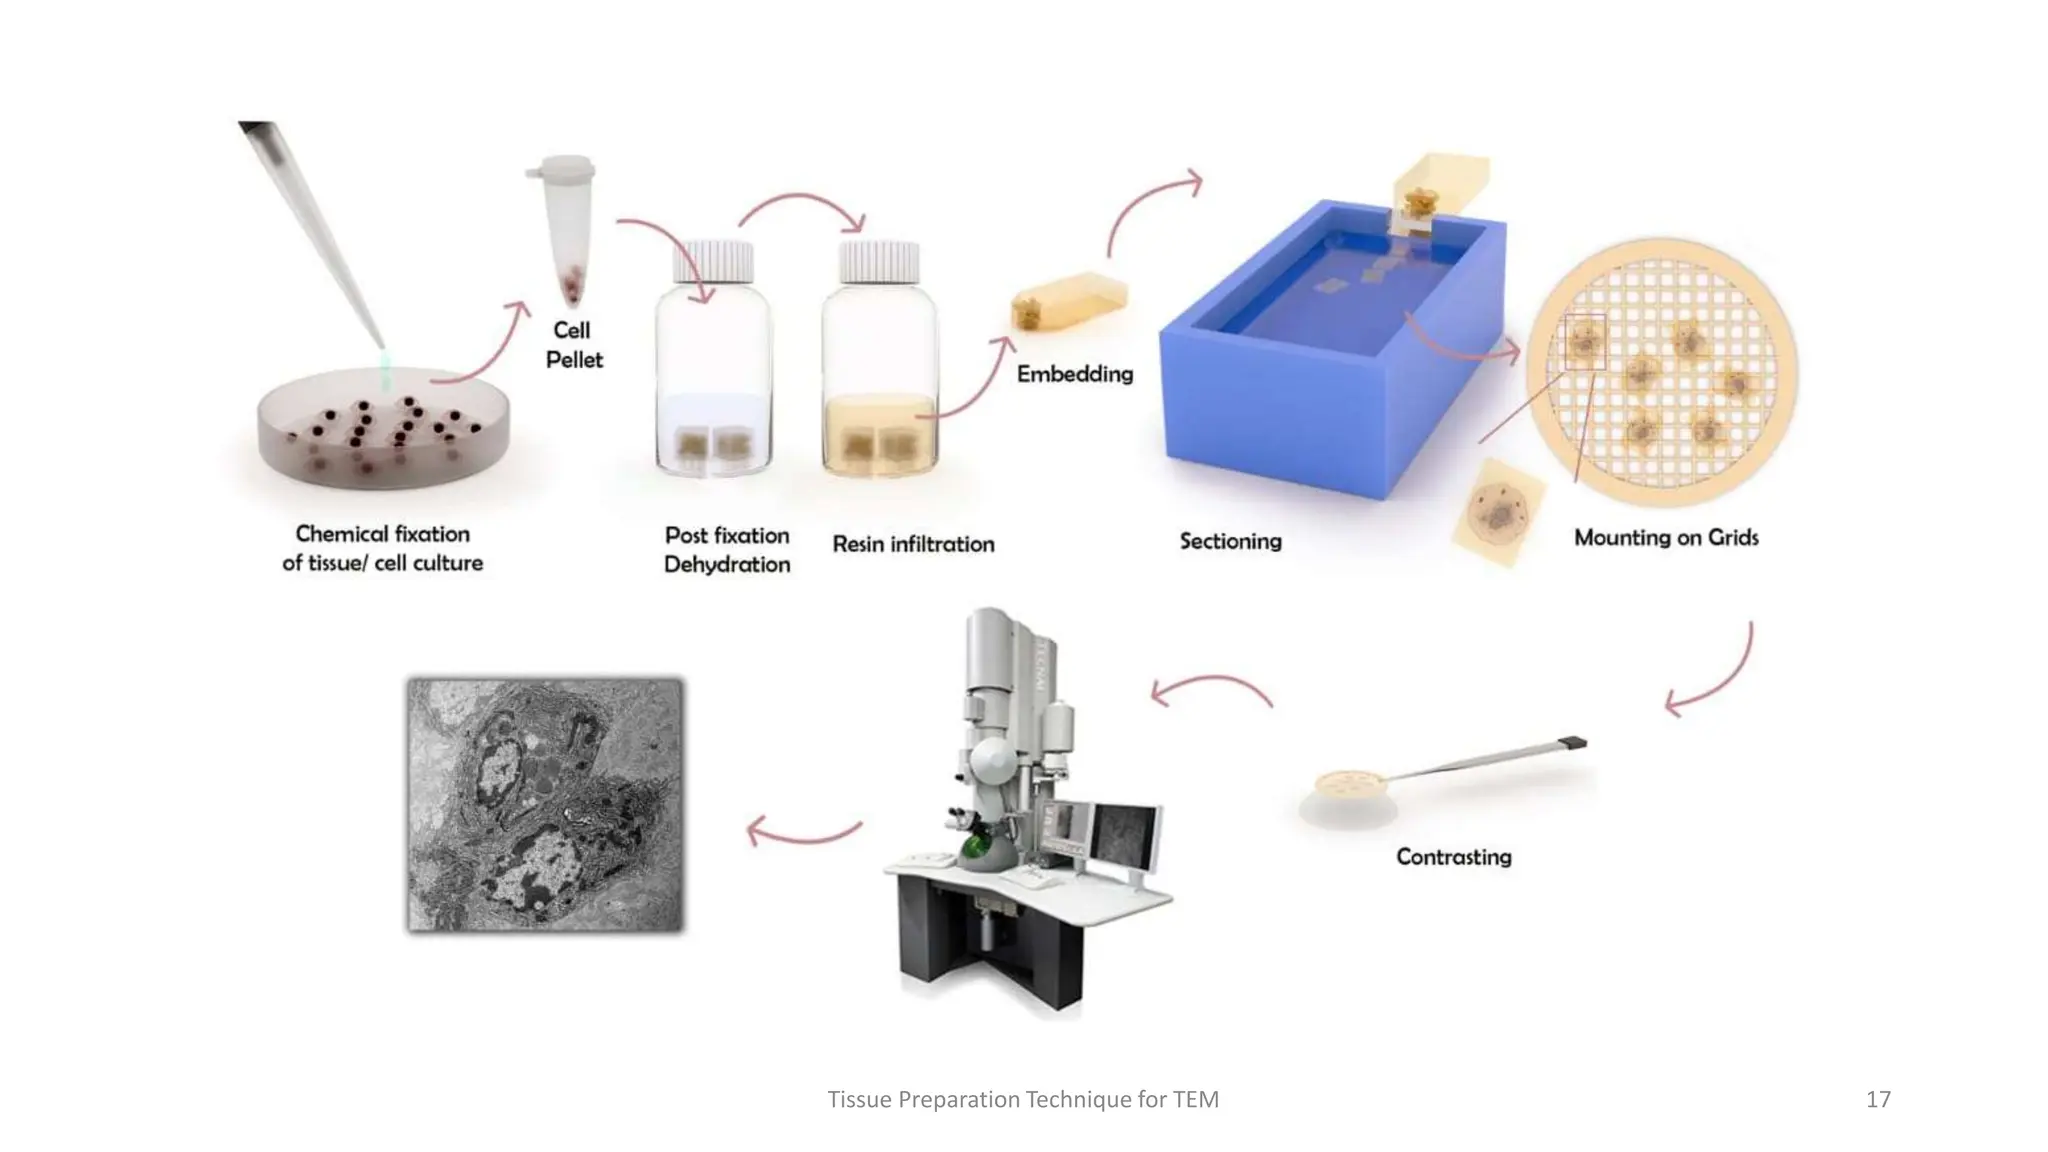
1) The document outlines the major steps for preparing tissue specimens for transmission electron microscopy (TEM), including fixation, dehydration, infiltration, embedding, sectioning, staining, mounting, and imaging.
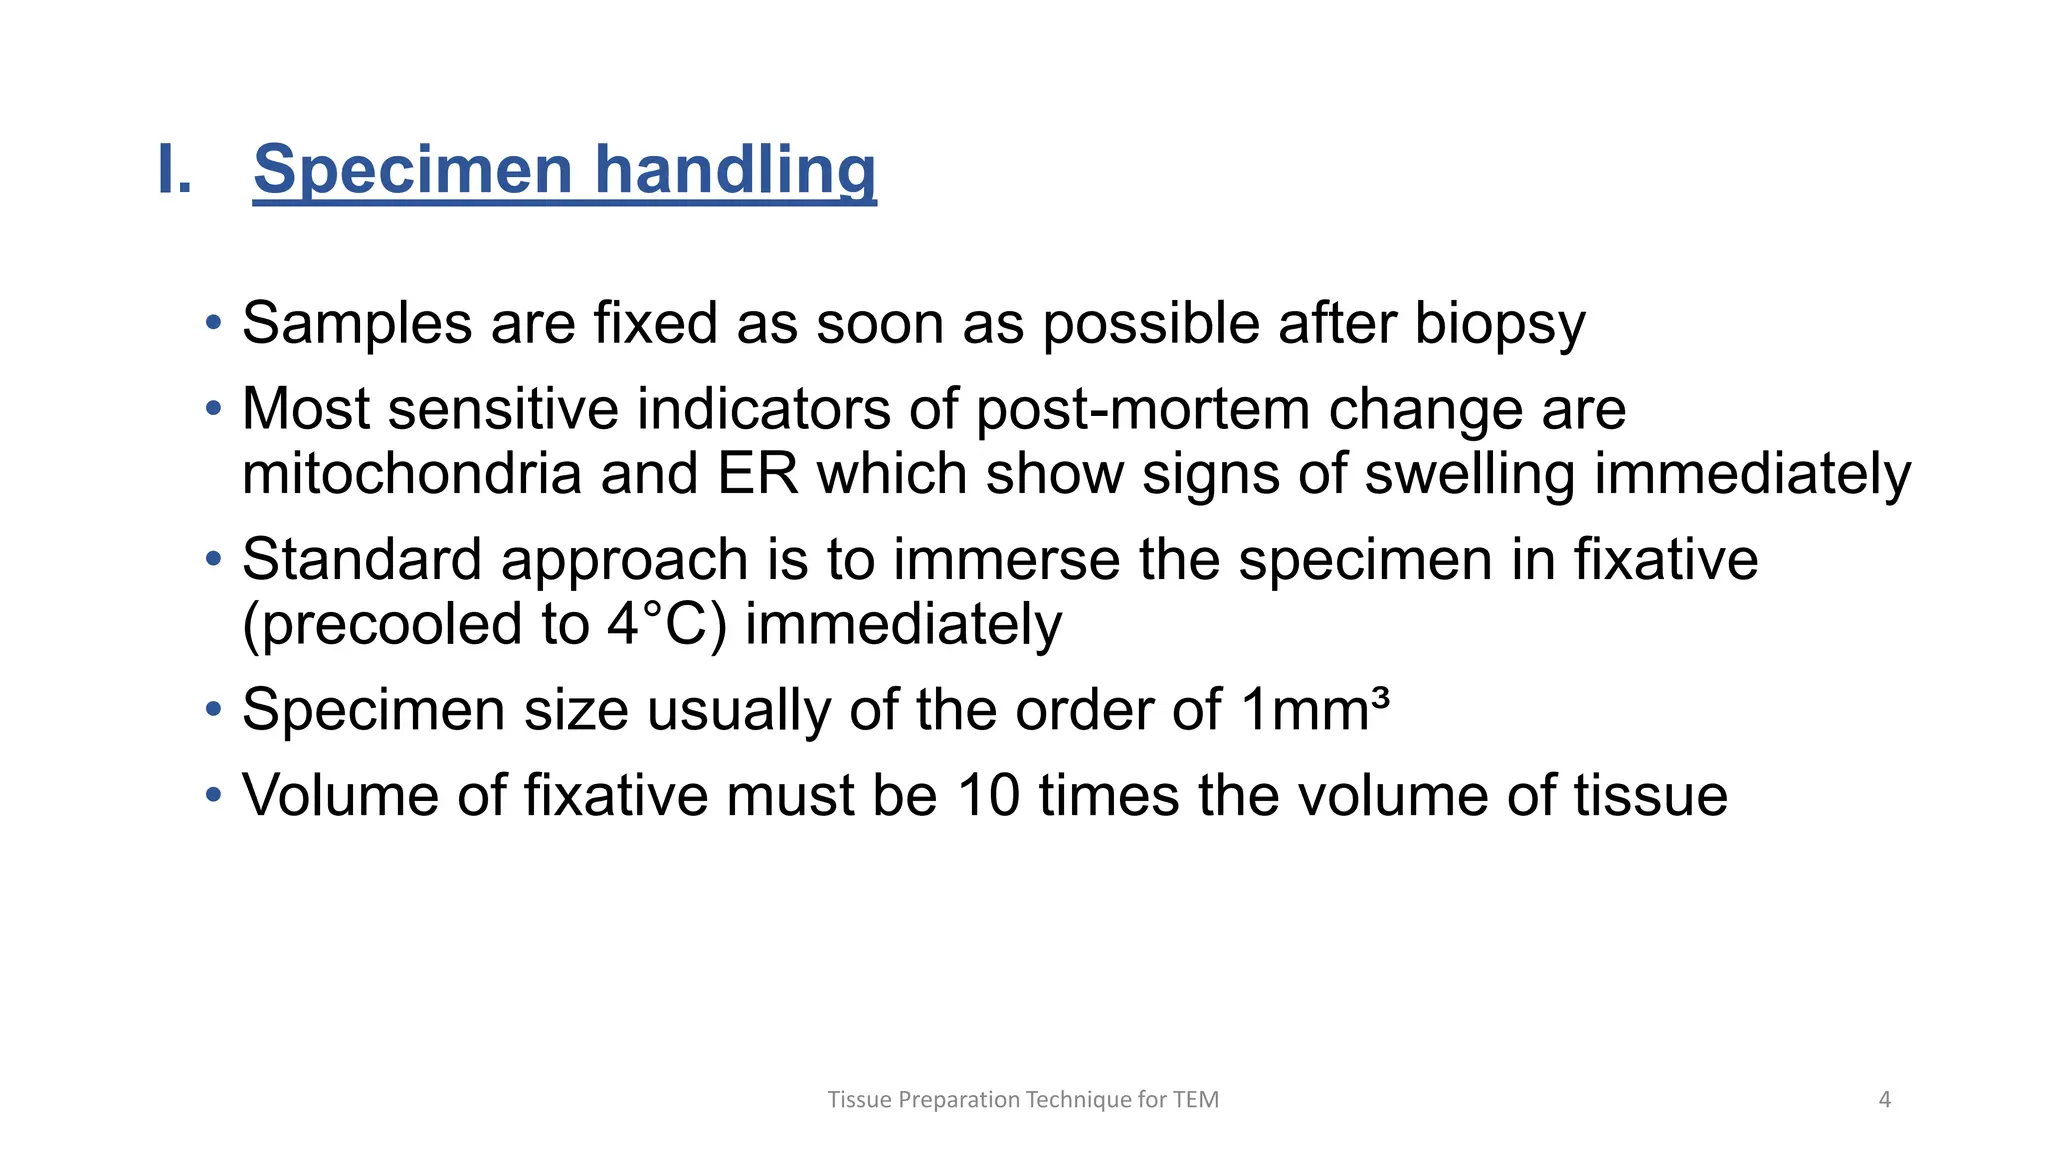
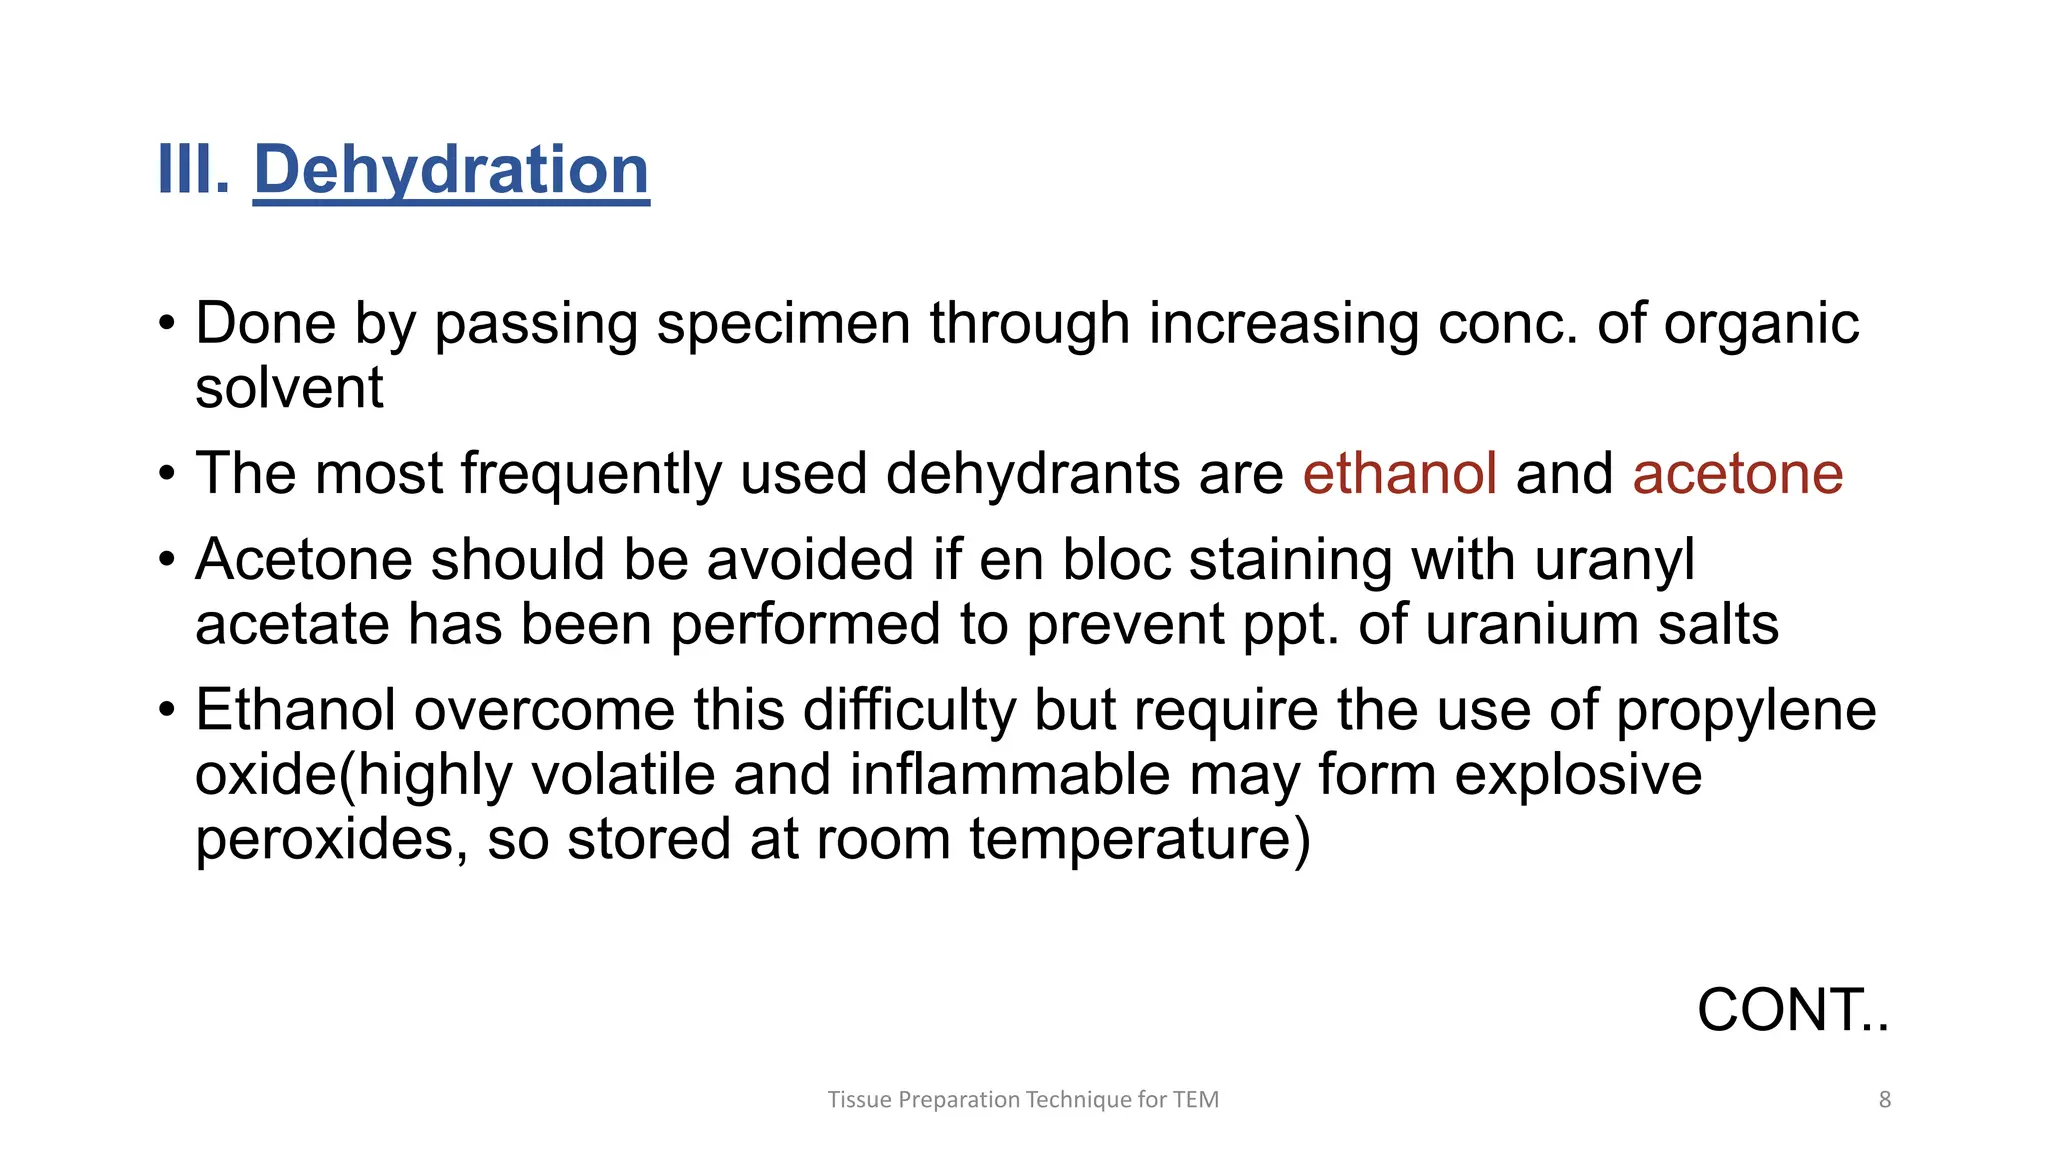
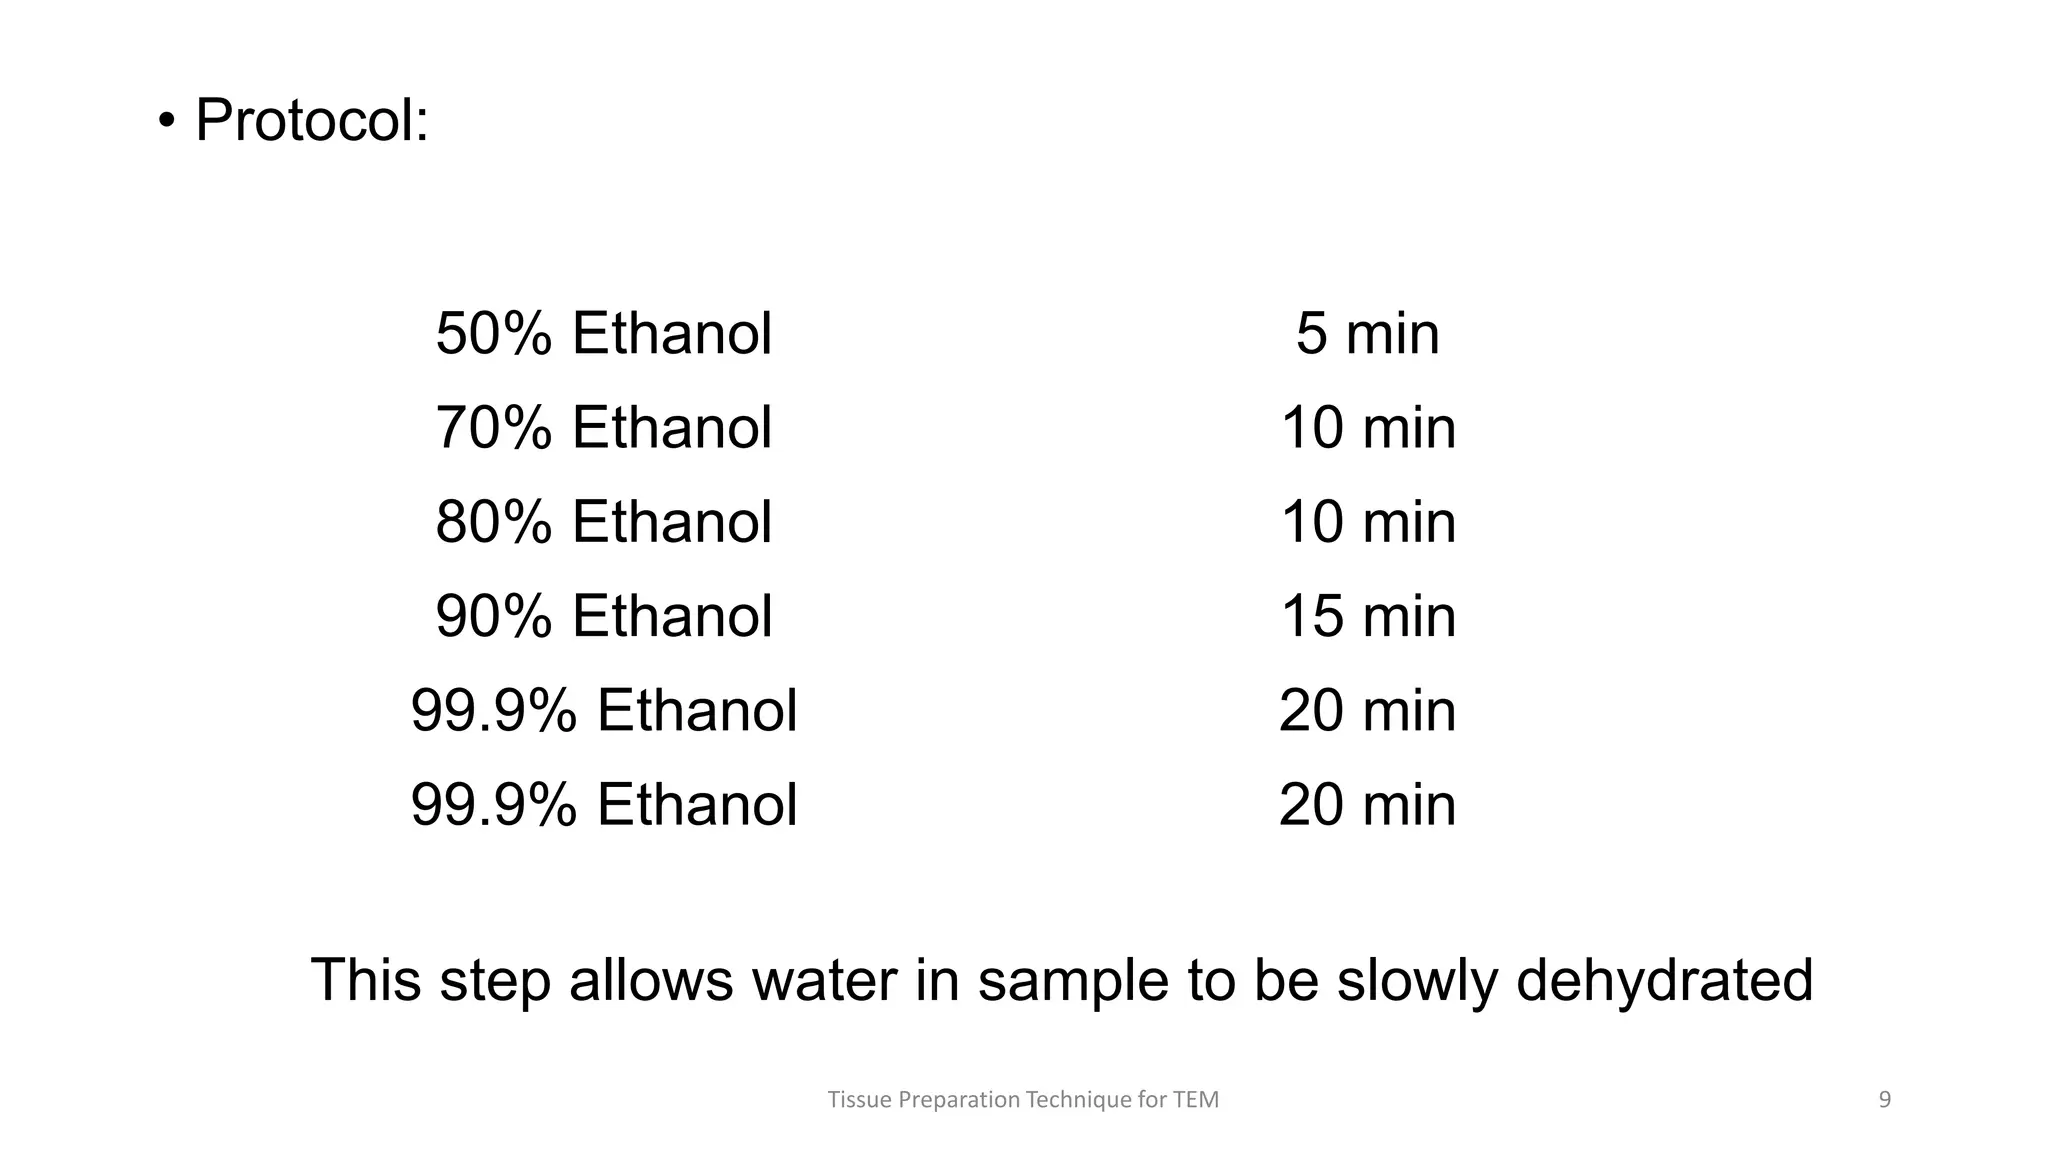
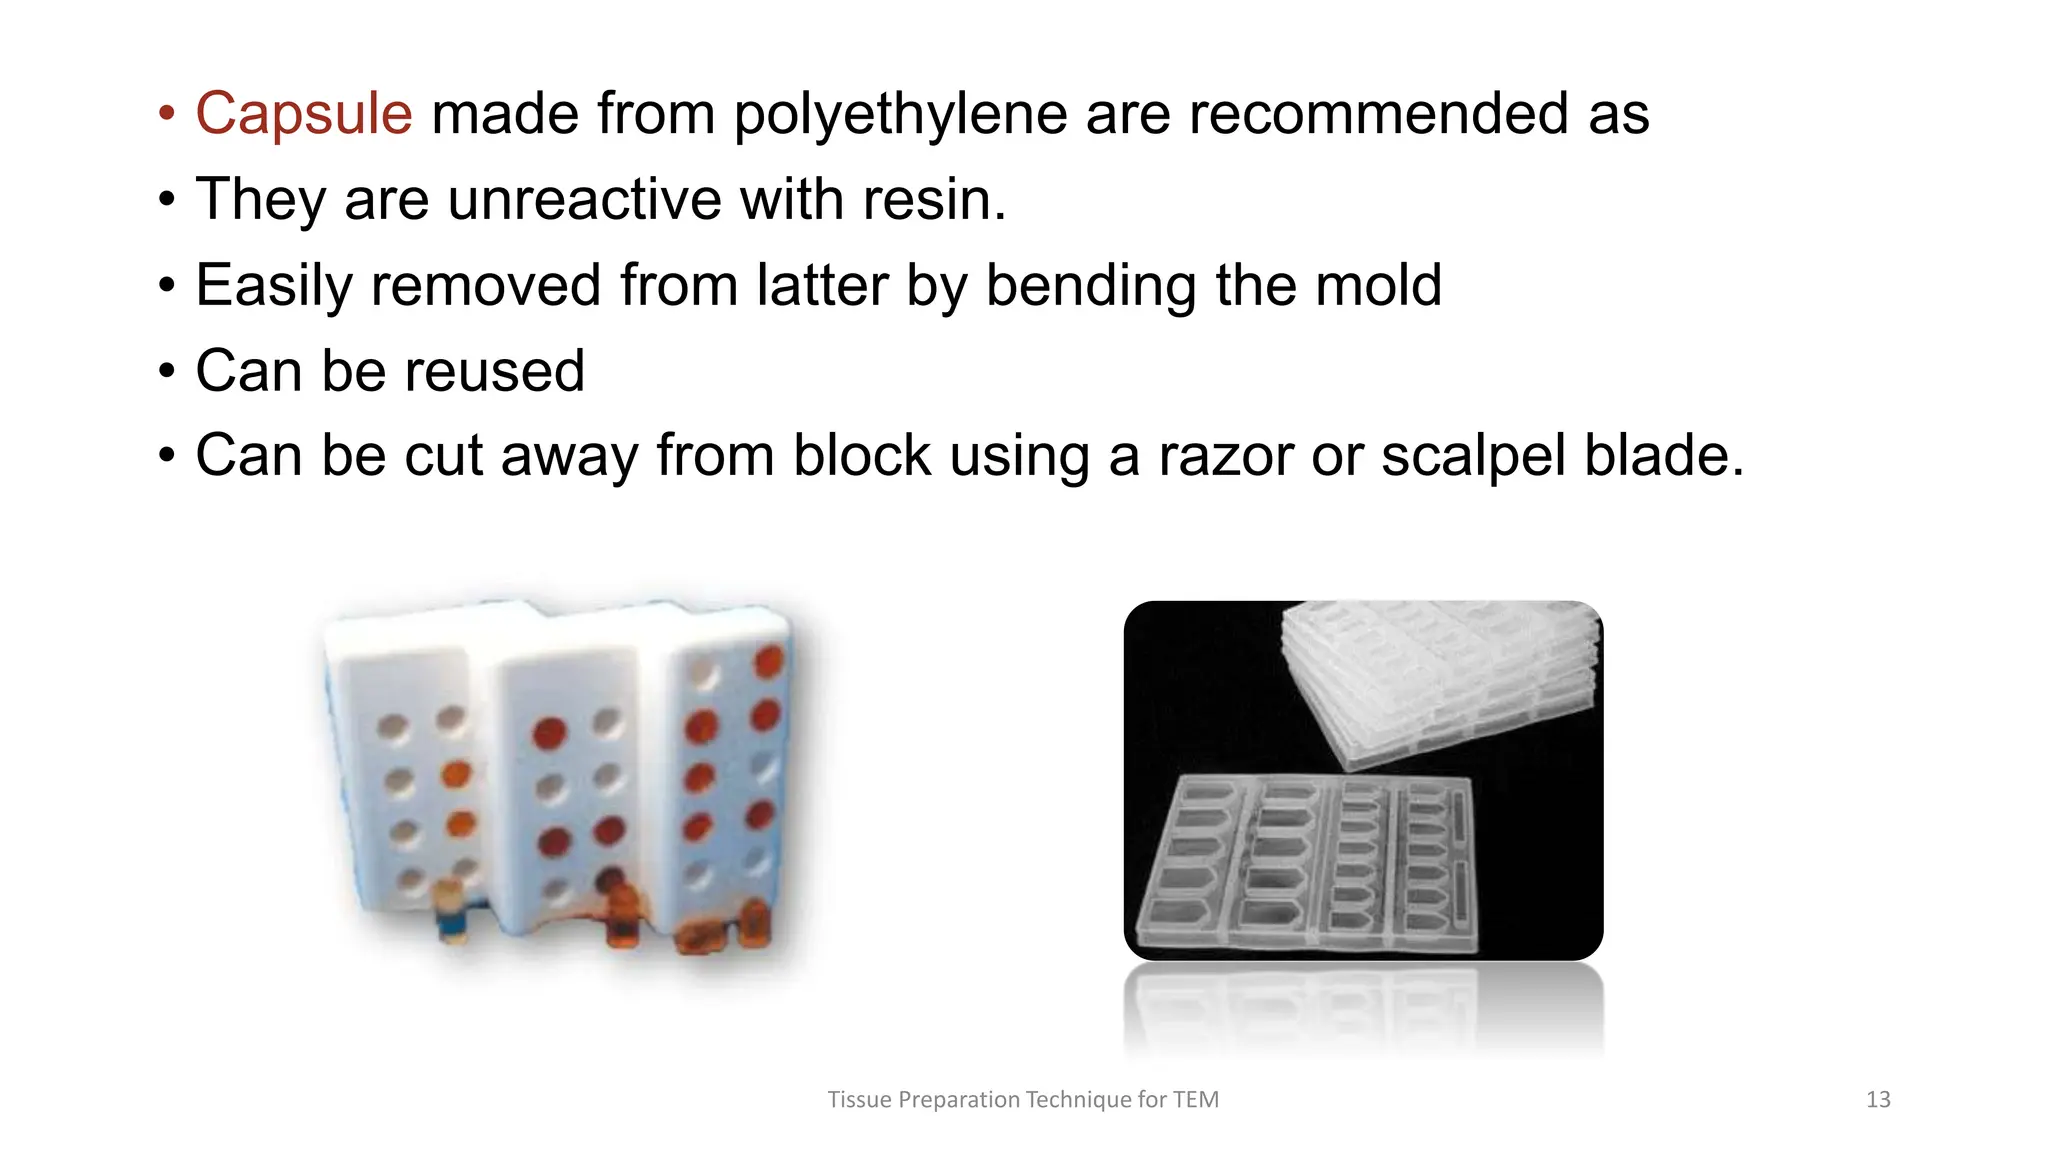
2) Key steps involve fixing tissues as quickly as possible after biopsy, dehydrating tissues using increasing concentrations of ethanol or acetone, clearing tissues using xylene, and infiltrating and embedding tissues in epoxy or acrylic resins.
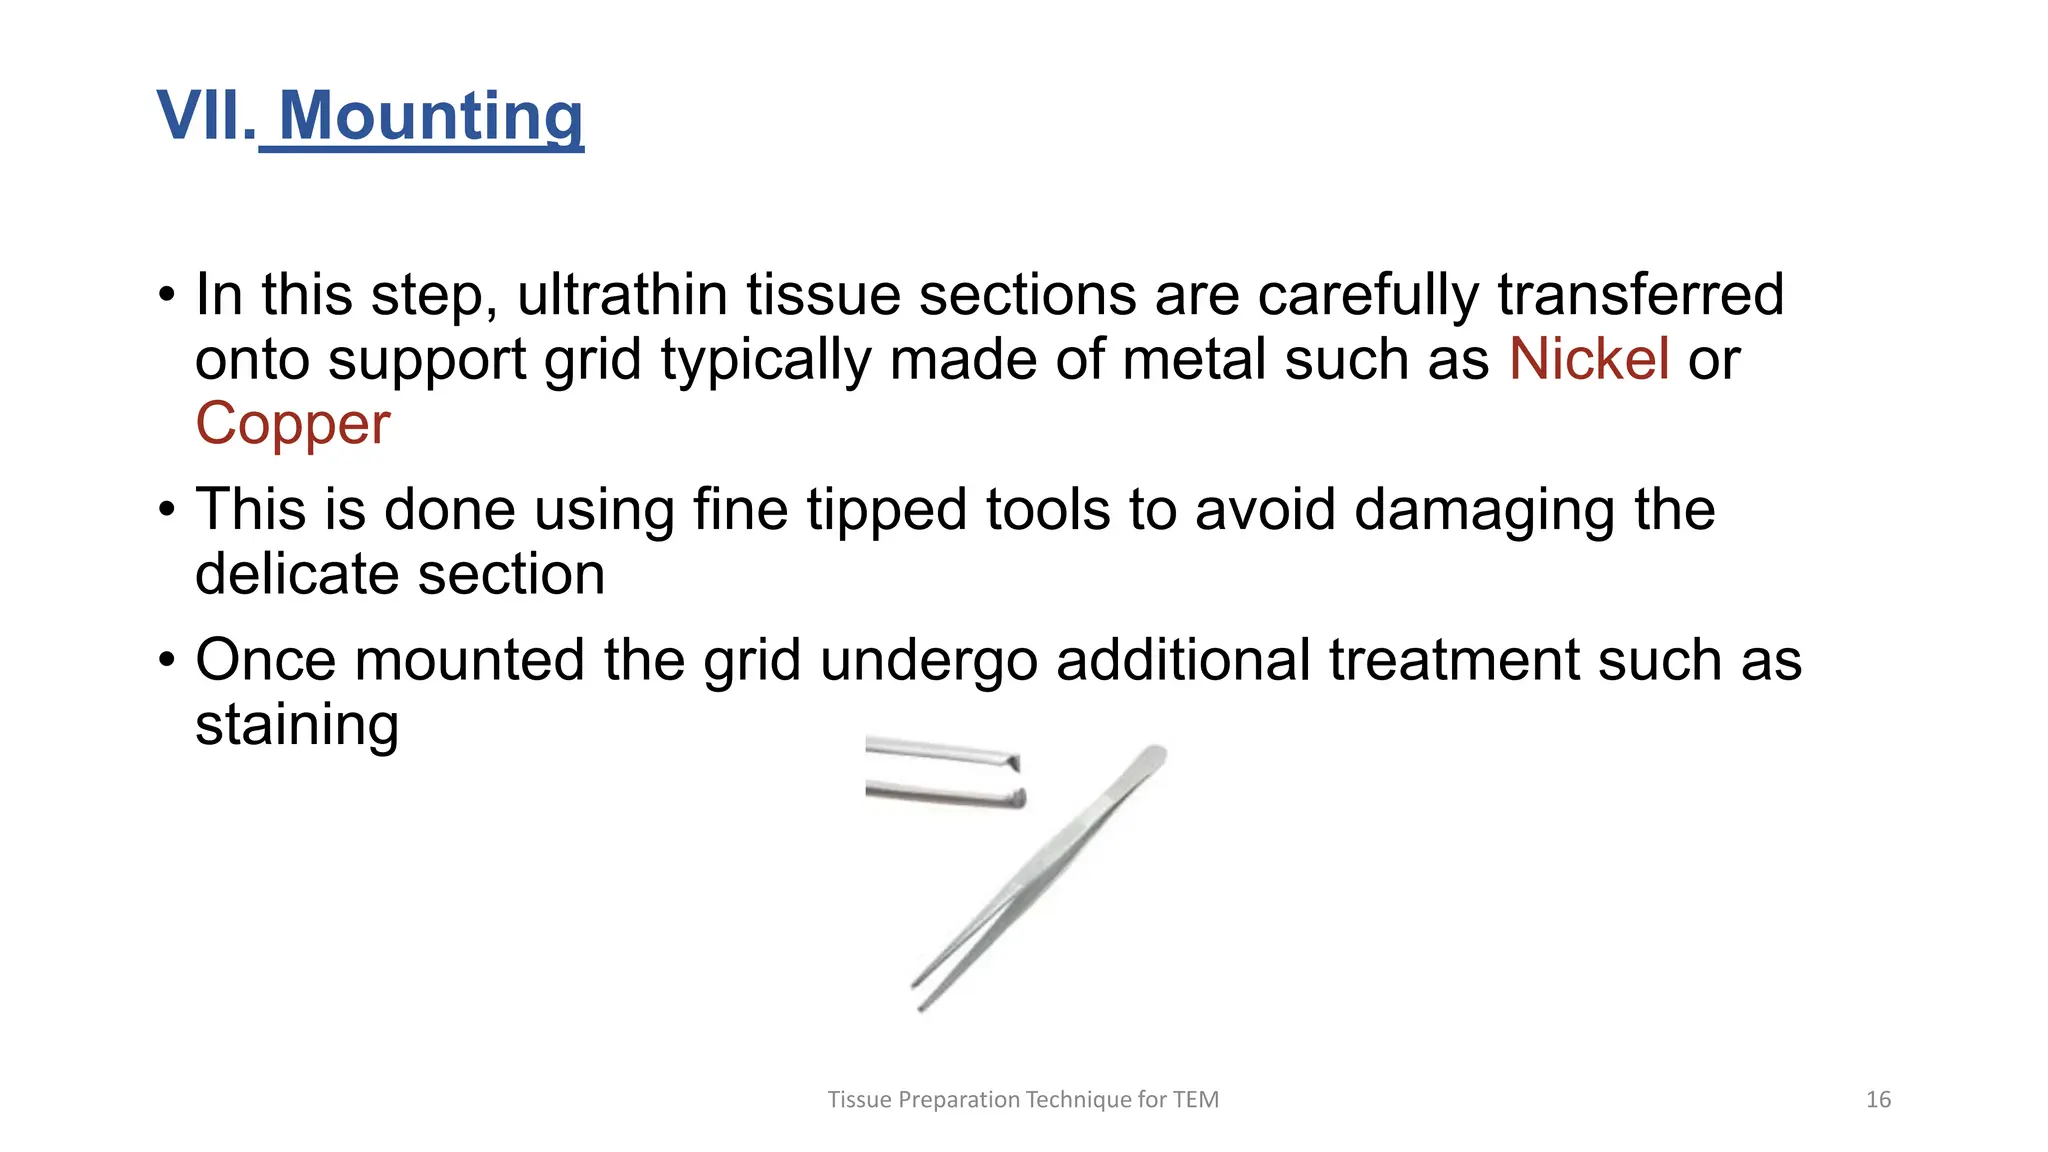
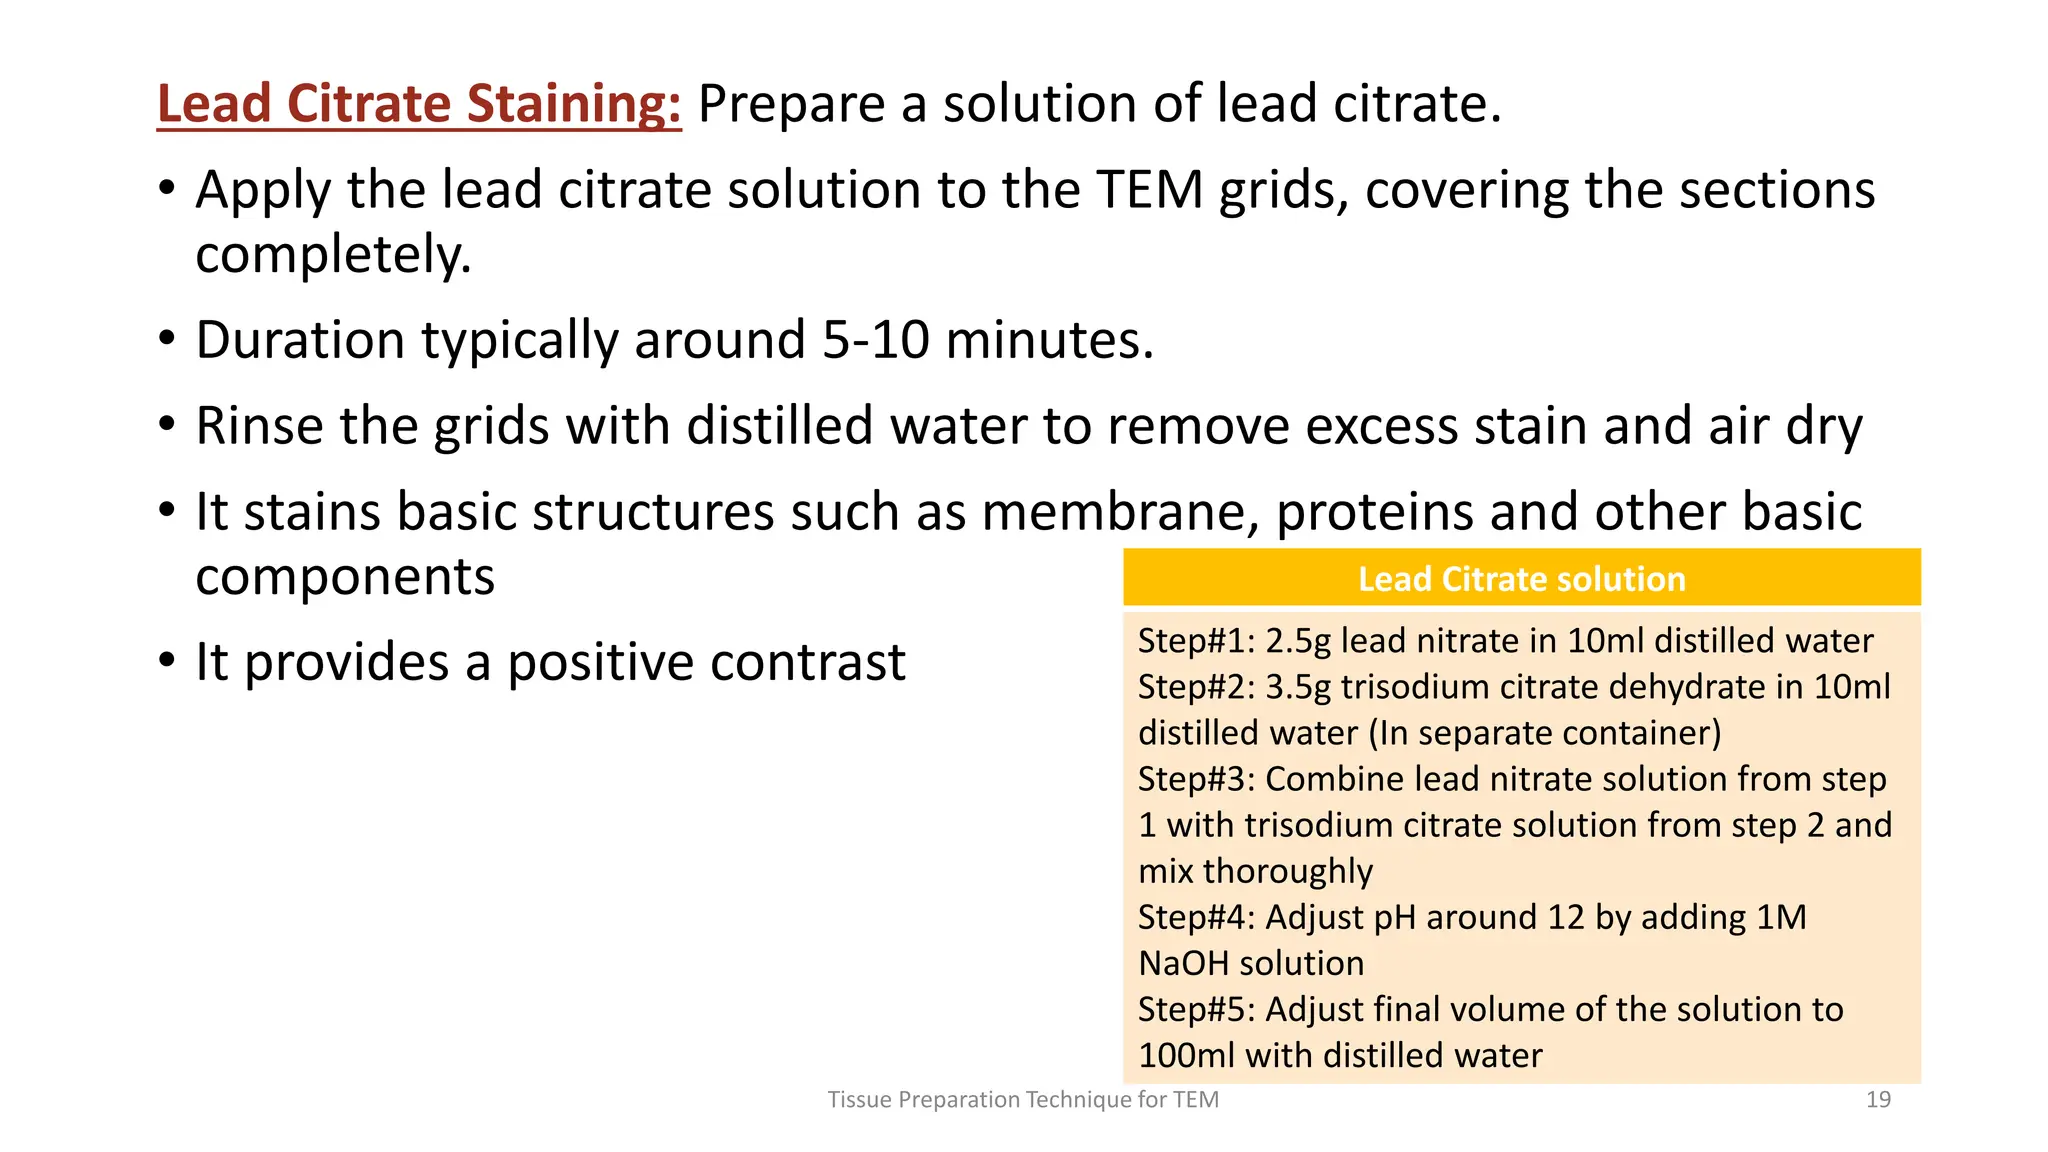
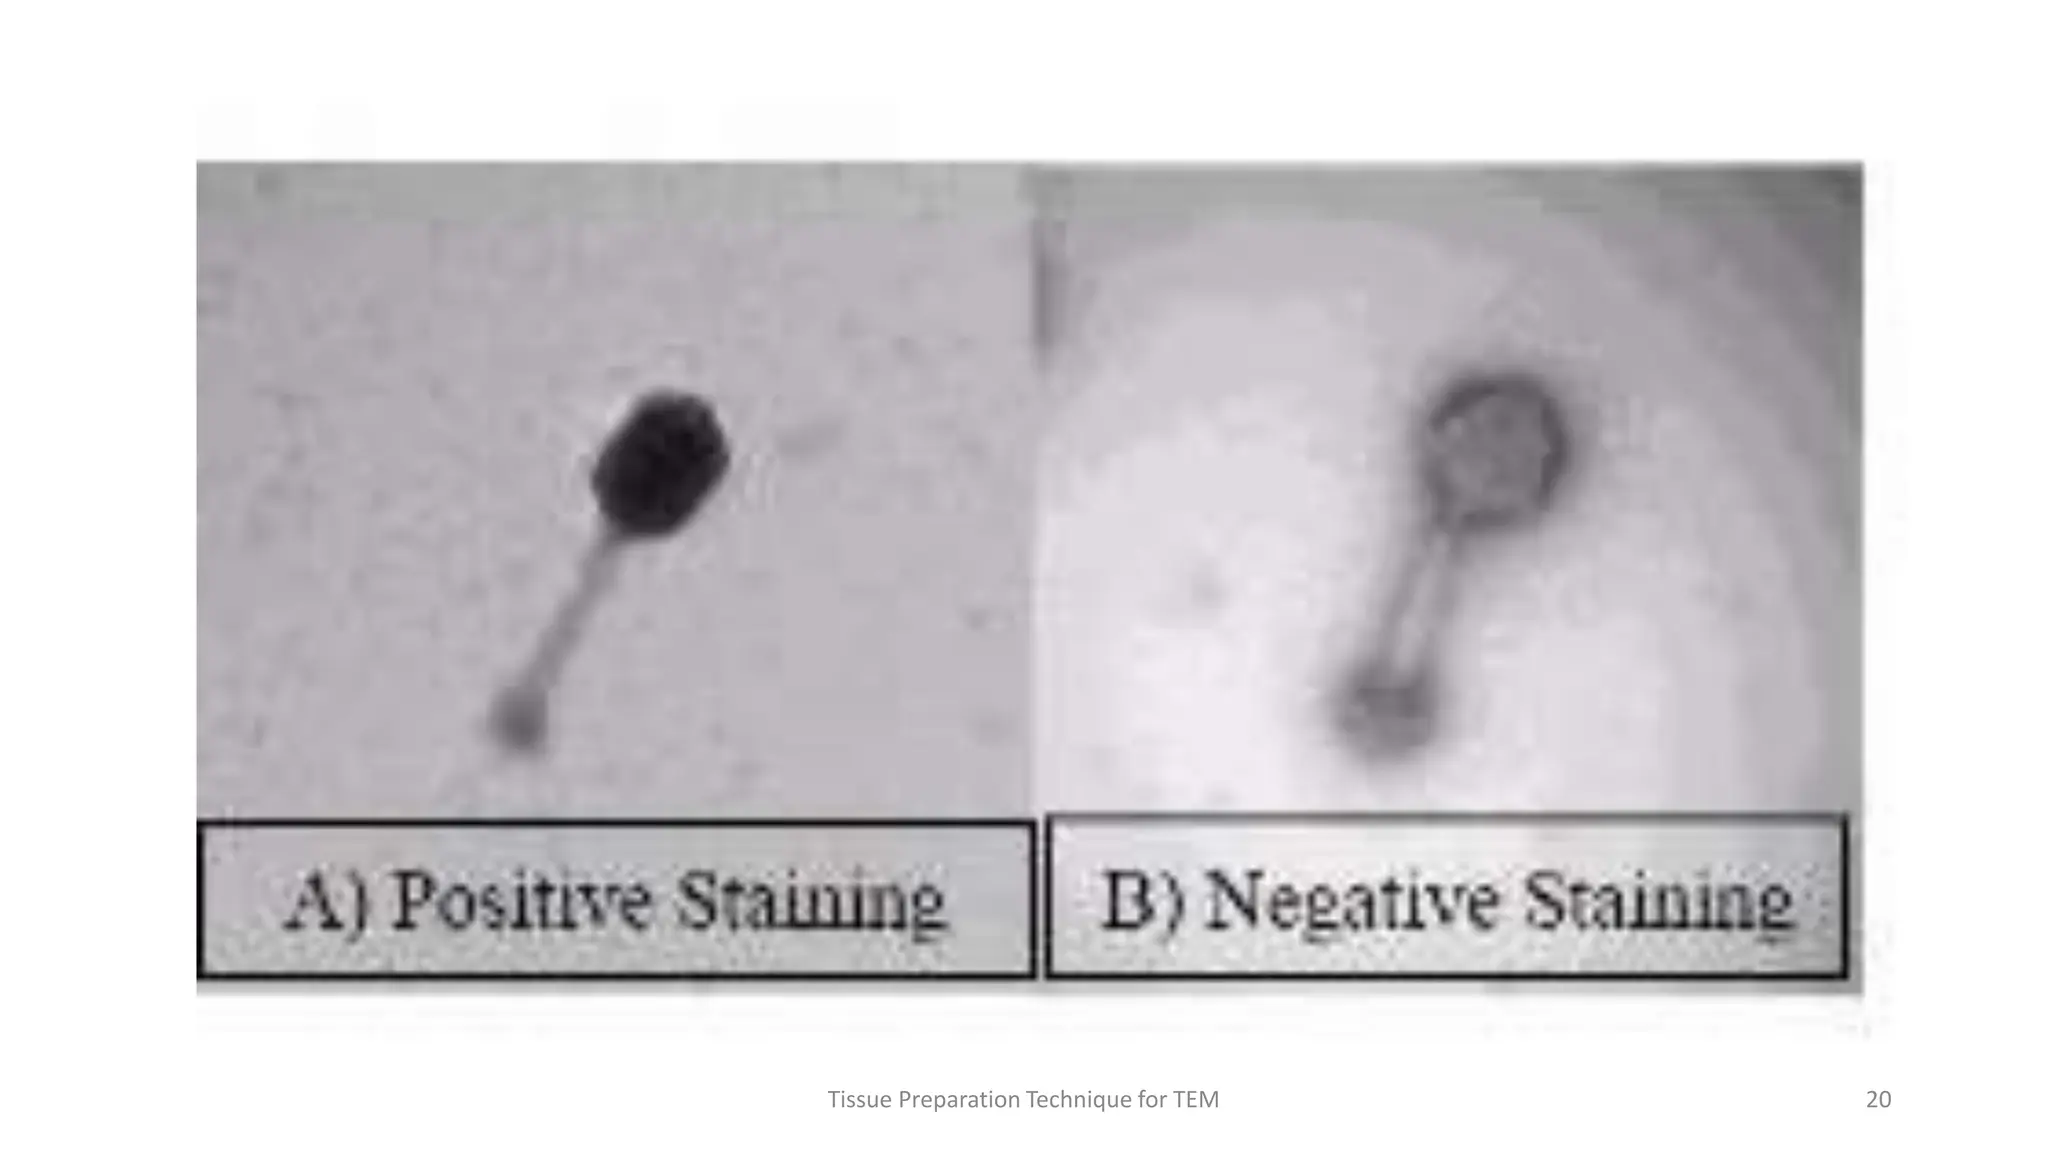
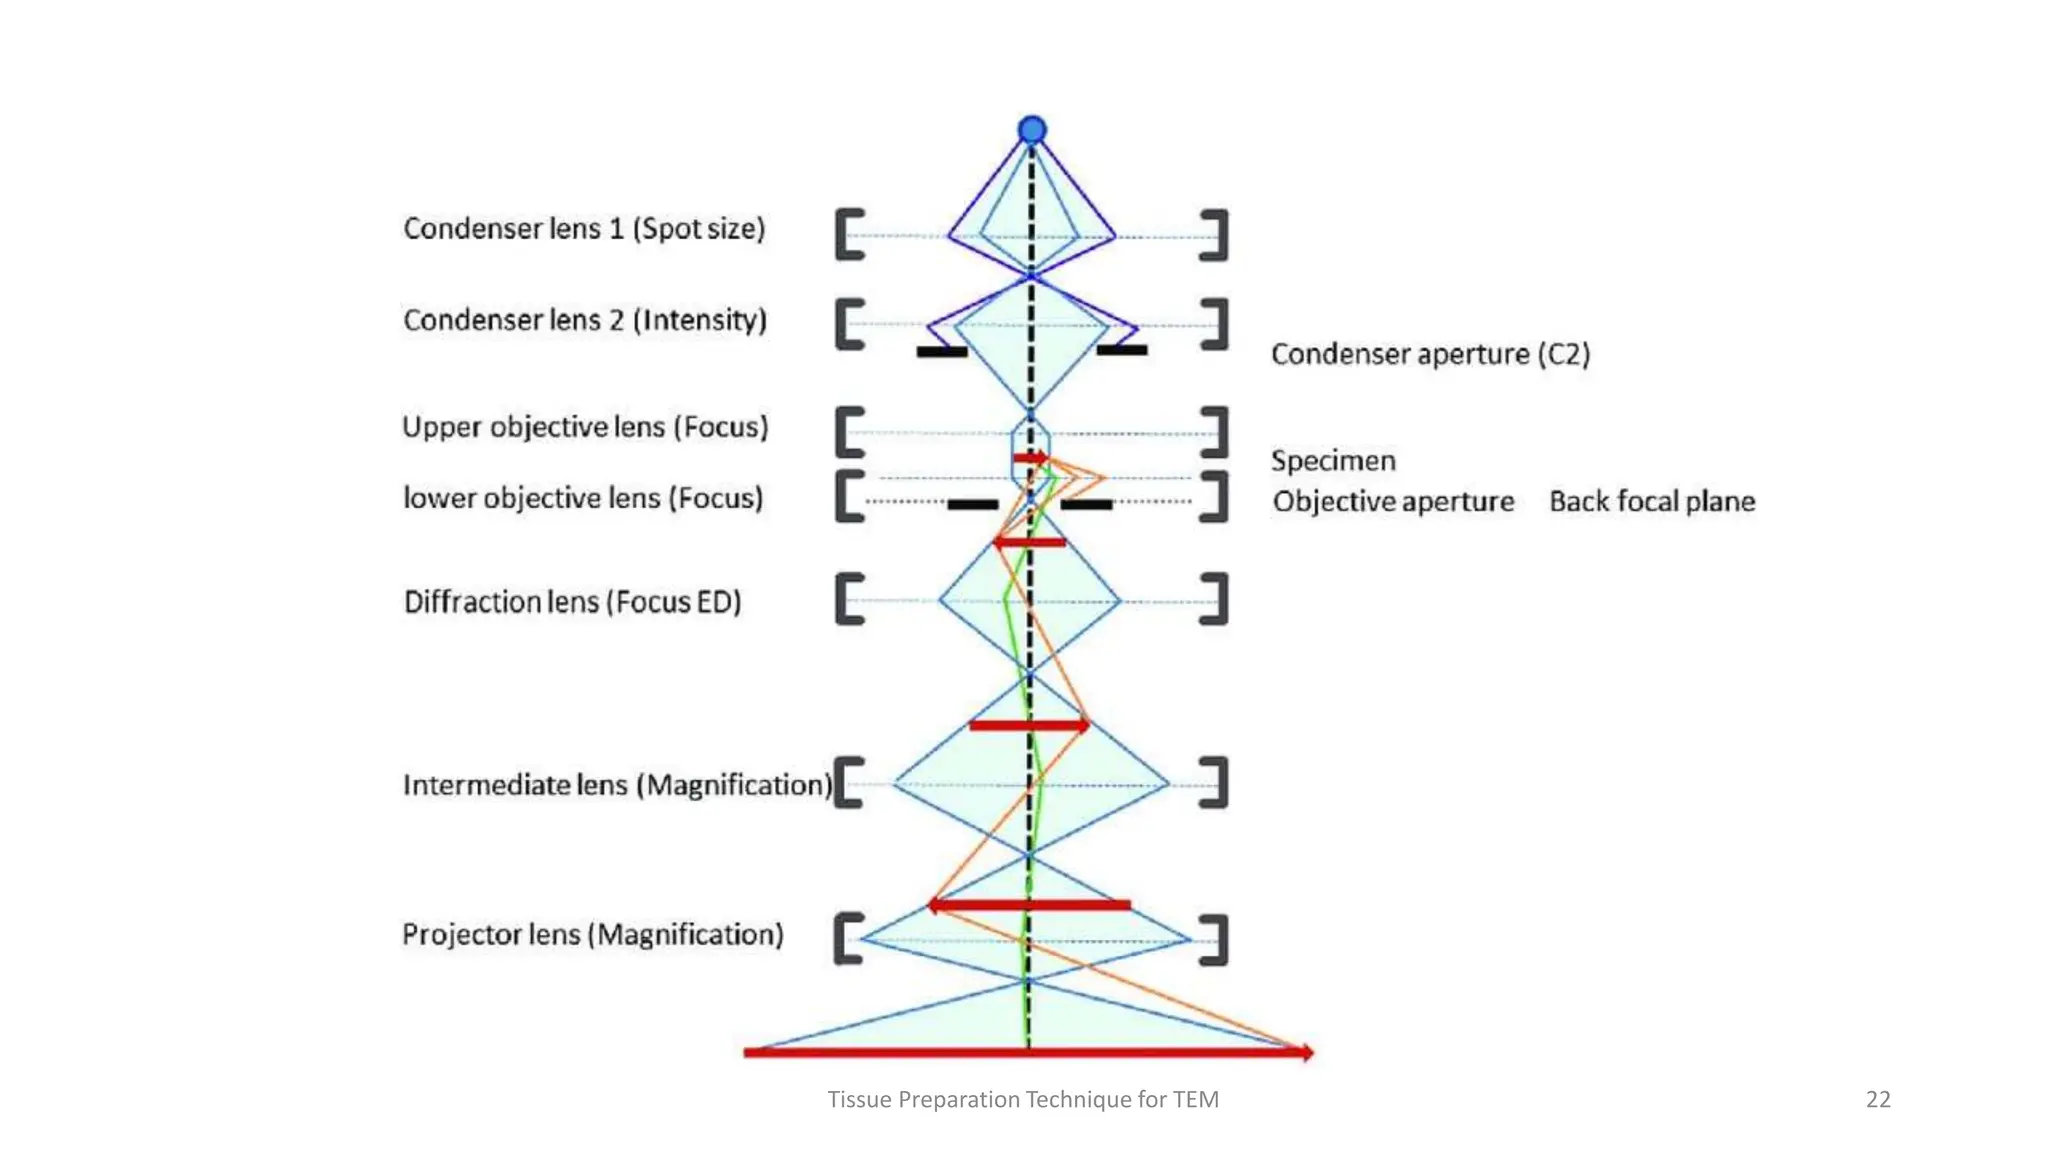
3) Thin sections around 50-100nm thick are cut using an ultramicrotome, mounted on grids, and stained typically with uranyl acetate and lead citrate to provide contrast between structures. Sections are then imaged using TEM.