Download to read offline

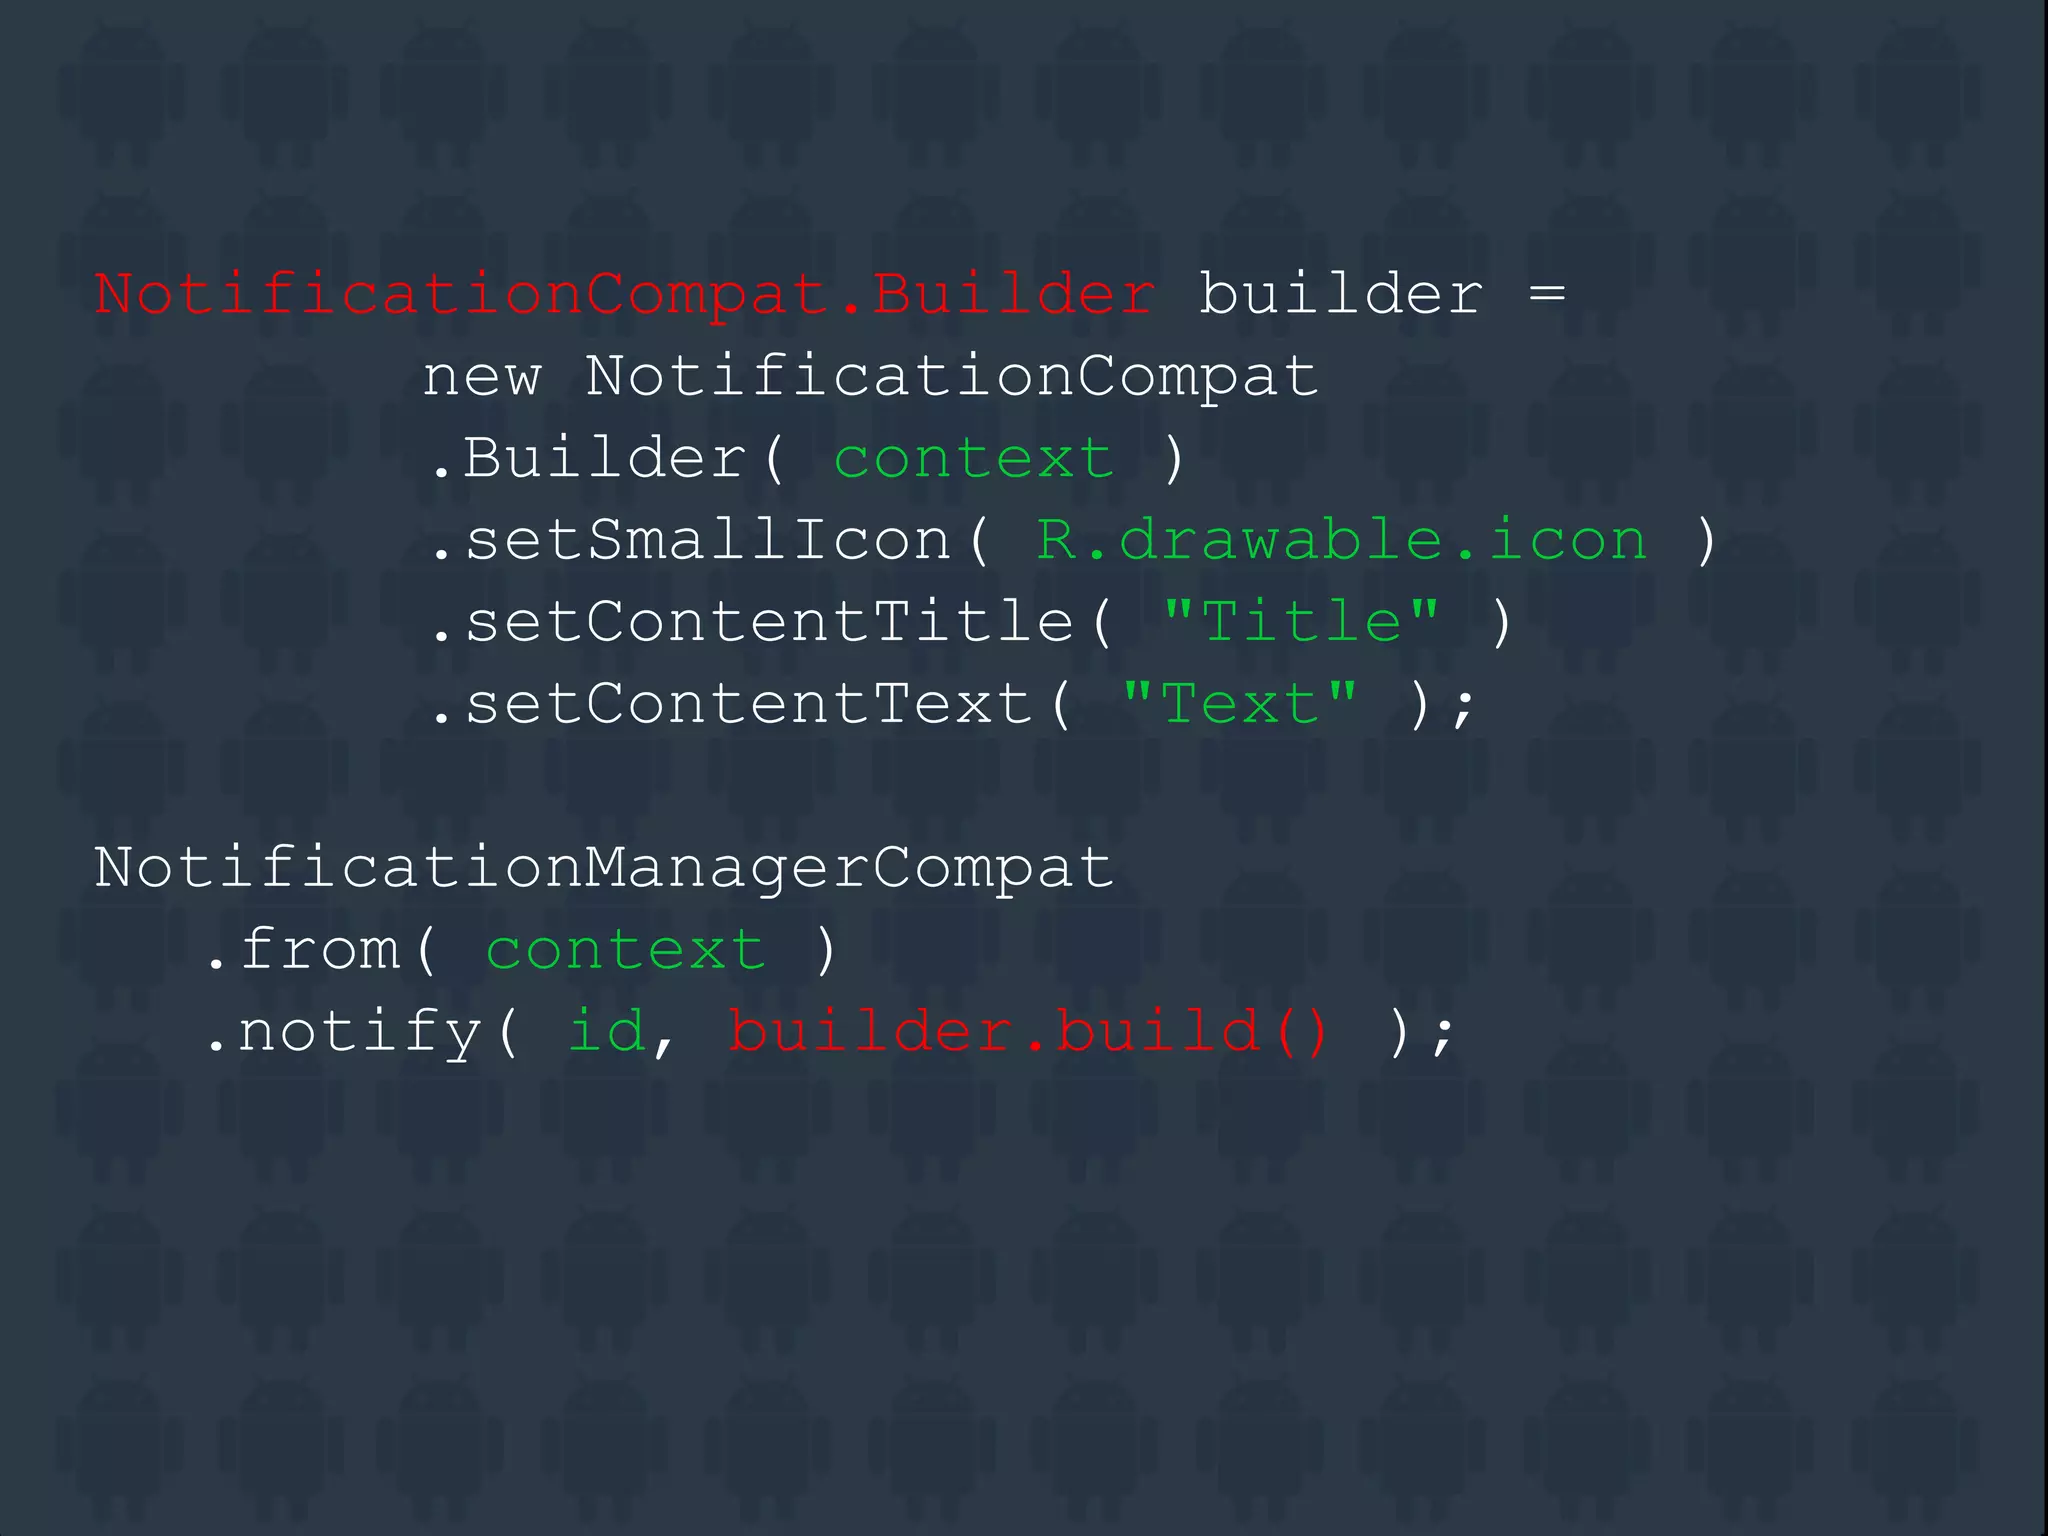
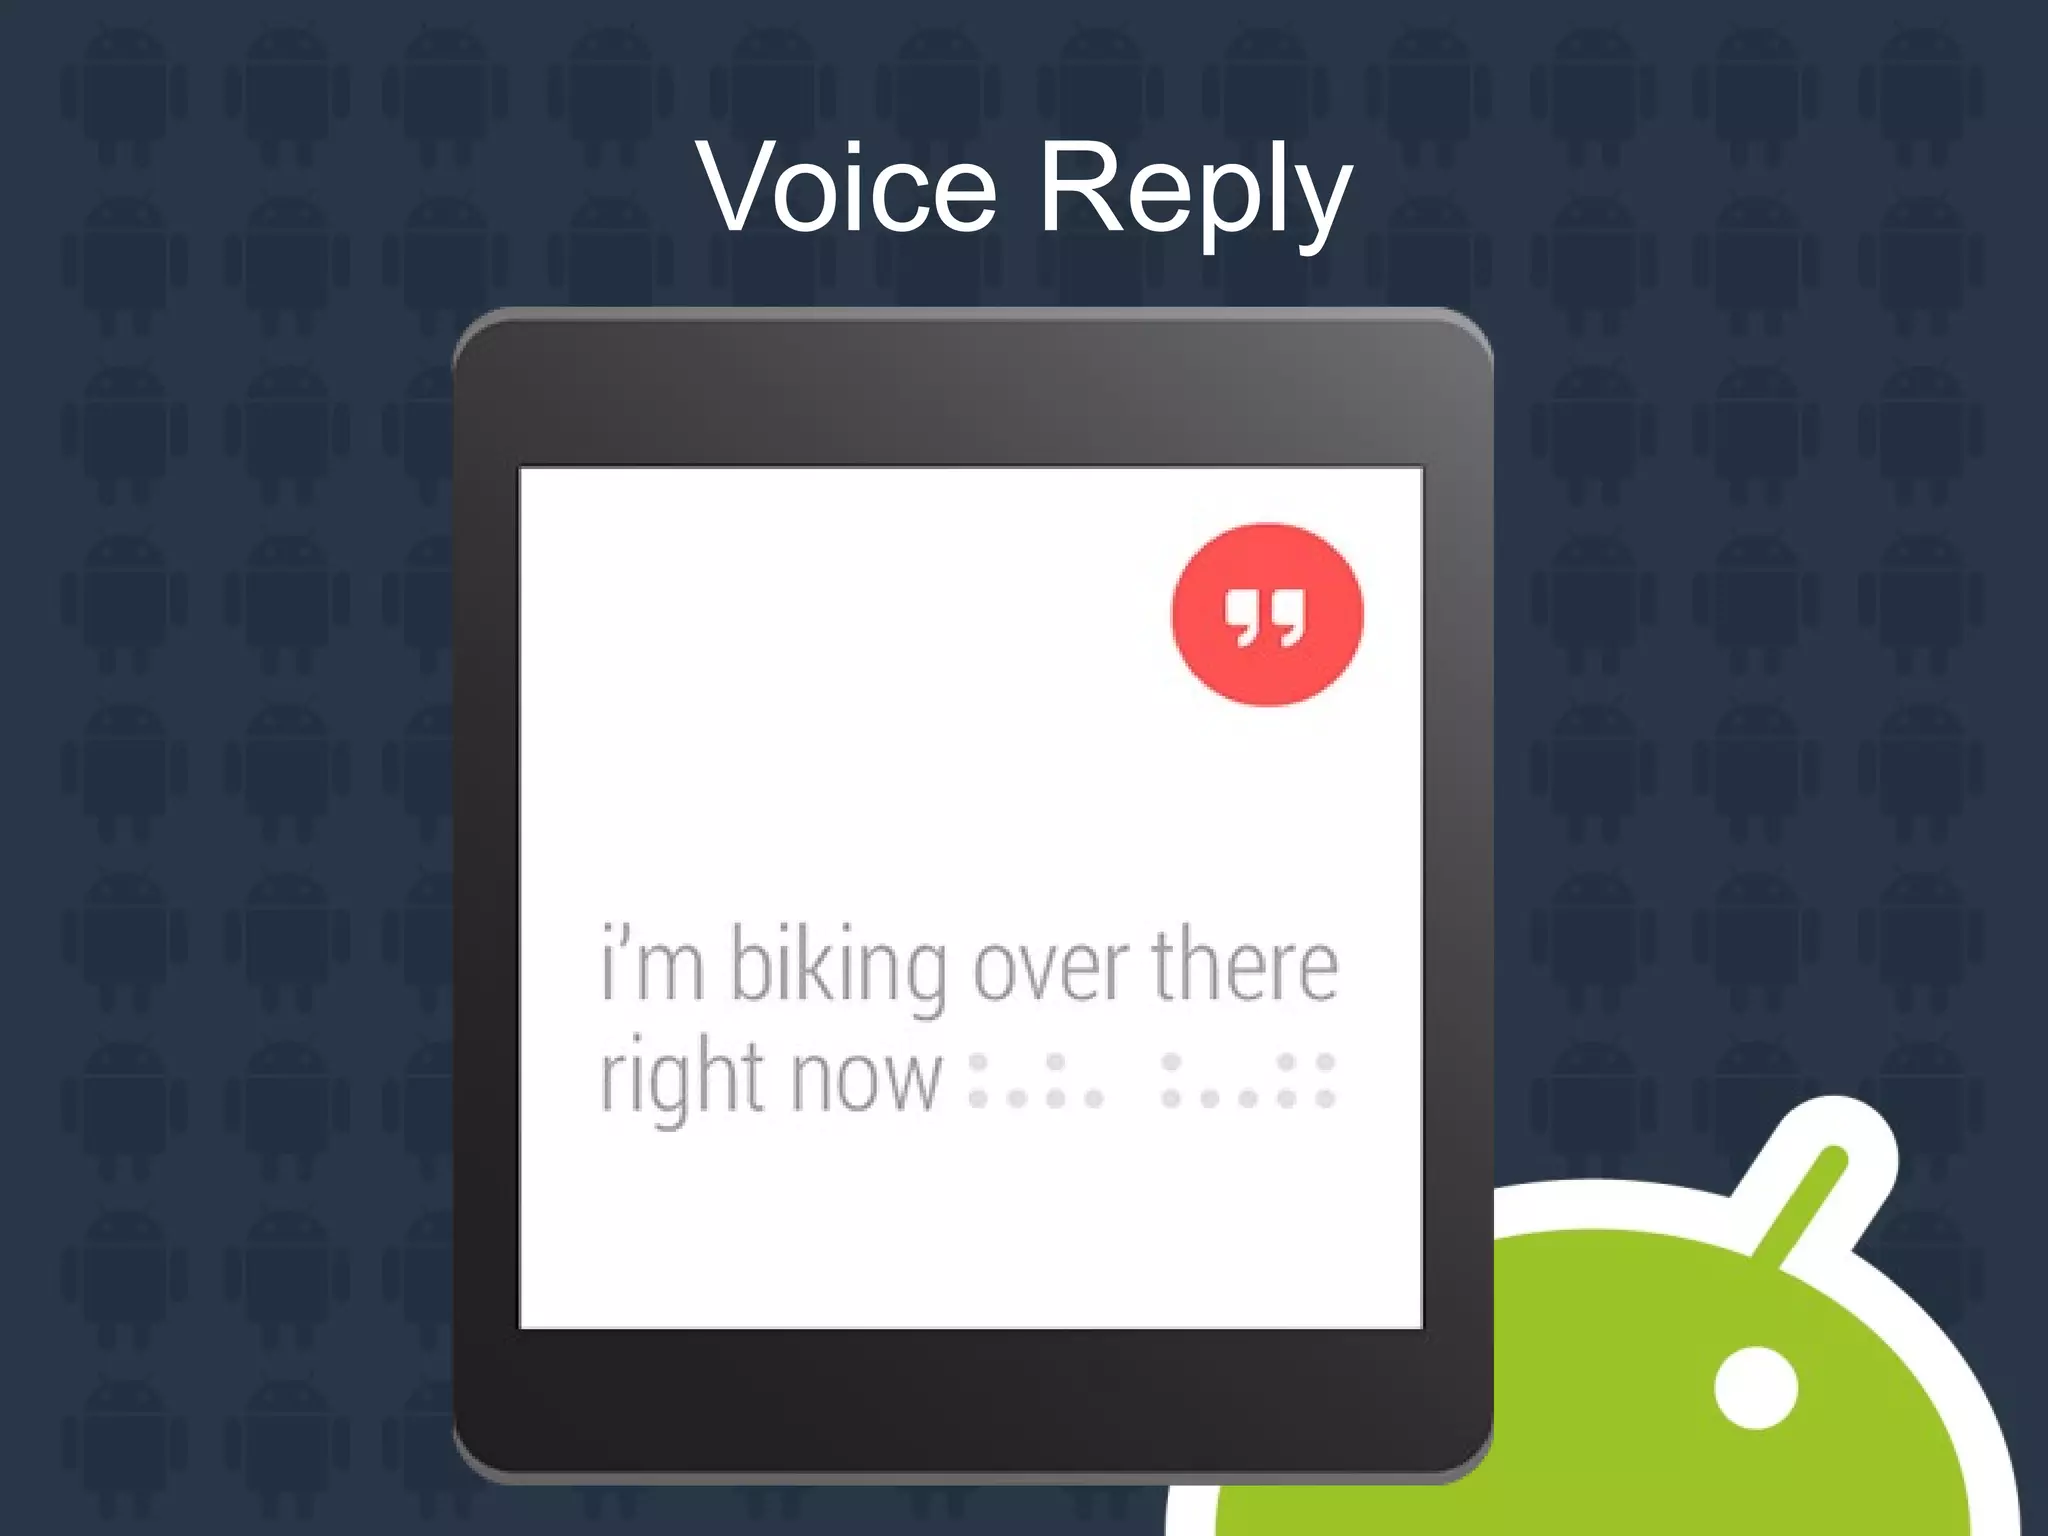
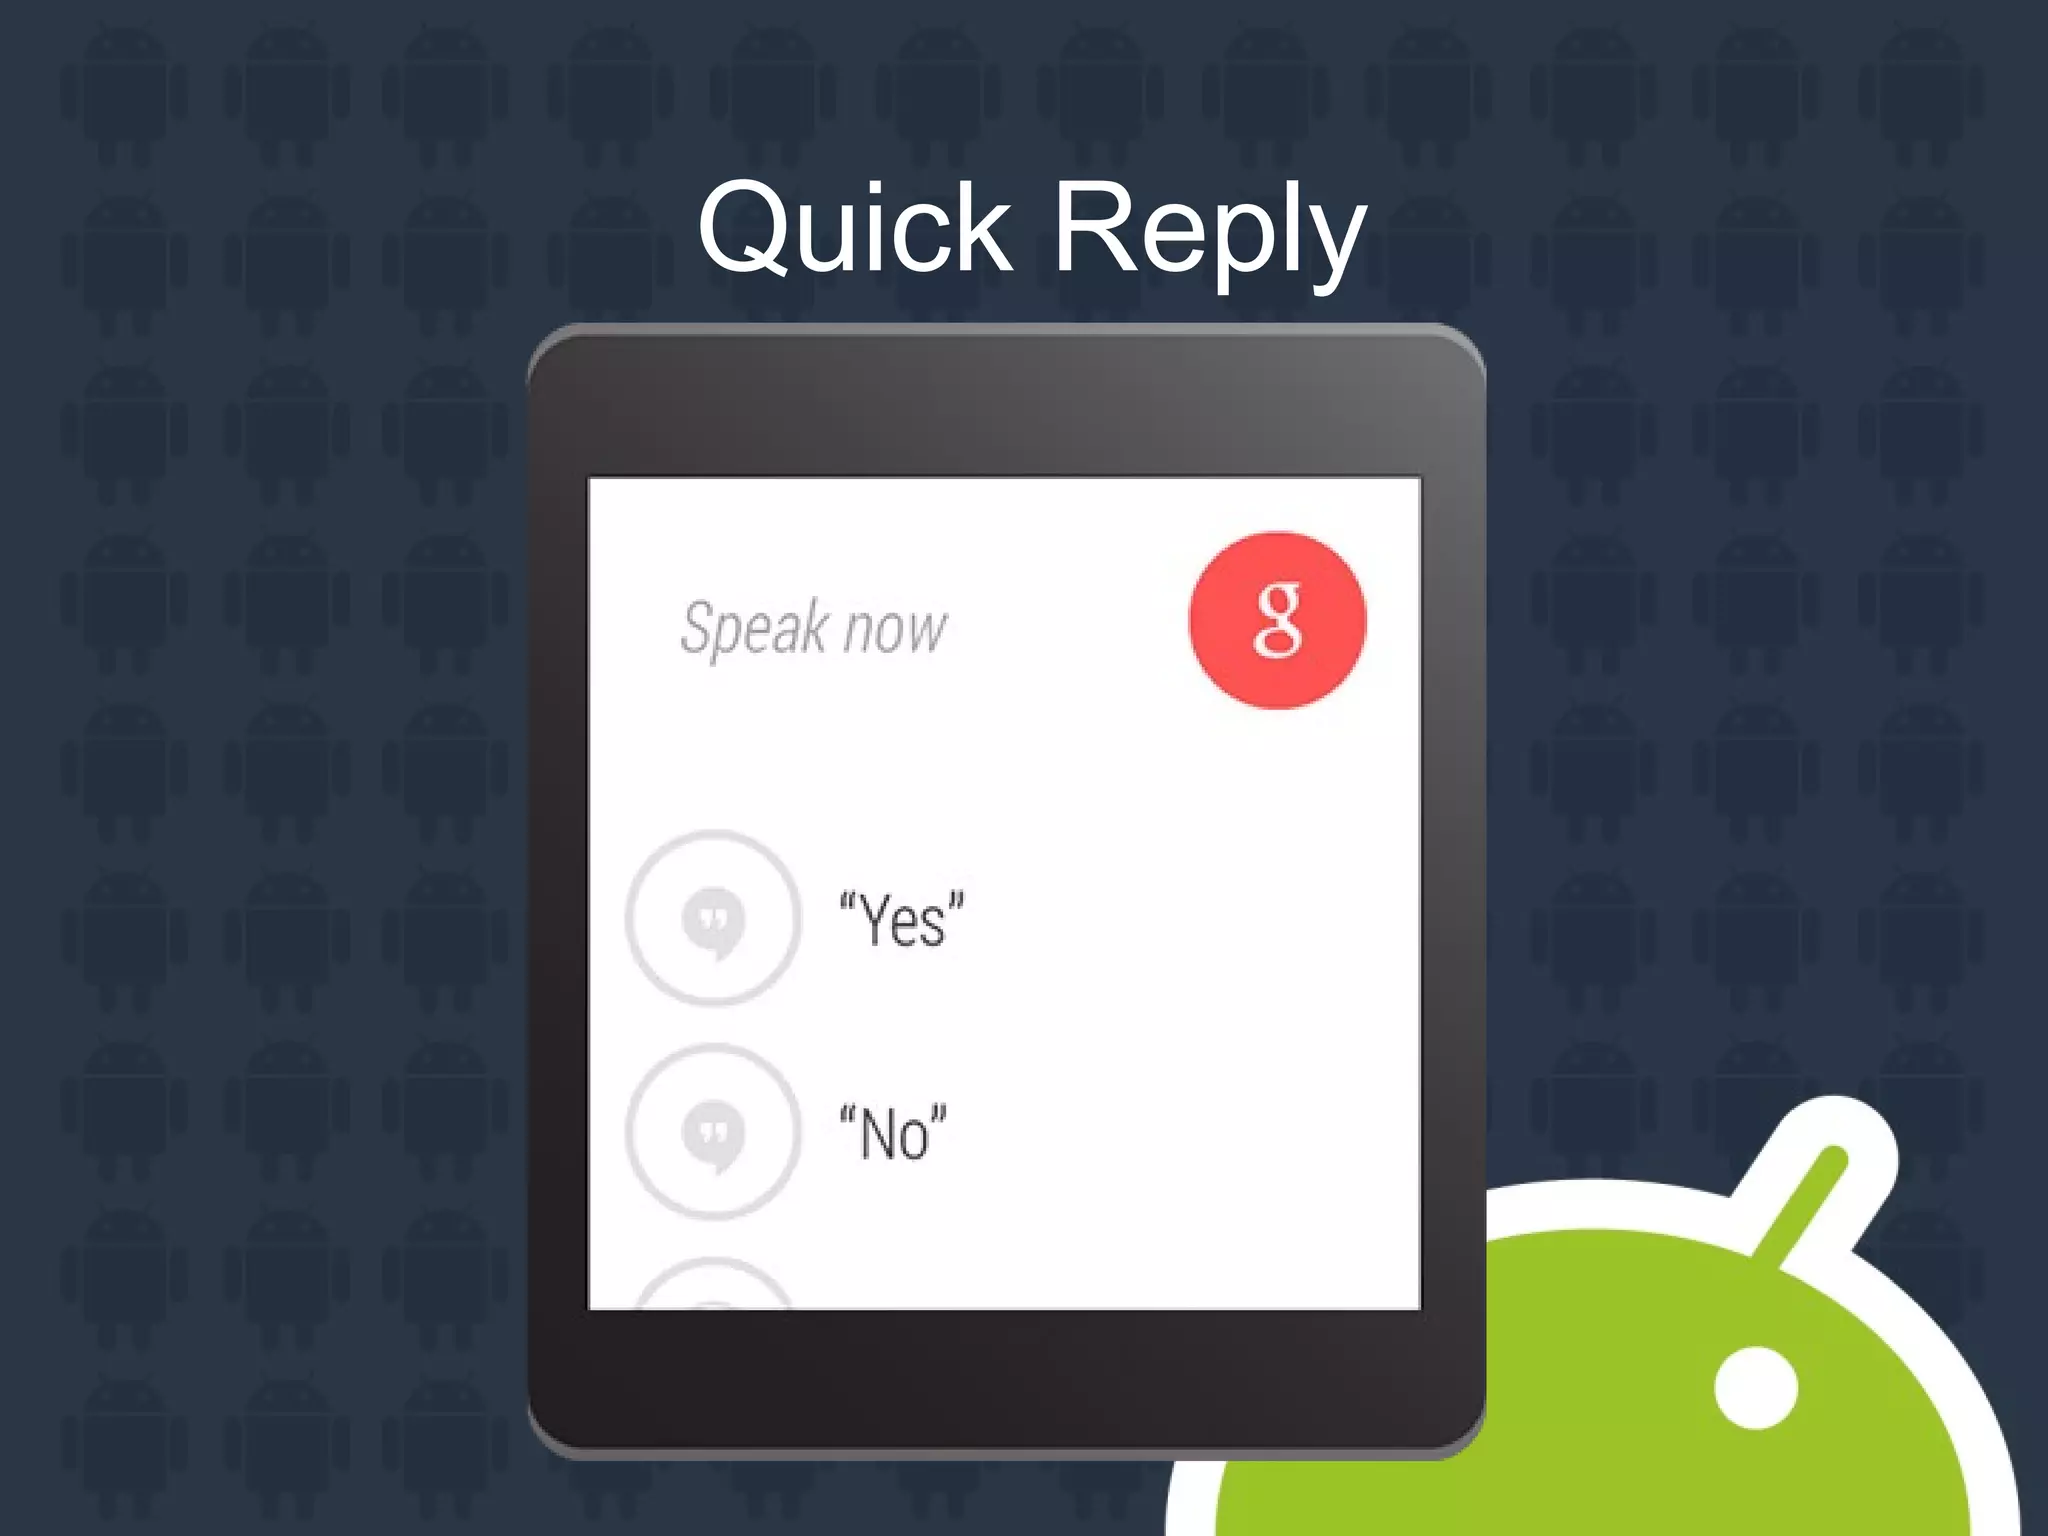
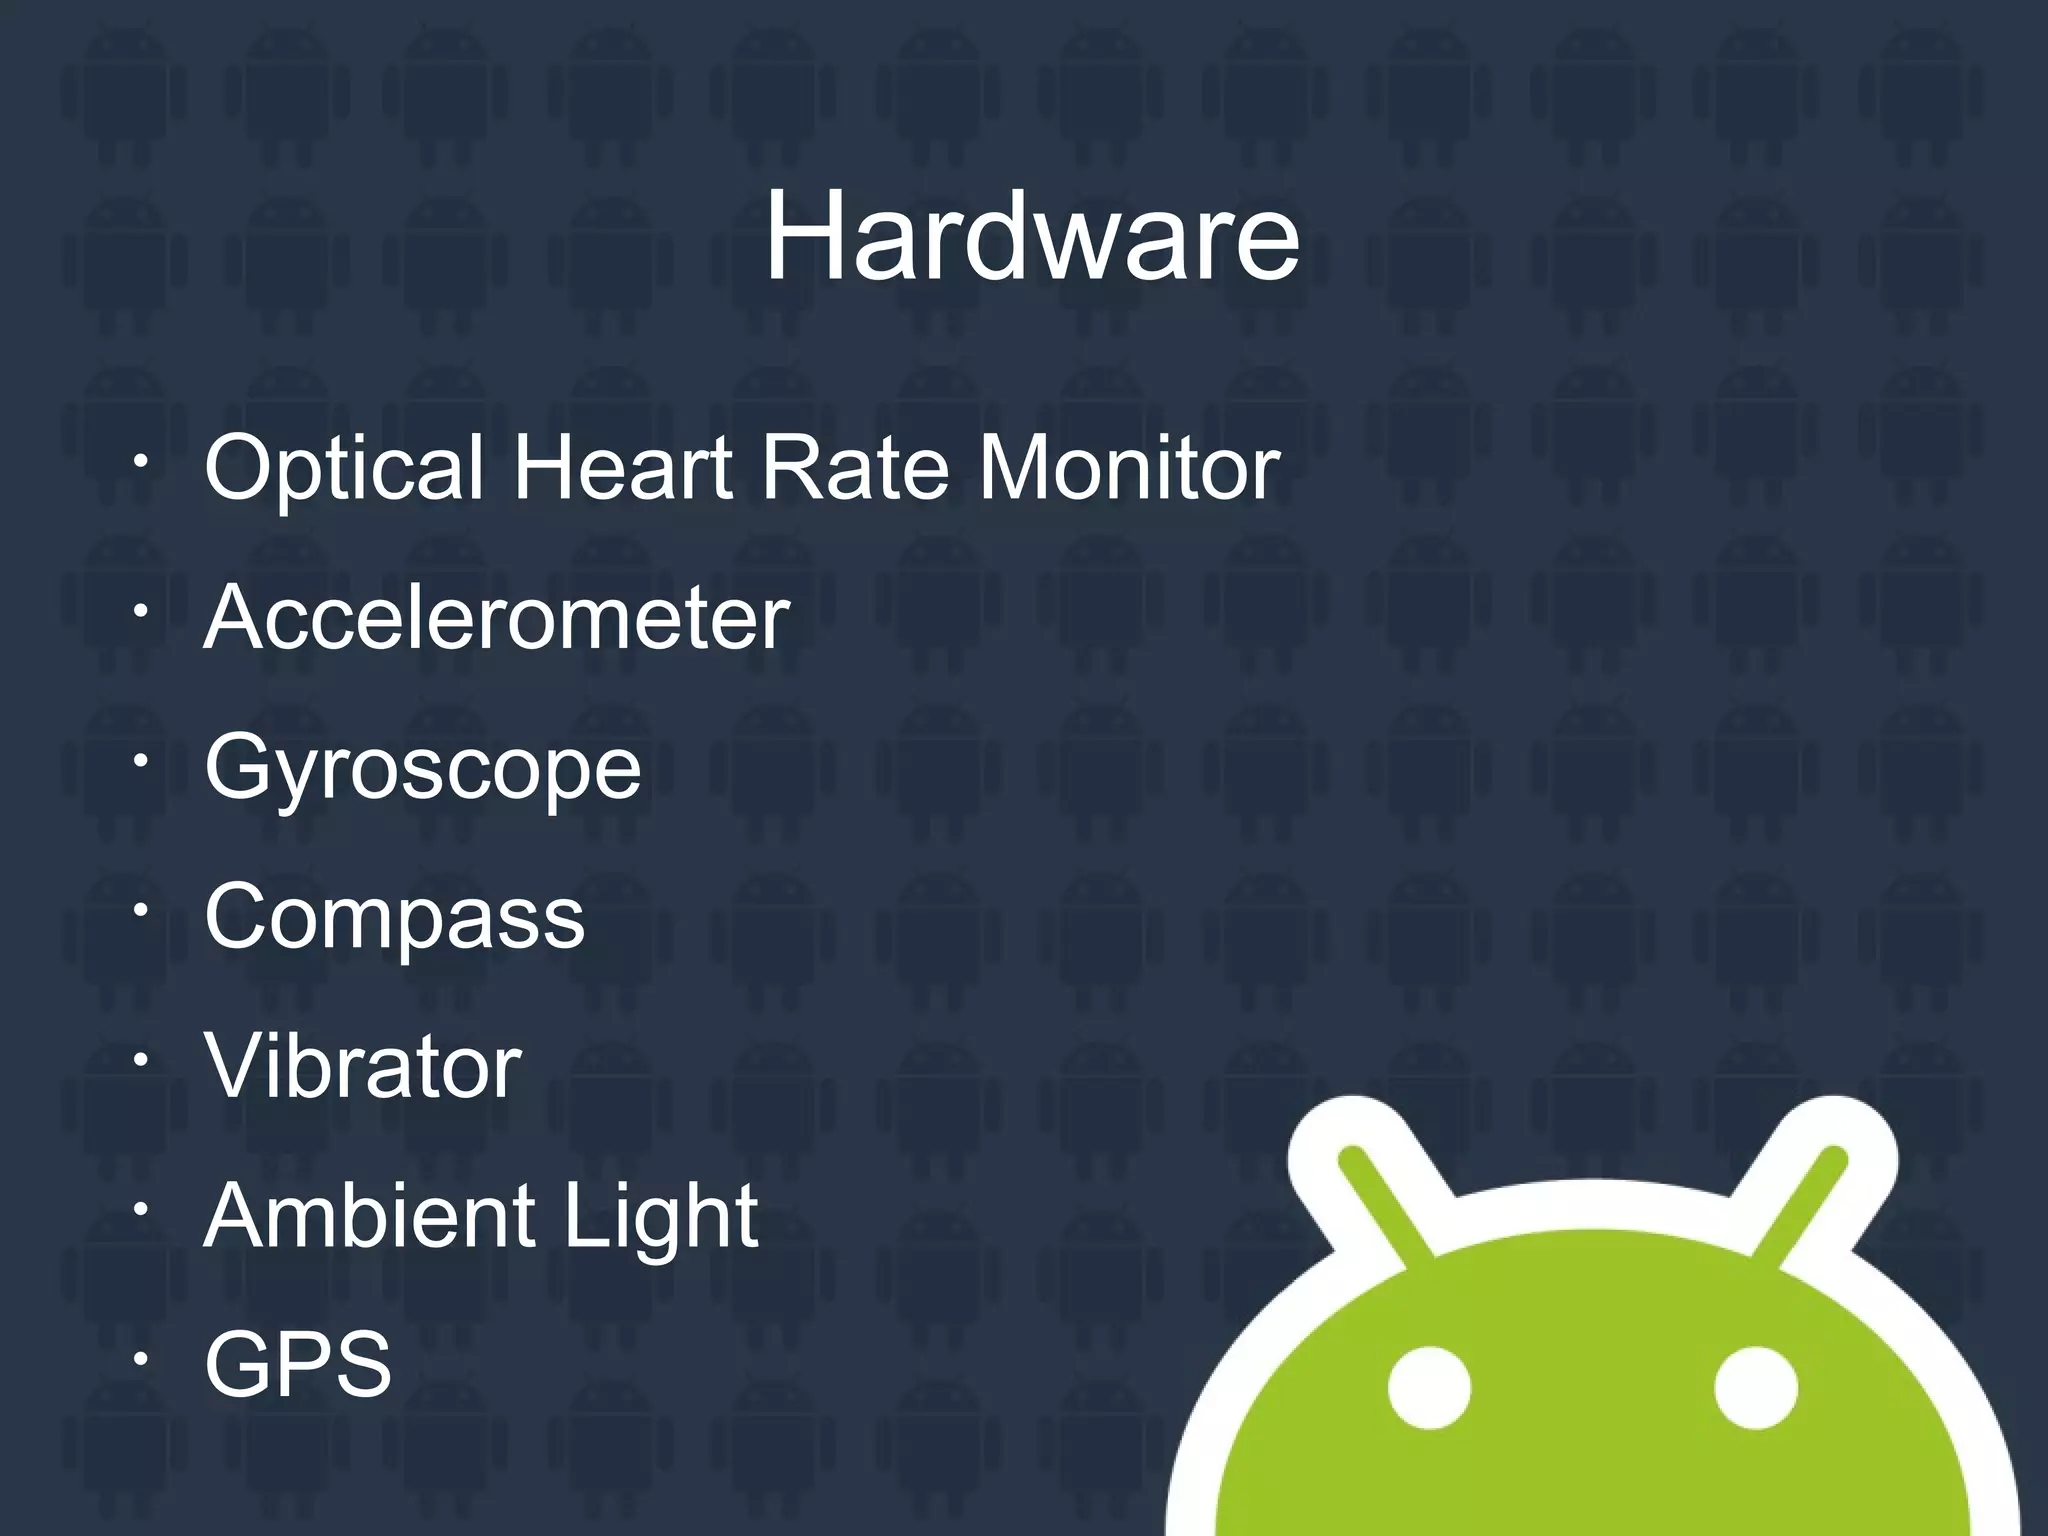
![String[] choices = [ "Yes", "No", "Maybe-So" ];
RemoteInput remoteInput = new
RemoteInput.Builder( "extra_voice_reply" )
.setLabel( "Say Something" )
.setChoices( choices )
.build();
//Attach to action and build notification](https://image.slidesharecdn.com/androidwearpp-150519161140-lva1-app6892/75/Android-wearpp-13-2048.jpg)

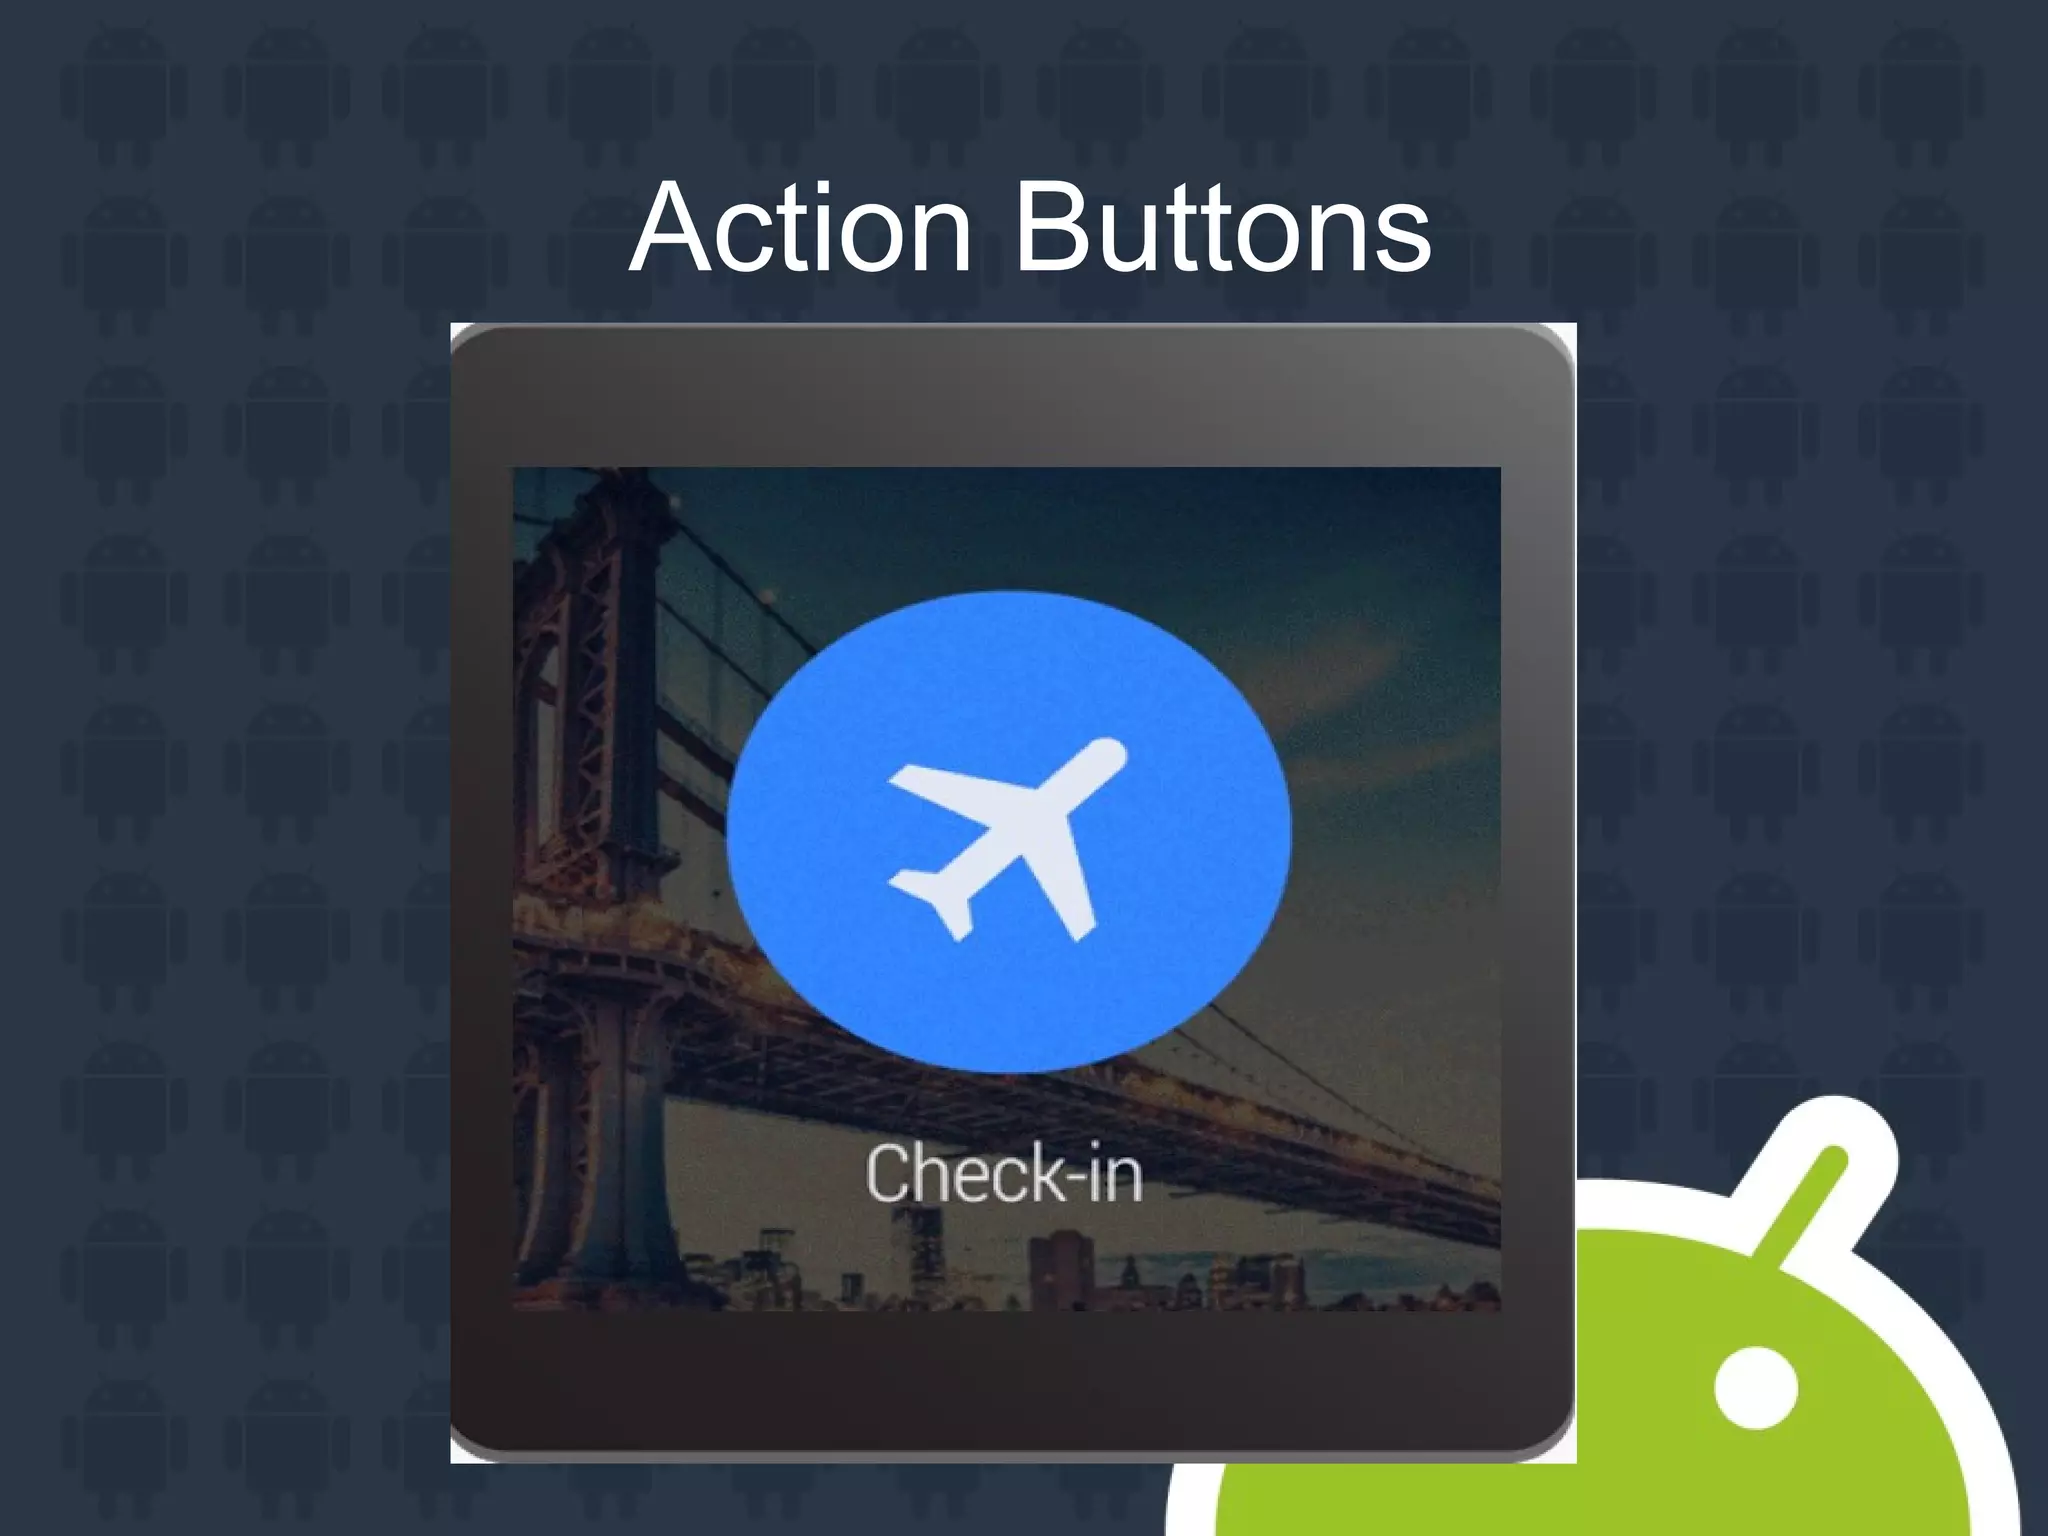
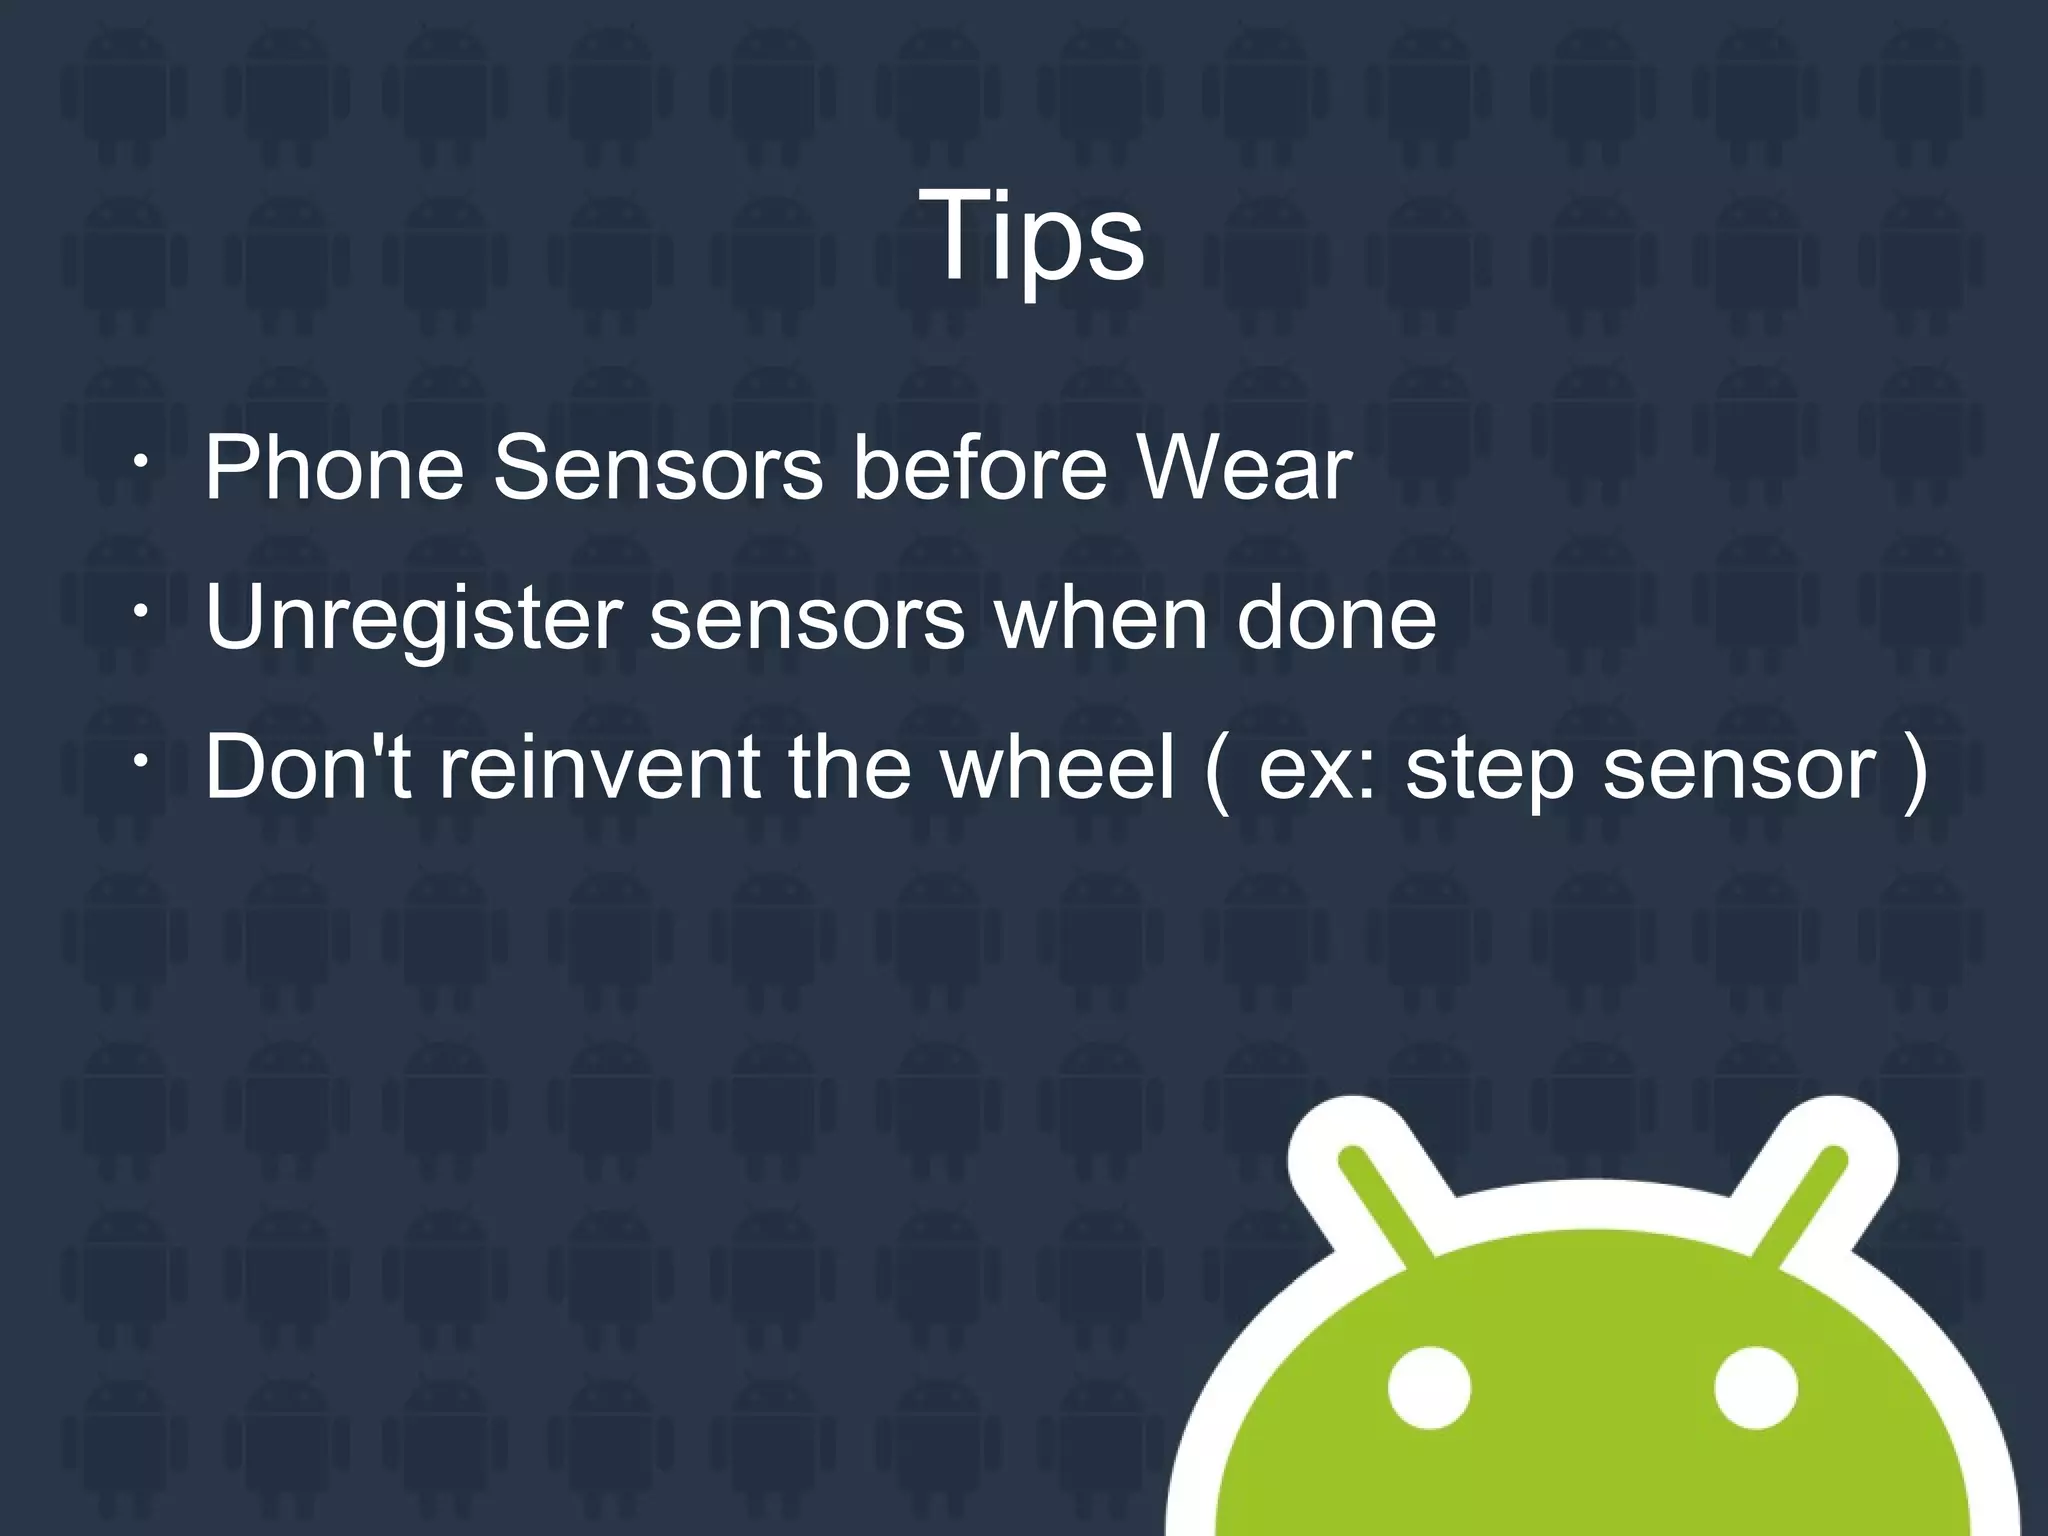
![Vibrator vibrator = (Vibrator)
getSystemService( Context.VIBRATOR_SERVICE );
long[] pattern = { 0, 10000 };
vibrator.vibrate( pattern, -1 );](https://image.slidesharecdn.com/androidwearpp-150519161140-lva1-app6892/75/Android-wearpp-25-2048.jpg)
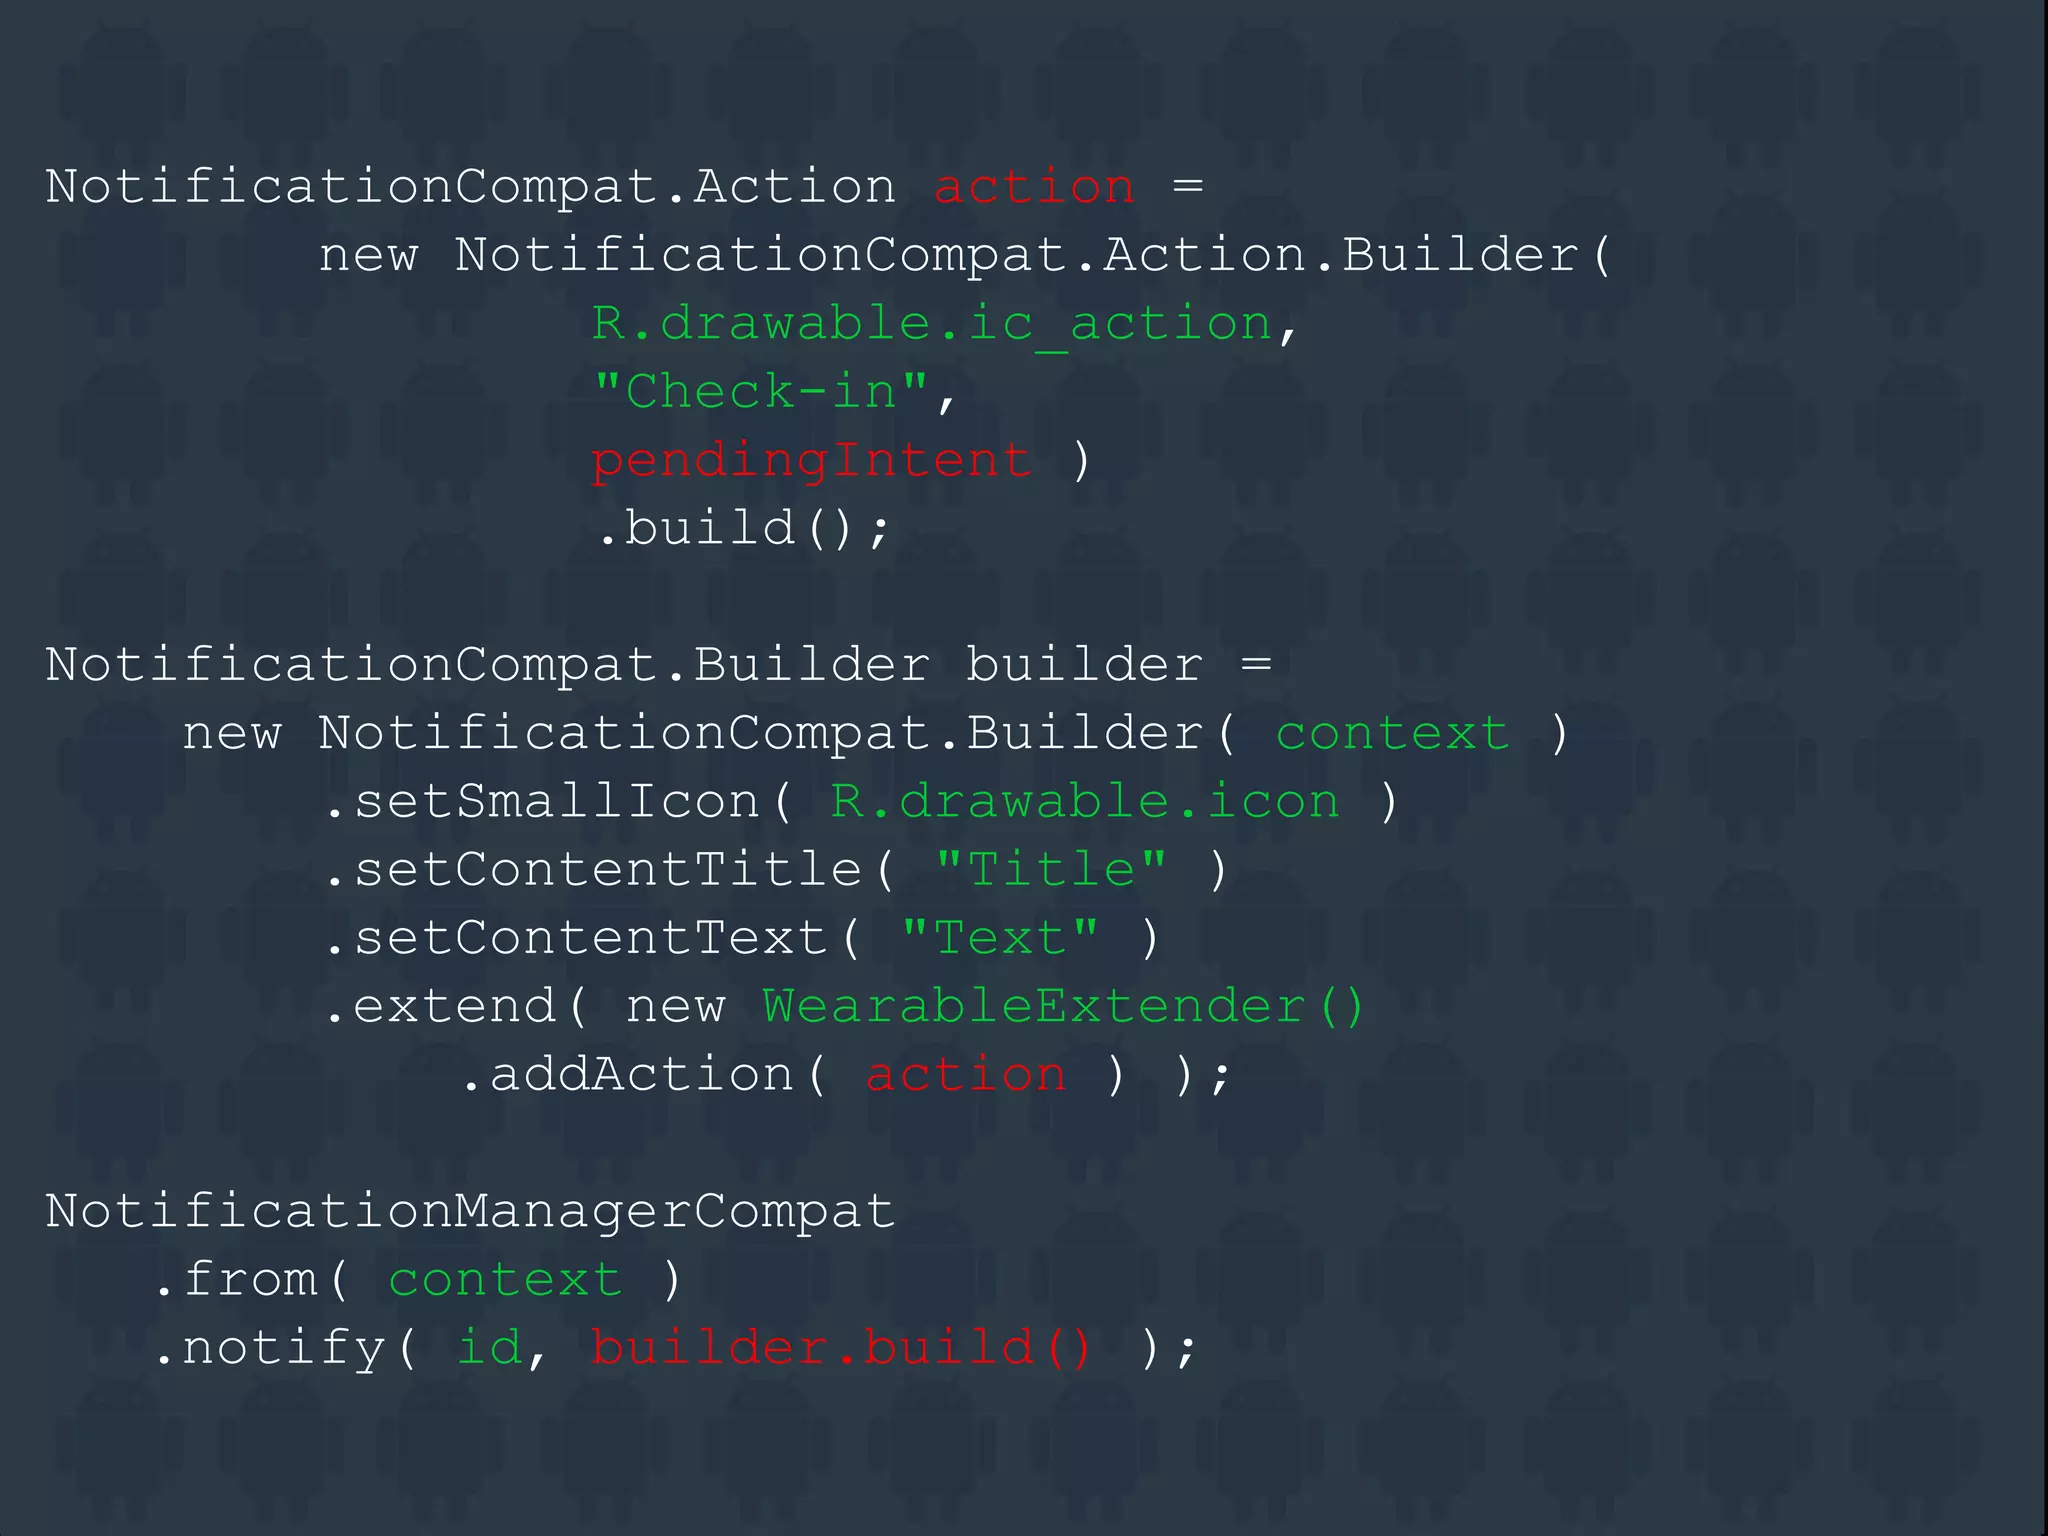
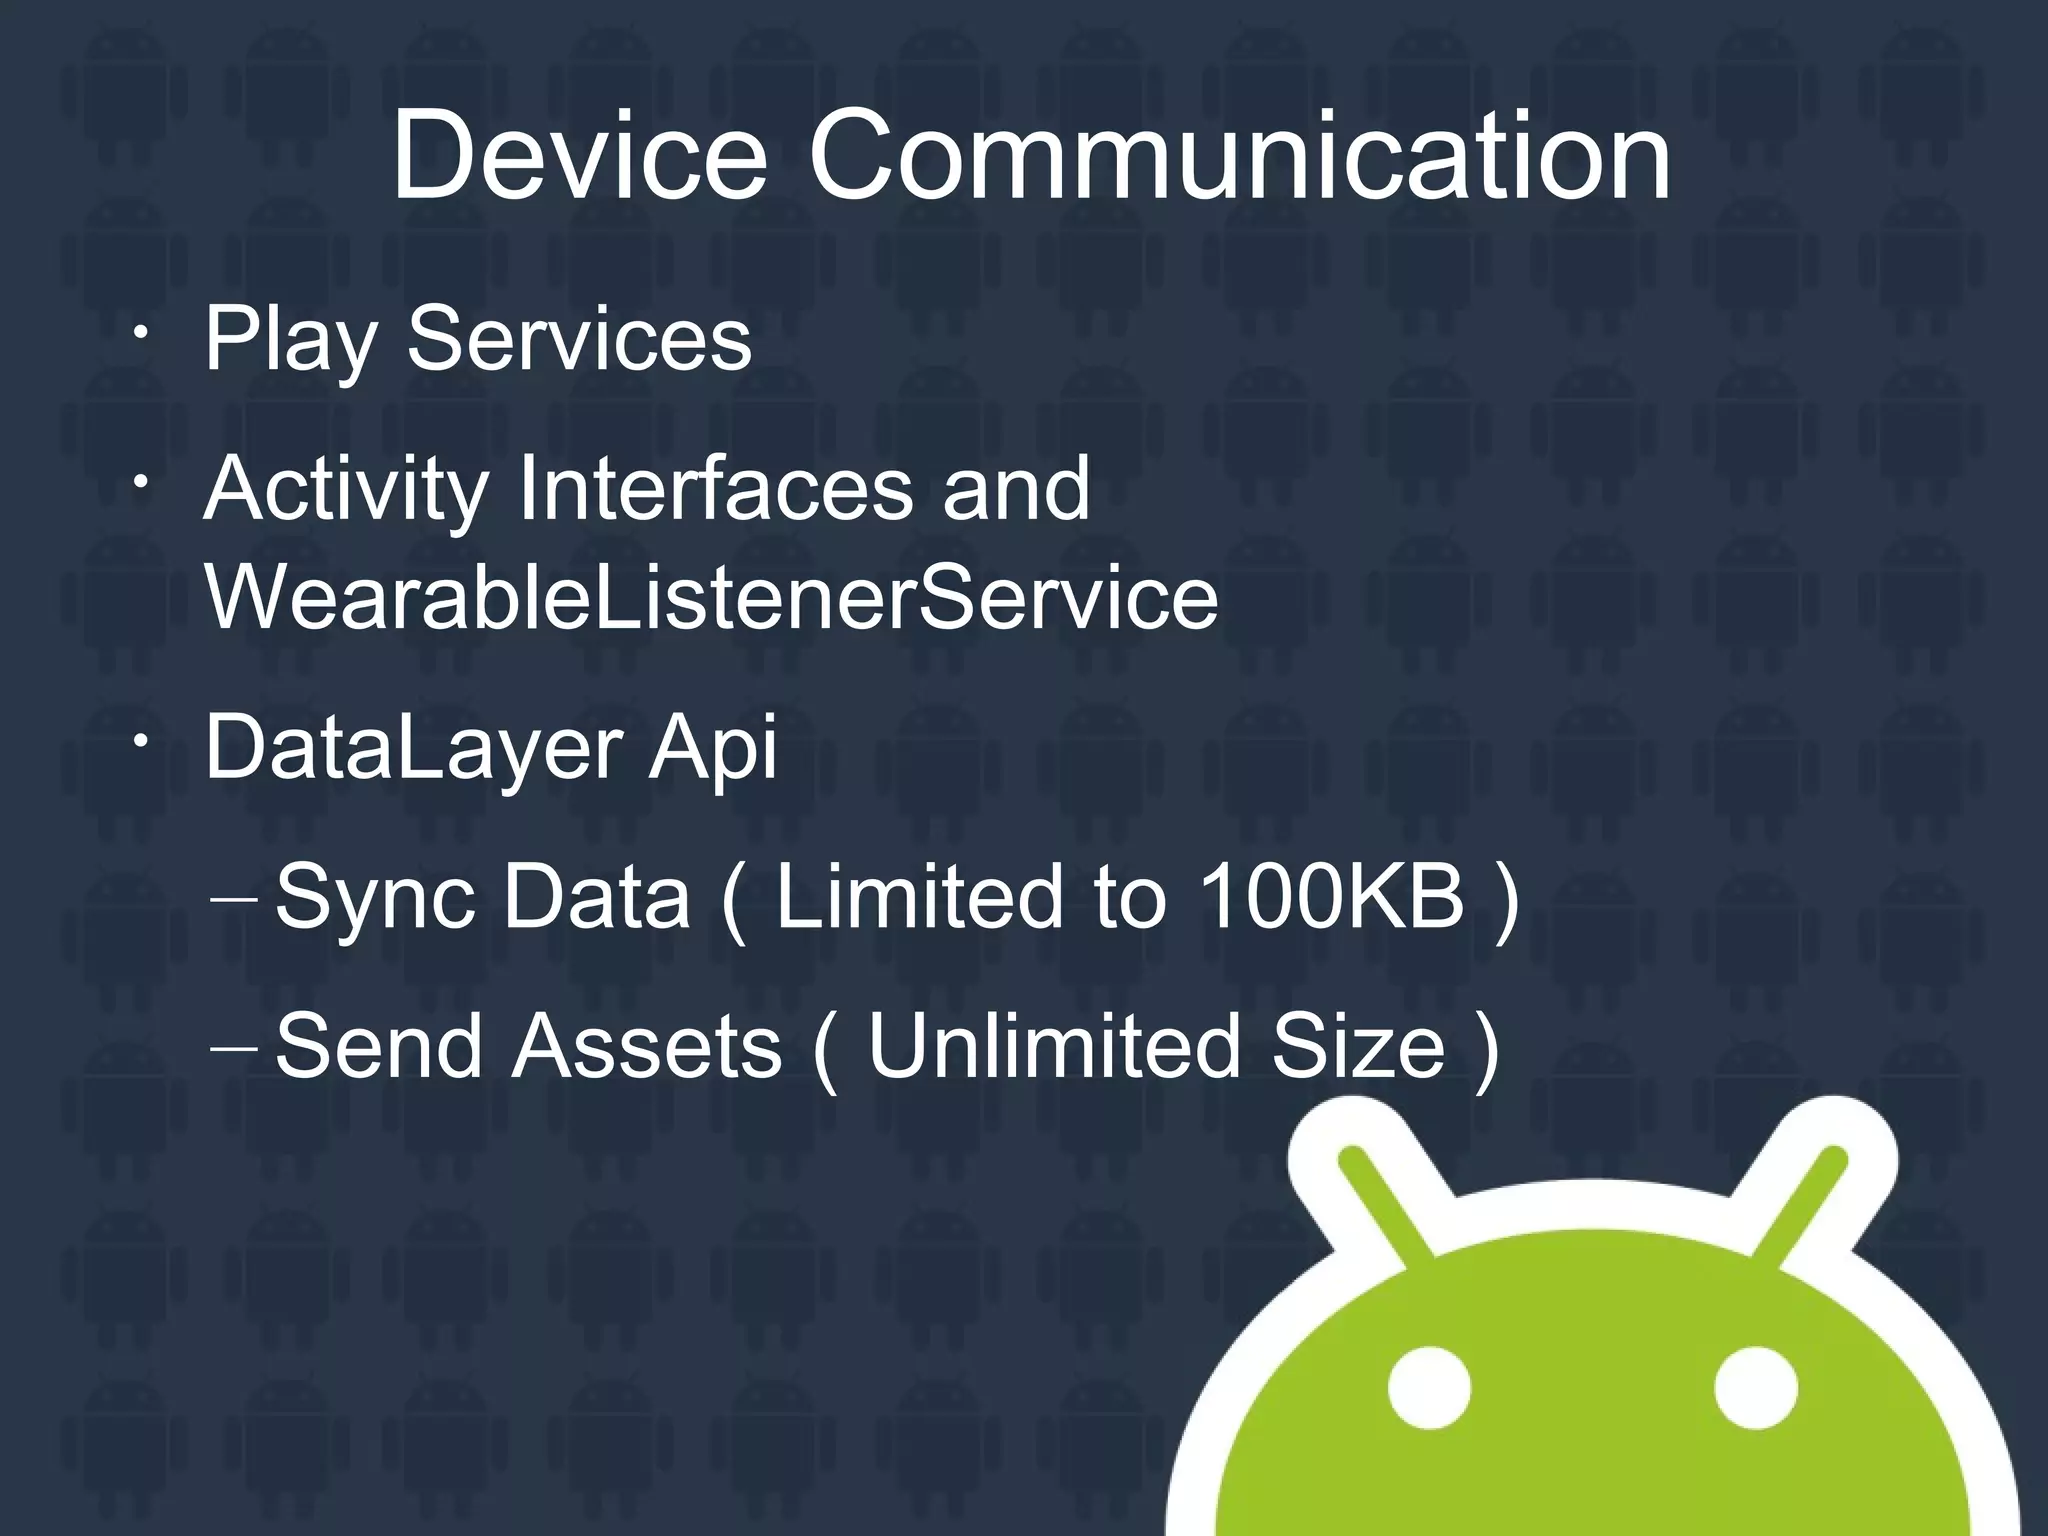
![//Implement SensorEventListener
Sensor heartRateSensor =
sensorManager.getDefaultSensor( Sensor.TYPE_HEART_RATE );
if ( heartRateSensor != null ) {
sensorManager.registerListener( this,
heartRateSensor,
SensorManager.SENSOR_DELAY_FASTEST );
}
@Override
public void onSensorChanged( SensorEvent event ) {
if( event.sensor.getType() == Sensor.TYPE_HEART_RATE ) {
Log.e( "Wear Sensor",
"HeartRate: " + event.values[0] );
}
}](https://image.slidesharecdn.com/androidwearpp-150519161140-lva1-app6892/75/Android-wearpp-26-2048.jpg)
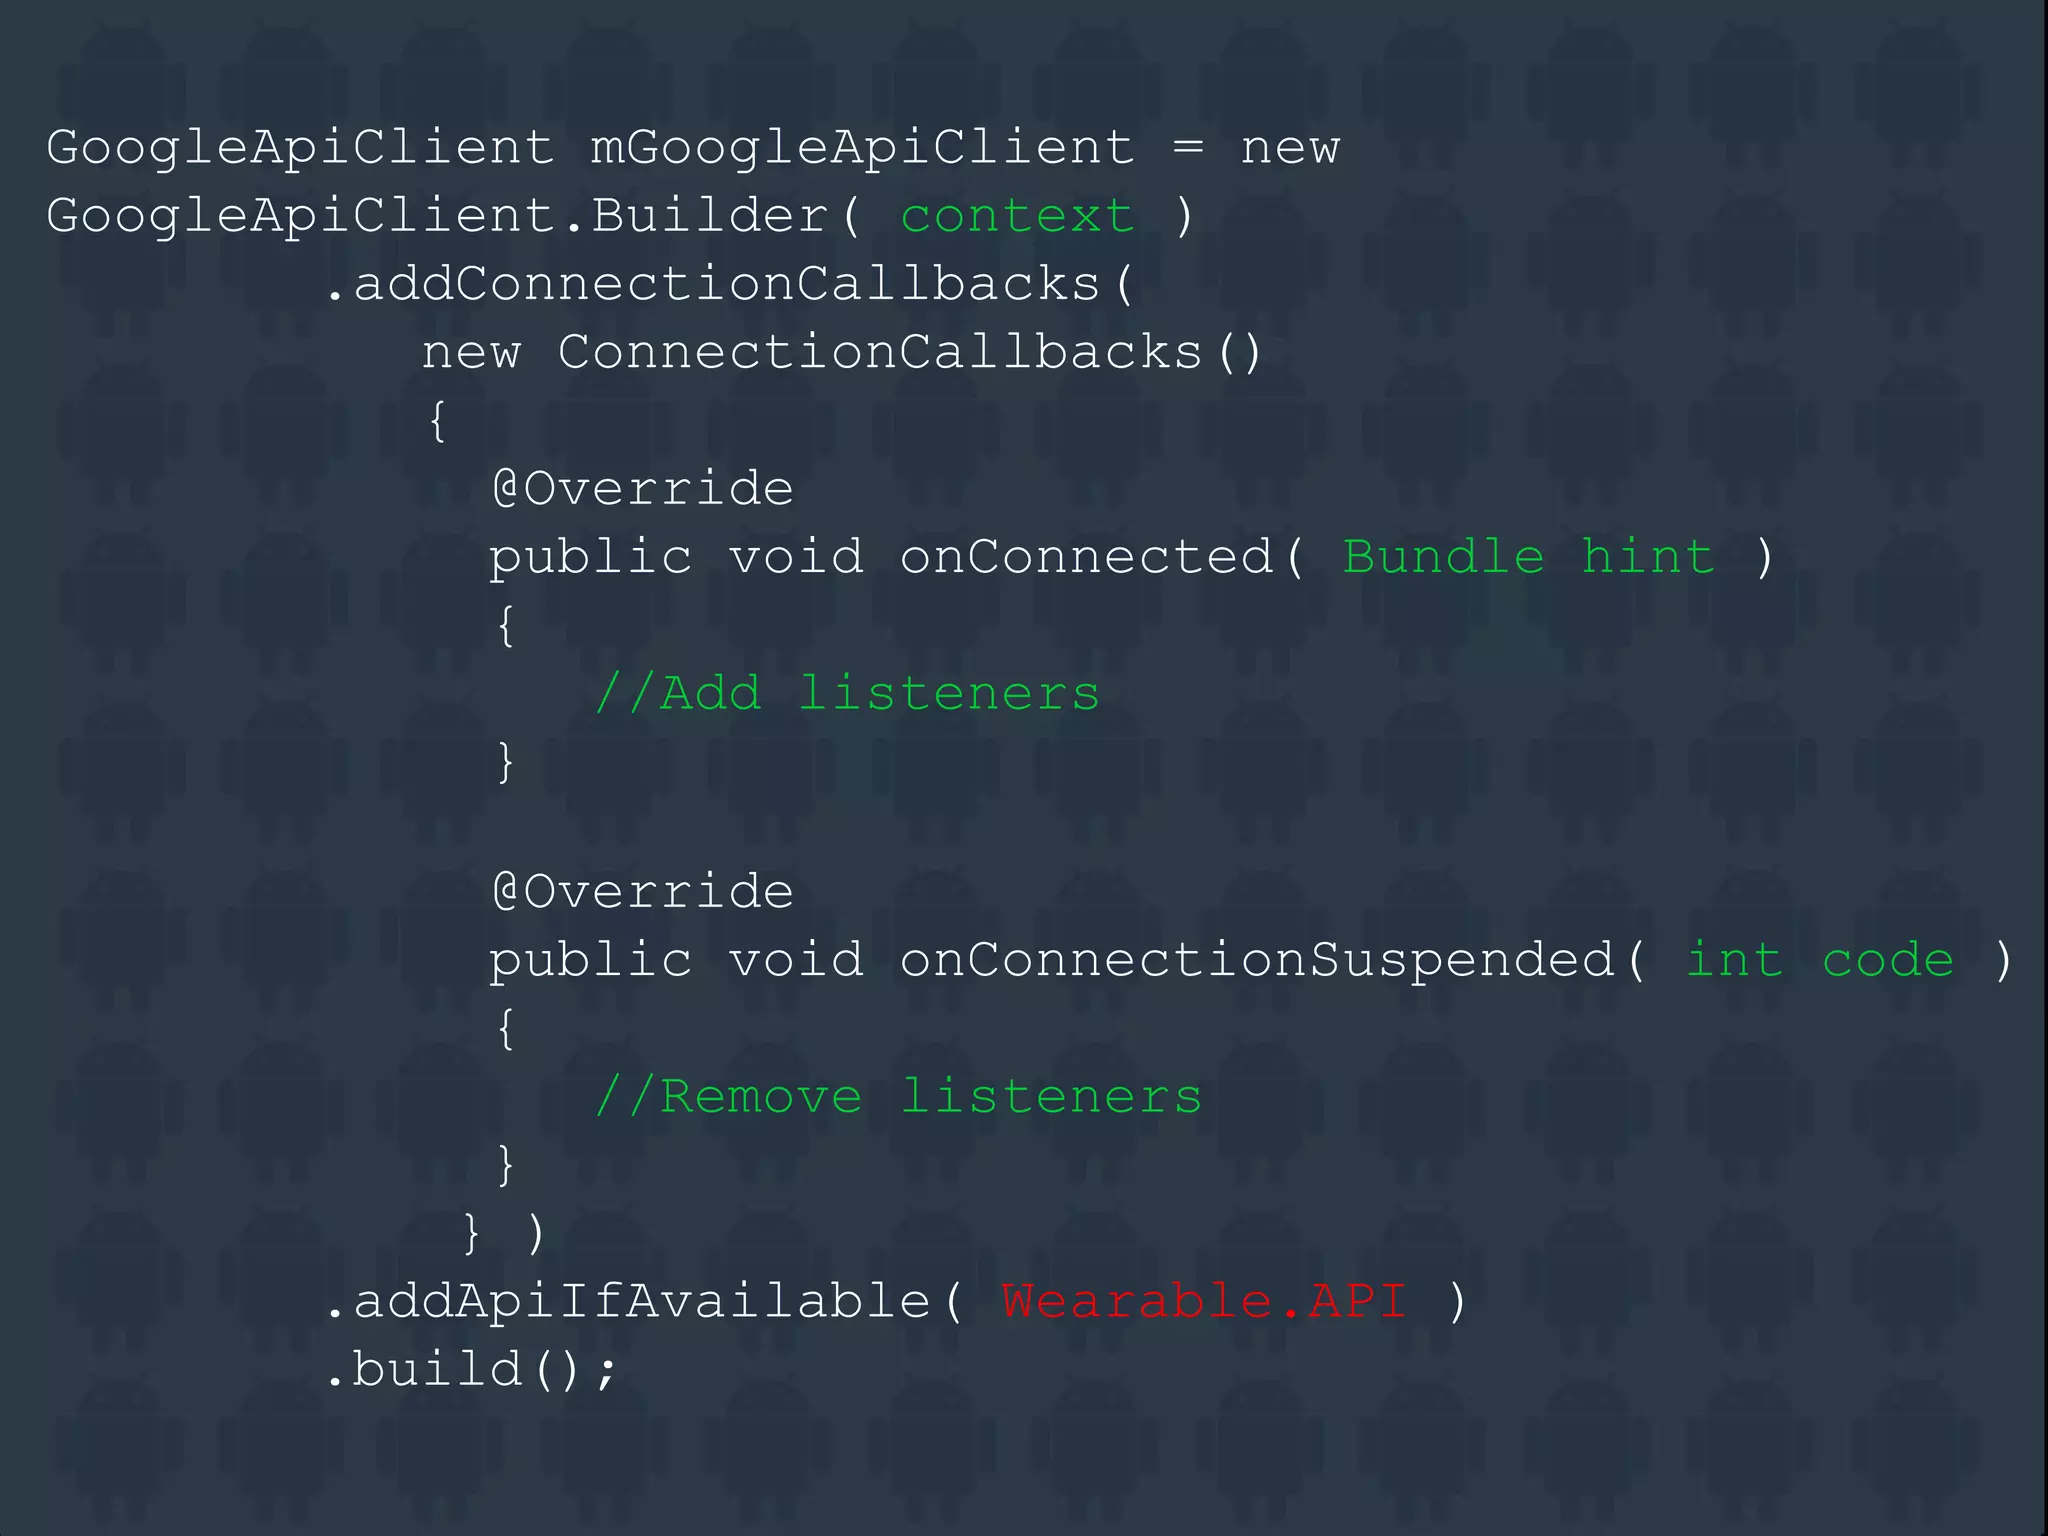
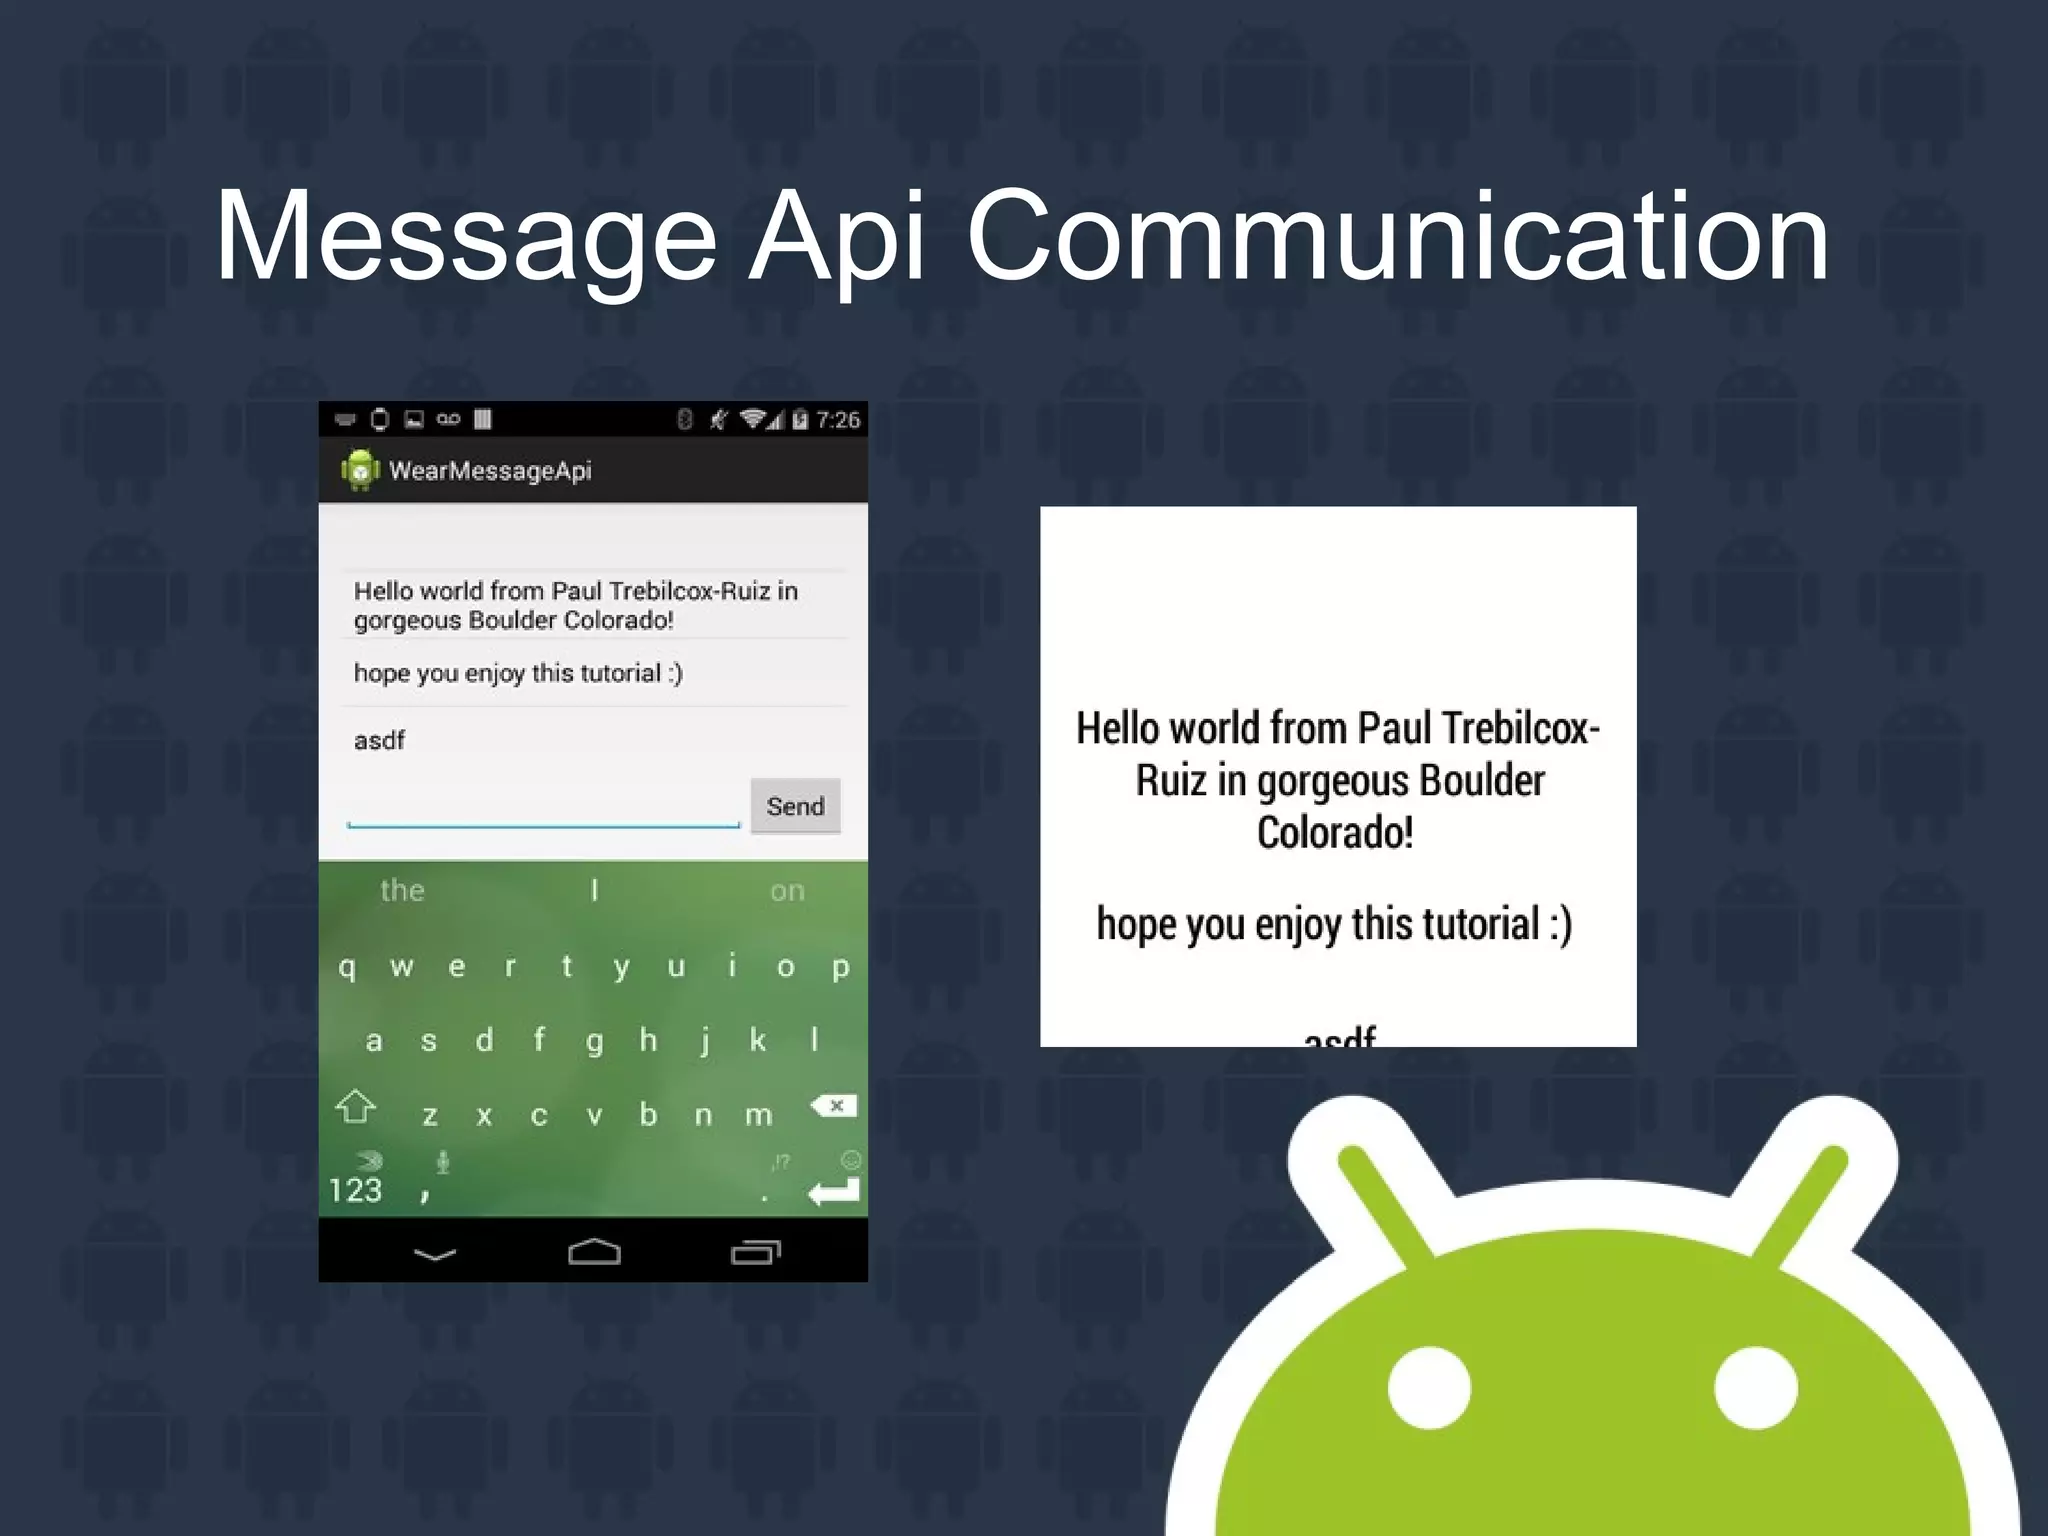
![//Sending a message to a node
private void sendMessage( byte[] message ) {
Wearable.MessageApi.sendMessage(
mGoogleApiClient,
bestNode,
"/path",
message );
}
//Receive in a WearableListenerService or Activity
@Override
public void onMessageReceived( MessageEvent message ) {
if(message.getPath().equals( "/path" ) ) {
Log.e( "Message", "Data: " + message.getData() );
}
}](https://image.slidesharecdn.com/androidwearpp-150519161140-lva1-app6892/75/Android-wearpp-36-2048.jpg)
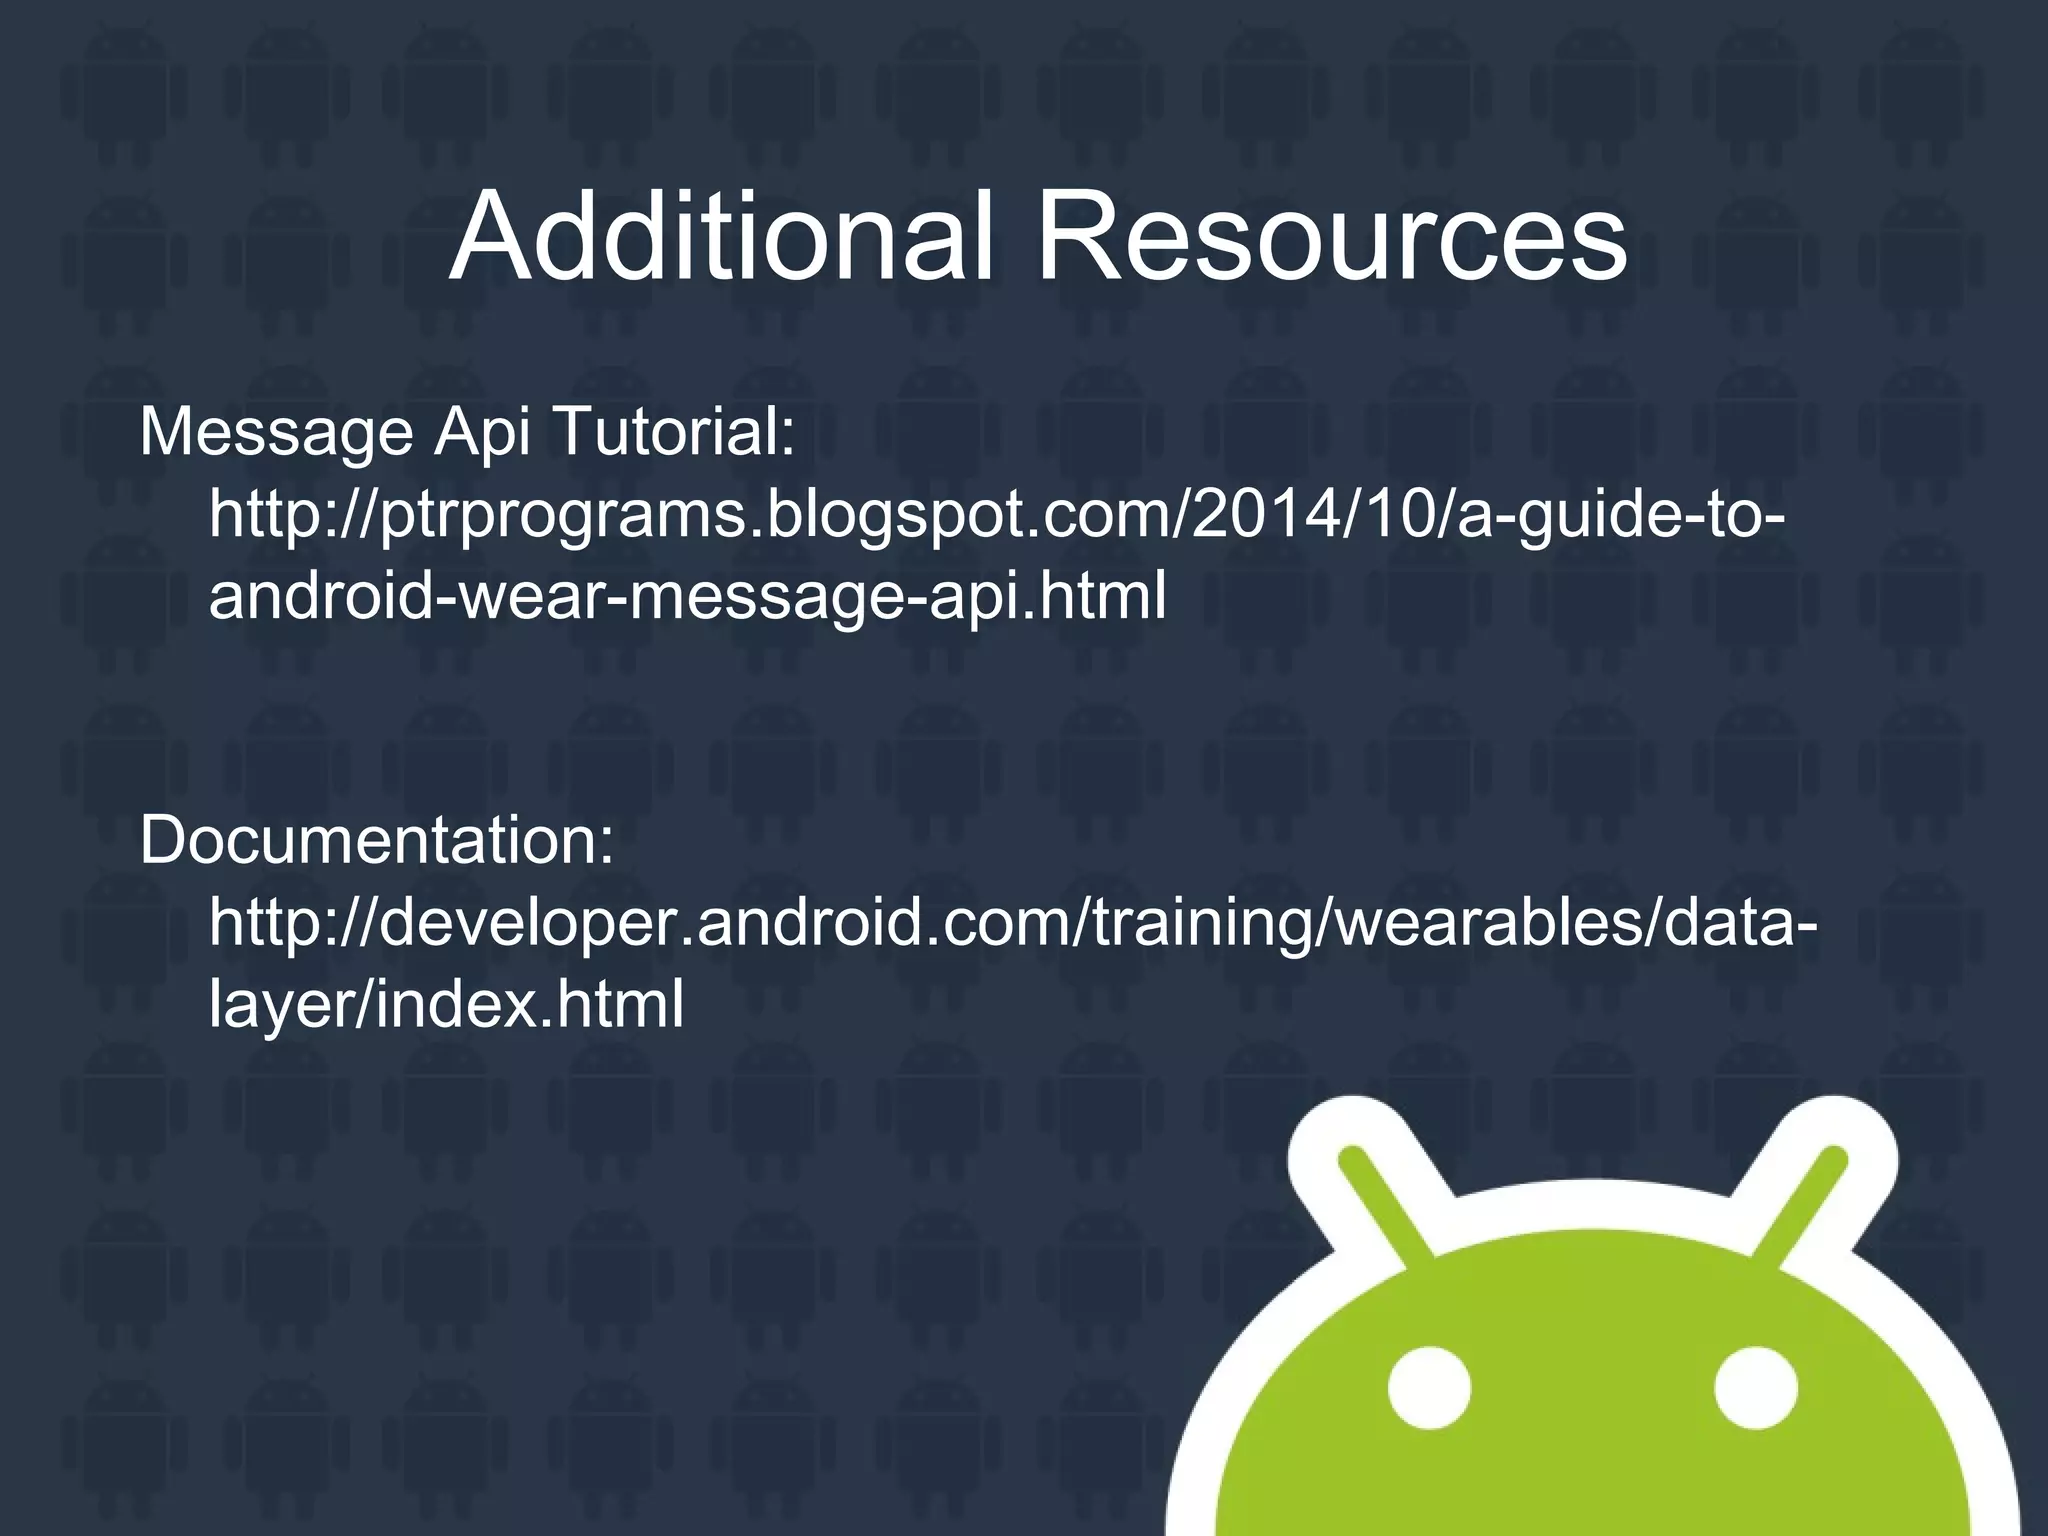
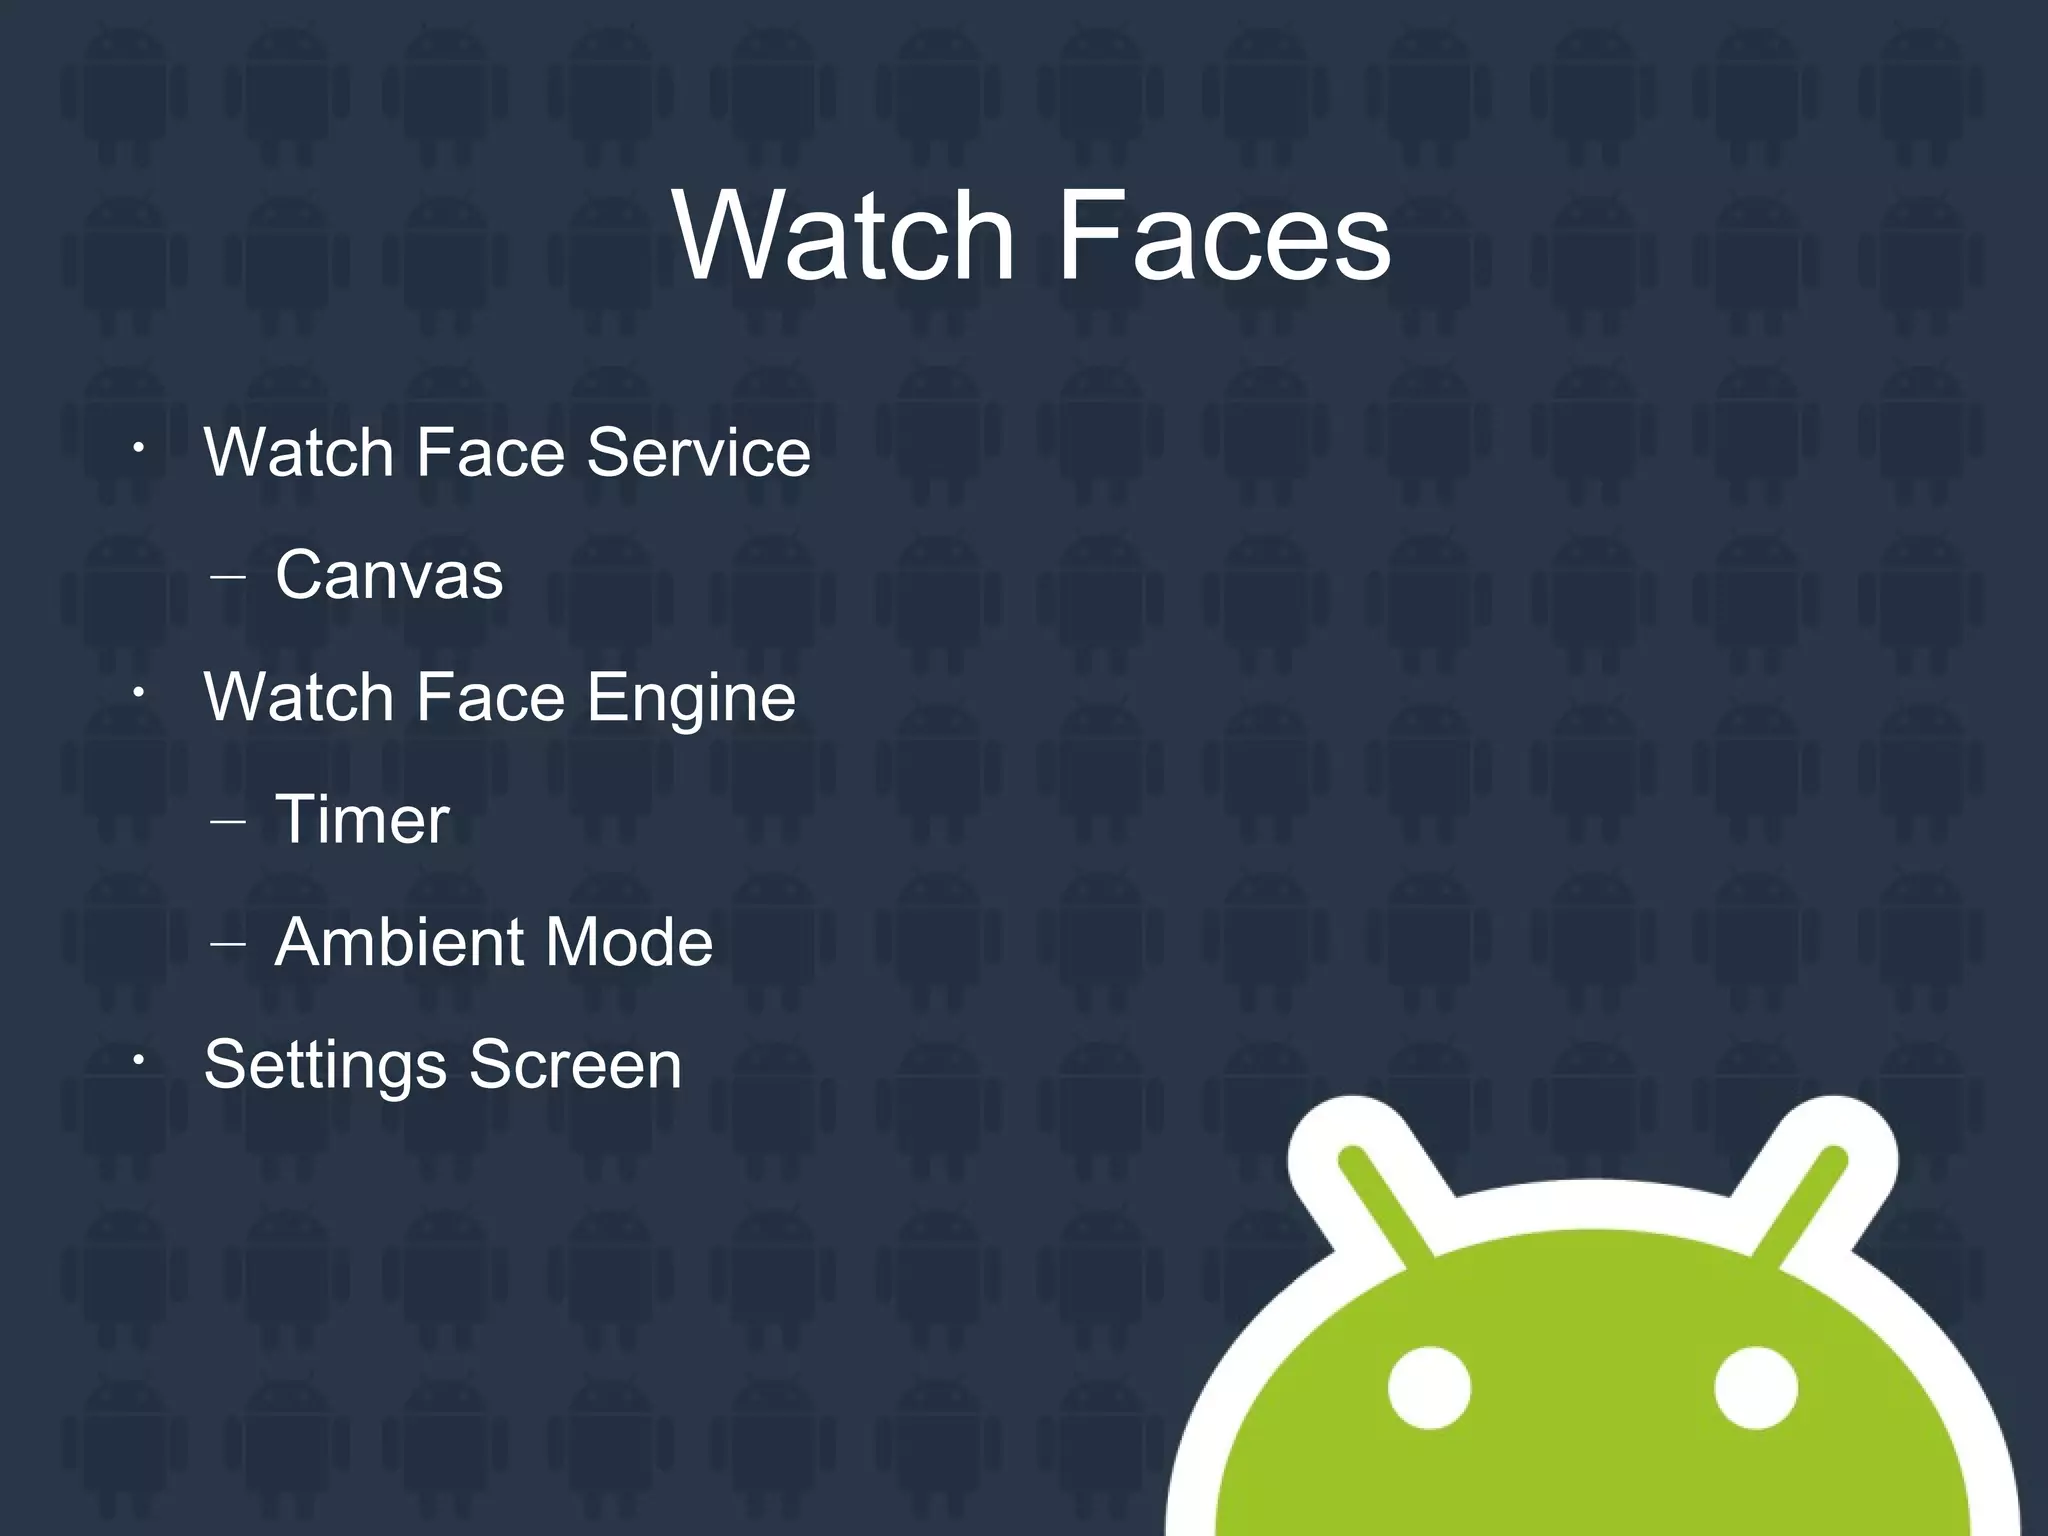

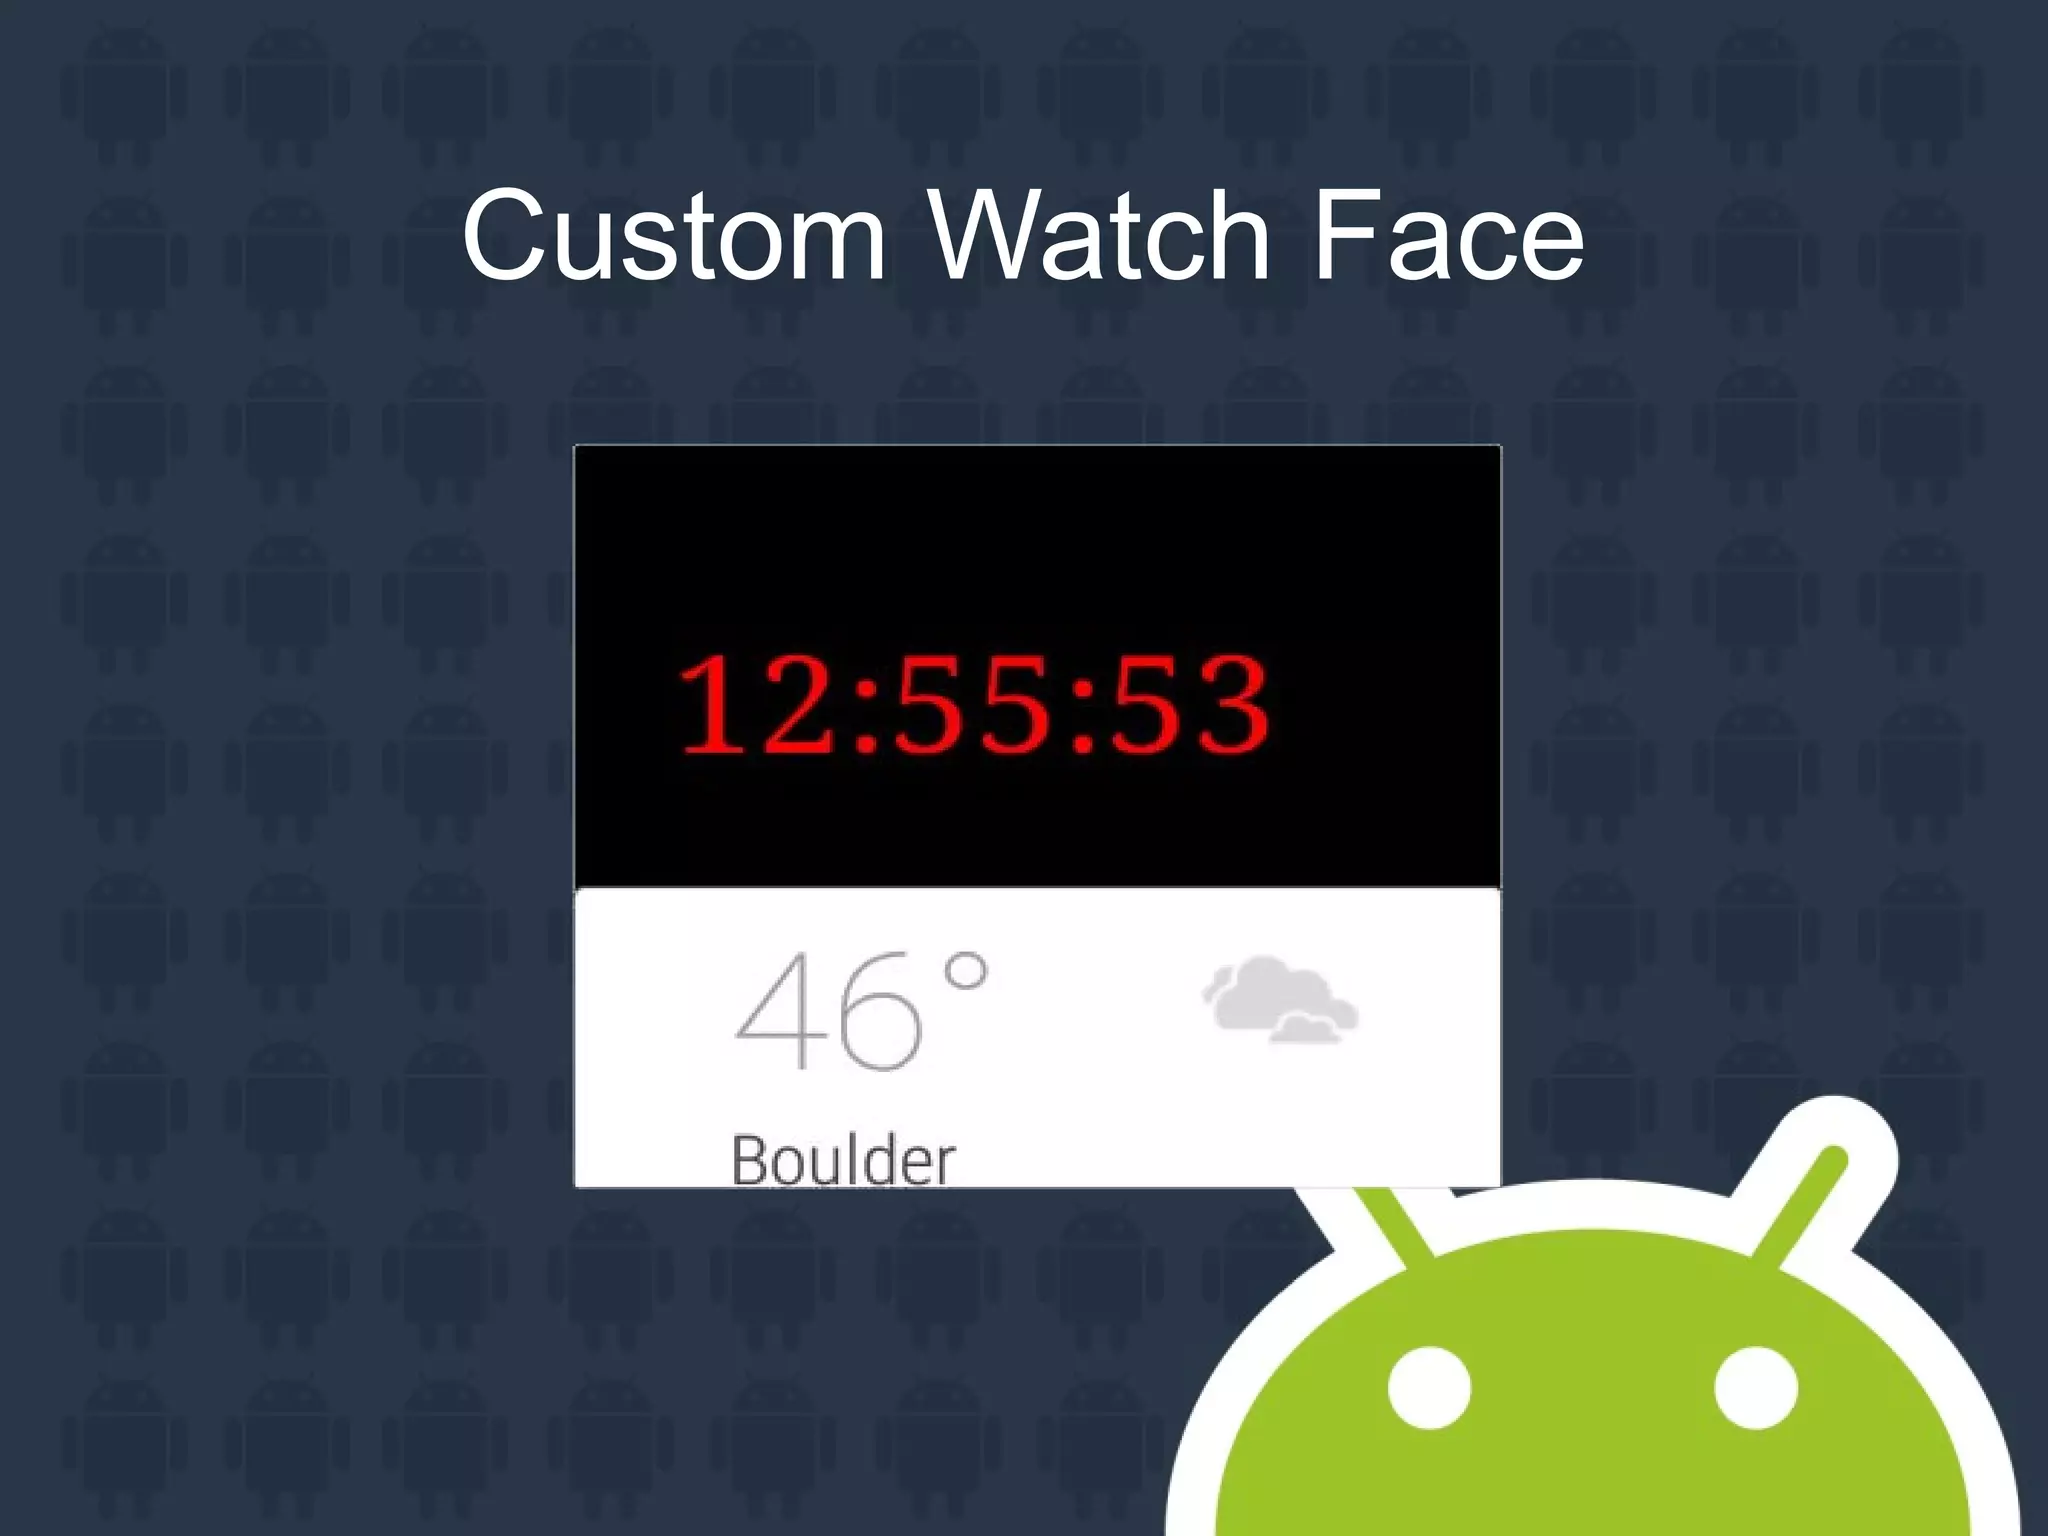
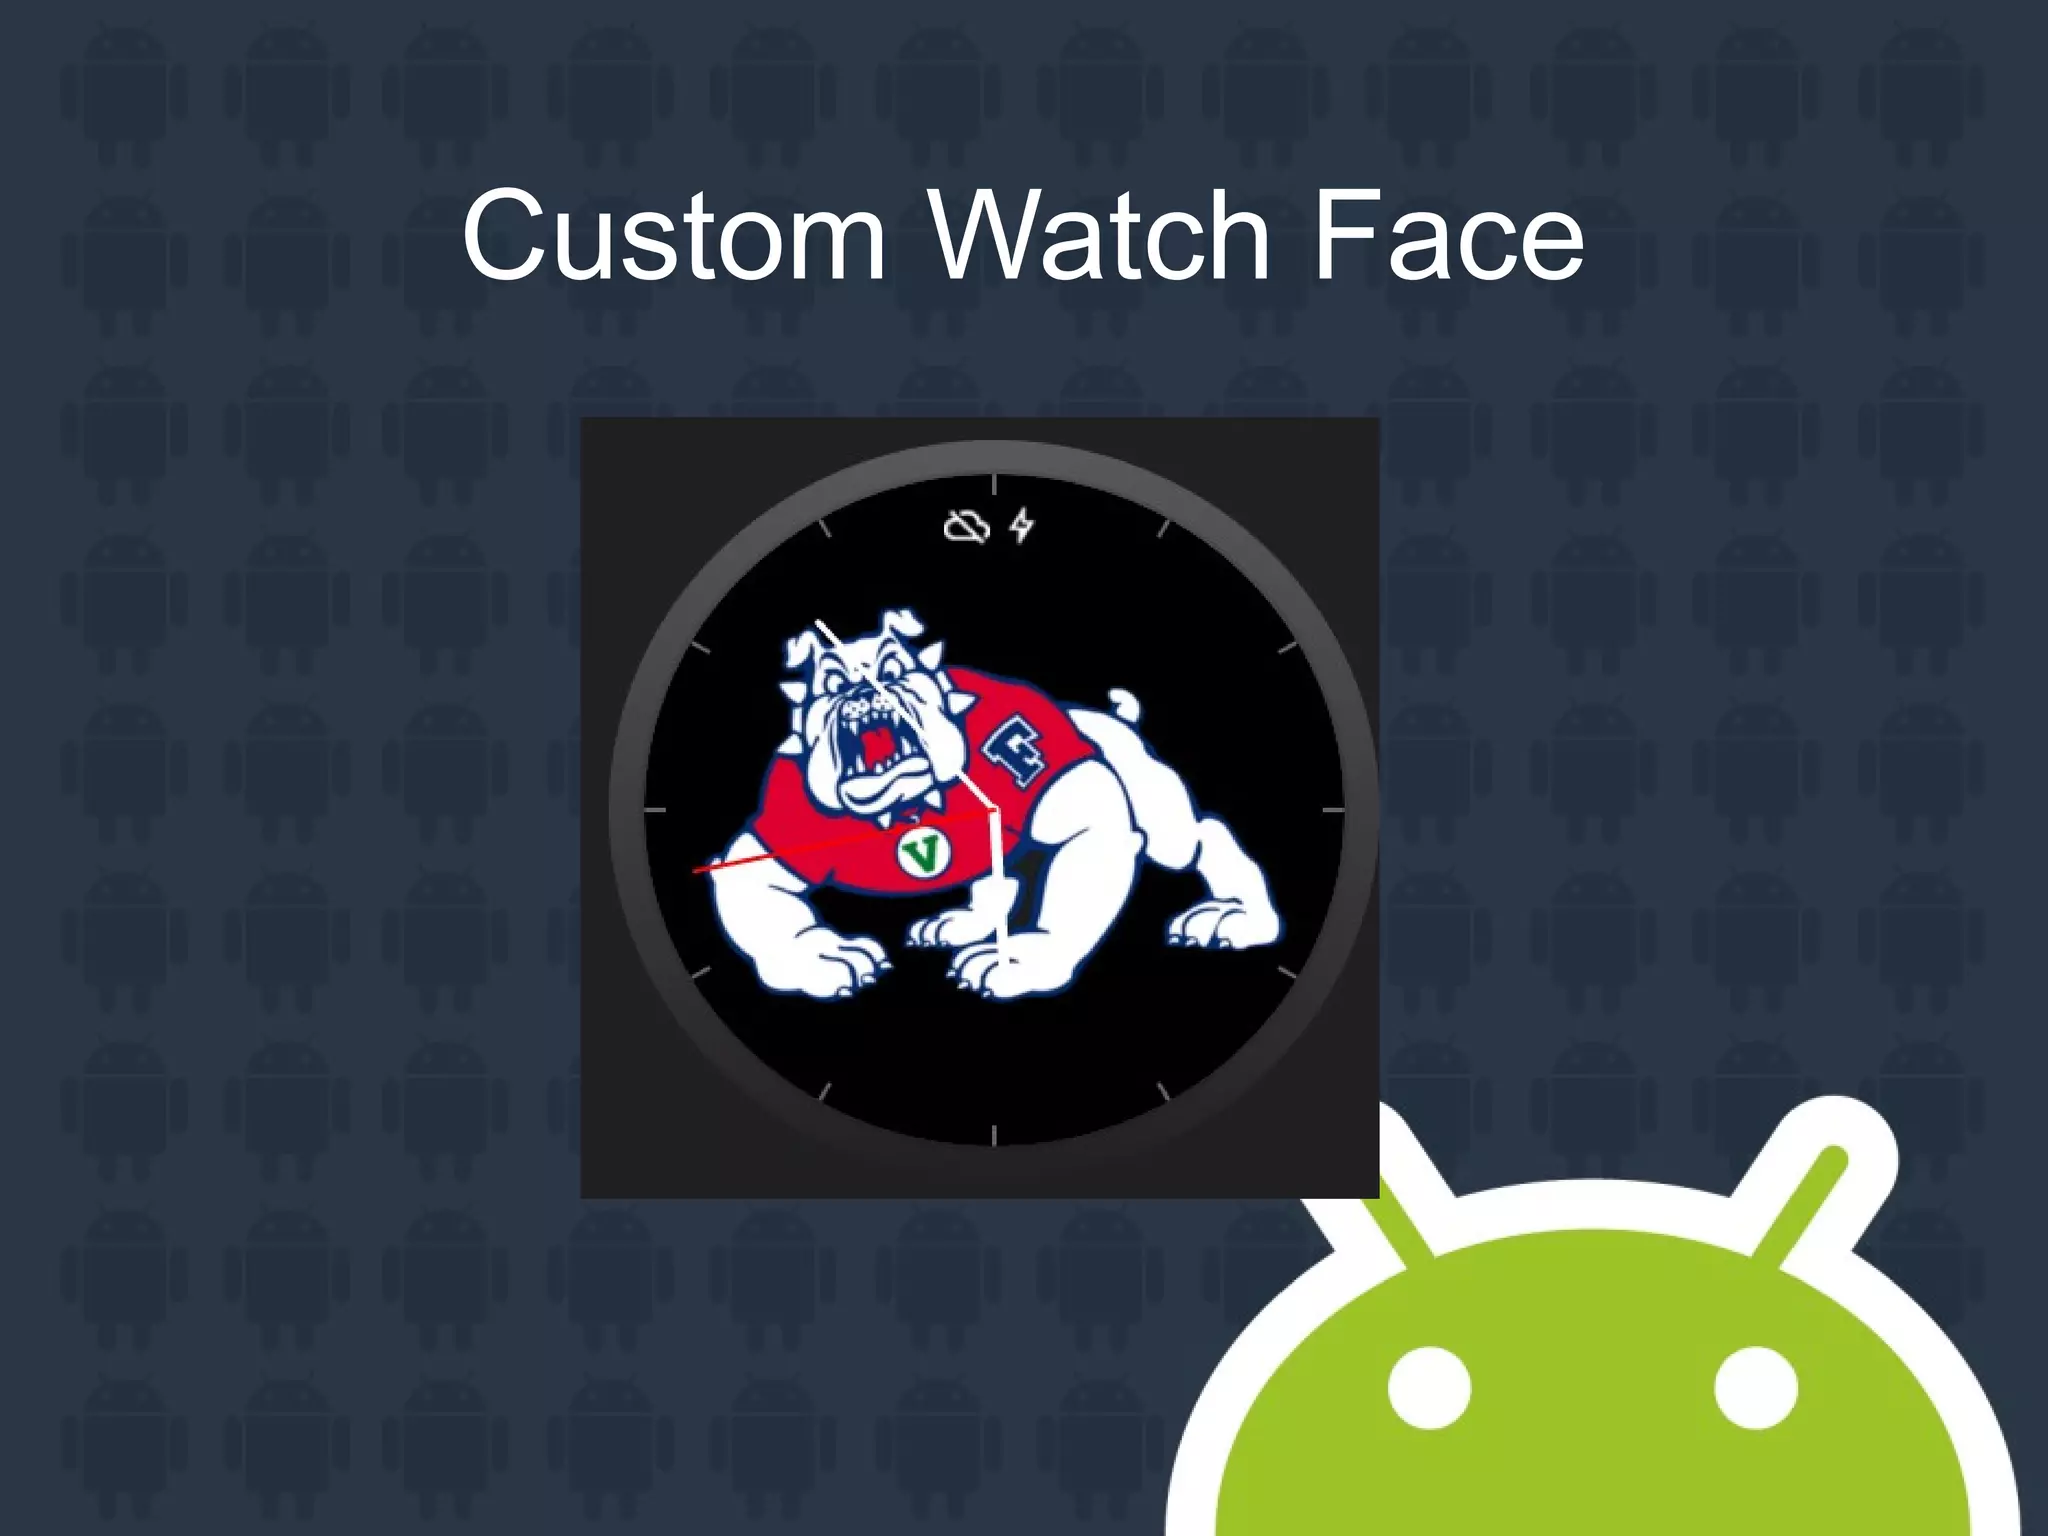
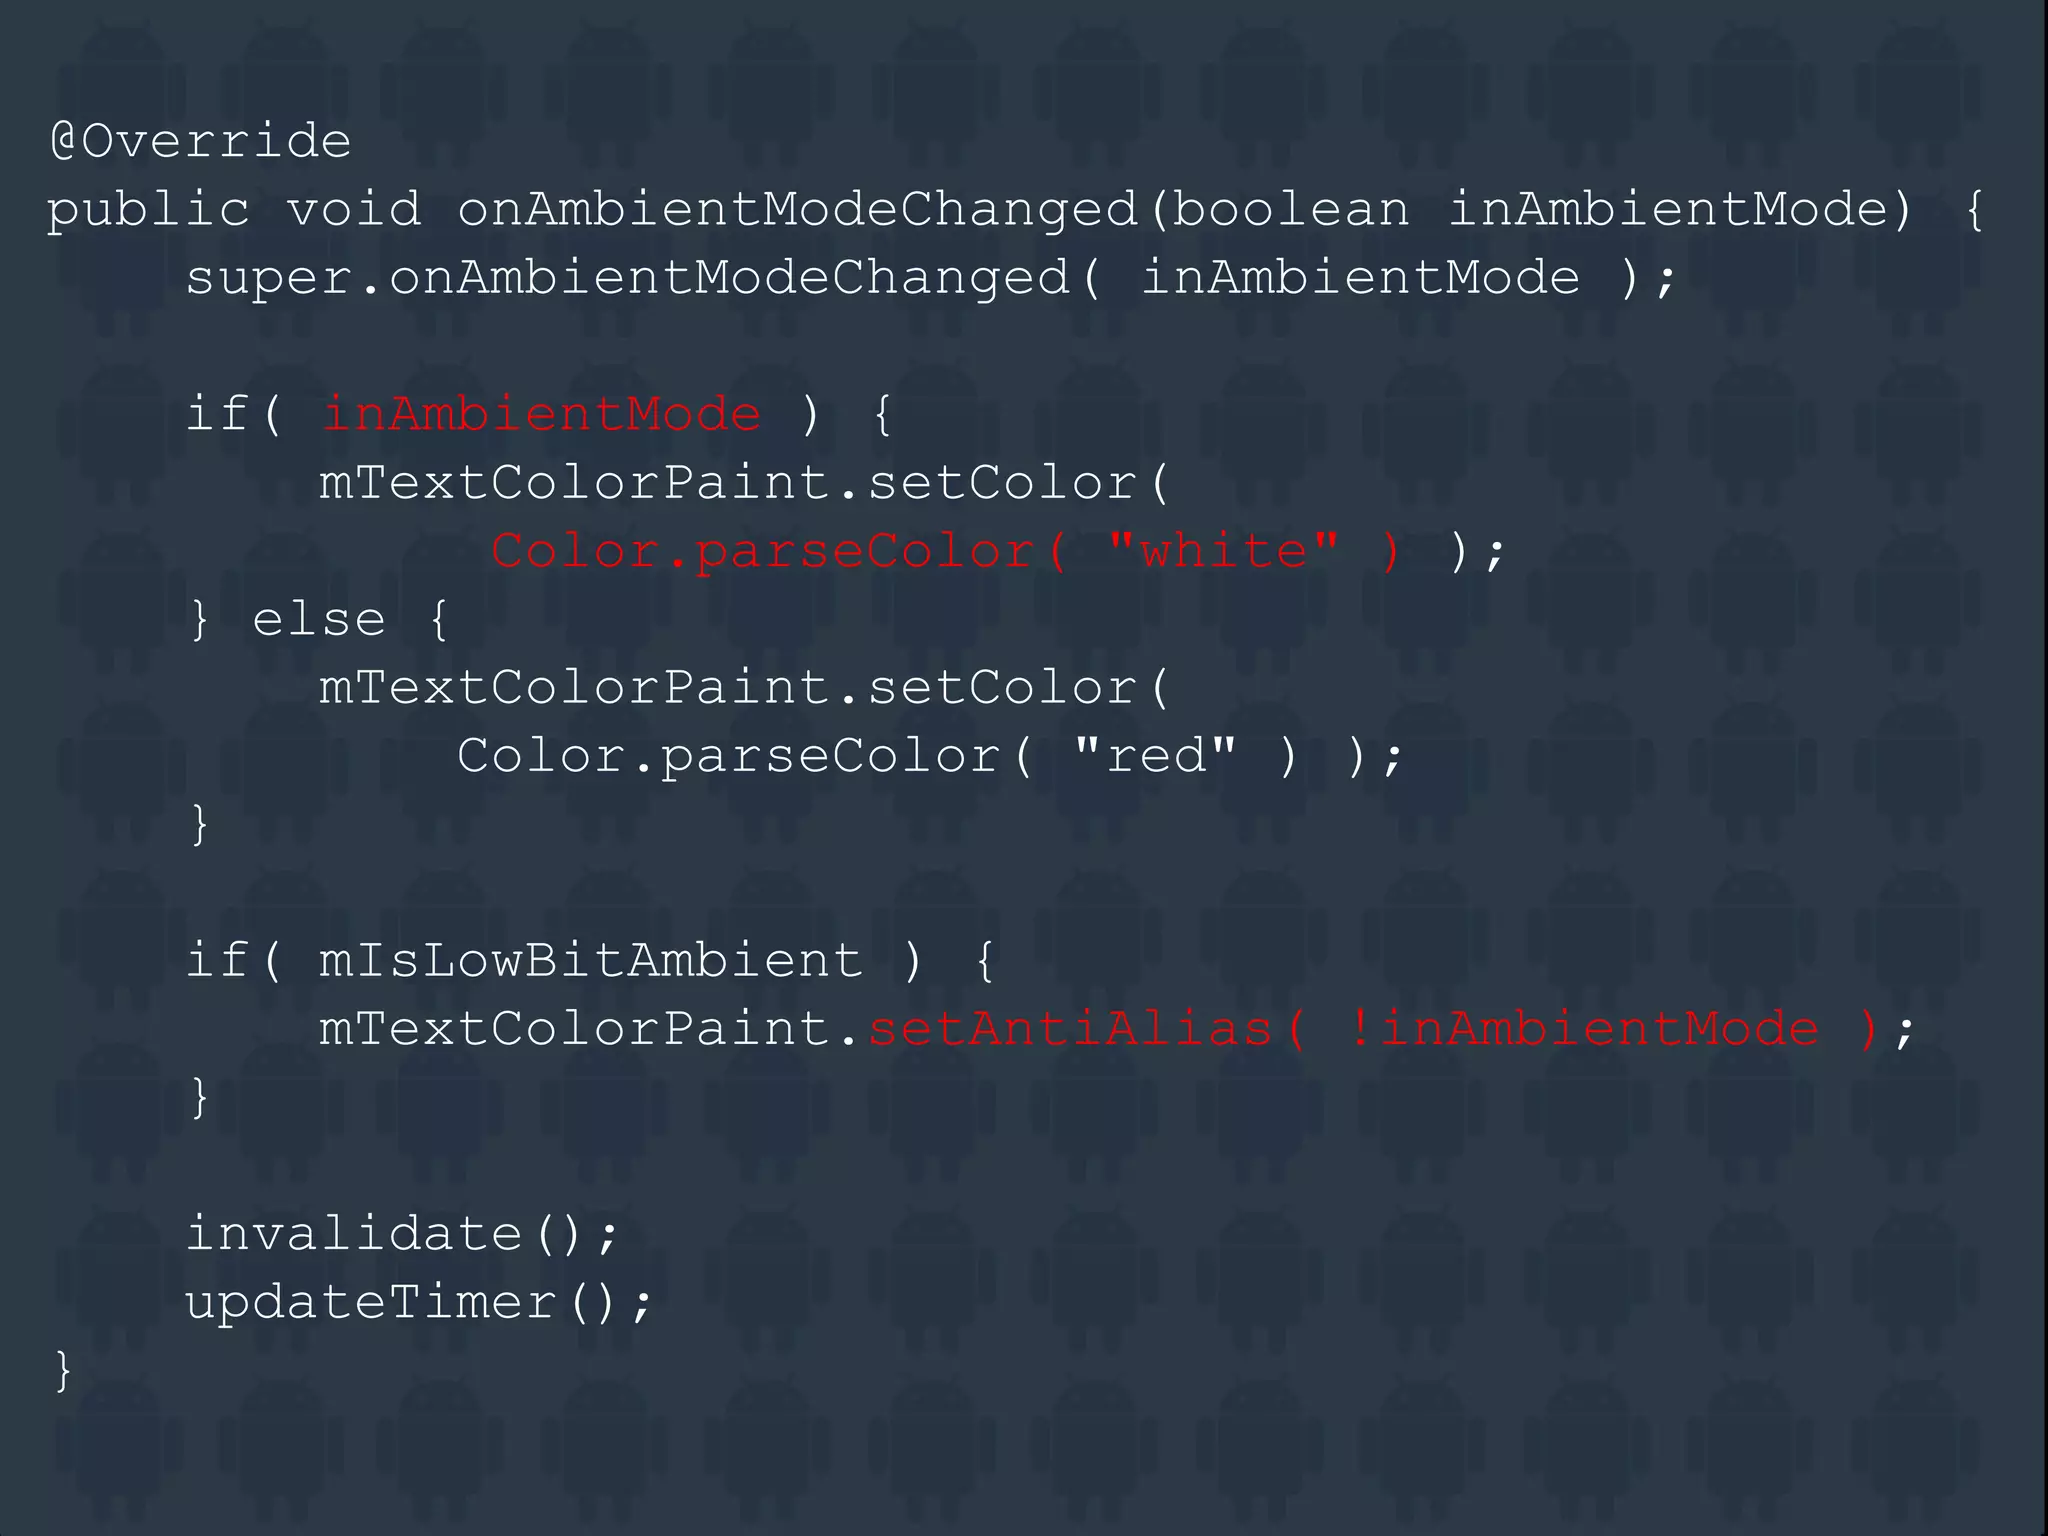
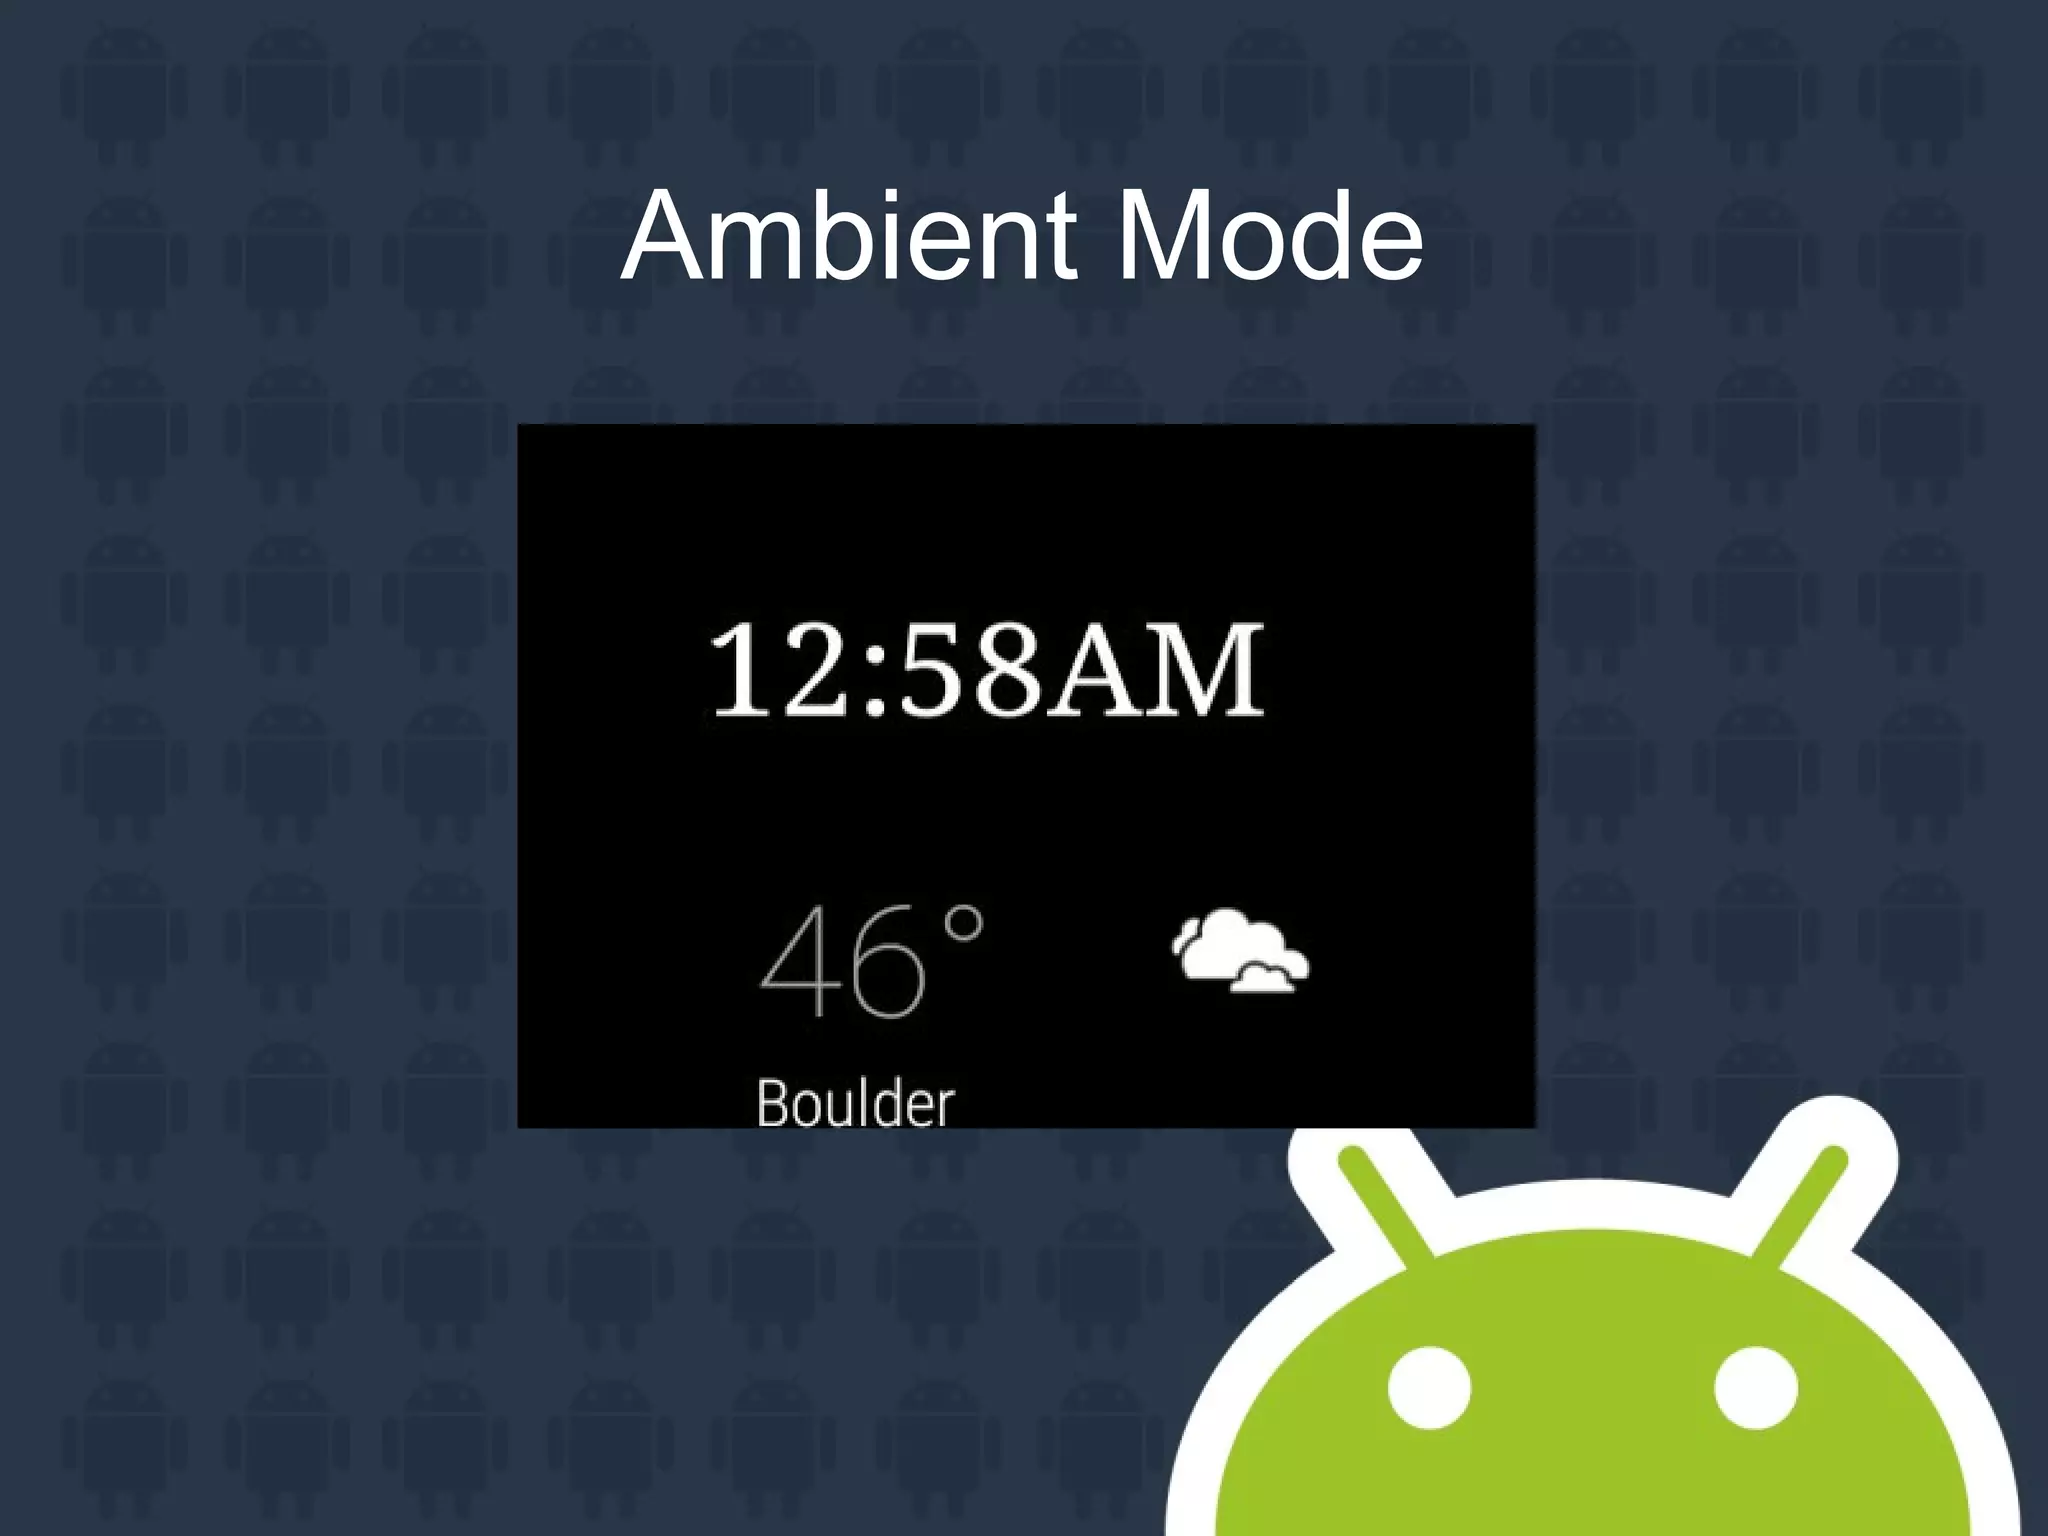

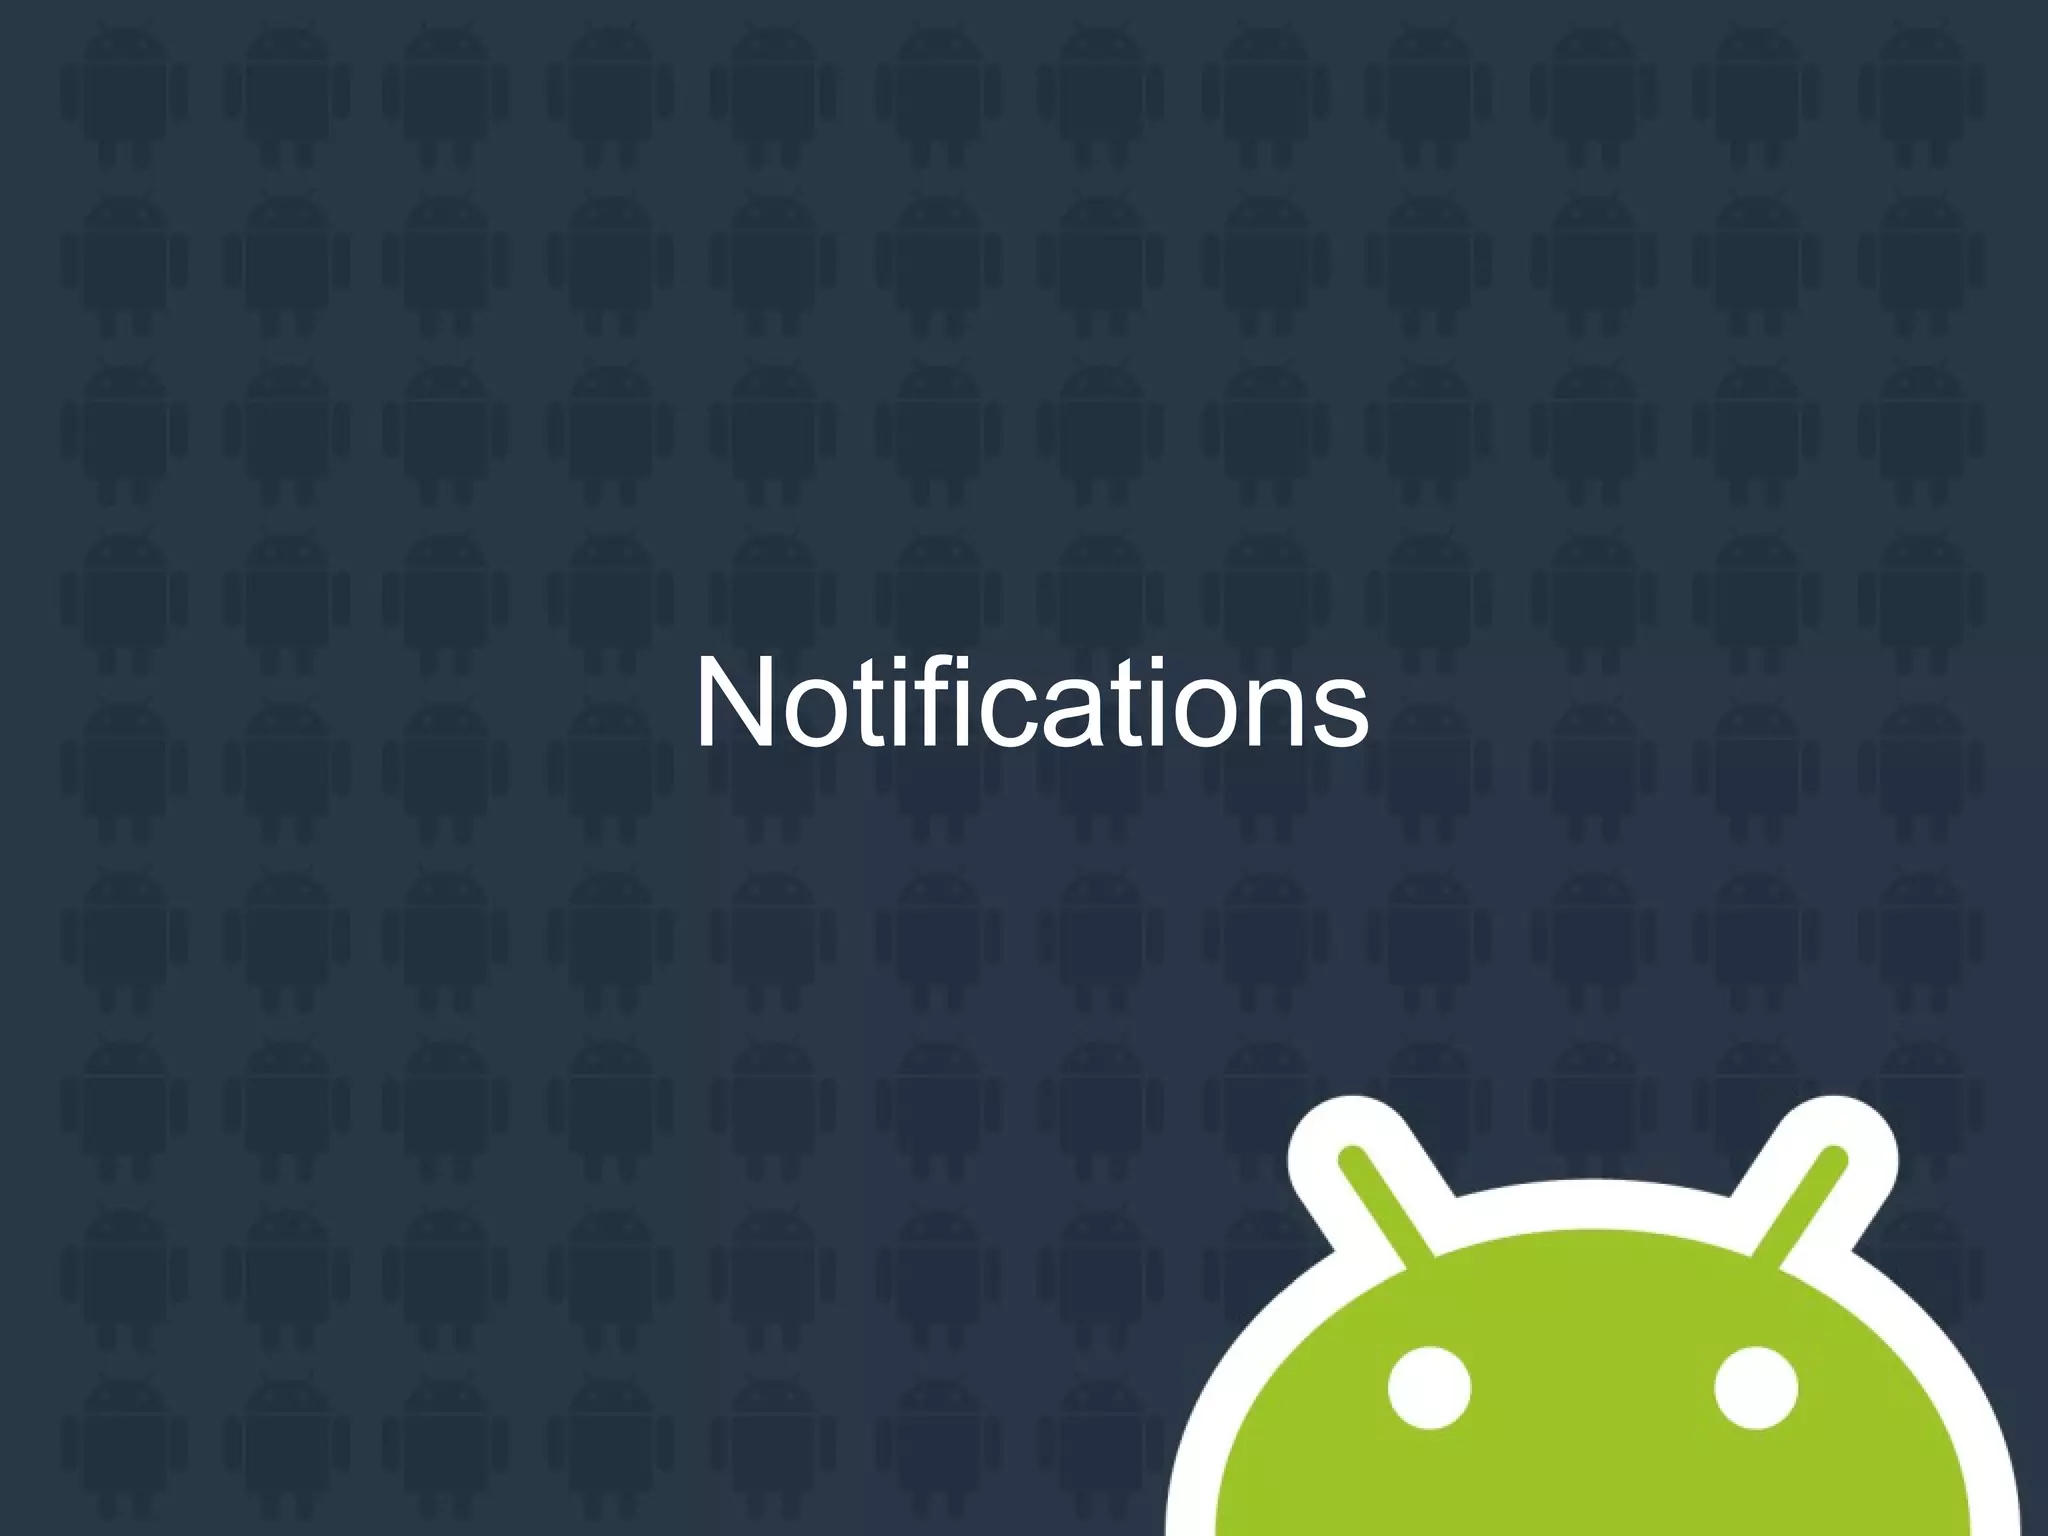
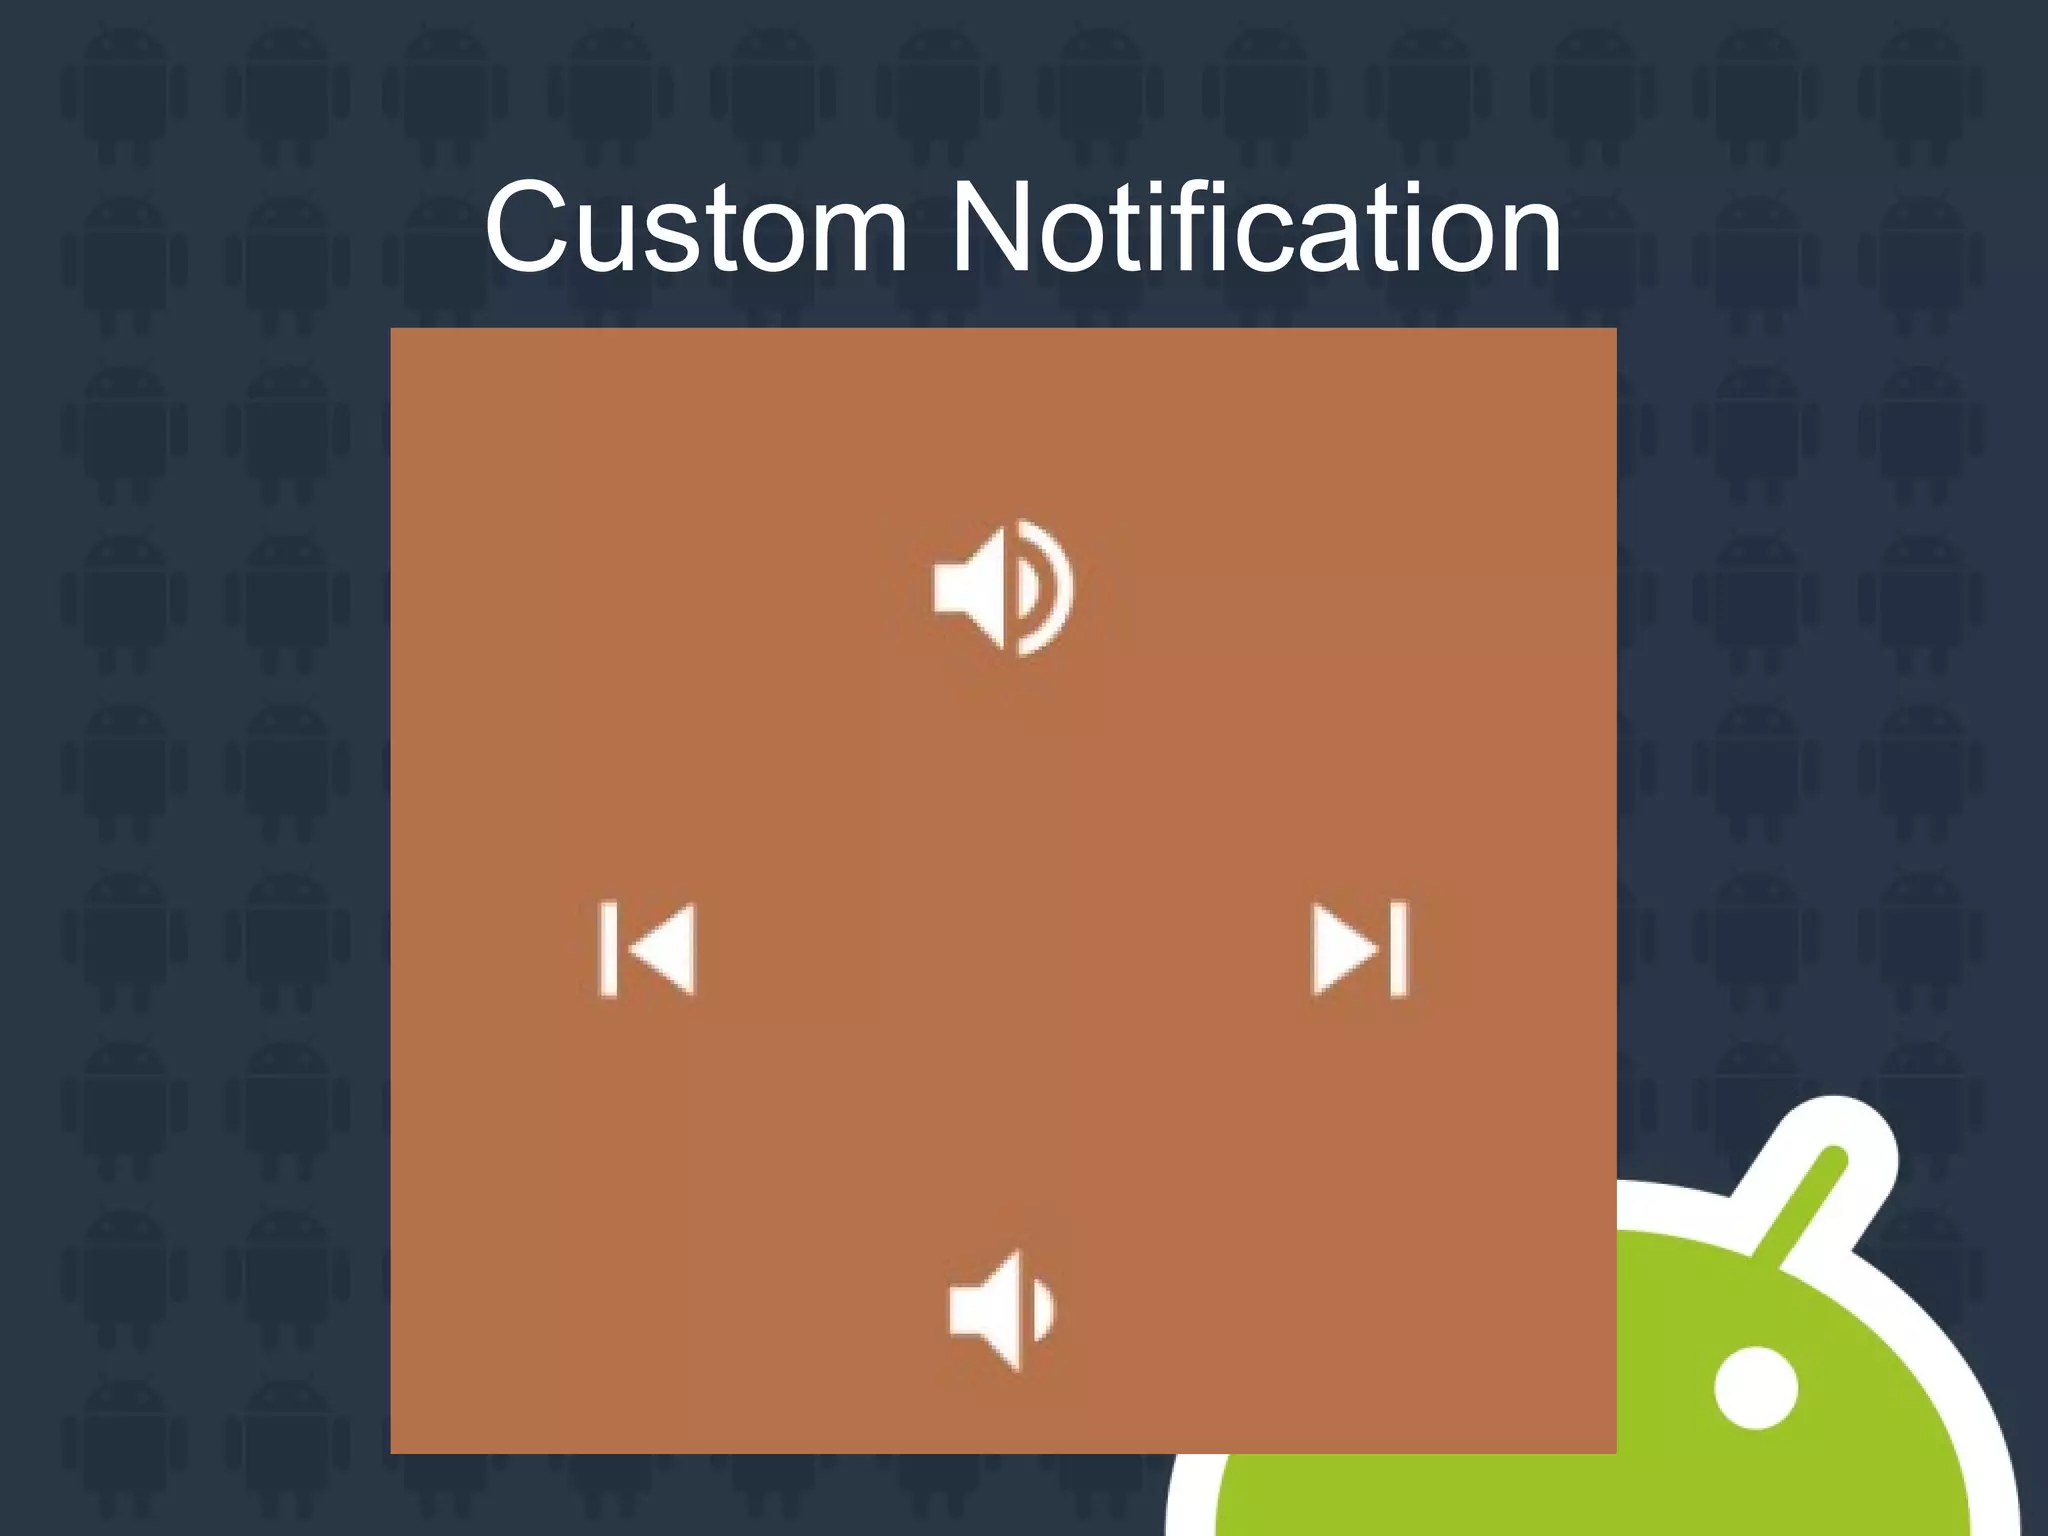
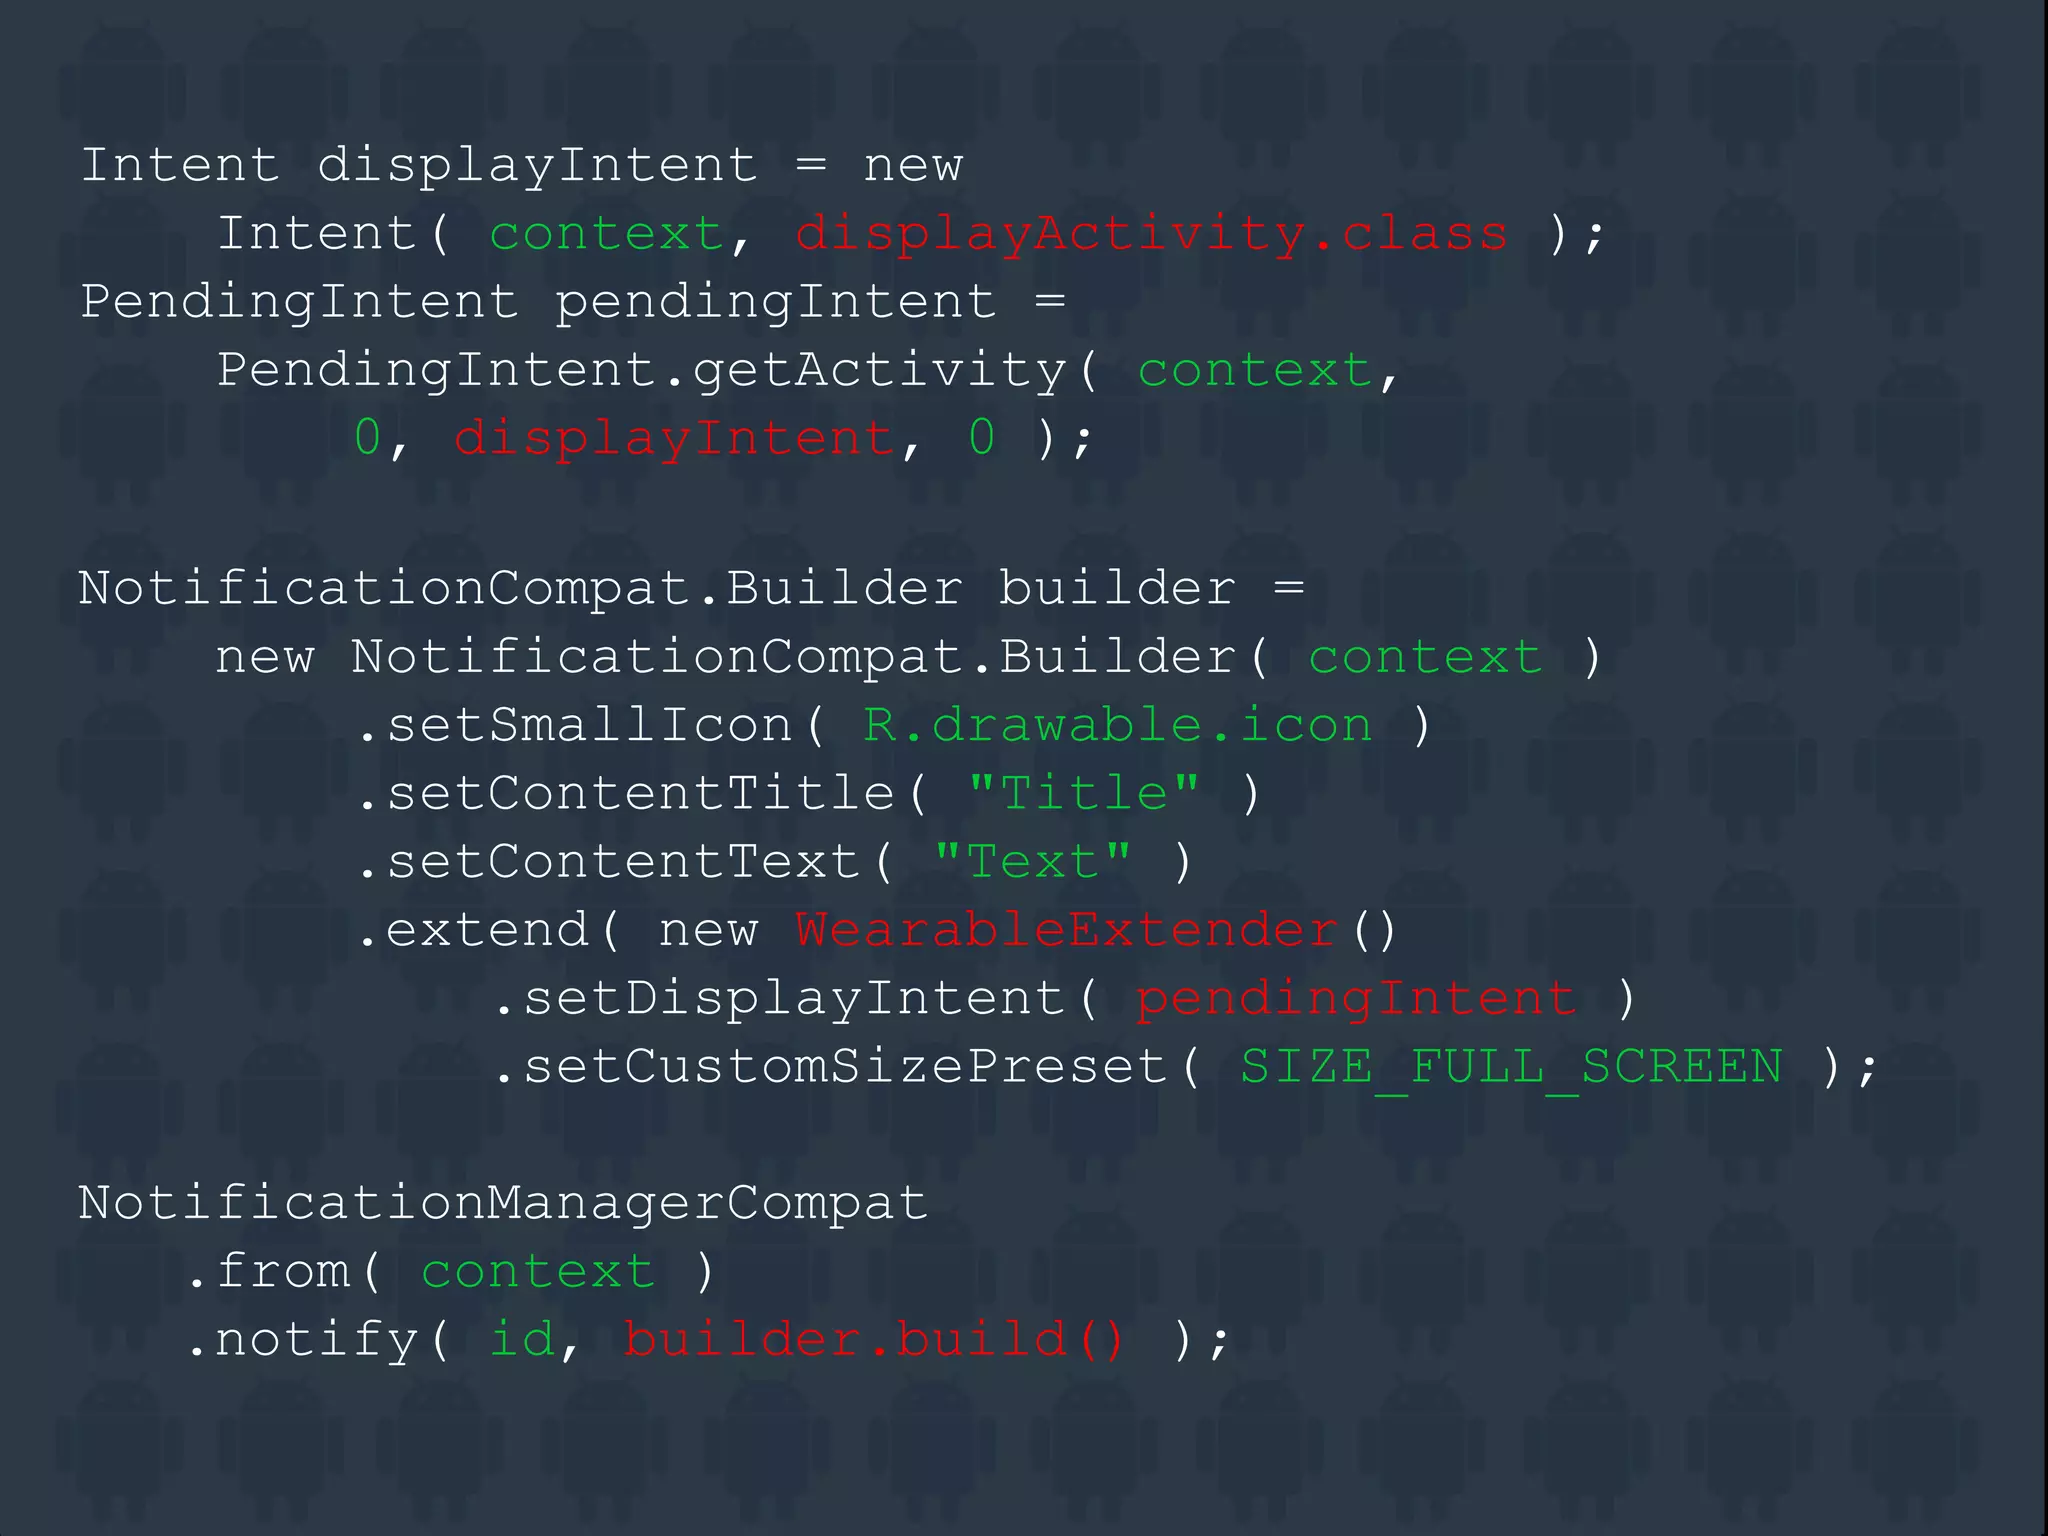
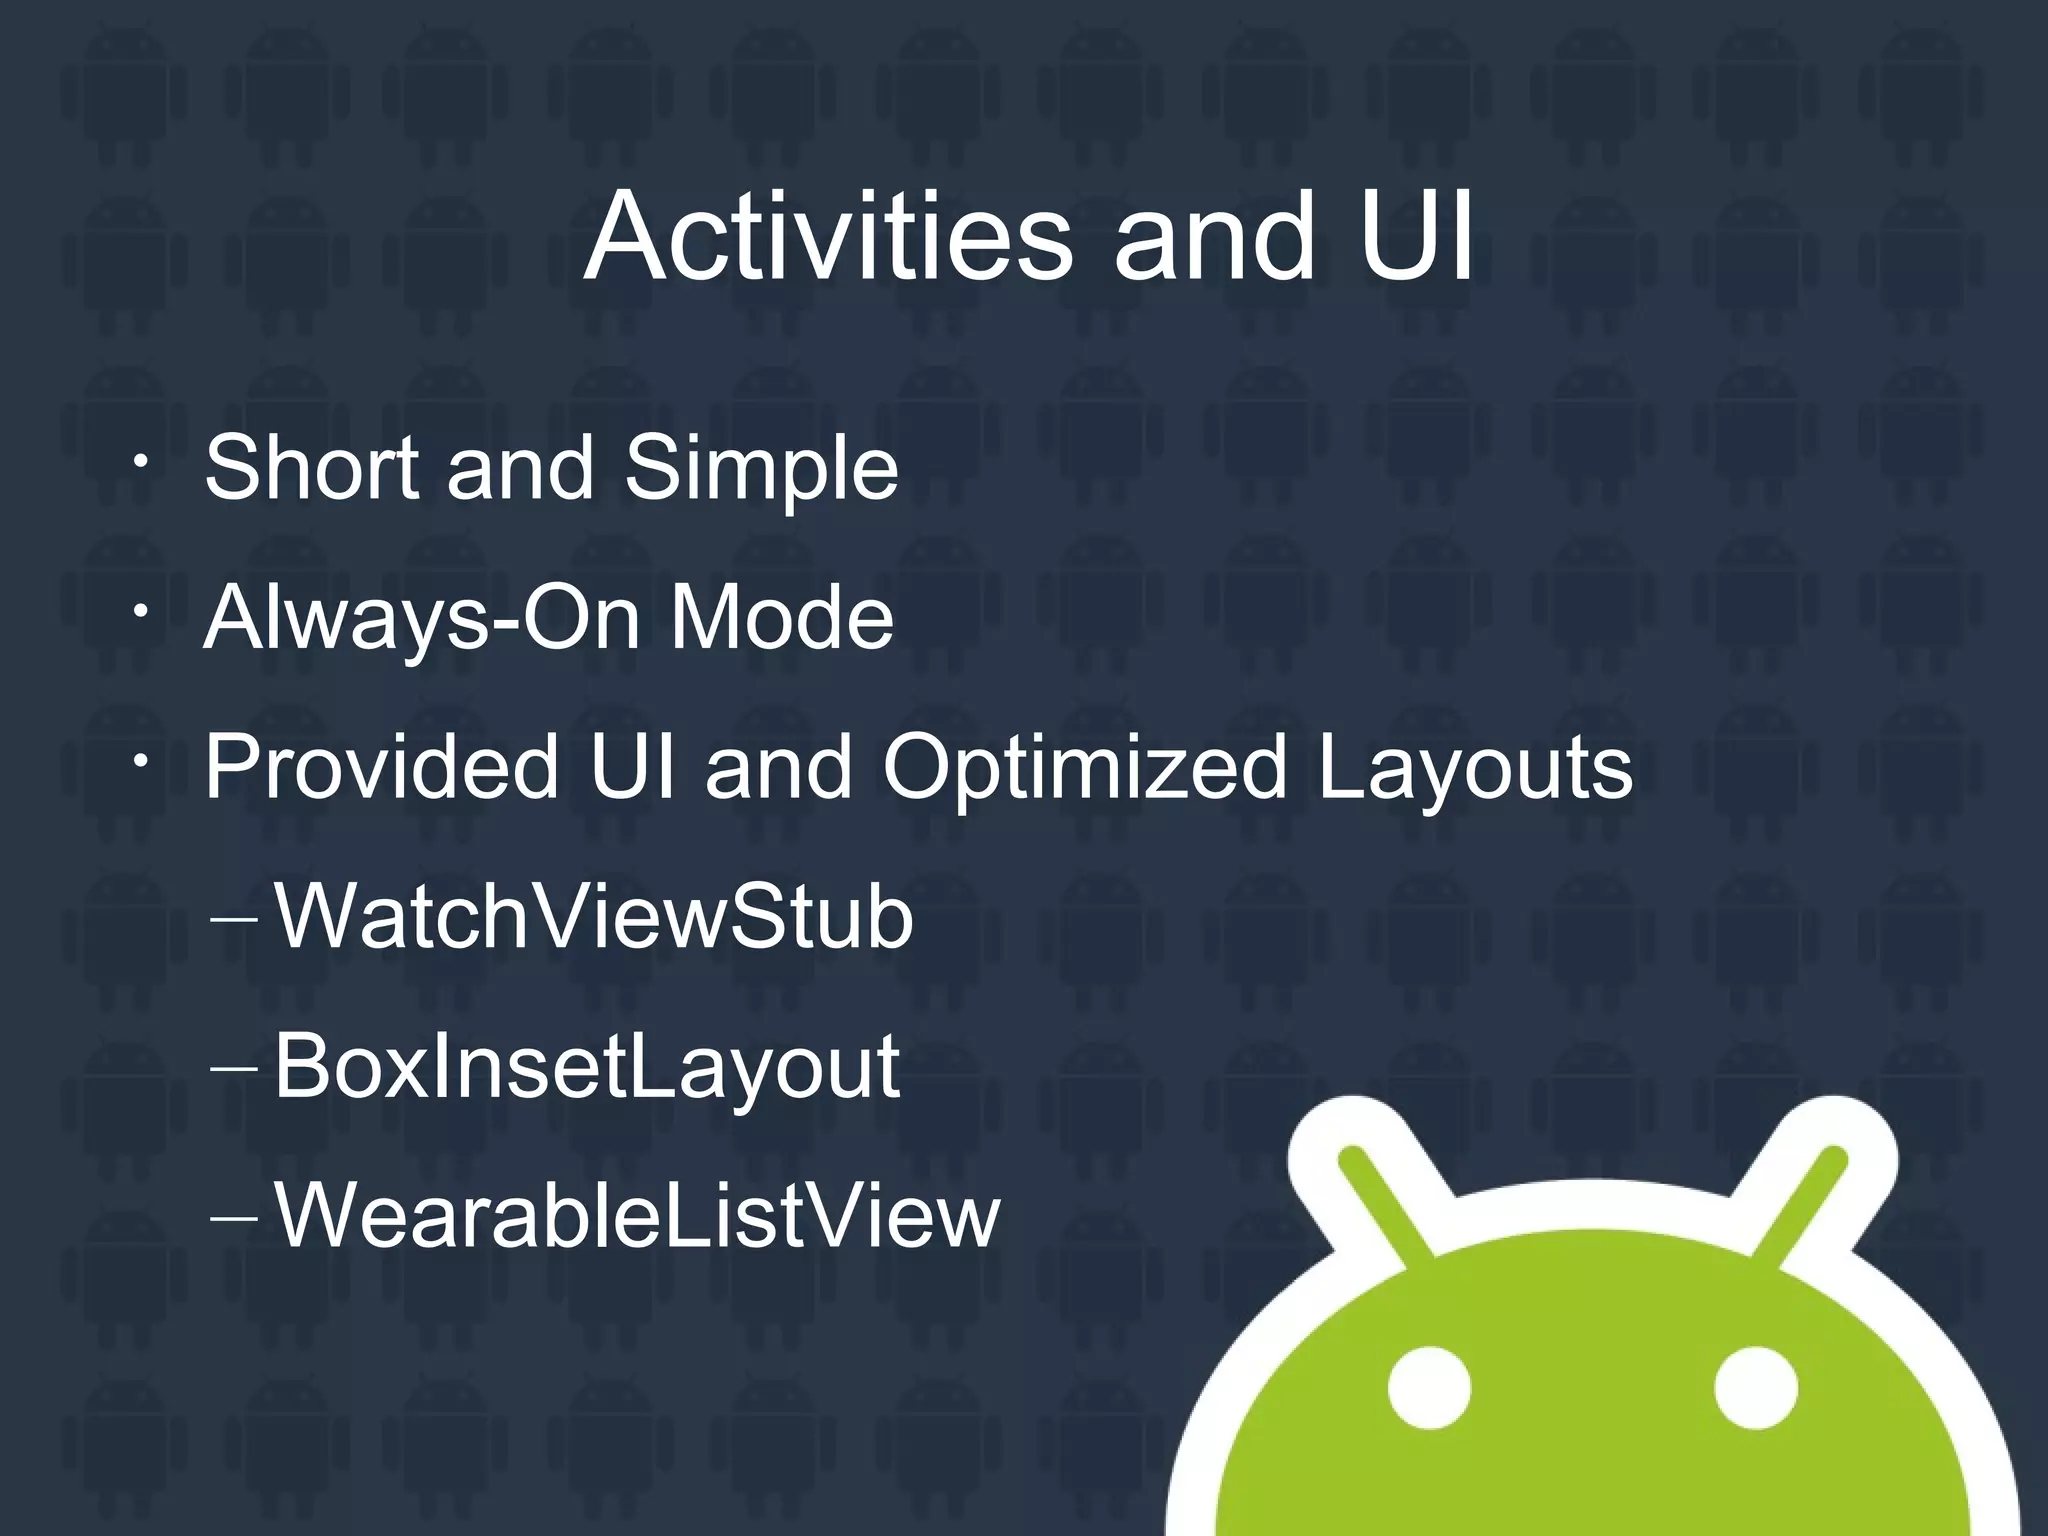
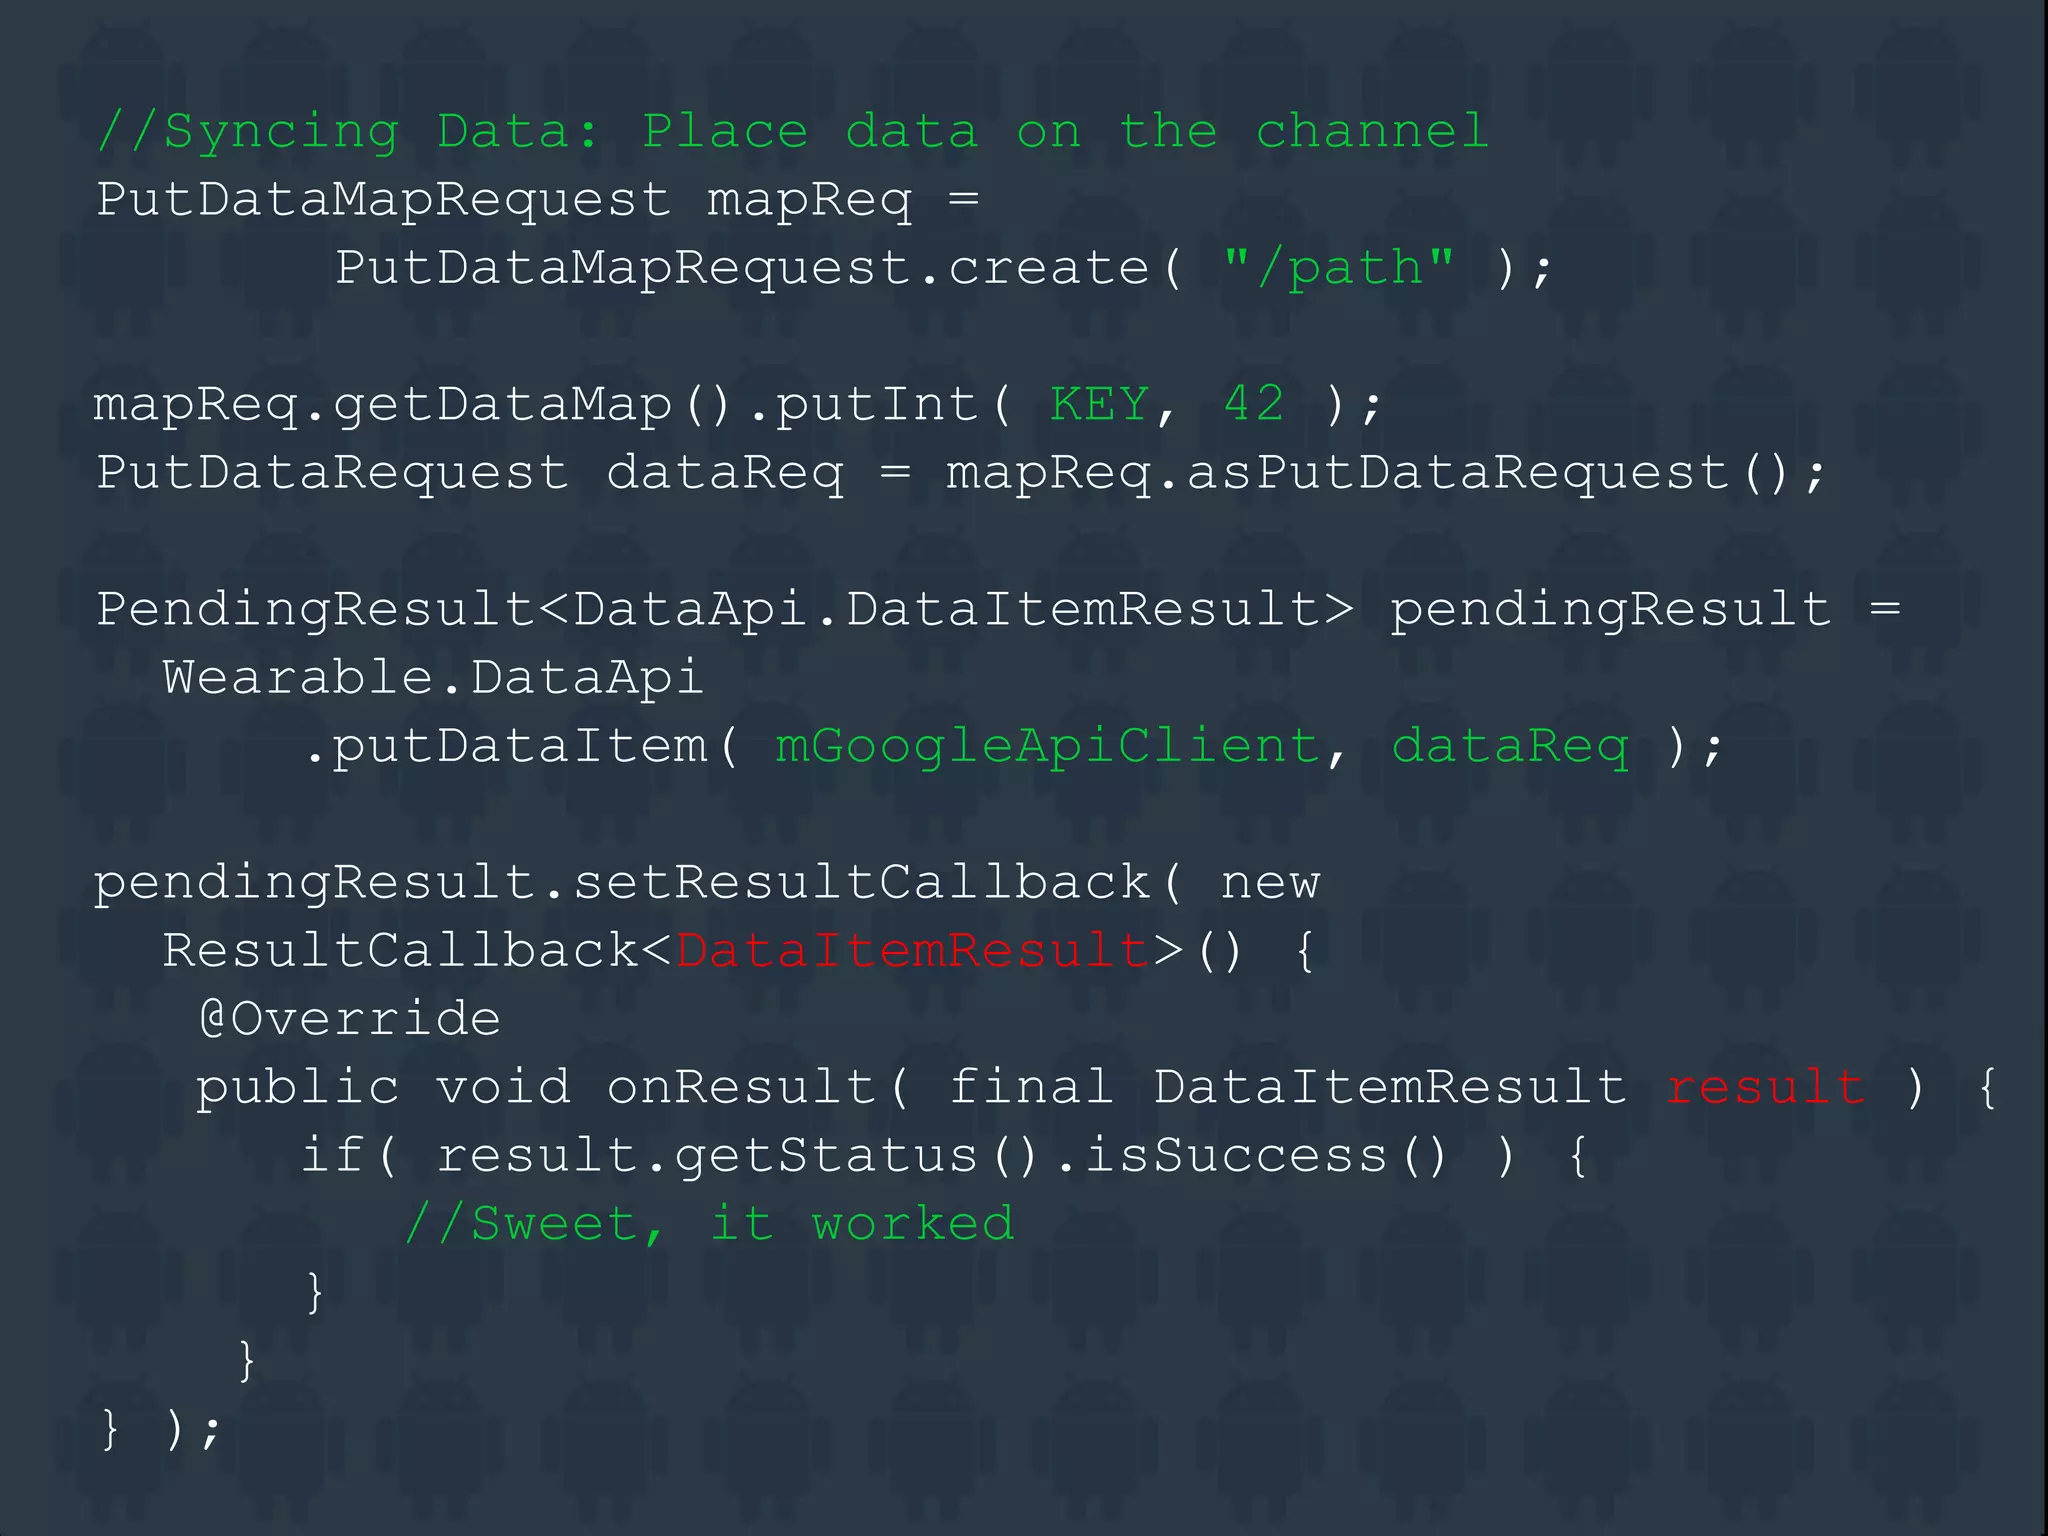
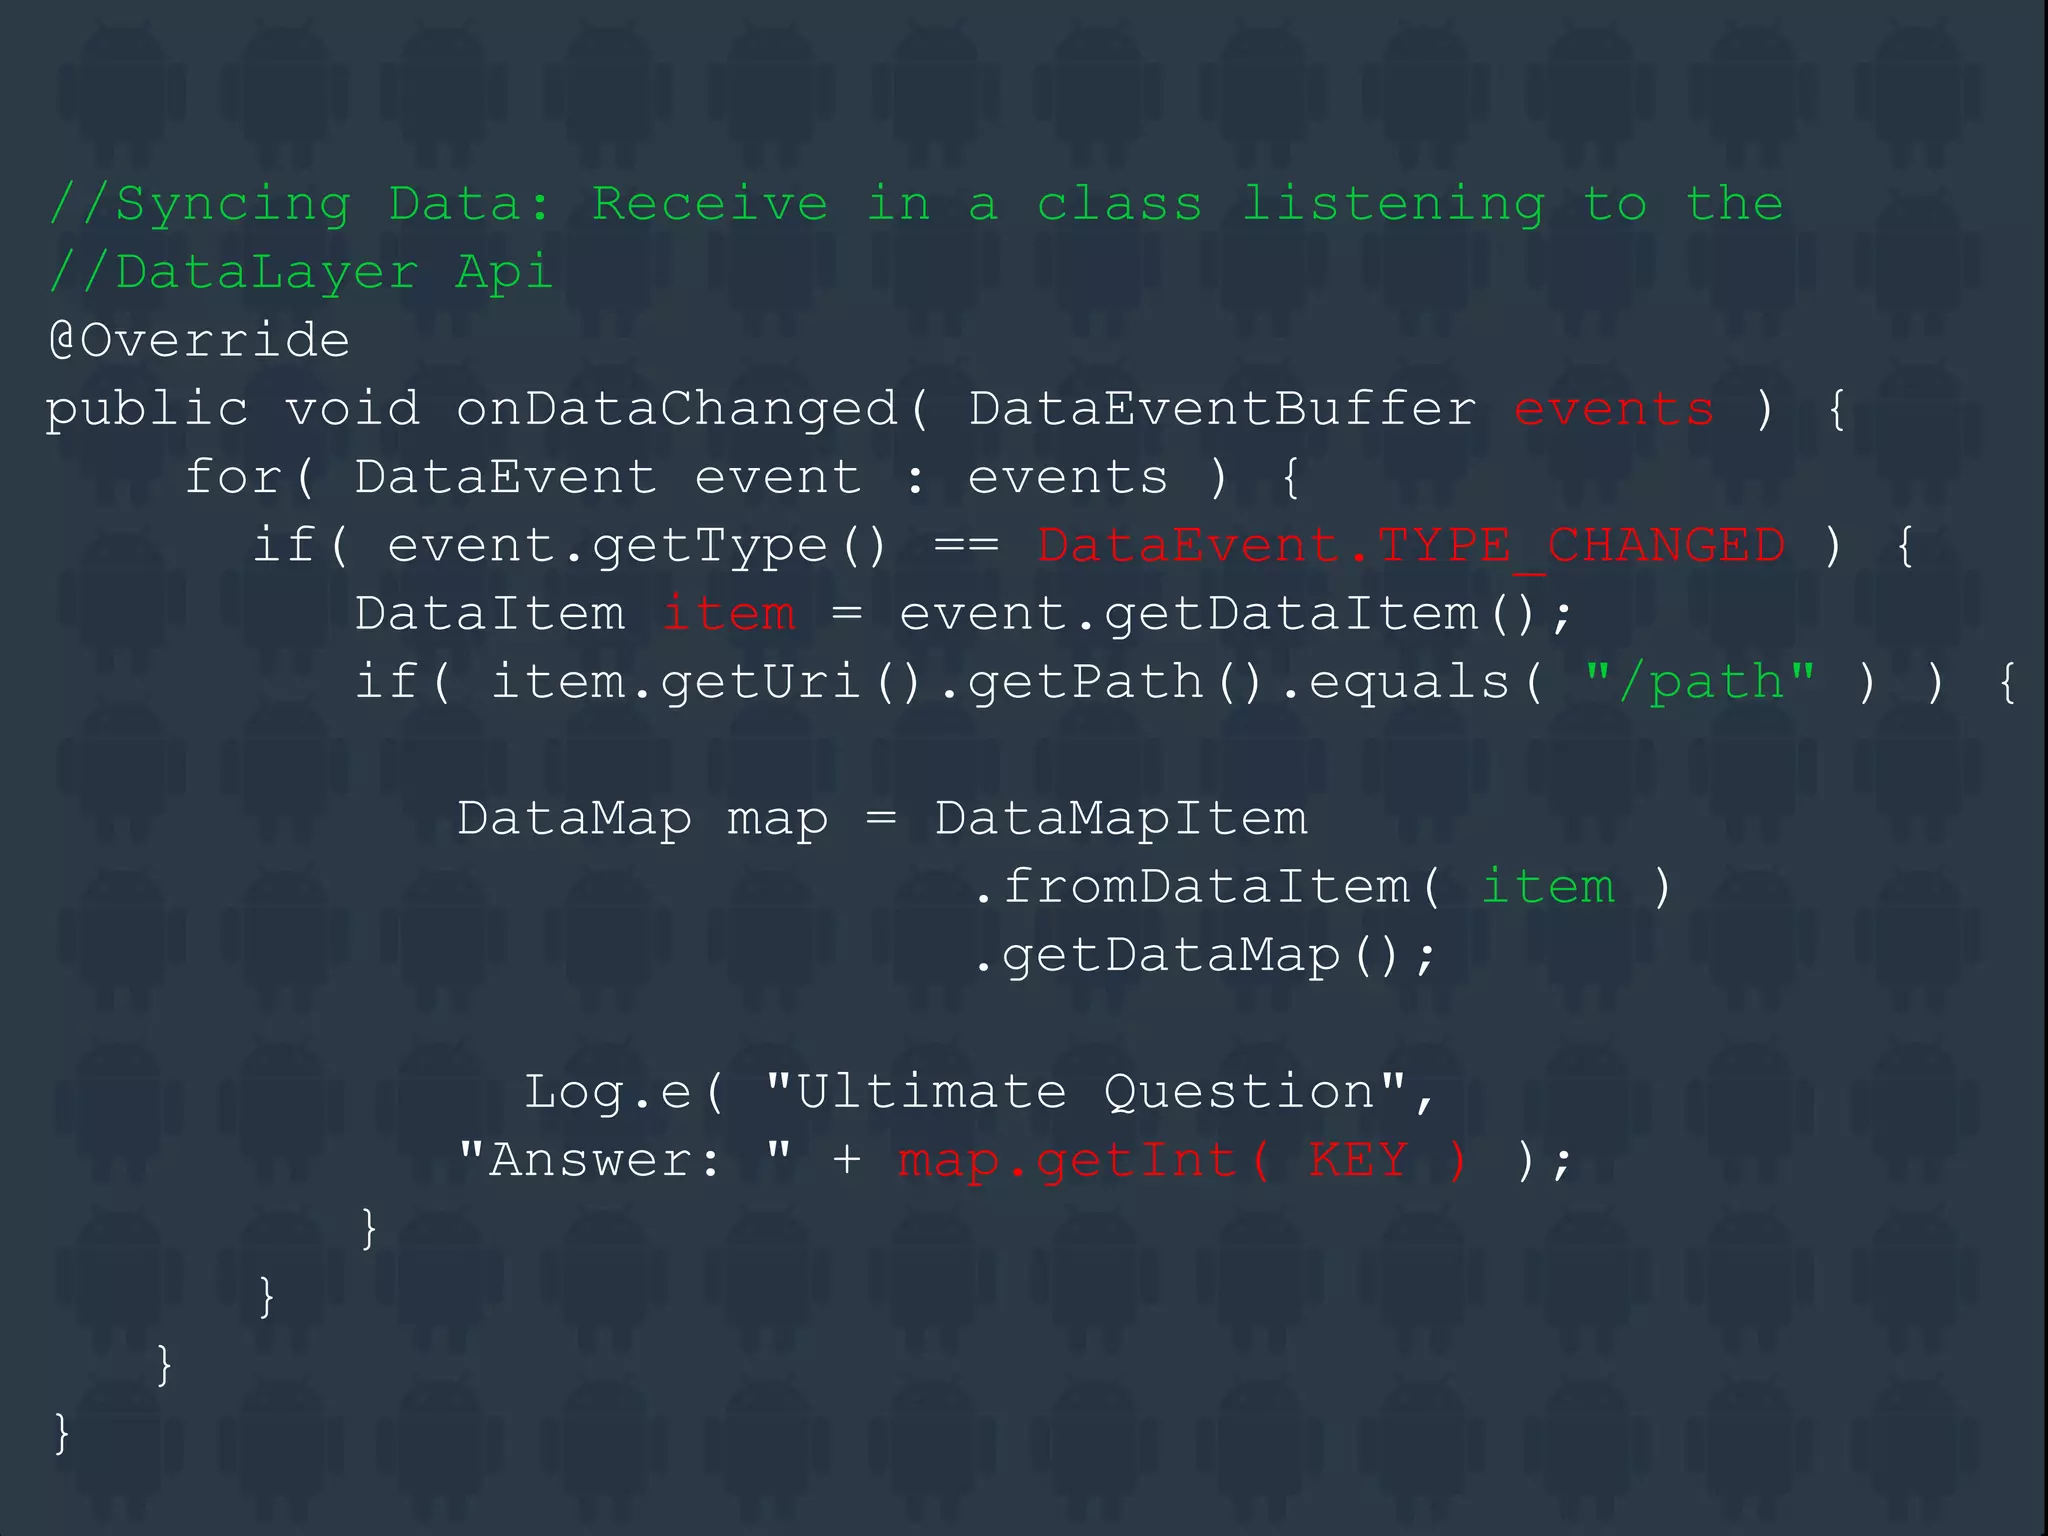
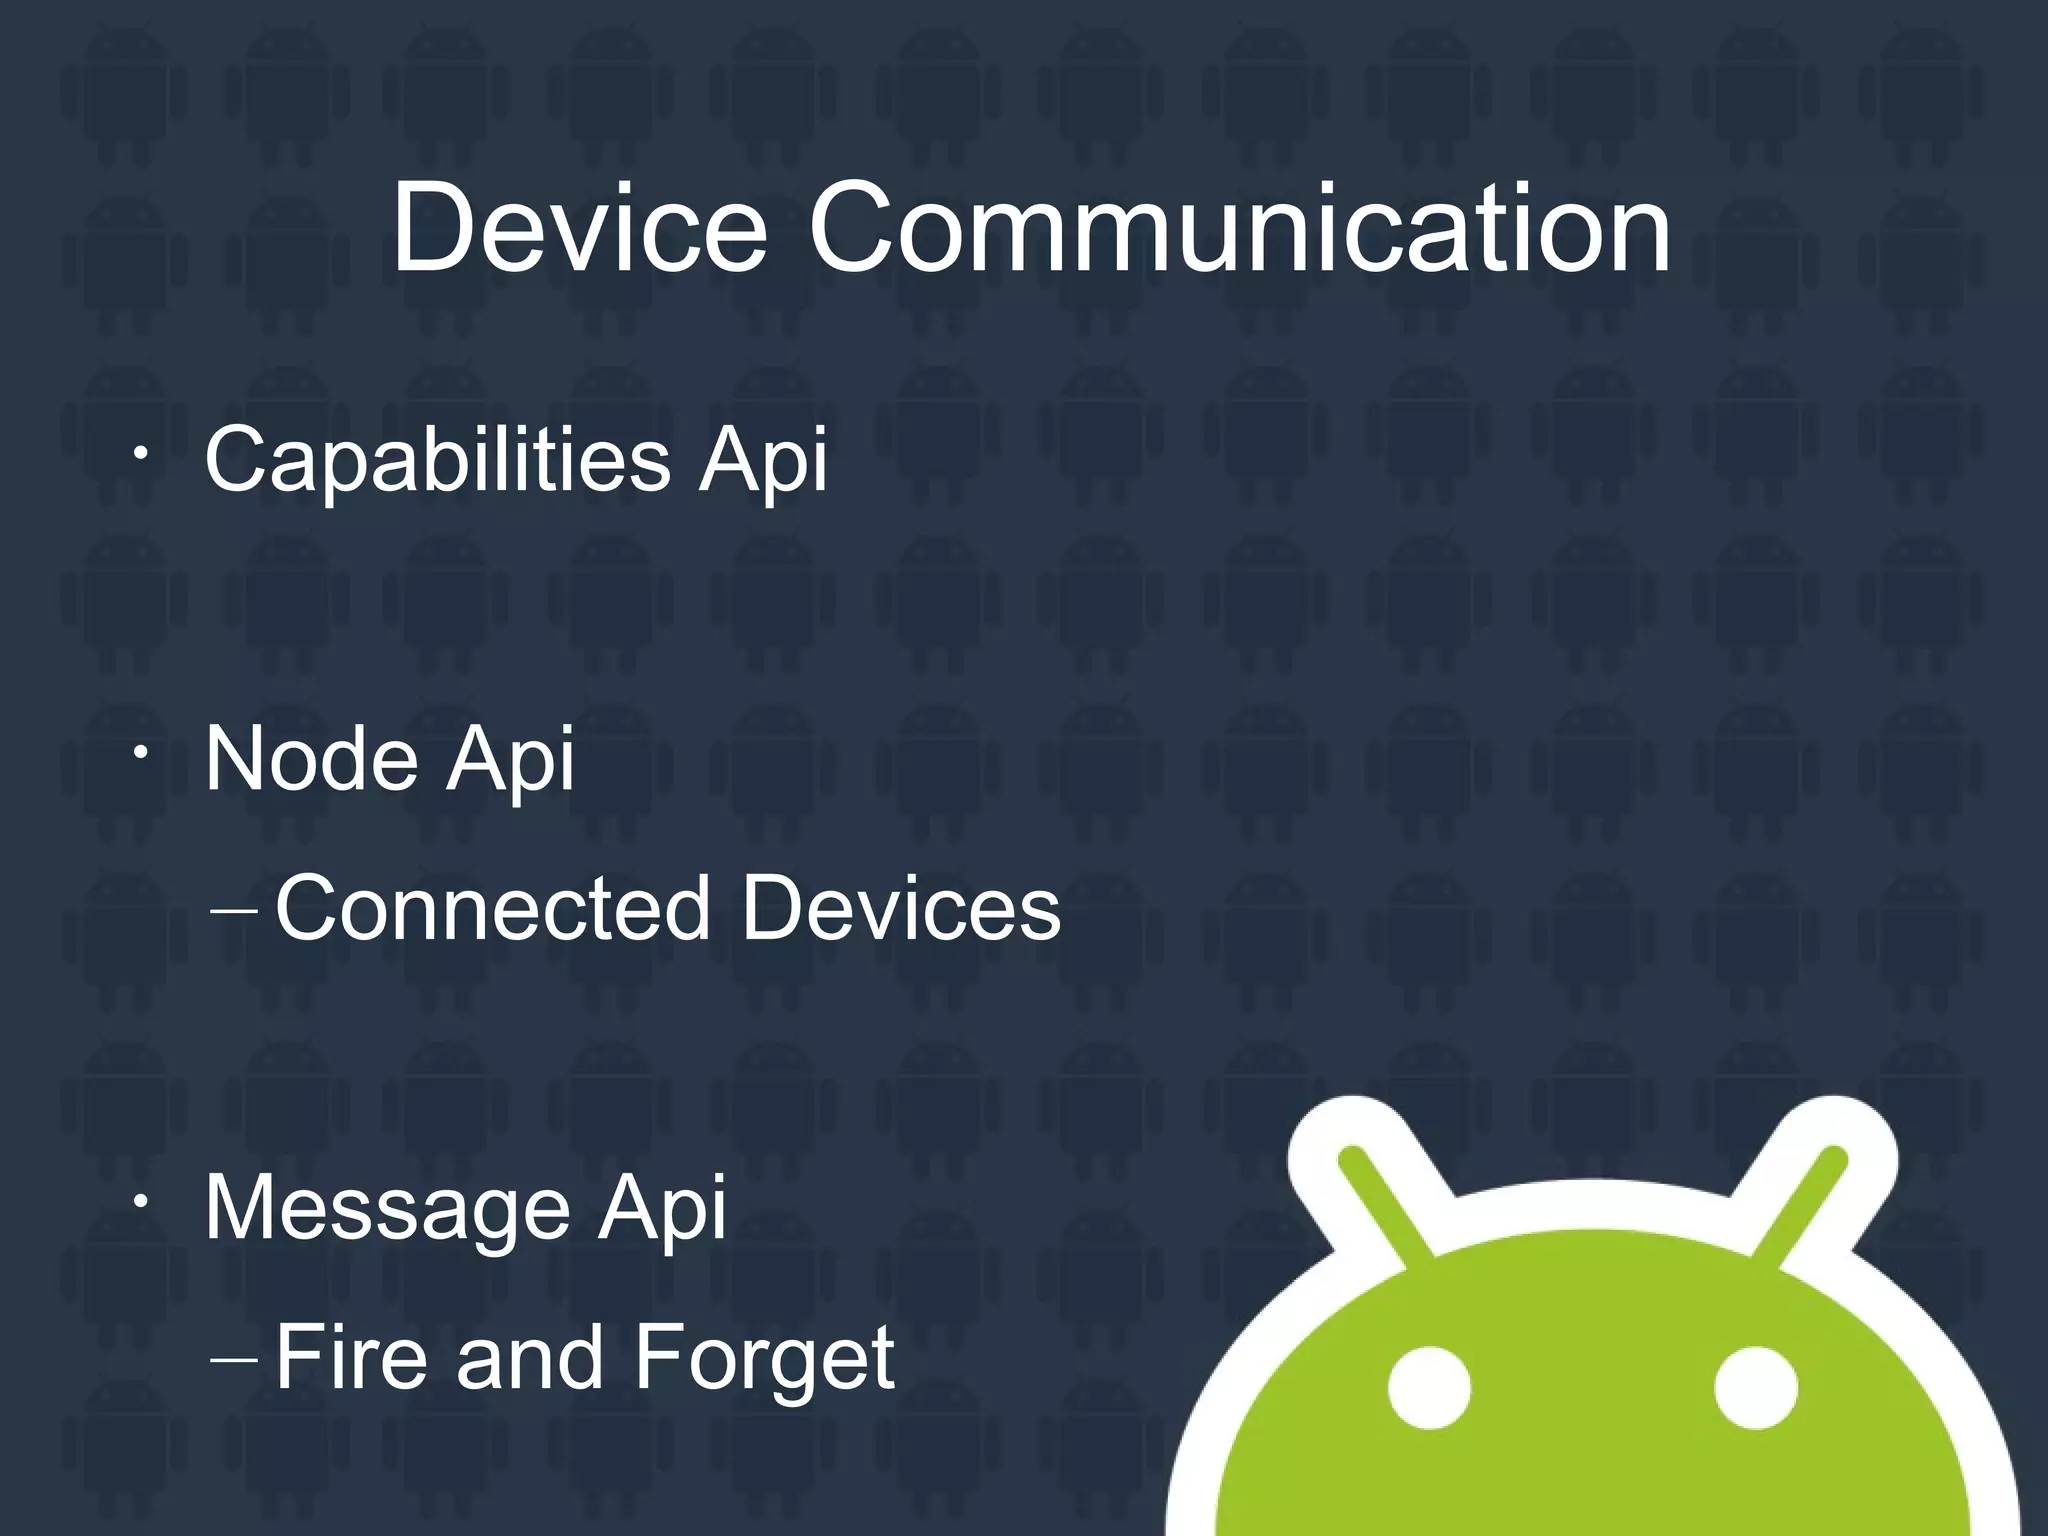
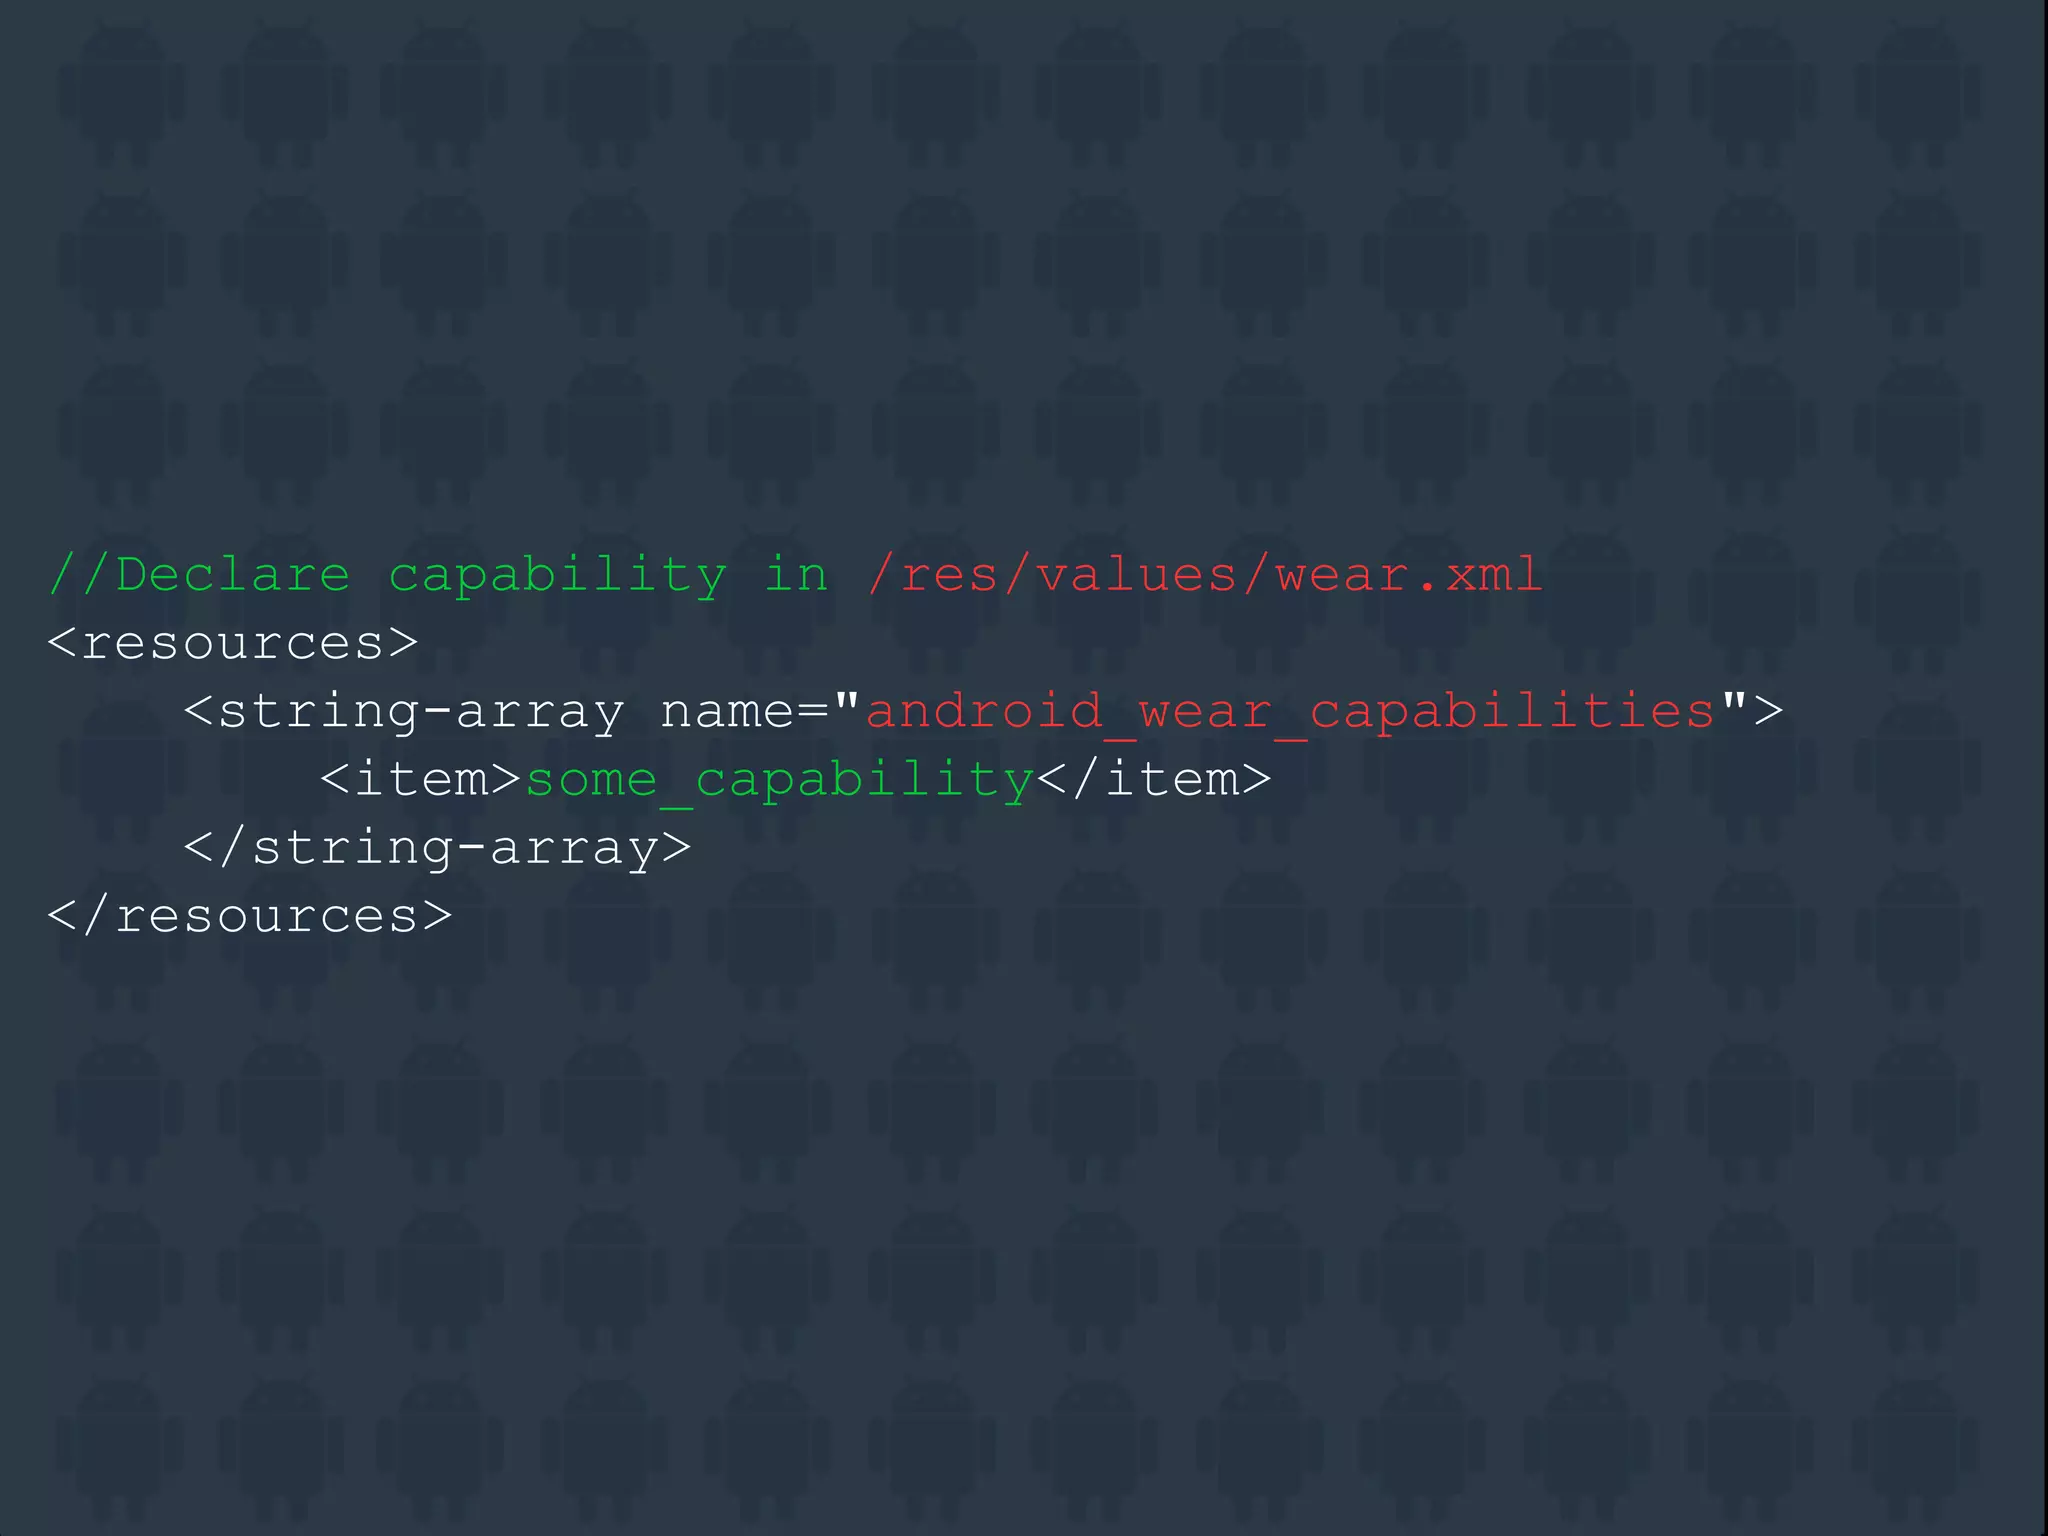
Android Wear is a software platform for wearable devices like smartwatches. It allows devices to be context aware, suggest information to users based on location and time, and features simple interactions like cards and lists. Notifications, voice replies, and media controls can be integrated. Activities have optimized layouts and UI for small screens. Sensors, data syncing between devices, and messaging APIs allow communication. Custom watch faces can be built with ambient mode support and settings screens.


![[NDC 2019] Functions 2.0: Enterprise-Grade Serverless](https://cdn.slidesharecdn.com/ss_thumbnails/ndc2019-enterprise-gradeserverless-190513173641-thumbnail.jpg?width=640&height=640&fit=bounds)


