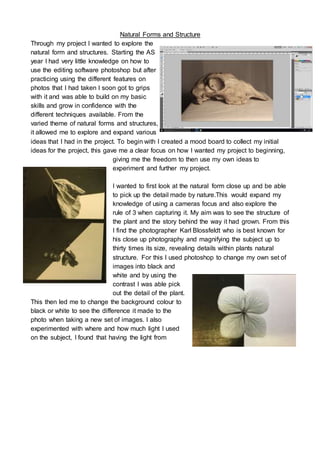
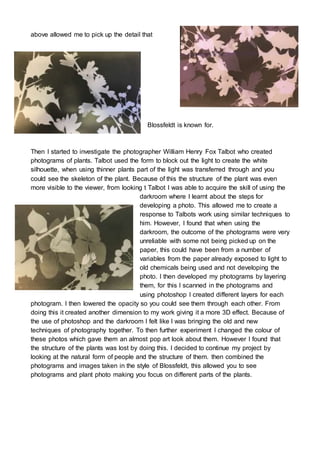
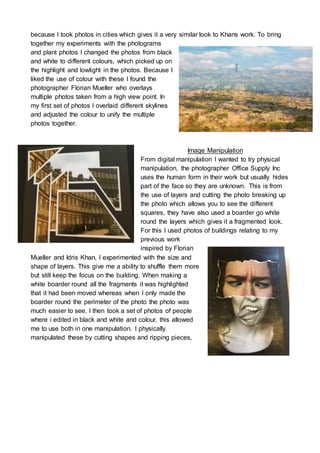
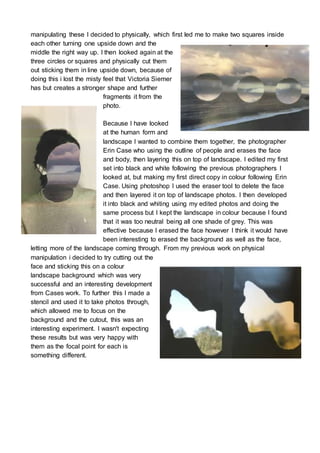
The document discusses the author's exploration of natural forms and structures through photography. They began by practicing techniques in Photoshop using photos they had taken. They created a mood board to focus their project ideas and experimented with close-up photography of plant details. The author was inspired by photographers like Karl Blossfeldt and William Henry Fox Talbot and their techniques. They learned darkroom skills and created photograms by layering in Photoshop. Later, they photographed human forms and structures of buildings, being inspired by additional photographers. Throughout the project, the author combined various techniques both digitally and physically to manipulate and layer photographs in new ways.
Appropriation is an important historical practice in art-making, in which the artist uses a previously existing form, image or sound in new ways. The creative effort is defined by the inspired selection and manipulation of found materials. The end result is a strangely familiar, yet an altogether new creation.
Isa itong presentasyon paukol sa kung papaano gumawa ng Photo Essay. Ito ay nakabase sa wikang Filipino sapagkat ito'y gamit-panturo sa mga magaaral lalong lalo na sa mga Grade 11 ng K-12 Curriculum.
In this presentation I talk about how to conquer your fears in street photography, practical tips and tricks, and some of the "behind-the-scenes" photos behind my most famous images.
2137ad Merindol Colony Interiors where refugee try to build a seemengly norm...luforfor
This are the interiors of the Merindol Colony in 2137ad after the Climate Change Collapse and the Apocalipse Wars. Merindol is a small Colony in the Italian Alps where there are around 4000 humans. The Colony values mainly around meritocracy and selection by effort.
Hadj Ounis's most notable work is his sculpture titled "Metamorphosis." This piece showcases Ounis's mastery of form and texture, as he seamlessly combines metal and wood to create a dynamic and visually striking composition. The juxtaposition of the two materials creates a sense of tension and harmony, inviting viewers to contemplate the relationship between nature and industry.
Explore the multifaceted world of Muntadher Saleh, an Iraqi polymath renowned for his expertise in visual art, writing, design, and pharmacy. This SlideShare delves into his innovative contributions across various disciplines, showcasing his unique ability to blend traditional themes with modern aesthetics. Learn about his impactful artworks, thought-provoking literary pieces, and his vision as a Neo-Pop artist dedicated to raising awareness about Iraq's cultural heritage. Discover why Muntadher Saleh is celebrated as "The Last Polymath" and how his multidisciplinary talents continue to inspire and influence.
2137ad - Characters that live in Merindol and are at the center of main storiesluforfor
Kurgan is a russian expatriate that is secretly in love with Sonia Contado. Henry is a british soldier that took refuge in Merindol Colony in 2137ad. He is the lover of Sonia Contado.
1. Natural Forms and Structure
Through my project I wanted to explore the
natural form and structures. Starting the AS
year I had very little knowledge on how to
use the editing software photoshop but after
practicing using the different features on
photos that I had taken I soon got to grips
with it and was able to build on my basic
skills and grow in confidence with the
different techniques available. From the
varied theme of natural forms and structures,
it allowed me to explore and expand various
ideas that I had in the project. To begin with I created a mood board to collect my initial
ideas for the project, this gave me a clear focus on how I wanted my project to beginning,
giving me the freedom to then use my own ideas to
experiment and further my project.
I wanted to first look at the natural form close up and be able
to pick up the detail made by nature.This would expand my
knowledge of using a cameras focus and also explore the
rule of 3 when capturing it. My aim was to see the structure of
the plant and the story behind the way it had grown. From this
I find the photographer Karl Blossfeldt who is best known for
his close up photography and magnifying the subject up to
thirty times its size, revealing details within plants natural
structure. For this I used photoshop to change my own set of
images into black and
white and by using the
contrast I was able pick
out the detail of the plant.
This then led me to change the background colour to
black or white to see the difference it made to the
photo when taking a new set of images. I also
experimented with where and how much light I used
on the subject, I found that having the light from
2. above allowed me to pick up the detail that
Blossfeldt is known for.
Then I started to investigate the photographer William Henry Fox Talbot who created
photograms of plants. Talbot used the form to block out the light to create the white
silhouette, when using thinner plants part of the light was transferred through and you
could see the skeleton of the plant. Because of this the structure of the plant was even
more visible to the viewer, from looking t Talbot I was able to acquire the skill of using the
darkroom where I learnt about the steps for
developing a photo. This allowed me to create a
response to Talbots work using similar techniques to
him. However, I found that when using the
darkroom, the outcome of the photograms were very
unreliable with some not being picked up on the
paper, this could have been from a number of
variables from the paper already exposed to light to
old chemicals being used and not developing the
photo. I then developed my photograms by layering
them, for this I scanned in the photograms and
using photoshop I created different layers for each
photogram. I then lowered the opacity so you could see them through each other. From
doing this it created another dimension to my work giving it a more 3D effect. Because of
the use of photoshop and the darkroom I felt like I was bringing the old and new
techniques of photography together. To then further experiment I changed the colour of
these photos which gave them an almost pop art look about them. However I found that
the structure of the plants was lost by doing this. I decided to continue my project by
looking at the natural form of people and the structure of them. then combined the
photograms and images taken in the style of Blossfeldt, this allowed you to see
photograms and plant photo making you focus on different parts of the plants.
3. To further
my project I
looked at
the
structure of
the human
body by the
photographer Bill Brandt where he uses the
human form to create a
natural object, this can be
seen in the following photos. From this I photographed the human
body, focusing on hands which gave me a similar effect to Brandt
when edited I changed it to black and white and cropped the
image, making the focal point the human form. To further this, I
was inspired by the photographer John Coplans who uses white
lines to break up his photos. First I made a direct copy
understanding how and where to put the lines using photoshop. I
then flipped the image horizontally and joined them to create
strange images. I also had a go at putting a single live down the
middle inspired by Coplans.
After looking at the structure of the
human form I went on to looking at
structure of buildings, the photographer Idris Khan takes photos
of buildings and then overlays then with the same photo, moving
them slightly to create a faded outline of the building. The photos
are then changed into black and white which together with the
overlay gives the effect of an almost horror look. I then took
photos of buildings and using photoshop I overlaid them and
changed to black and white, I think these are very effective
4. because I took photos in cities which gives it a very similar look to Khans work. To bring
together my experiments with the photograms
and plant photos I changed the photos from black
and white to different colours, which picked up on
the highlight and lowlight in the photos. Because I
liked the use of colour with these I found the
photographer Florian Mueller who overlays
multiple photos taken from a high view point. In
my first set of photos I overlaid different skylines
and adjusted the colour to unify the multiple
photos together.
Image Manipulation
From digital manipulation I wanted to try physical
manipulation, the photographer Office Supply Inc
uses the human form in their work but usually hides
part of the face so they are unknown. This is from
the use of layers and cutting the photo breaking up
the photo which allows you to see the different
squares, they have also used a boarder go white
round the layers which gives it a fragmented look.
For this I used photos of buildings relating to my
previous work
inspired by Florian
Mueller and Idris Khan, I experimented with the size and
shape of layers. This give me a ability to shuffle them more
but still keep the focus on the building. When making a
white boarder round all the fragments it was highlighted
that it had been moved whereas when I only made the
boarder round the perimeter of the photo the photo was
much easier to see. I then took a set of photos of people
where i edited in black and white and colour, this allowed
me to use both in one manipulation. I physically
manipulated these by cutting shapes and ripping pieces,
5. where i cut the shapes I made a white boarder around
then relating to Office Supply Inc but with the ripped I
didn't do this because I found it would have taken away
from the rawness of the shape diverting from the
photographer and focusing on my own experiments. I
then looked back at the photographer and decide that
instead of taking full body photos to focus on the face
which i was previously using in the physical
manipulations. Using photoshop I made smaller shapes
using multiple images and then layered them giving it a
fragmented look, I found this very effective and then tried it
with physical manipulation which i think was more effective
then digital because the layers are easier to see and the
definition between them can be seen whereas with digital I
think this was lost.
I then looked further at landscape, the photographer
Victoria Siemer explores the idea of fractured
landscapes through photo manipulation and collages.
My first set I made circles and squares from the photo
and then turned them around to make a direct copy of
Victoria Siemer. However I found that I hadn't captured
the misty look of her photos, so I took a second set of
photos which I flipped a circle or square in the image
and then used the eraser tool on a low opacity which
allowed me to erase some of the square or circle new
the base and let it flow into the main image. I think this
was the most effective way which relates to Victoria
Siemer work because I manage to capture the misty
look of shapes that she does. I then further developed
this by using two shape in different sizes because of
this the focus is now split to either size of the photo. I
then went on to three shapes which instead of splitting the image in half brings it together,
however with one of them I made then vertically which I find has made the top and back
circles lost in the sea and sky because of the little contrast on colours. After digitally
6. manipulating these I decided to physically, which first led me to make two squares inside
each other turning one upside down and the
middle the right way up. I then looked again at the
three circles or squares and physically cut them
out sticking them in line upside down, because of
doing this i lost the misty feel that Victoria Siemer
has but creates a stronger shape and further
fragments it from the
photo.
Because I have looked
at the human form and
landscape I wanted to combine them together, the photographer
Erin Case who using the outline of people and erases the face
and body, then layering this on top of landscape. I edited my first
set into black and white following the previous photographers I
looked at, but making my first direct copy in colour following Erin
Case. Using photoshop I used the eraser tool to delete the face
and then layered it on top of landscape photos. I then developed
it into black and whiting using my edited photos and doing the
same process but I kept the landscape in colour because I found
that it was too neutral being all one shade of grey. This was
effective because I erased the face however I think it would have
been interesting to erased the background as well as the face,
letting more of the landscape coming through. From my previous work on physical
manipulation i decided to try cutting out the
face and sticking this on a colour
landscape background which was very
successful and an interesting development
from Cases work. To further this I made a
stencil and used it to take photos through,
which allowed me to focus on the
background and the cutout, this was an
interesting experiment. I wasn't expecting
these results but was very happy with
them as the focal point for each is
something different.
7. Final Piece idea
First I thought about making two boxes that
would contain layers of acetate with
landscape on them. I then edited them
choosing a layer of each part of the photo to
have on the acetate, on the top I would put a
face cut out inspired by Erin Case. I also had
the idea of creating a dome of landscape,
either end at the bottom would be trees and
grass this would then go up into the sky
meeting at the top. This would have had to
be big in order for people to view it to its
full potential. So I will be creating the box.
To experiment with this idea of using
acetate I printed photos of trees and using
cardboard between each piece making
gaps between each layer, this gave it a 3D
feel. I then used a photo where I zoomed
into one part of the photo and printing
them out on acetate so they can be seen
through each other.
Body Marks
After visiting Southampton city art gallery, I was drawn to
one painting by Oscar Mellor ‘The Reversal’ which gave
me the idea of looking at the female body. I started looking
at Justin Bartels who is a photographer that focuses on
clothing that women think they have to wear. He takes
photos of the physical mark left behind showing the
discomfort that women go through. I first took a set of
photos inspired by Bartels which I edited into black and
white, I then went on to looking at the marks closer up and
took another set of photos which were then edited into
black and white following Bartels theme.
To bring in my previous work of image manipulation I tried
painting on the back, mimicking where clothes would have been, creating a new mark
made purposely. I then scanned in the photos to give it a more 2D look and using
photoshop changed them into black and white taking inspiration from Bartels. In my third
8. set of photos I edited them closer up and with the editing of black and white which brought
out the marks on the skin, I think this was very effective because it shows the pain that
women can go through by wearing some clothing.
The next photographer Yung
Cheng Lin, who creates unsettling
images which provokes a reaction
from the audience. Instead of
marks being already there Yung
Cheng Lin creates them using
pins, and string. In my fourth set of
photos taking inspiration from
Yung Cheng Lin I edited them into
black and white to bring in Bartels theme but then using colour photos to then take direct
inspiration from Yung Cheng Lin, in which I sewed into the photo, this gives them an
almost painful feel when looking at them. I further developed them by using the black and
white photo and sewed into them in different shapes to Yung Cheng Lin. I then personally
developed this by sewing the outline of clothing bring the clothing element from Bartels
work, then by using thicker string i
created the outline again but with
detail in the middle, from this thicker
string its more noticeable and stands
out to the audience. To further develop
this I used a needle to create holes in
the same places, which gives it a very
subtle outline and mistreating texture.
This was then photocopied and the
light shined through creating shadow
from the paper being pushed out. Then
looking back at Yung Cheng Lin I used the idea of
pins and used them to create the outline, which
gives it a slightly disturbing image because it
looks like its pressed into the subjects skin. Then
with the use of photoshop I edited out the pins
leaving the shadow which gives it a very
interesting look.
I then printed out a photo onto acetate and using
red paint created the clothing, I used red
because its associated with anger and pain which
is what I wanted to bring across in the photo. On a different photo I then sewed into it on
acetate which made some of the string on the top and same under the acetate but you
could still see it. This shows that some marks aren't just skin level but go further down into
9. ourselves. From an external piece I created where i
stuck drawing pins into the back of my photo and then
with the use of light I took photos of the shadow that it
created. I then used my previous work where I used
multiple exposure where I took the same photo and
using photoshop I layered them, then with two
different pieces of acetate I sewed into them making a
mark where it would have be, and moving it across
slightly matching up with the other layer.
To then further my
project about marks I
looked at the
photographer Natalia
Pereira who wraps
elastic bands and string around the subjects head, moving
the skin creating new folds and changing the persons face.
For my first set inspired by Pereira I took elastic bands and
wrapped them round the subjects head, making sure that the
face was distorted these were then edited into black and
white following Bartels work. I then took photos of what
marks were left behind when the bands were taken off and
edting them into black and white taking inspiration from
Bartels but looking at the face instead of body and making
the marks intentionally. To further this I then took the elastic
bands and wrapped them round arms, making the skin pop
through the tight space between which i then edited into
black and white to keep then continuity with Pereiras work.
10. Then after being taking off I then took another set of photos, editing into black and white
creating a new series.
With these photos I then used photoshop to edit them further
and changed the colour of the bands, first I chose a red colour
and then a yellow-orange which I used on the forearm,
I then used a photo of the face and used a graduated colour
of yellow to red which I think looks very effective because it
shows where the light it hitting the bands and face.
I then reedited the photos in more of the style of Pereiras
work, which is a muted colour these were then used to
digitally manipulate two photos together creating a line down
the middle of the face. This was from my previous
development on my project on
image manipulation, I then
physically ripped down the
middle of the face which made
the line much more harsh than the one using photoshop.
Because of this it follows from the pain that clothing can have
on the body which shown in a different way. I then took
another set inspired by Pereiras using thinner bands which
didn't distort the face as much as the thicker ones, because
of this they didn't leave as much of a mark but when left on
long enough a noticeable mark was seen which I took close
up photos of, these were all edited into a muted colour
following Pereiras. I then looked again at the bands on the
arm and took photos of the marks that were left, to further
this I used string to stick on top of the bands which made it
look like it was string round the arm instead, I then scanned this in to create a 2D version, I
tried this again with elastic bands however it didn't work the same was as the string, and
when scanned in was a disappointing experiment which didn't turn out the way I hoped.
However I bring back the use of sewing into the photos like Yung Cheng Lin and sewed on
where the bands were and also where the marks were left.
For the final piece of my project I created multiple sections using the different techniques
that I have experimented with, such as sewing and painting. This created a distorted and
thought provoking ending to my project.