Download to read offline


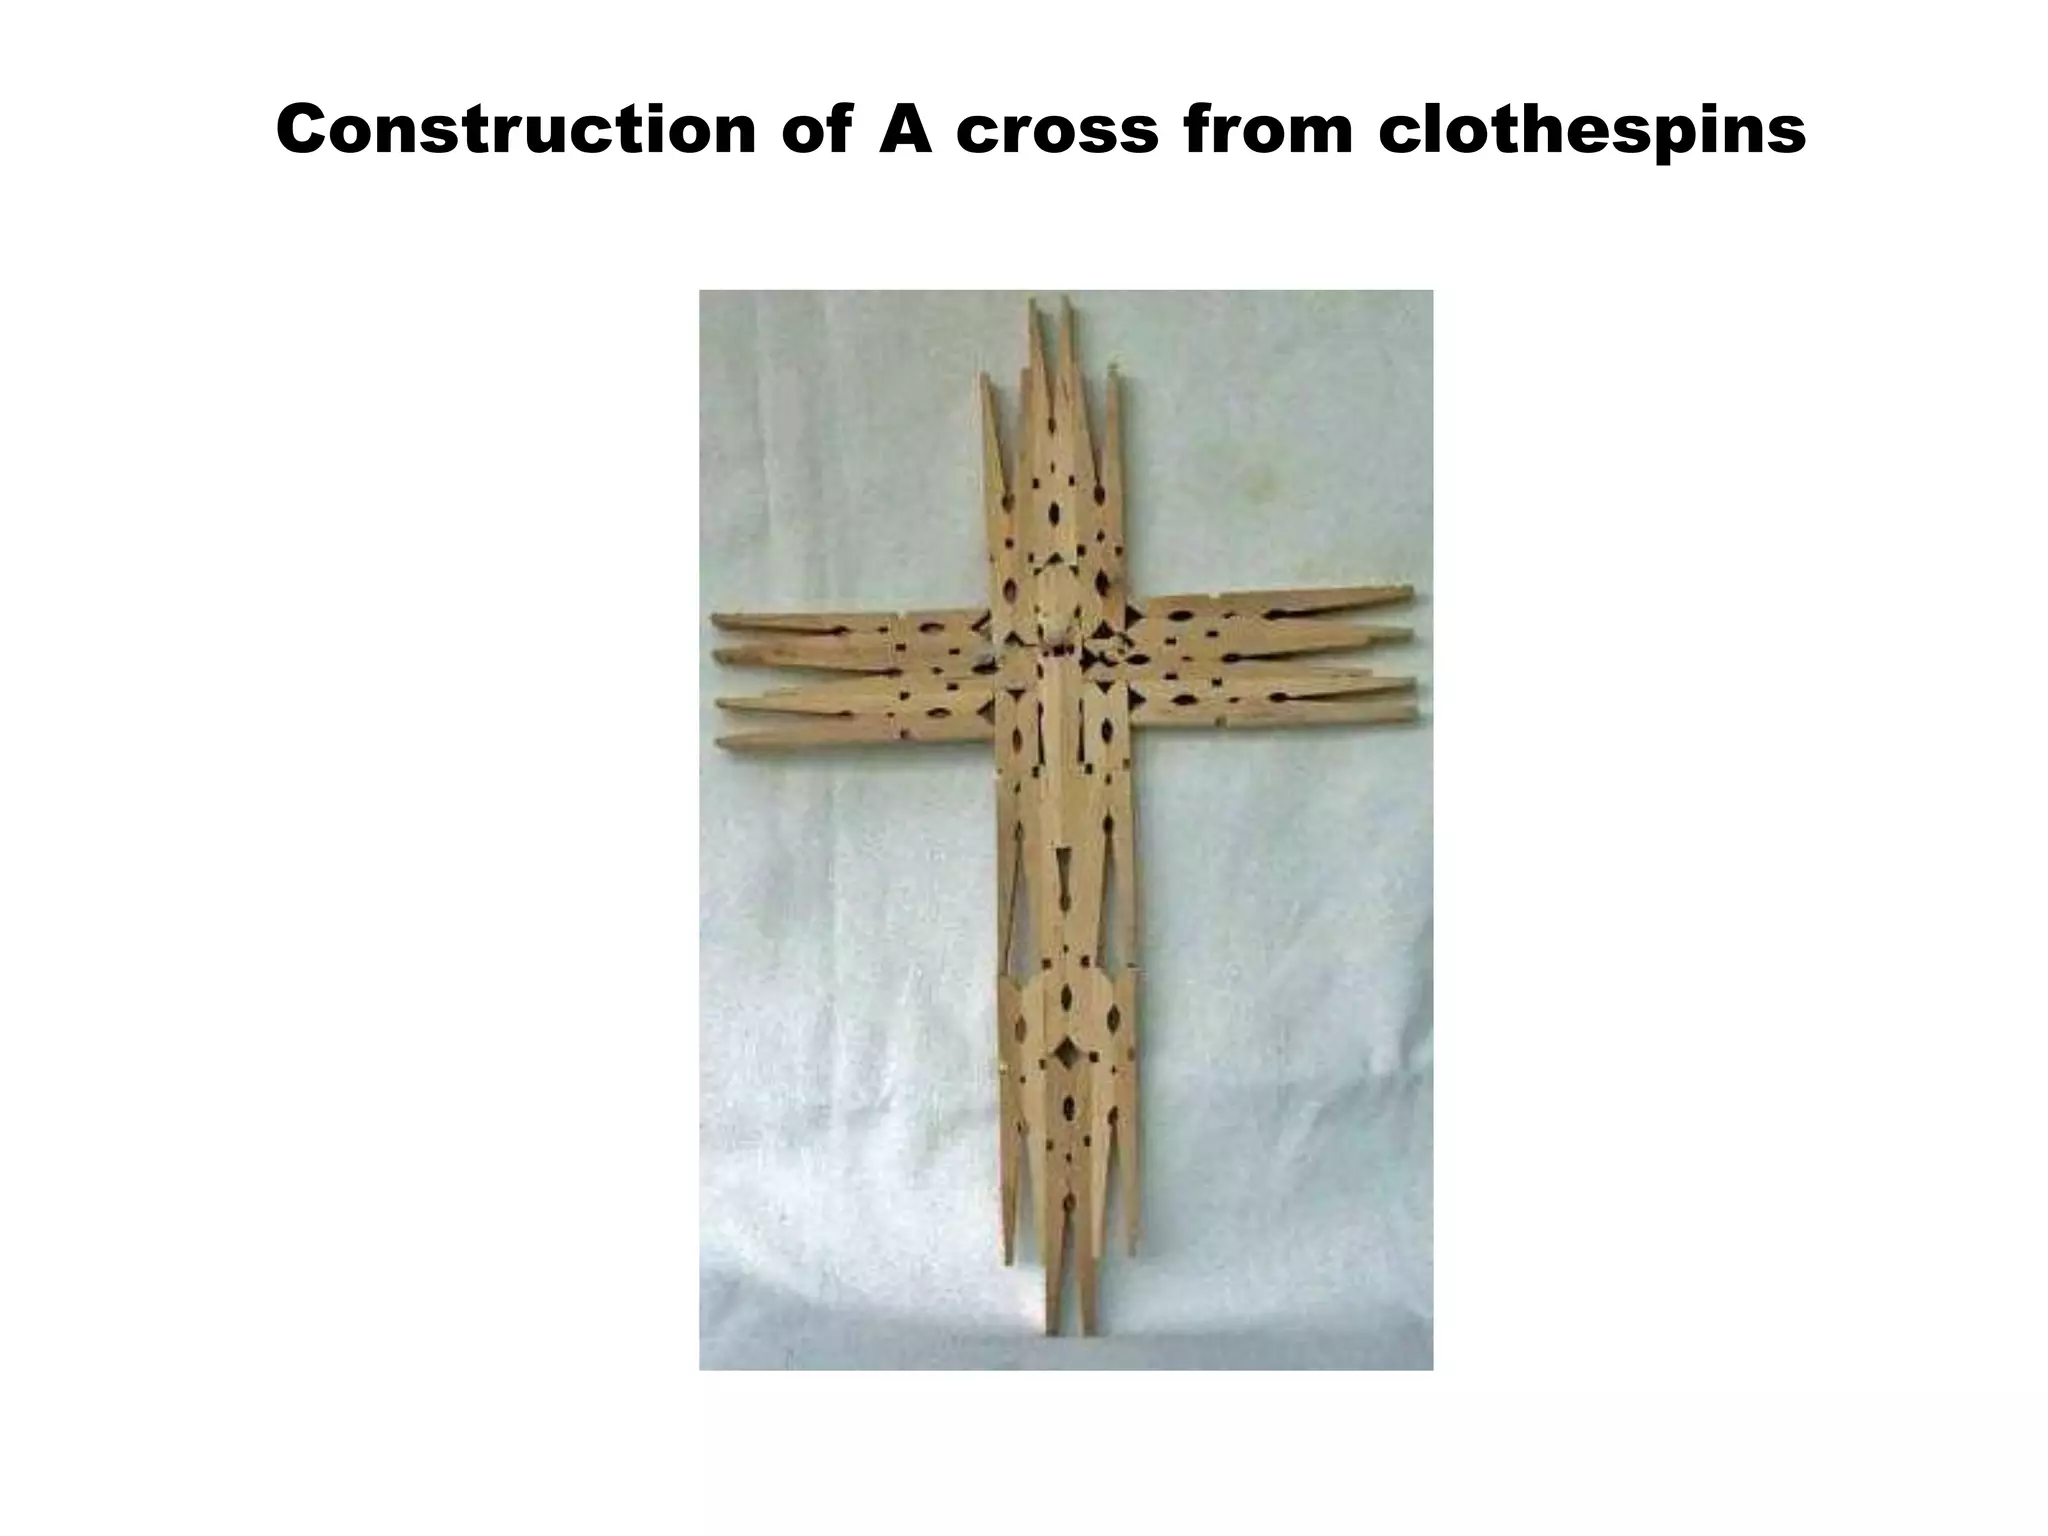
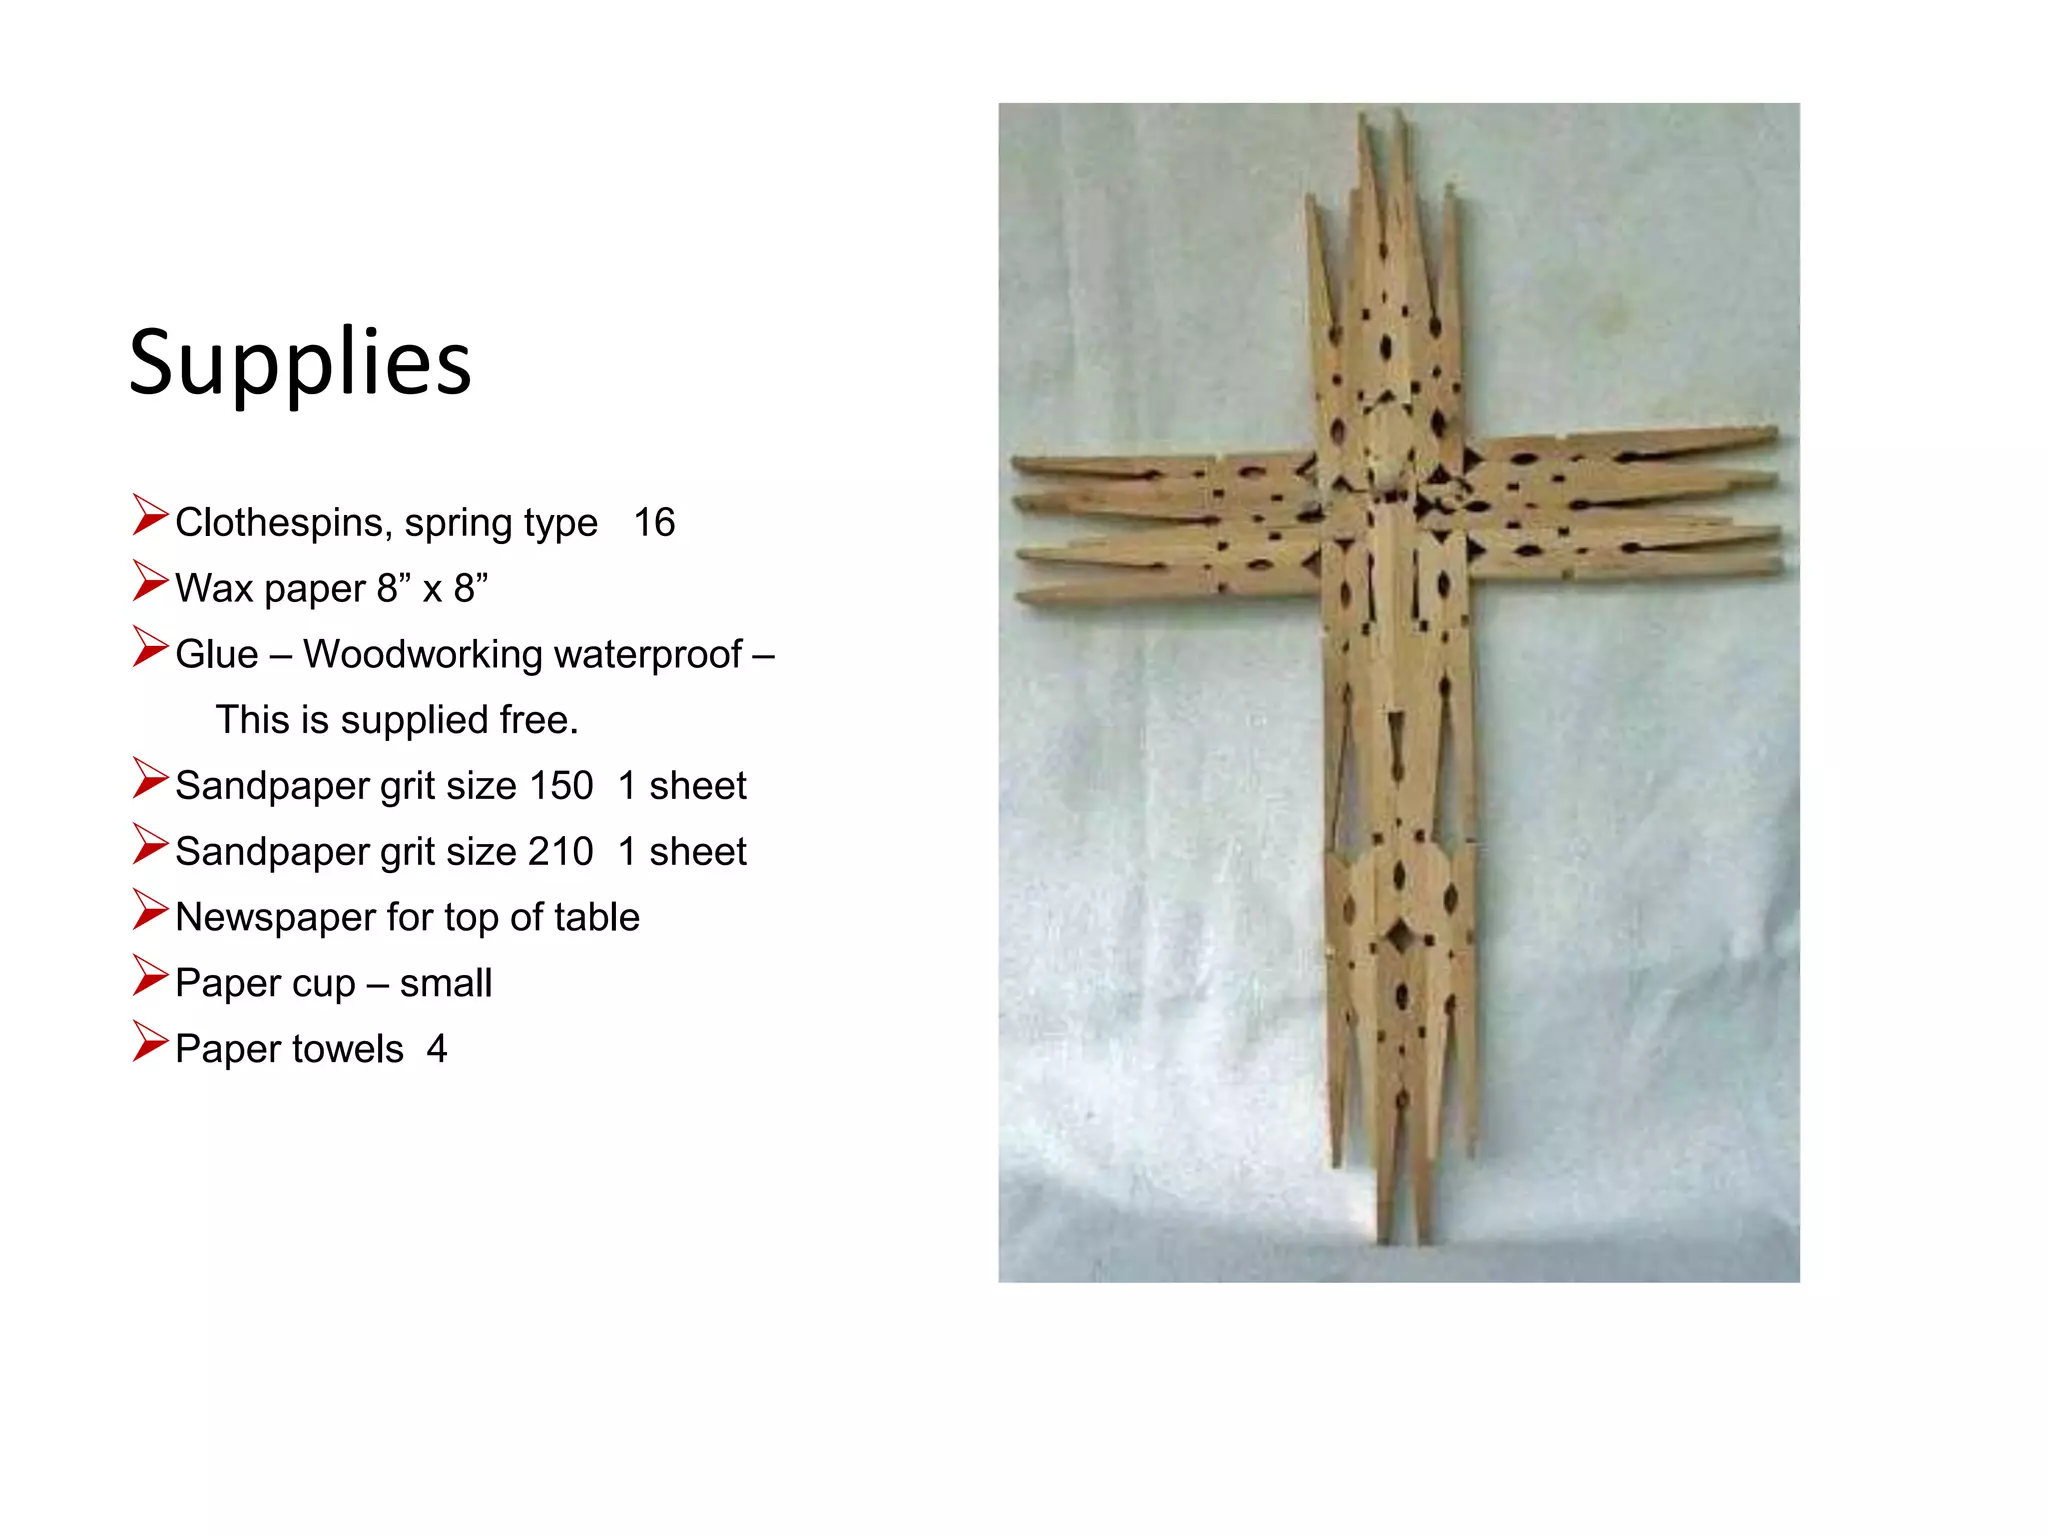
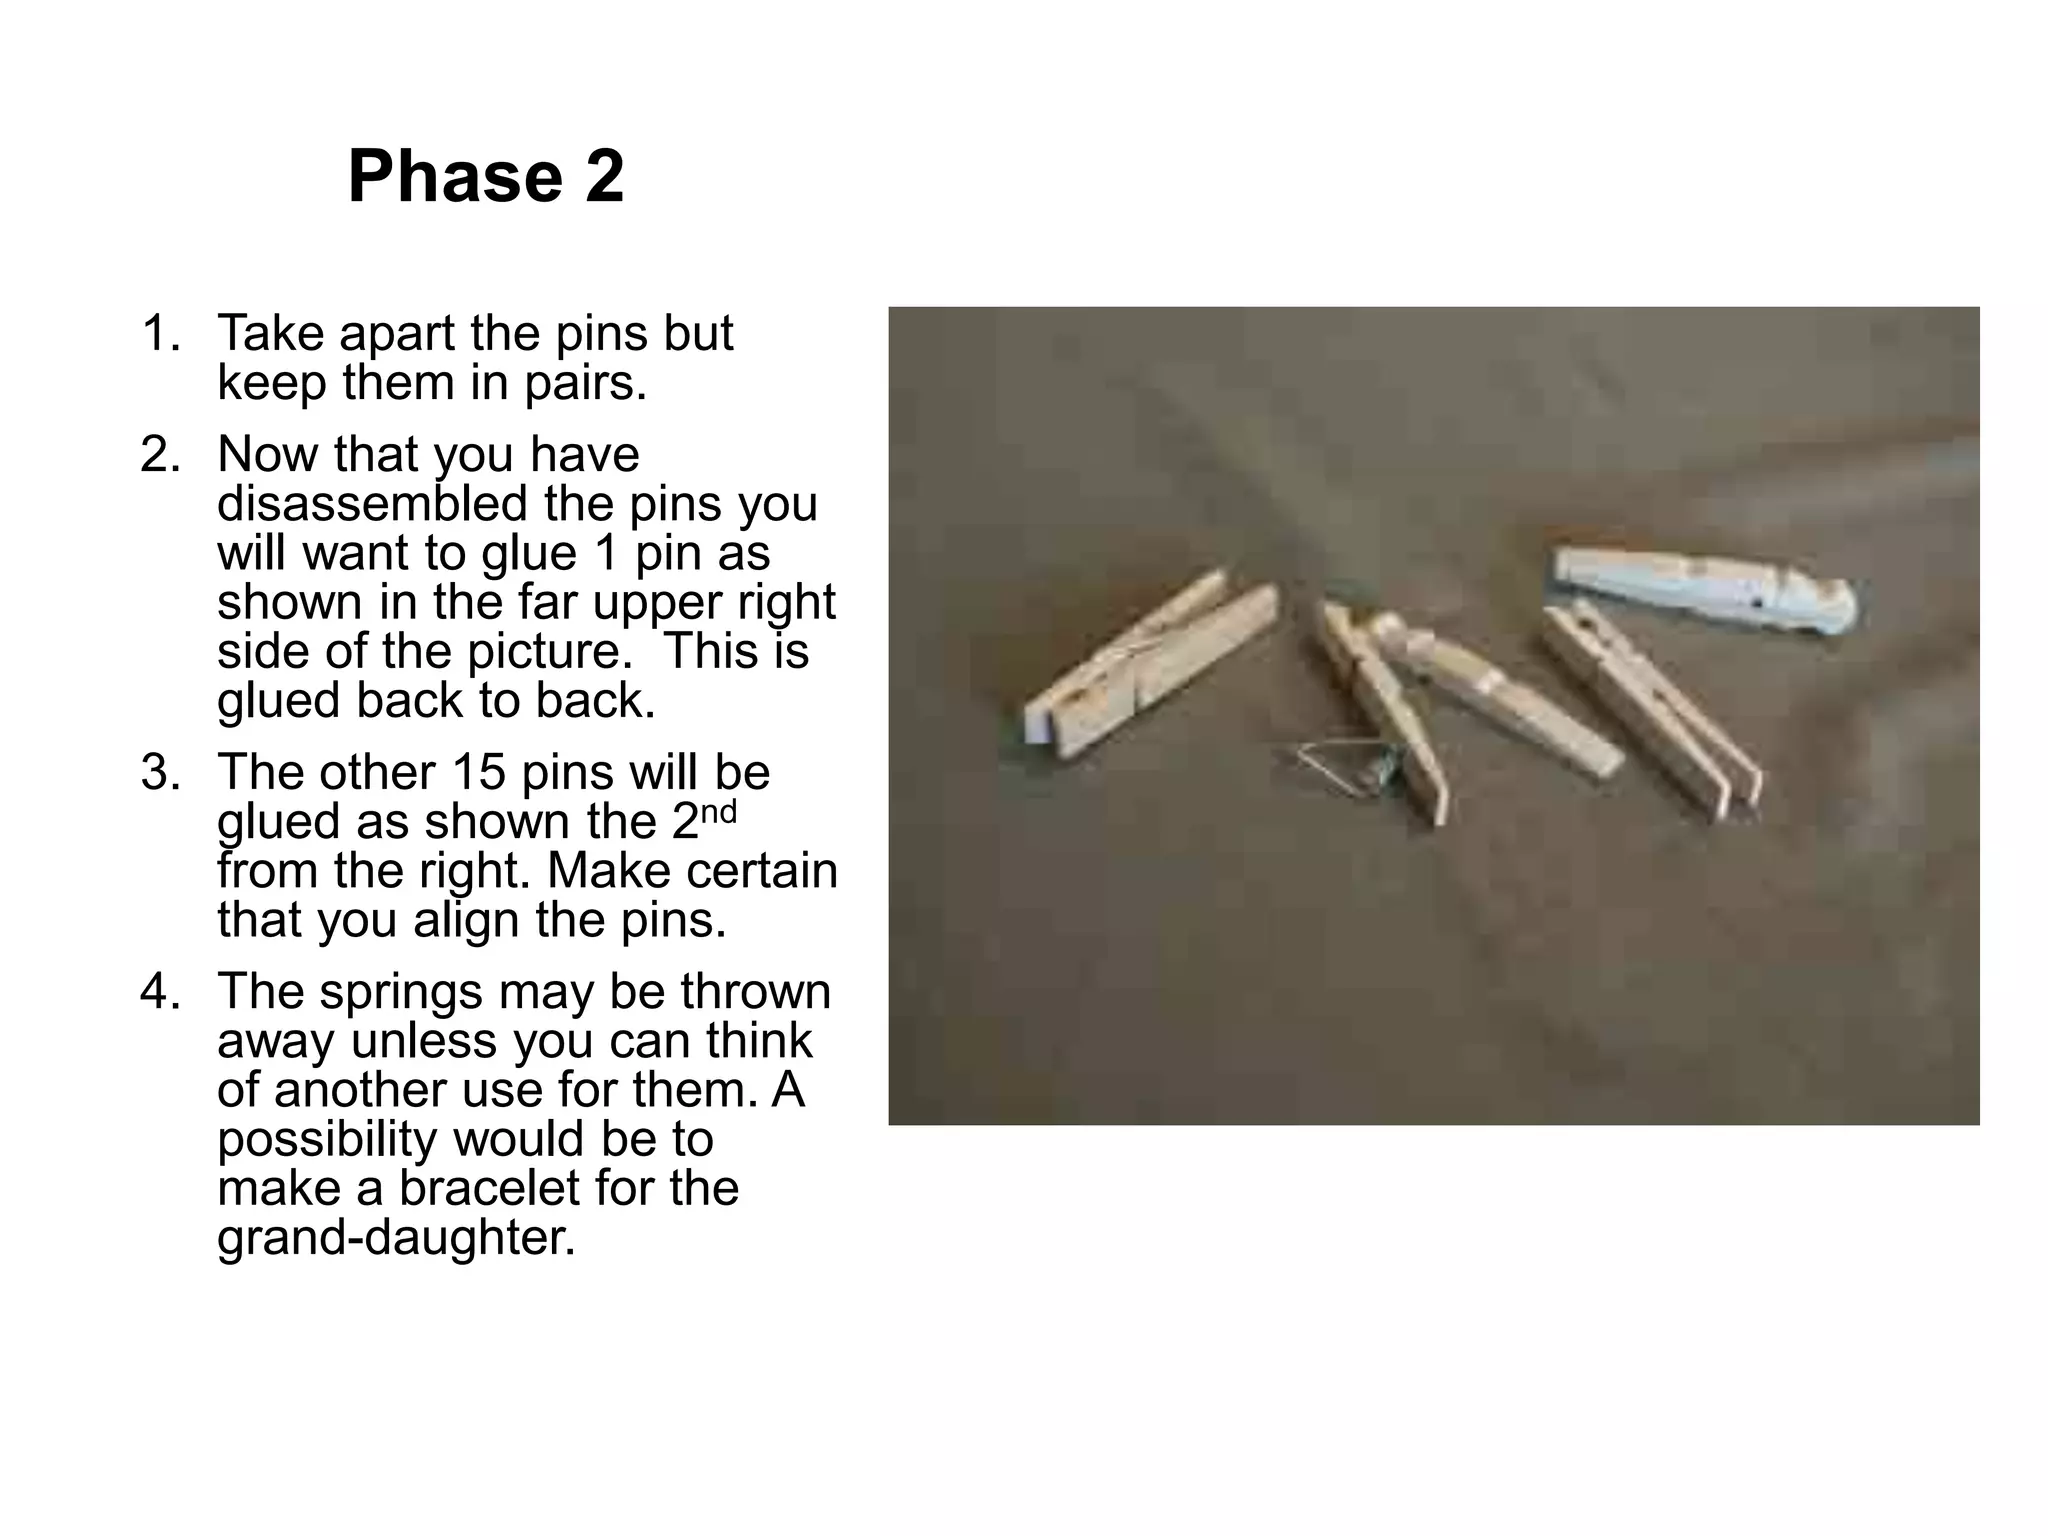
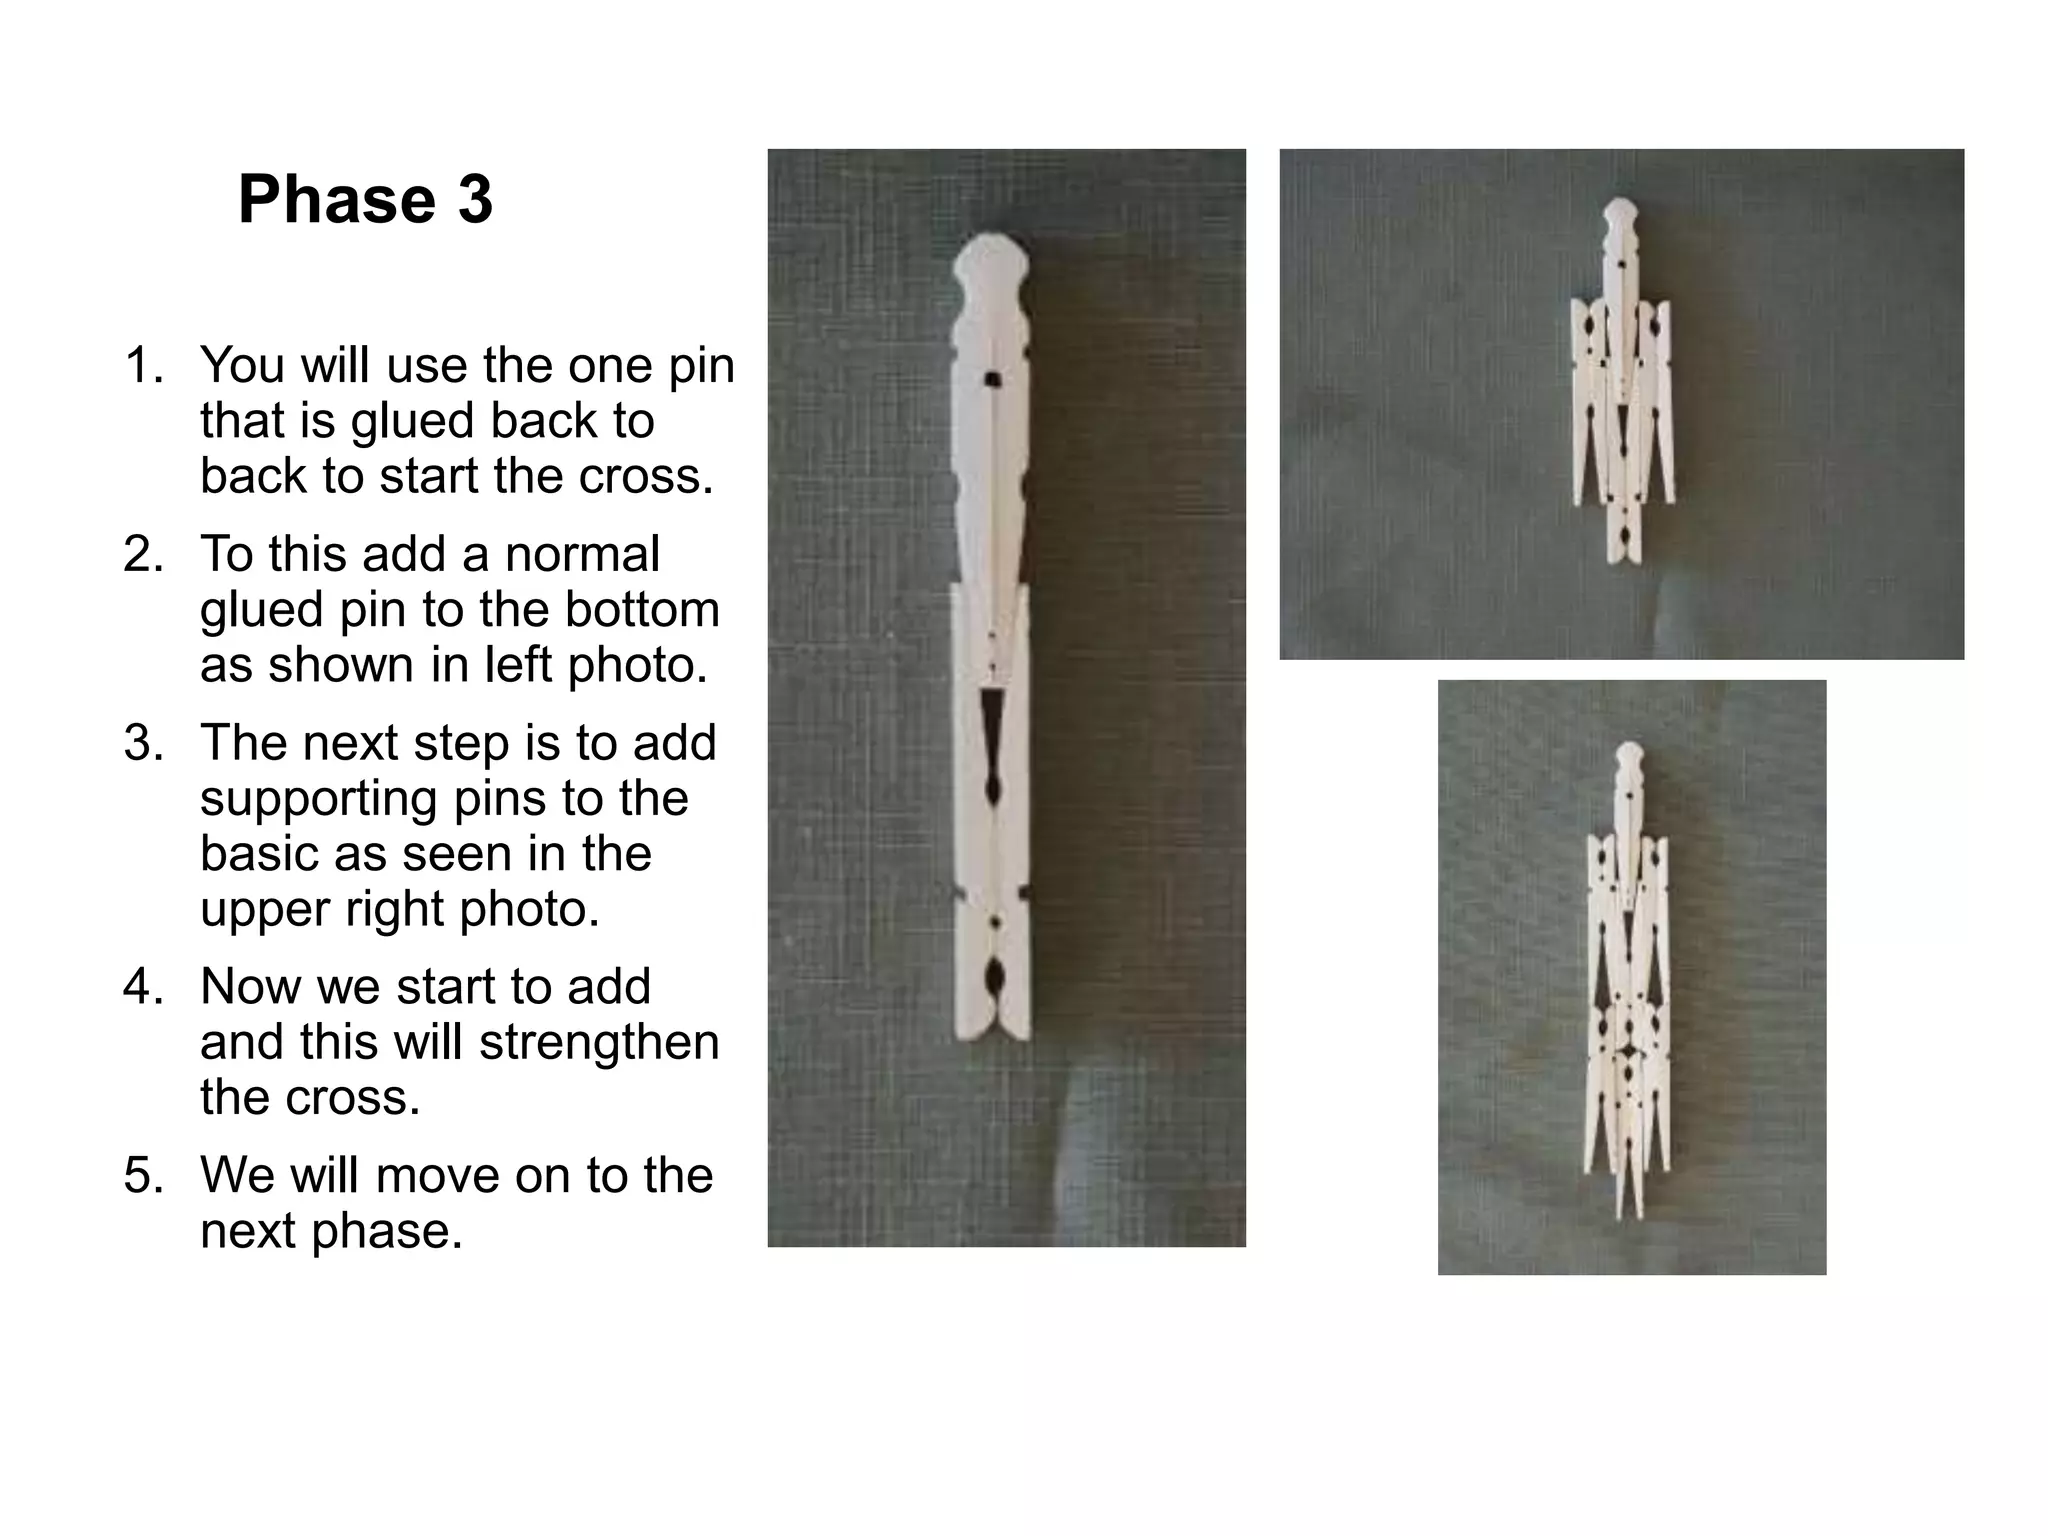
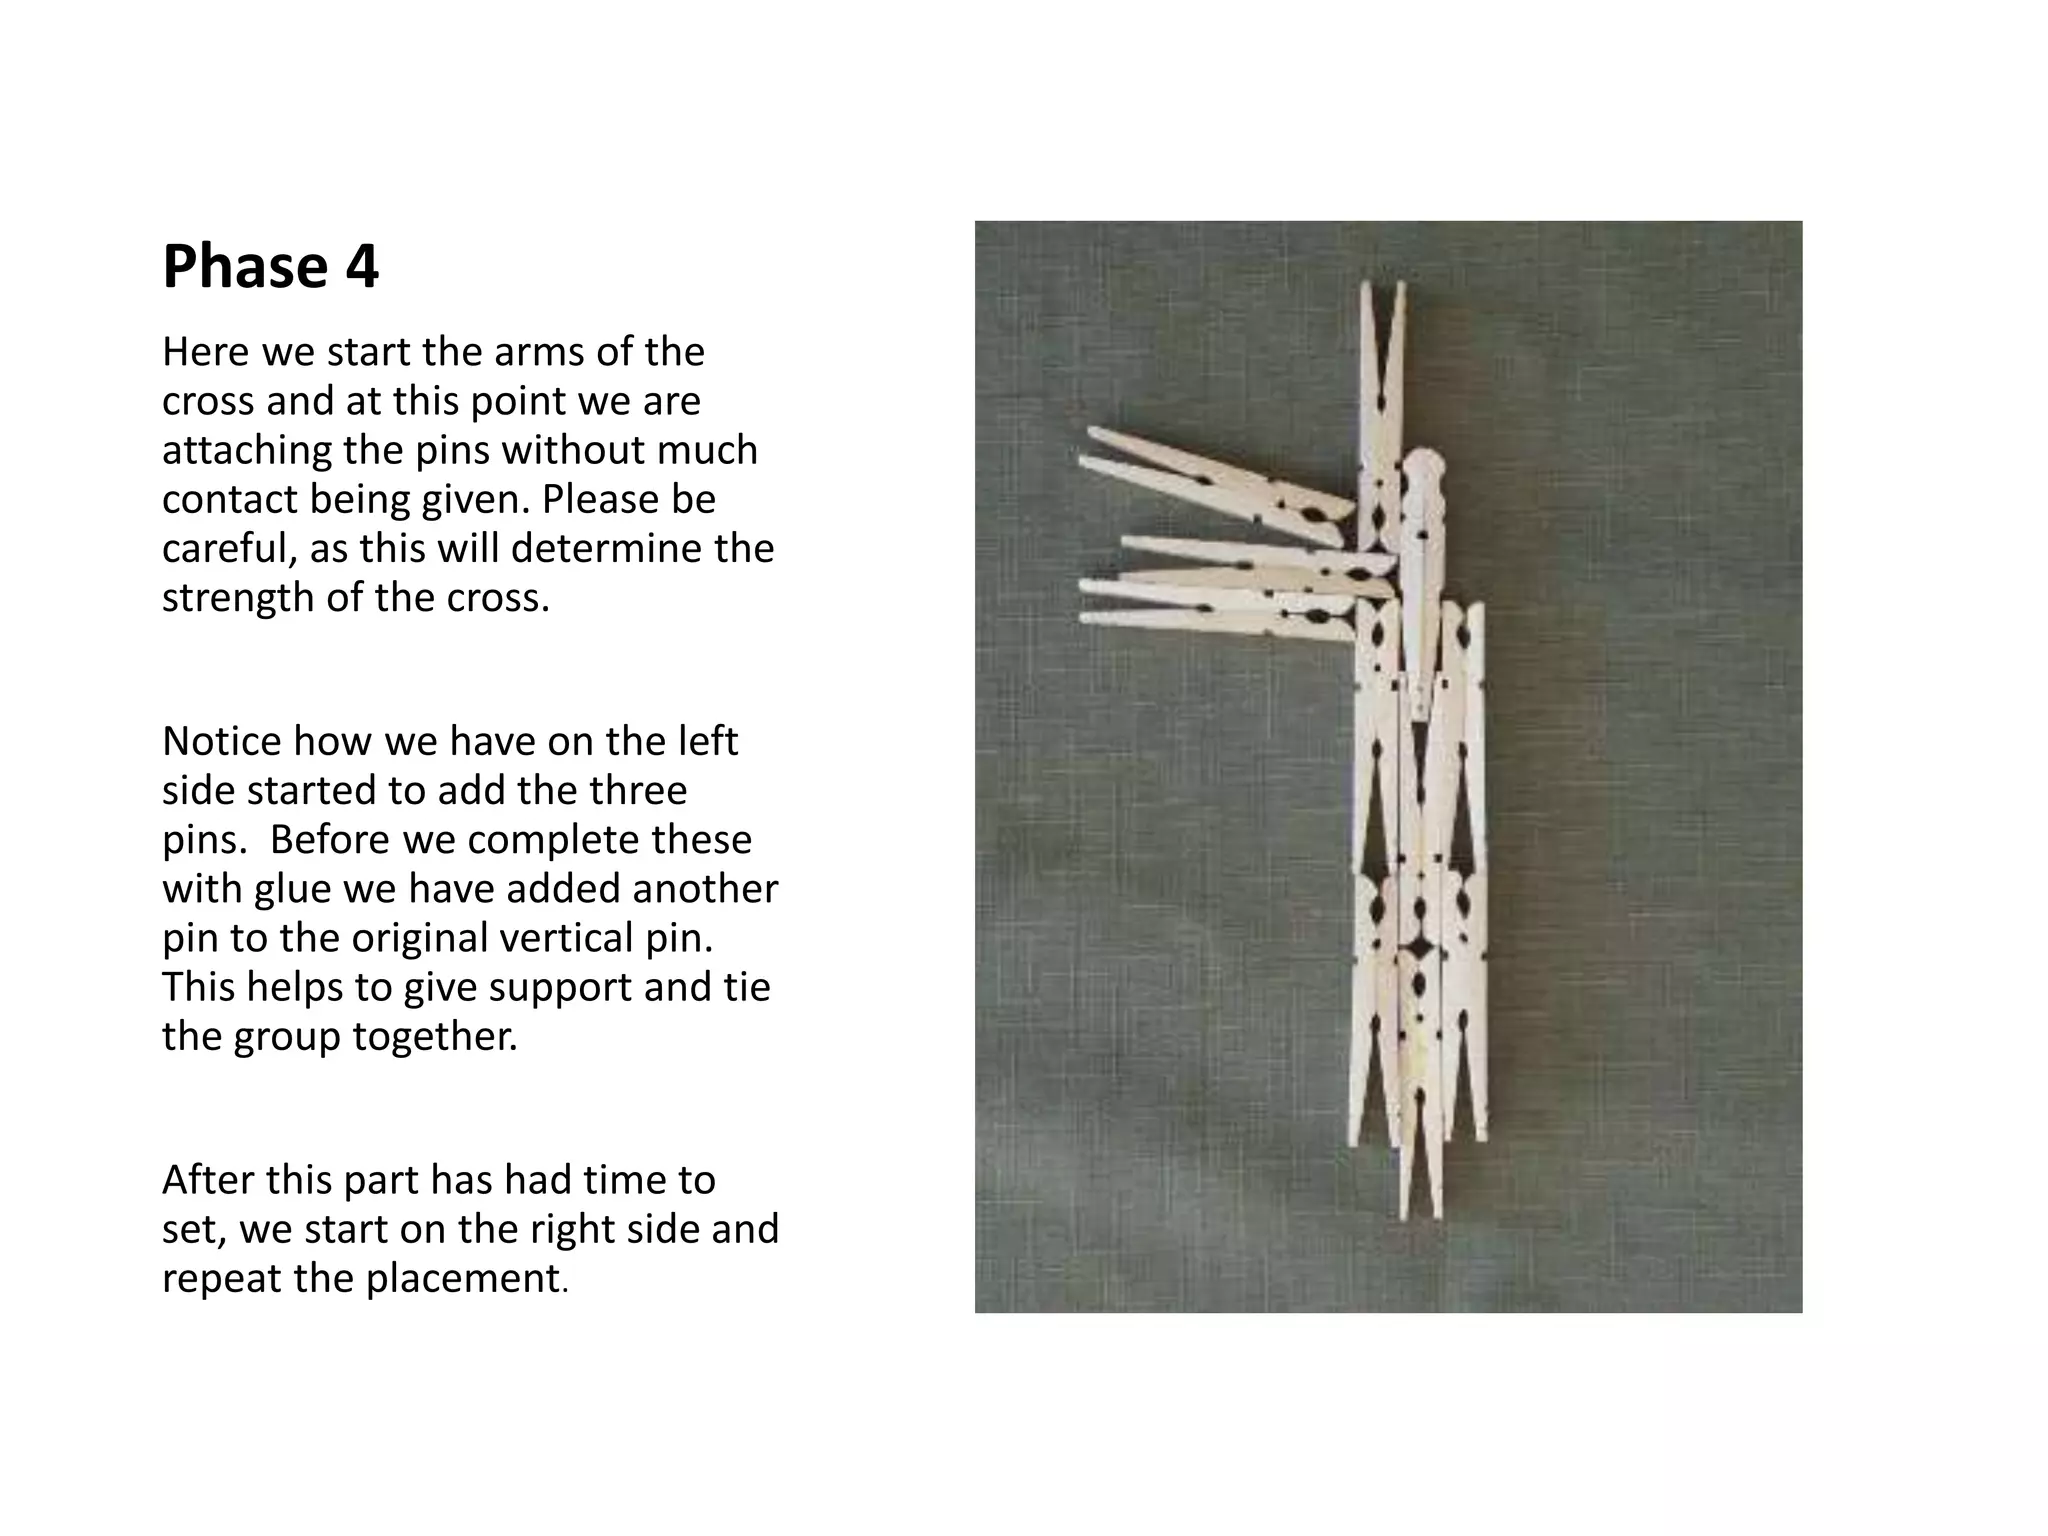
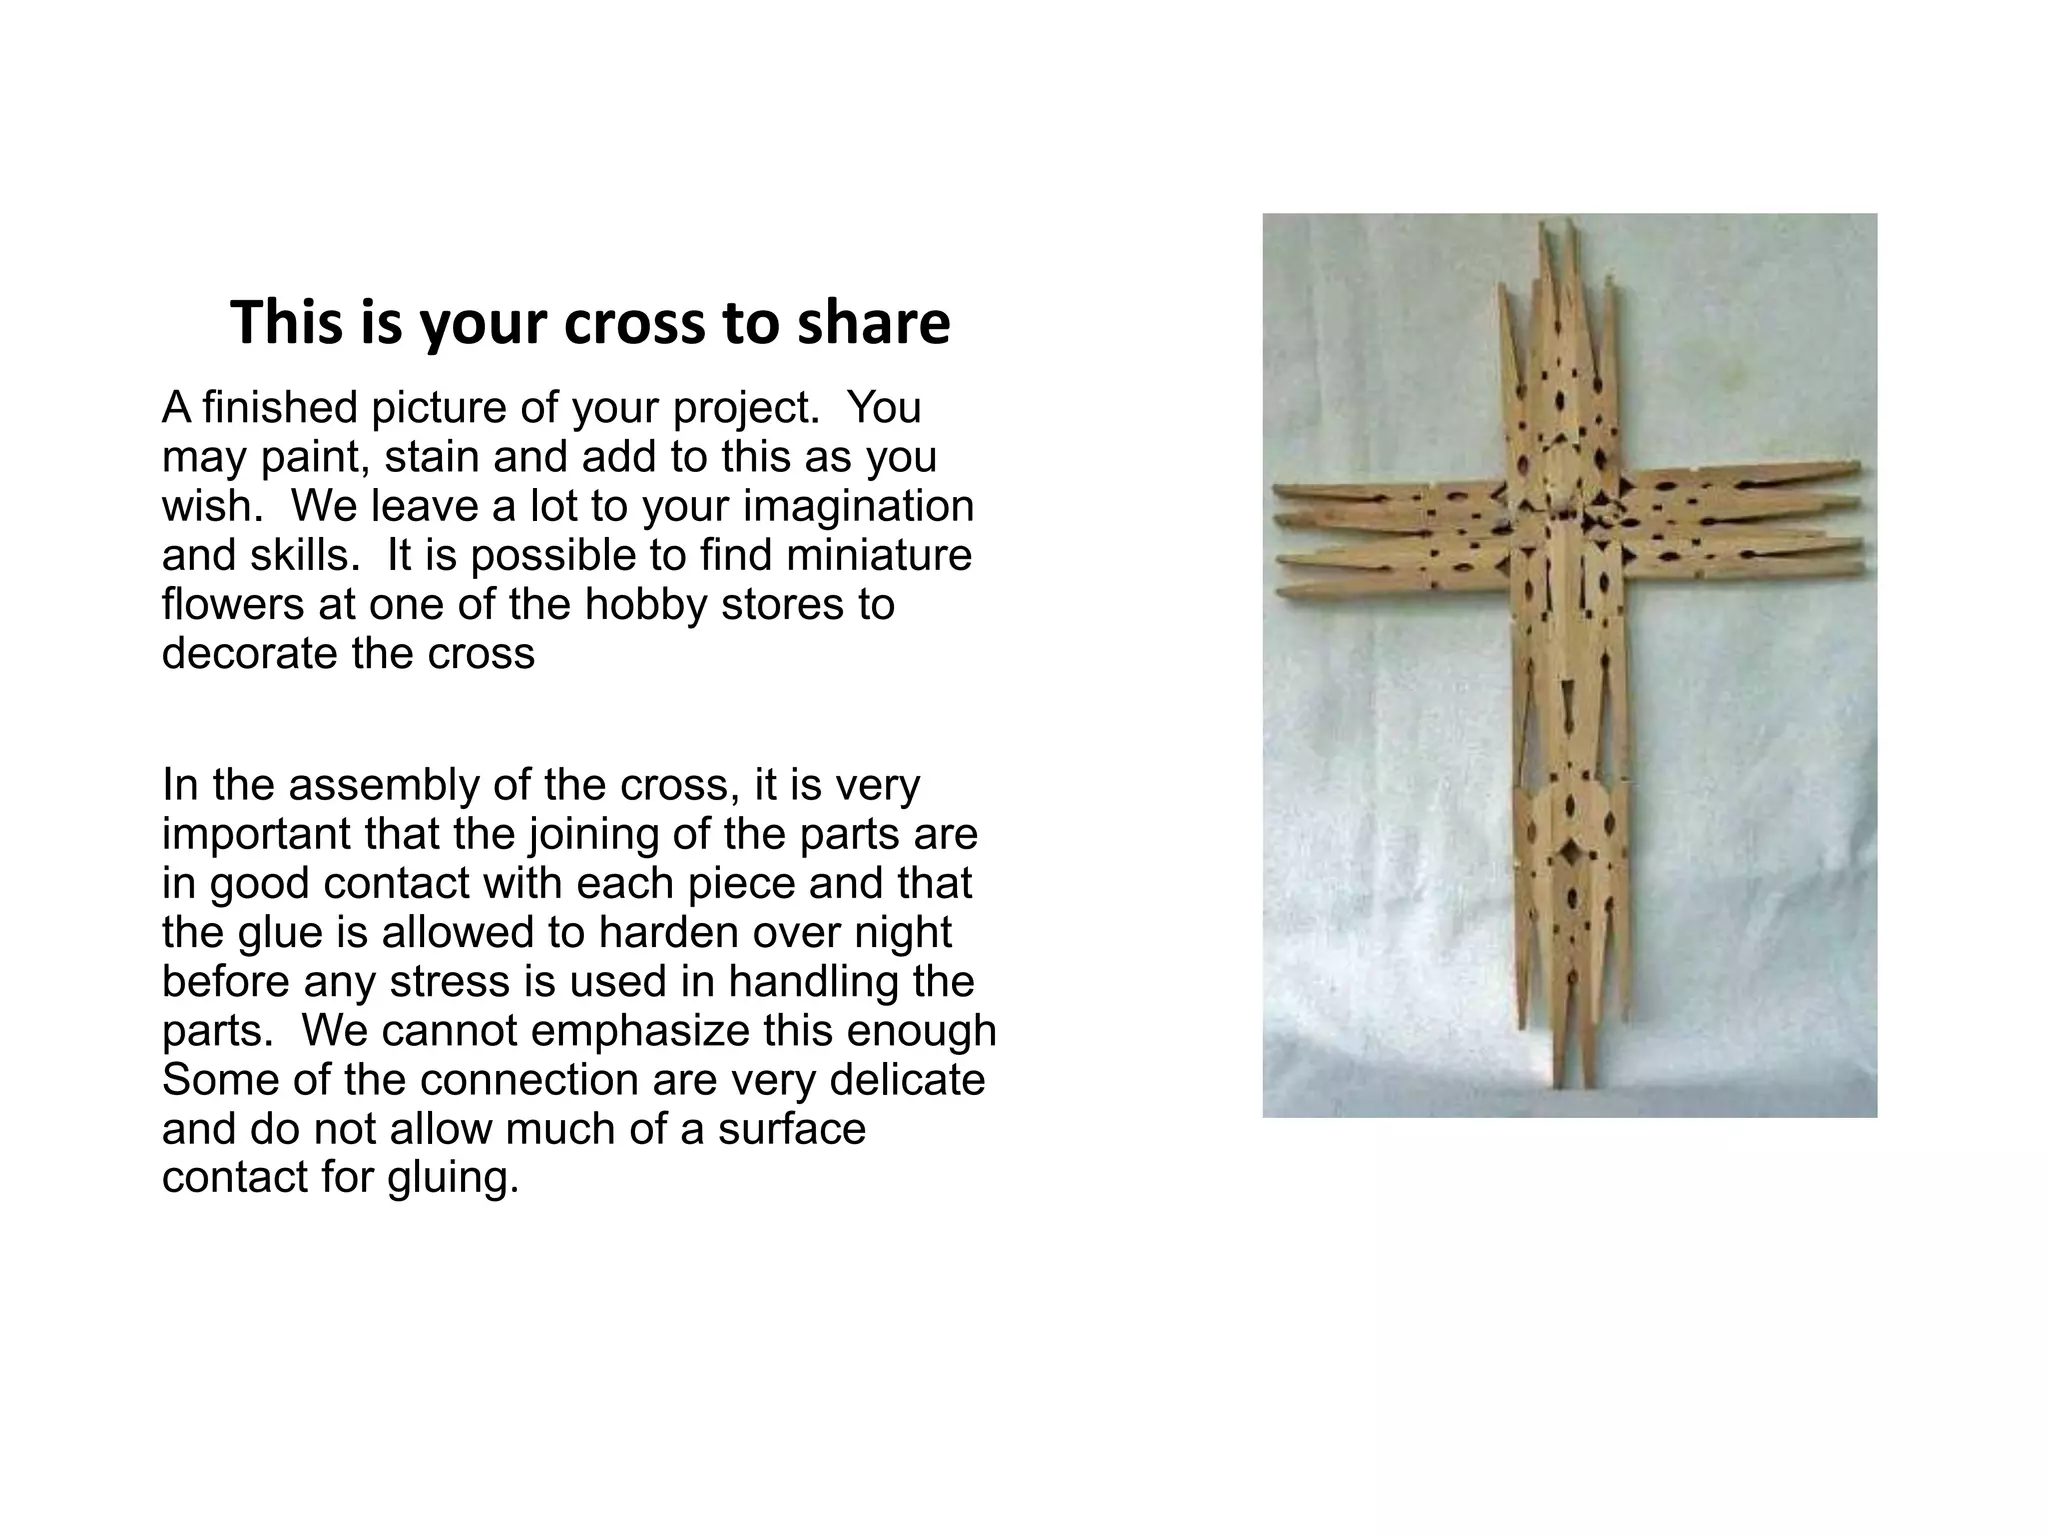


This document provides instructions for building a cross out of clothespins. It details the supplies needed, which include 16 clothespins and glue. The instructions are broken into 4 phases: in phase 1 the clothespins are prepared by removing springs and gluing them together in pairs; phase 2 provides directions for starting to assemble the cross shape; phase 3 adds supporting pins to strengthen the structure; and phase 4 attaches pins to form the arms of the cross. Proper alignment and adequate drying time for the glue are emphasized throughout.


