Download to read offline


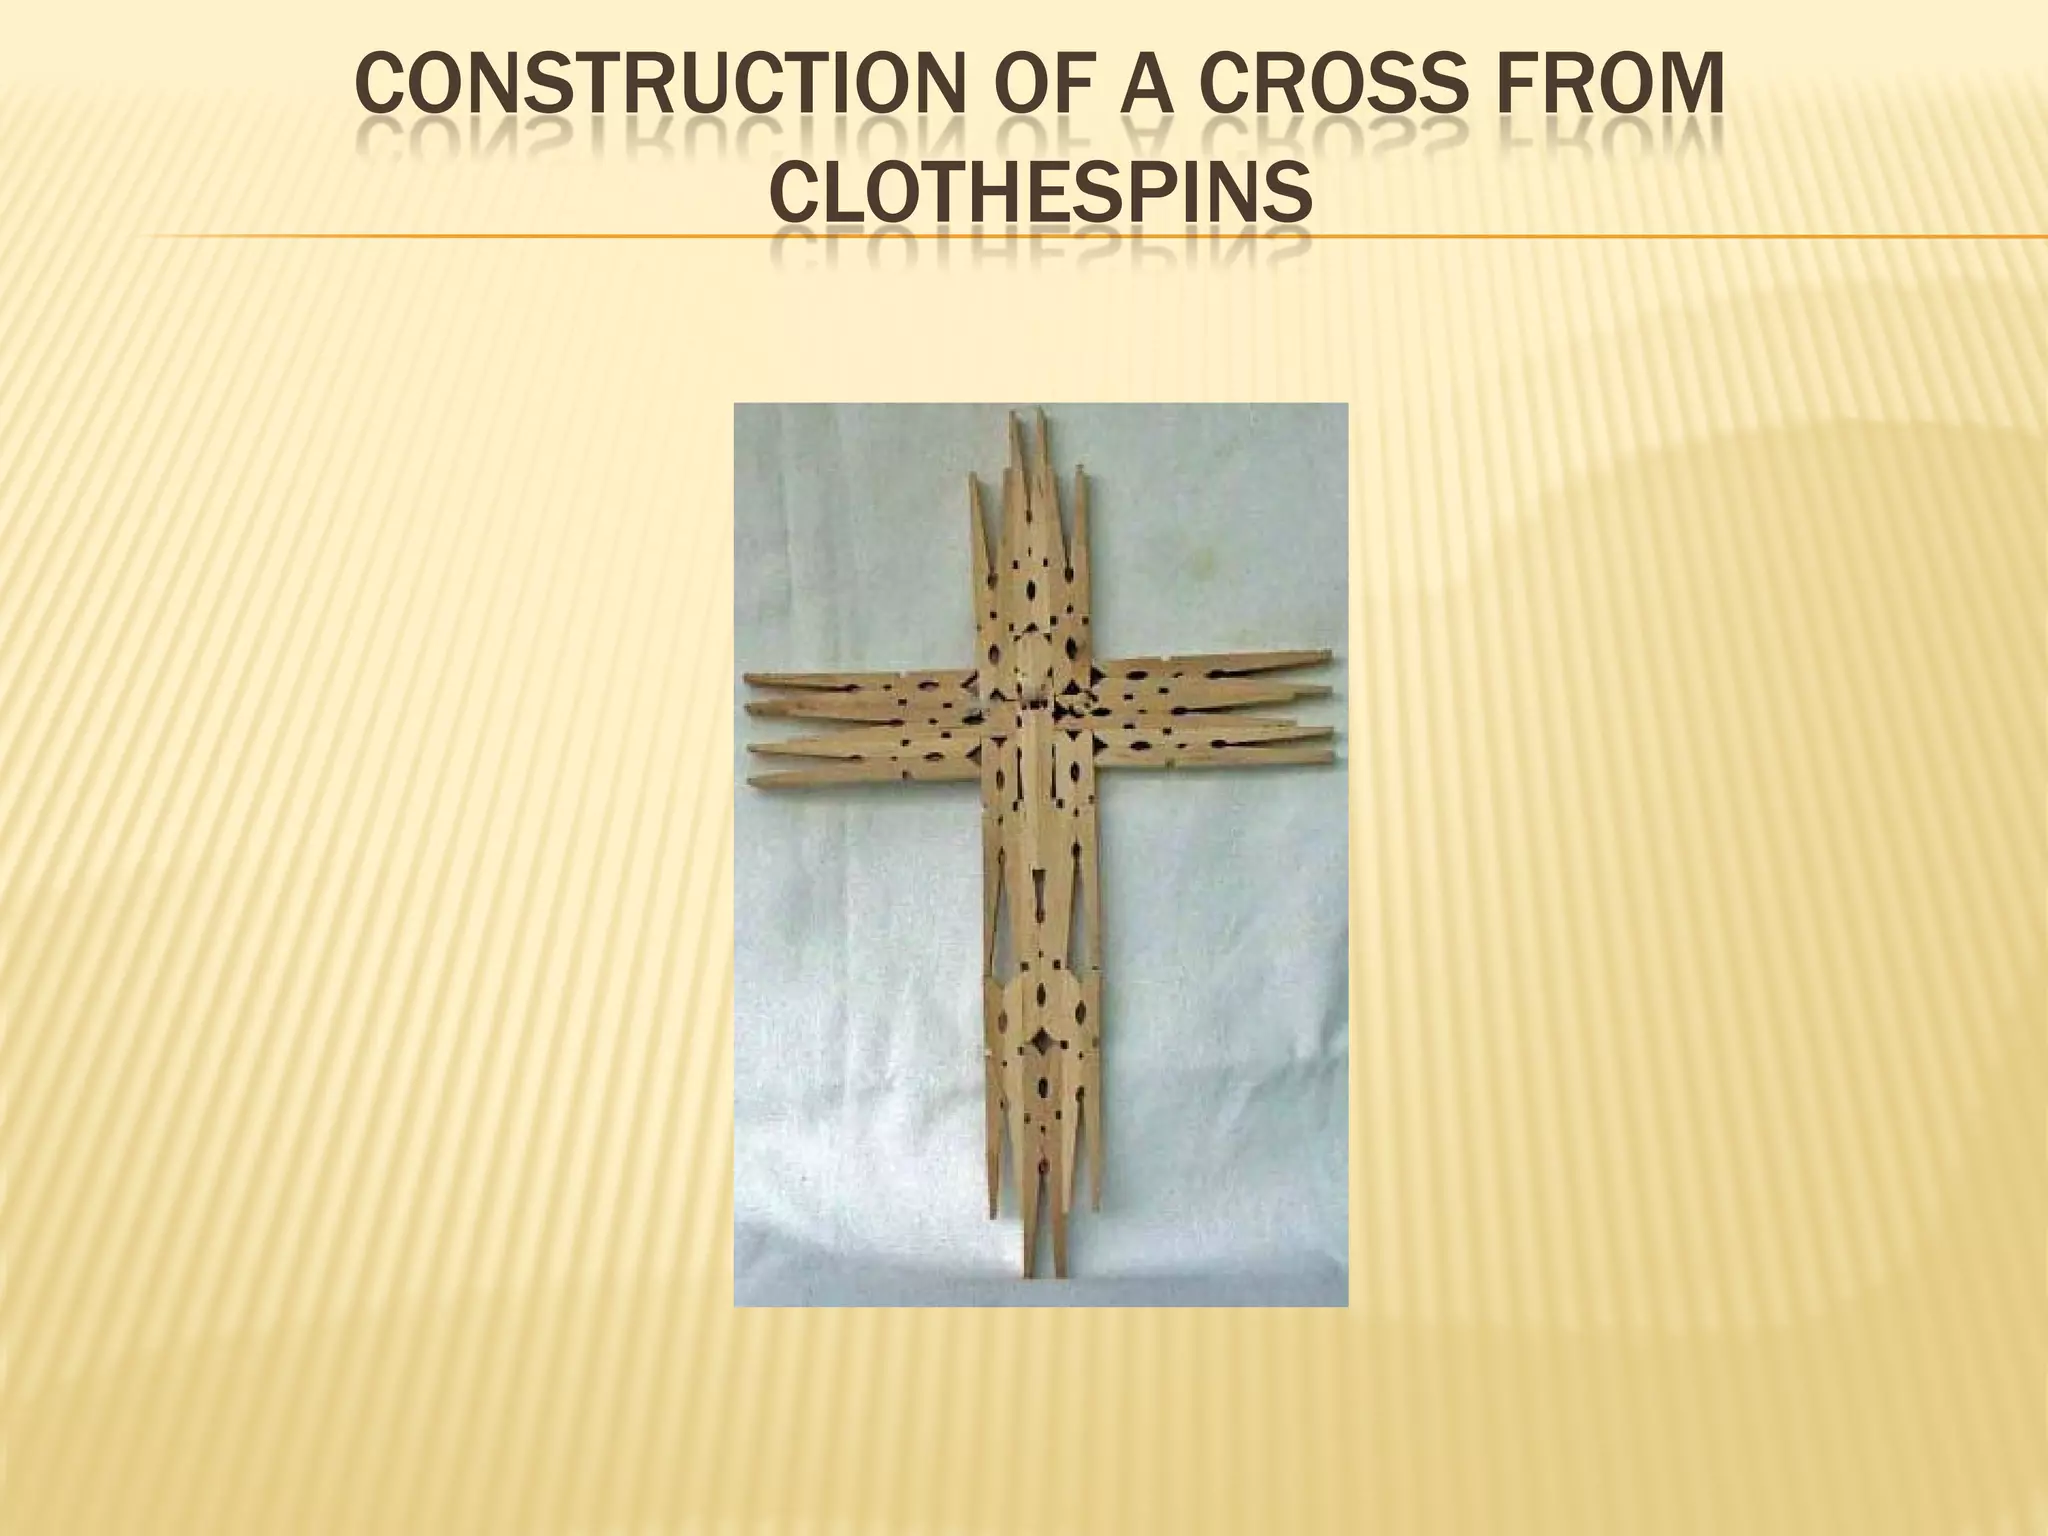
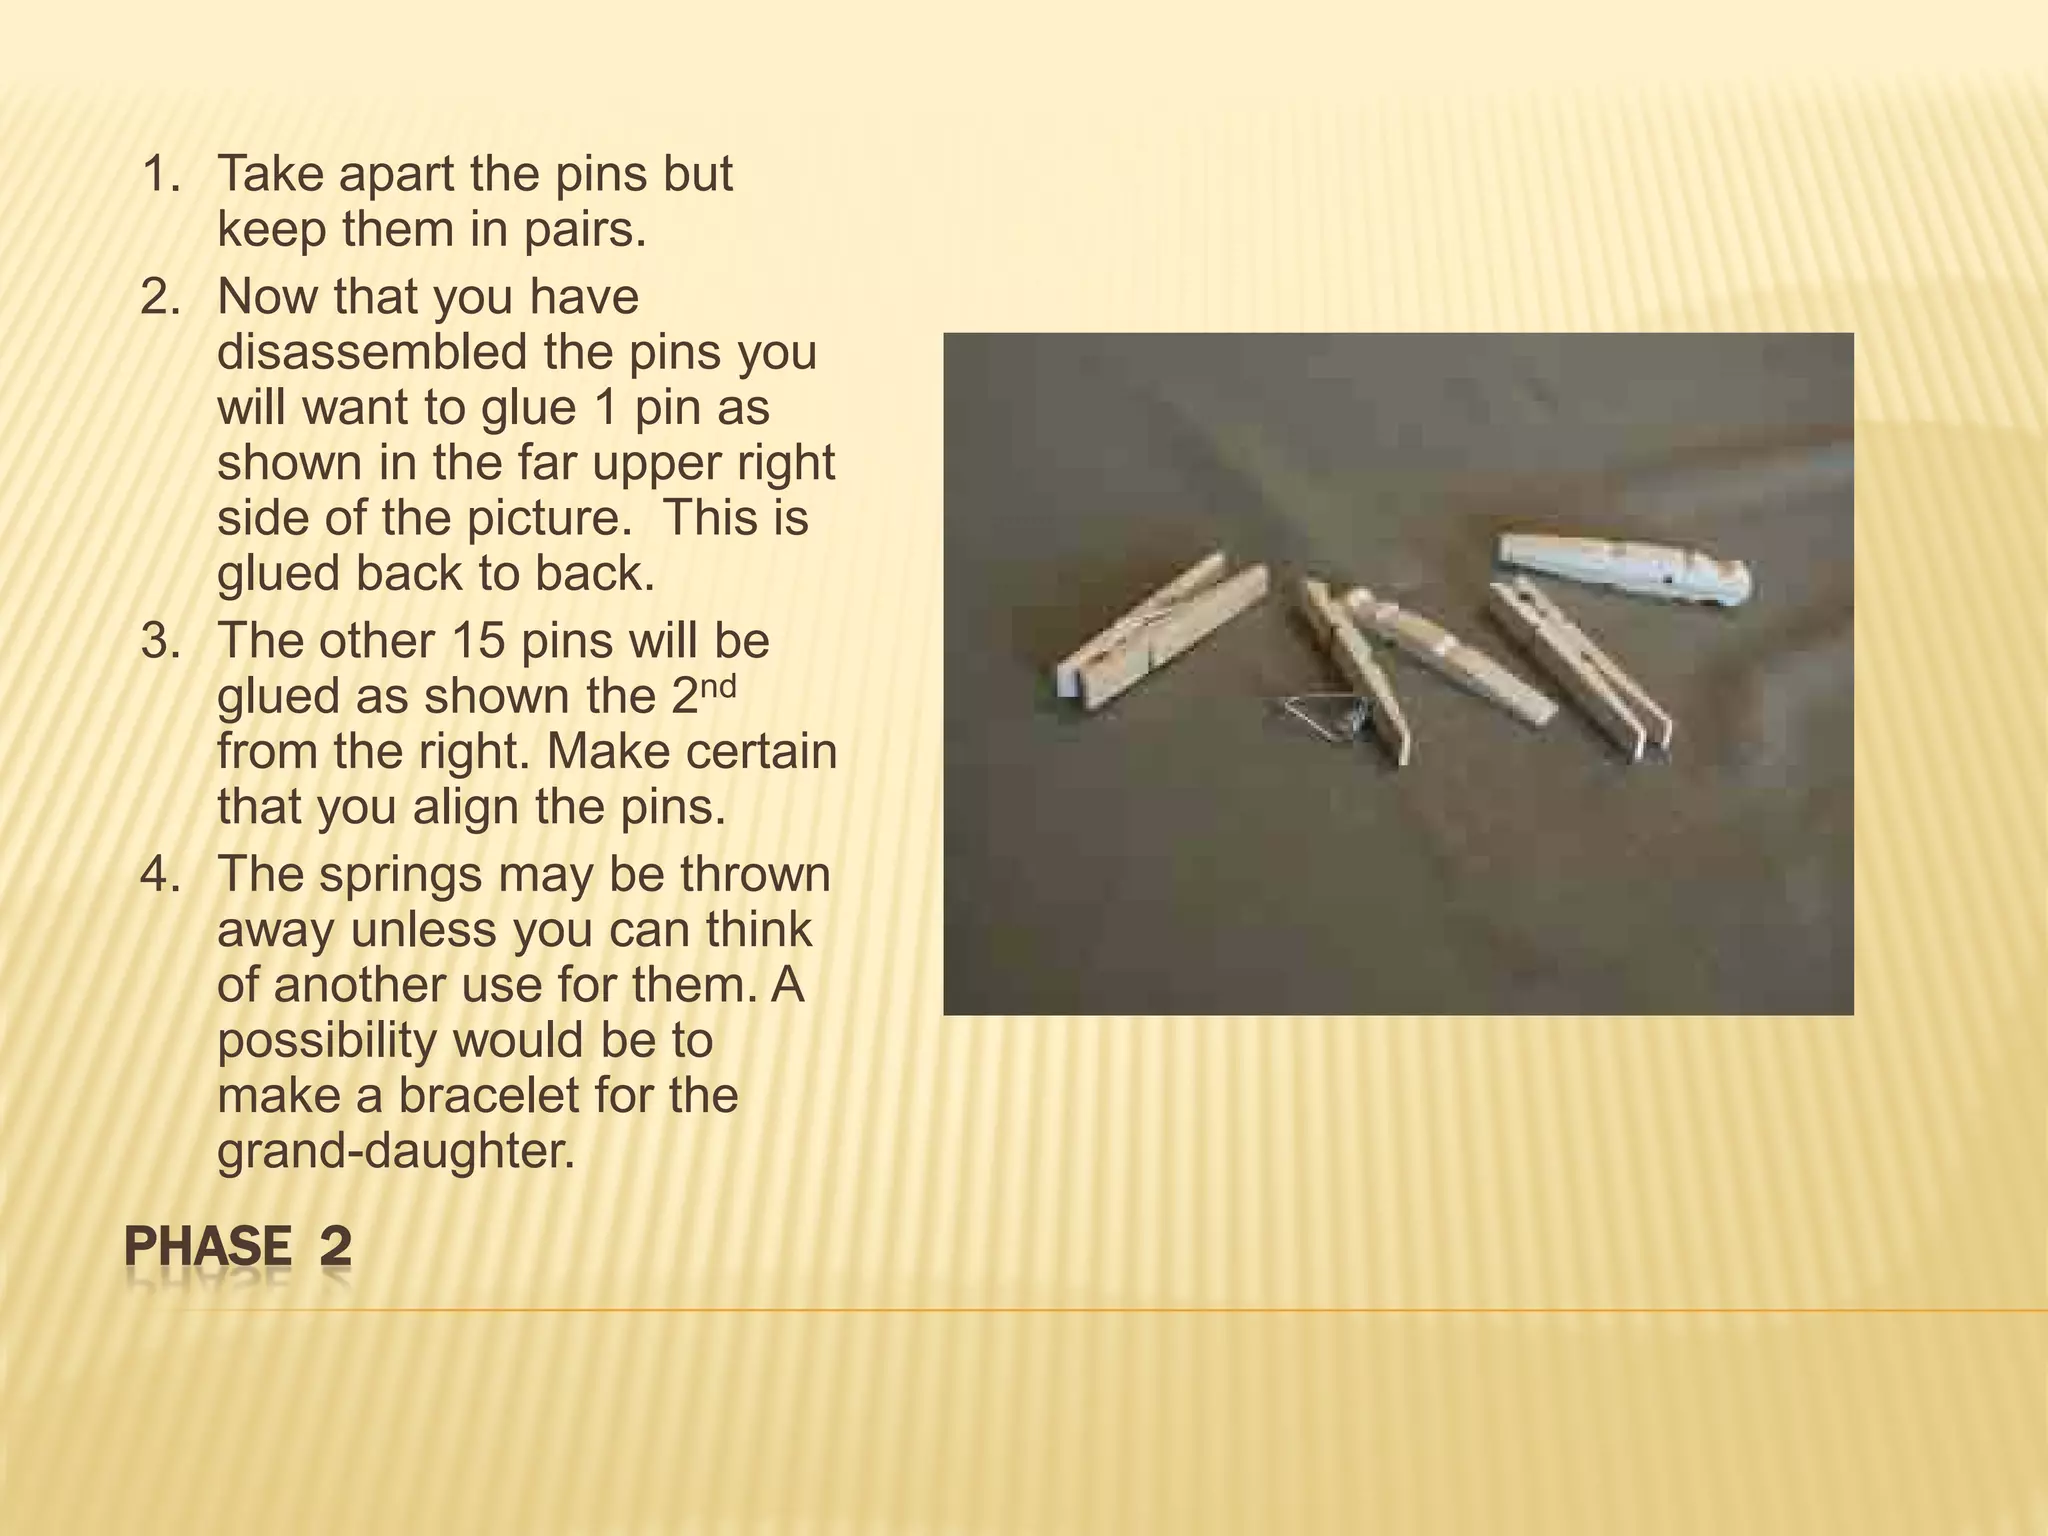
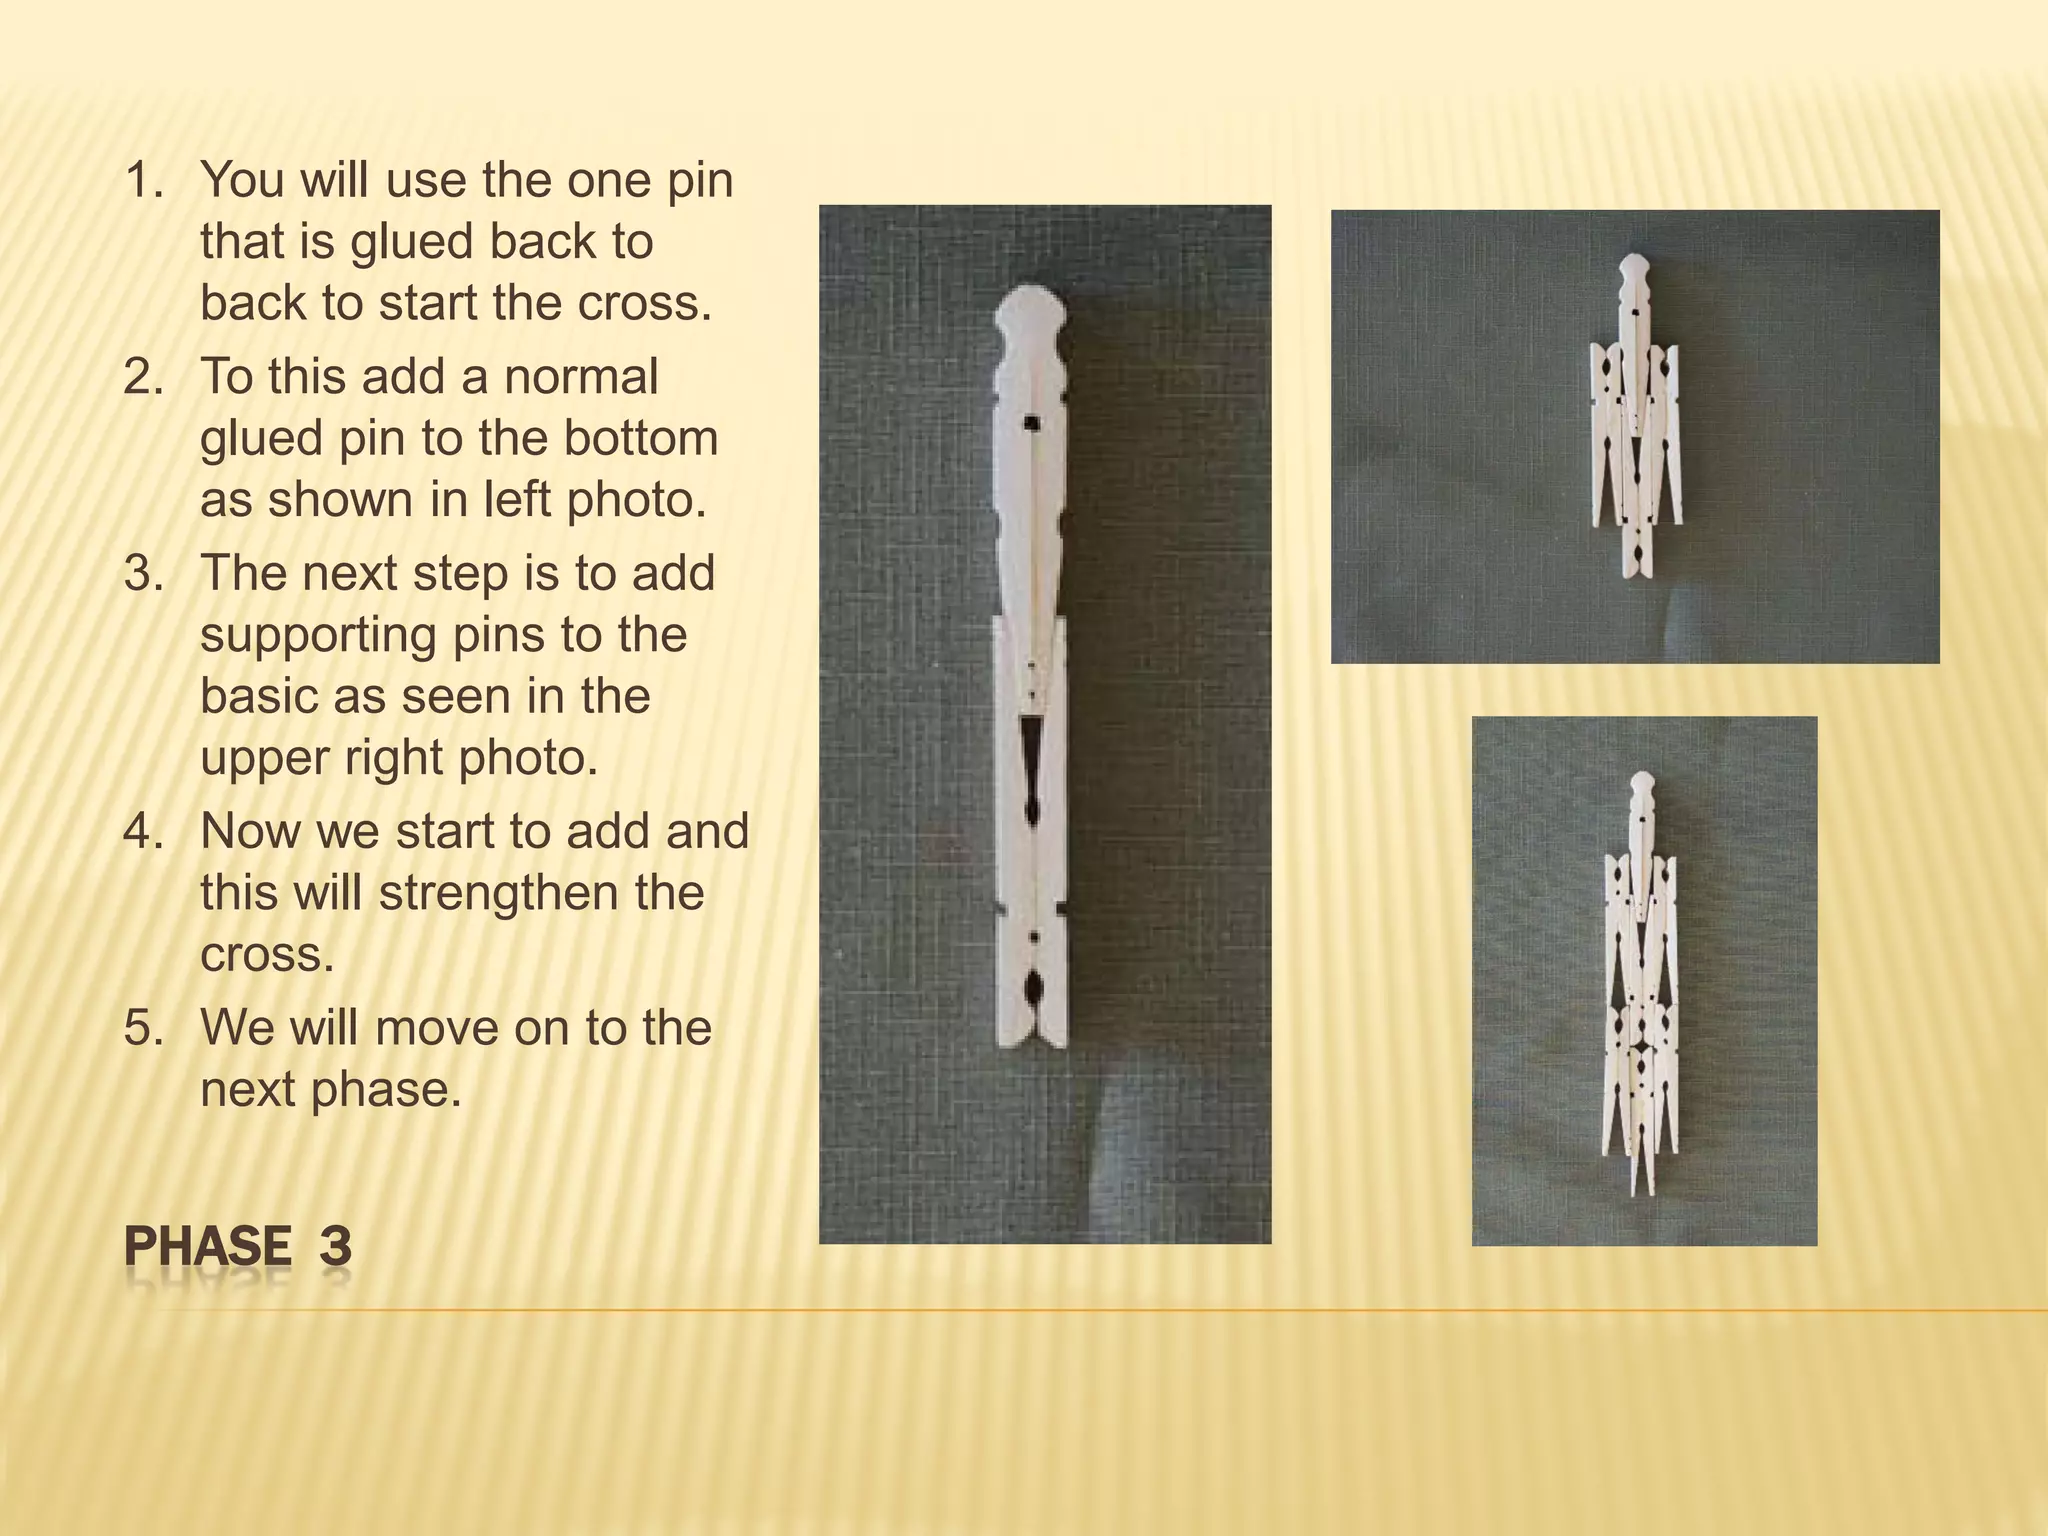

This document provides instructions for building a cross out of clothespins. It outlines 4 phases of construction: [1] preparing the clothespins by removing springs and gluing them together, [2] starting the basic cross shape by gluing pins together at right angles, [3] adding supporting pins to strengthen the form, and [4] finishing the cross arms and details. Emphasis is placed on proper alignment of pins and allowing glue to fully dry between steps. The finished cross can be stained or decorated as desired.


