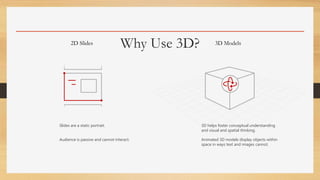
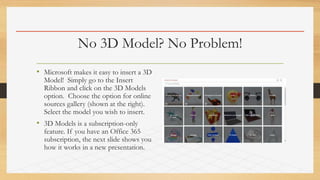
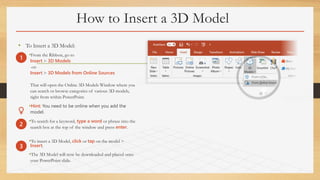
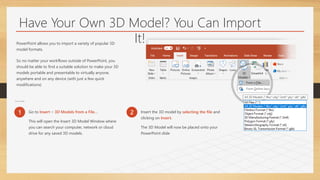
This document provides a guide on how to enhance PowerPoint presentations using 3D models available to Office 365 subscribers. It covers the process of inserting 3D models, rotating and positioning them, and animating them using various features in PowerPoint. Additionally, it explains how to import personal 3D models and utilize different animation effects for a more engaging presentation.


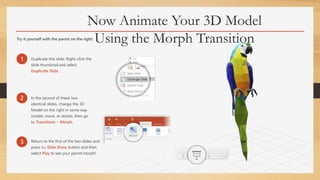


![ceramic-art-and-pottery [Autosaved].pptx](https://cdn.slidesharecdn.com/ss_thumbnails/ceramic-art-and-potteryautosaved-260113113456-35c55ddb-thumbnail.jpg?width=640&height=640&fit=bounds)


