Download to read offline

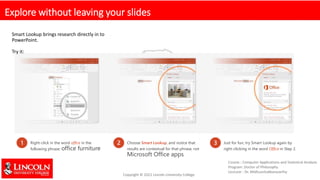
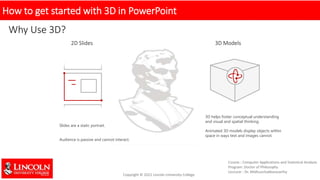
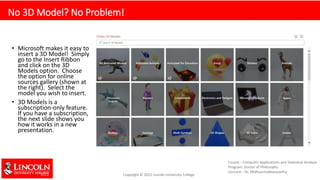
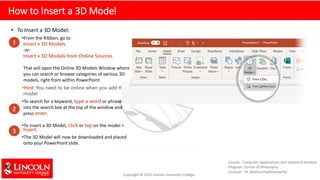
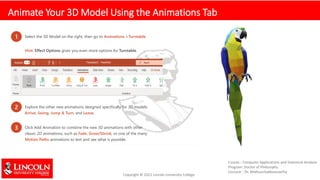
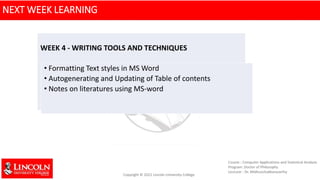

This module covers advanced PowerPoint features like 3D models, morph transitions, and Prezi. It teaches how to insert 3D models from online sources or files, position and rotate models, and animate them using morph and animations. It also introduces the online presentation tool Prezi and provides an exercise to create a simple Prezi presentation by signing up and getting started. The next week will cover writing tools and techniques in Microsoft Word like formatting text styles, autogenerating tables of contents, and taking notes on literature.


