Download to read offline


![46 Rockwell Automation Publication 1608M-UM001A-EN-P - September 2013
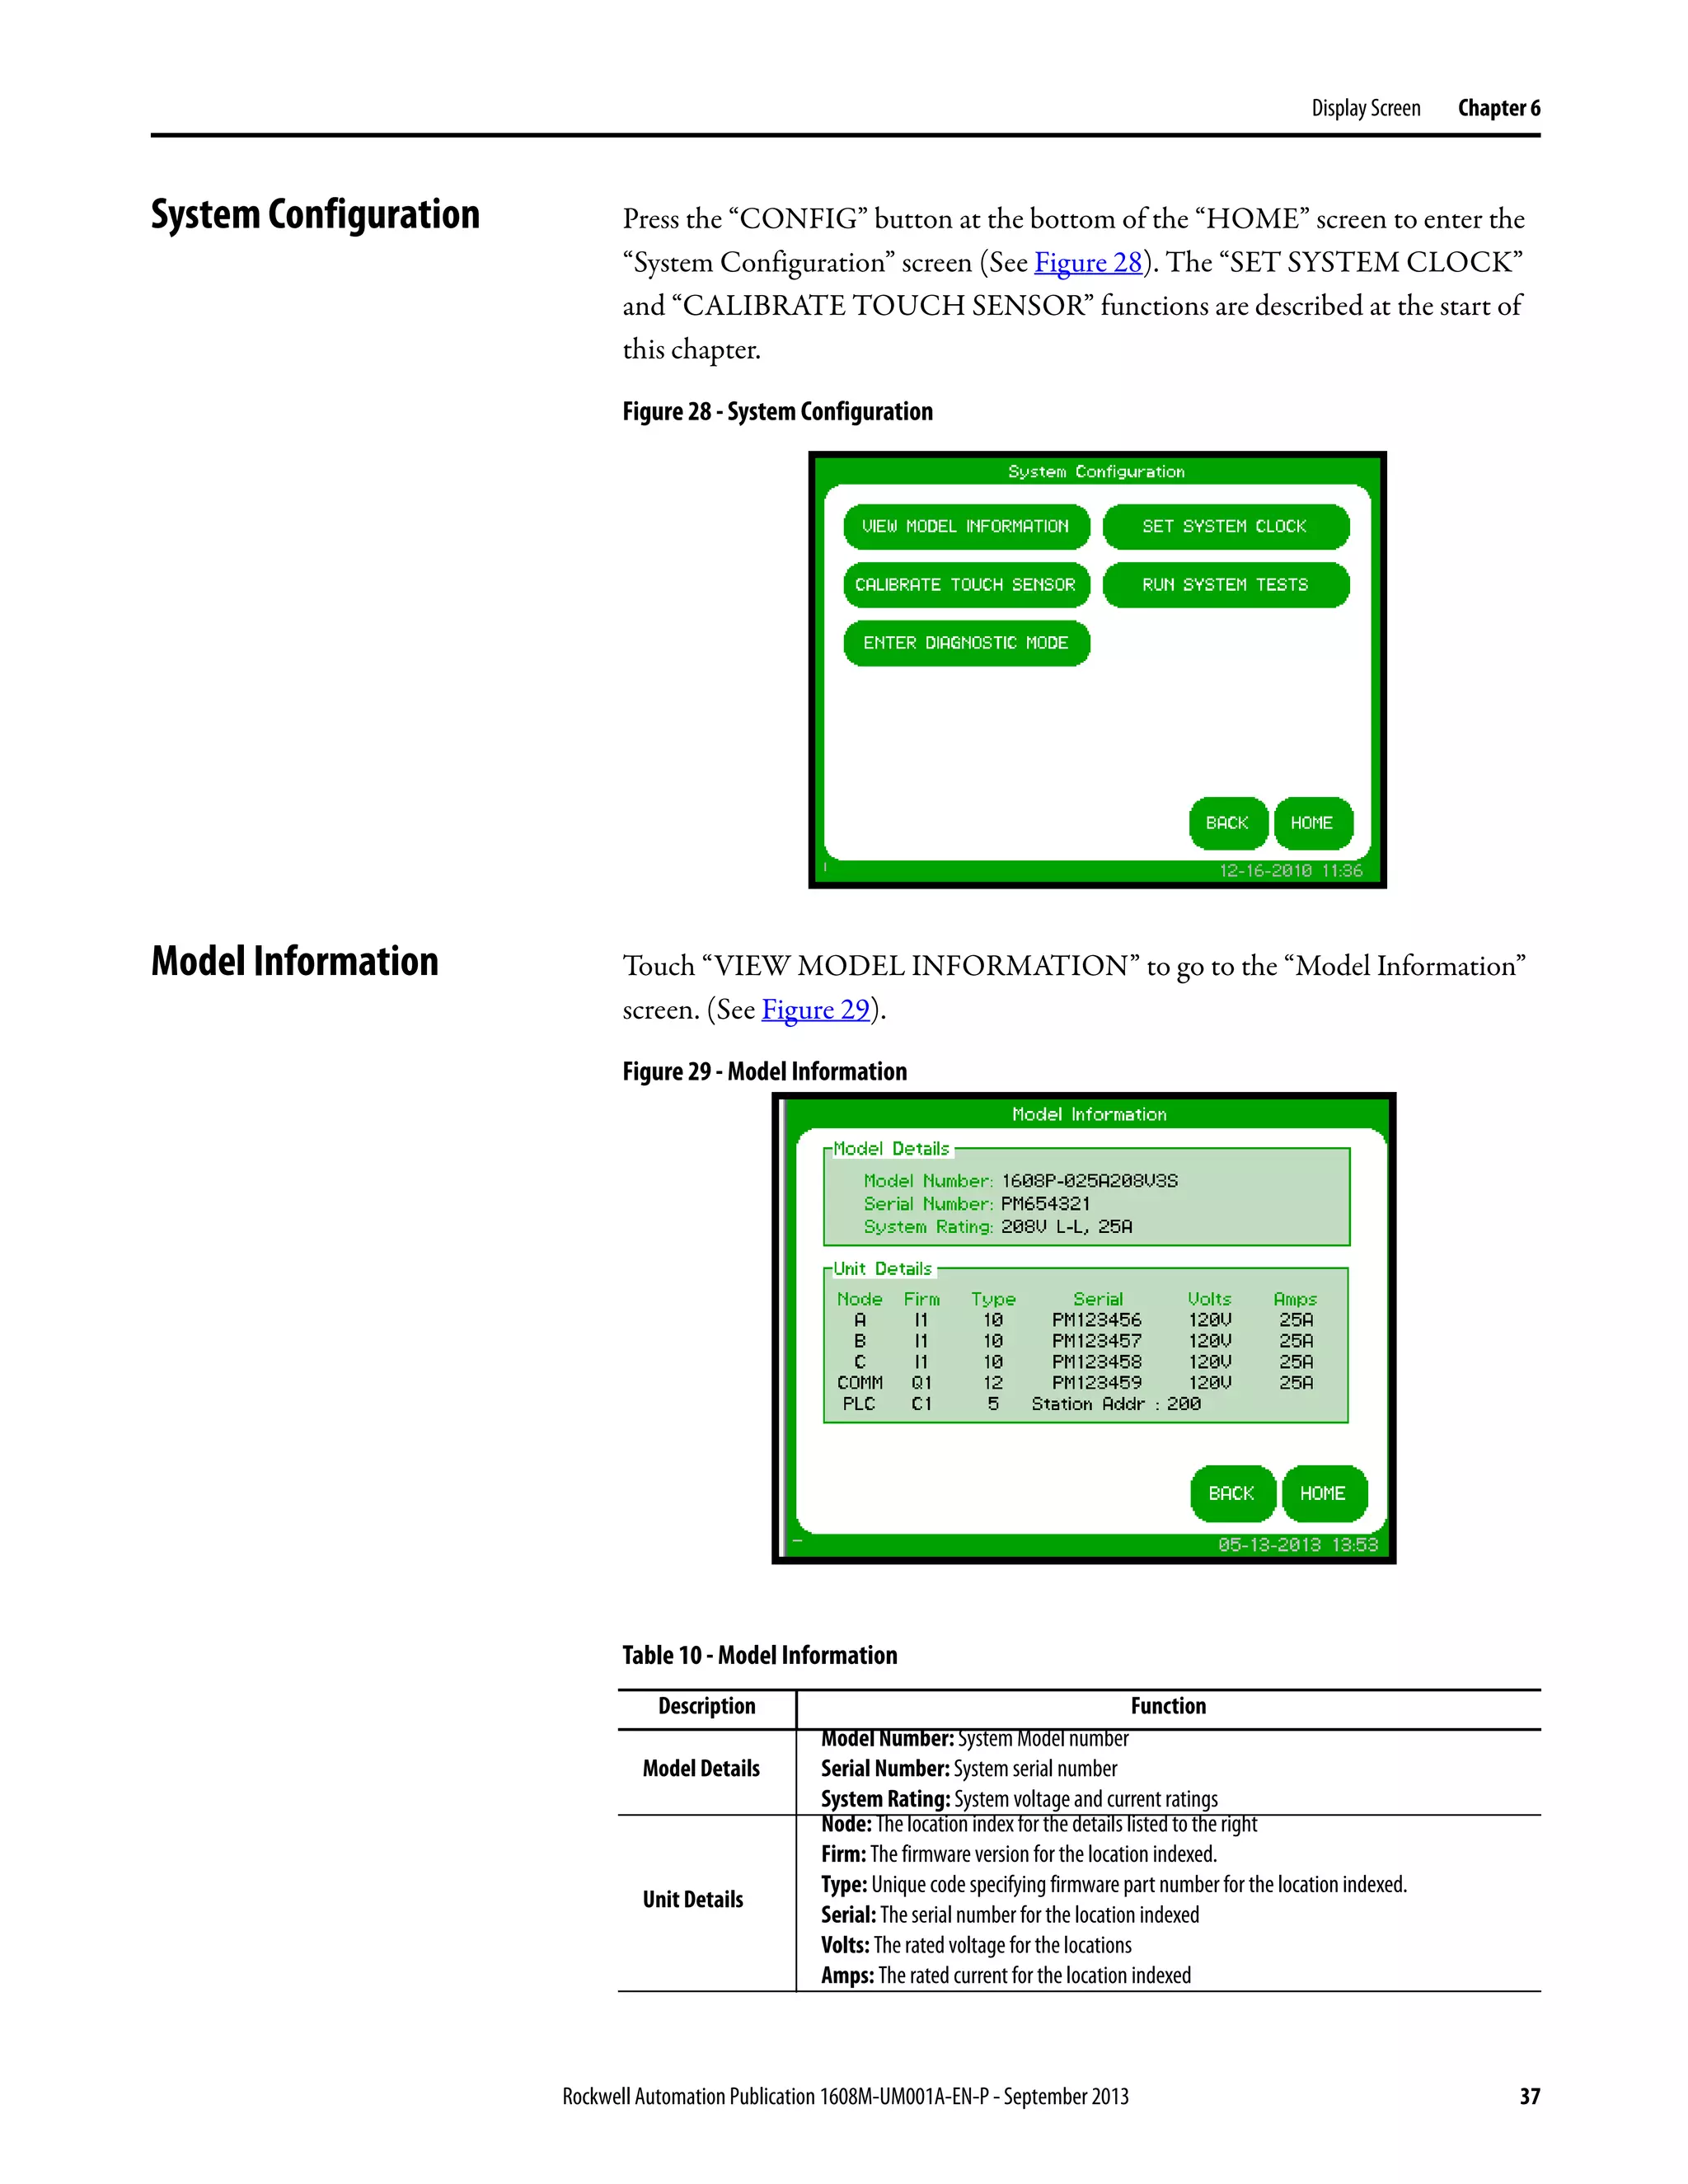
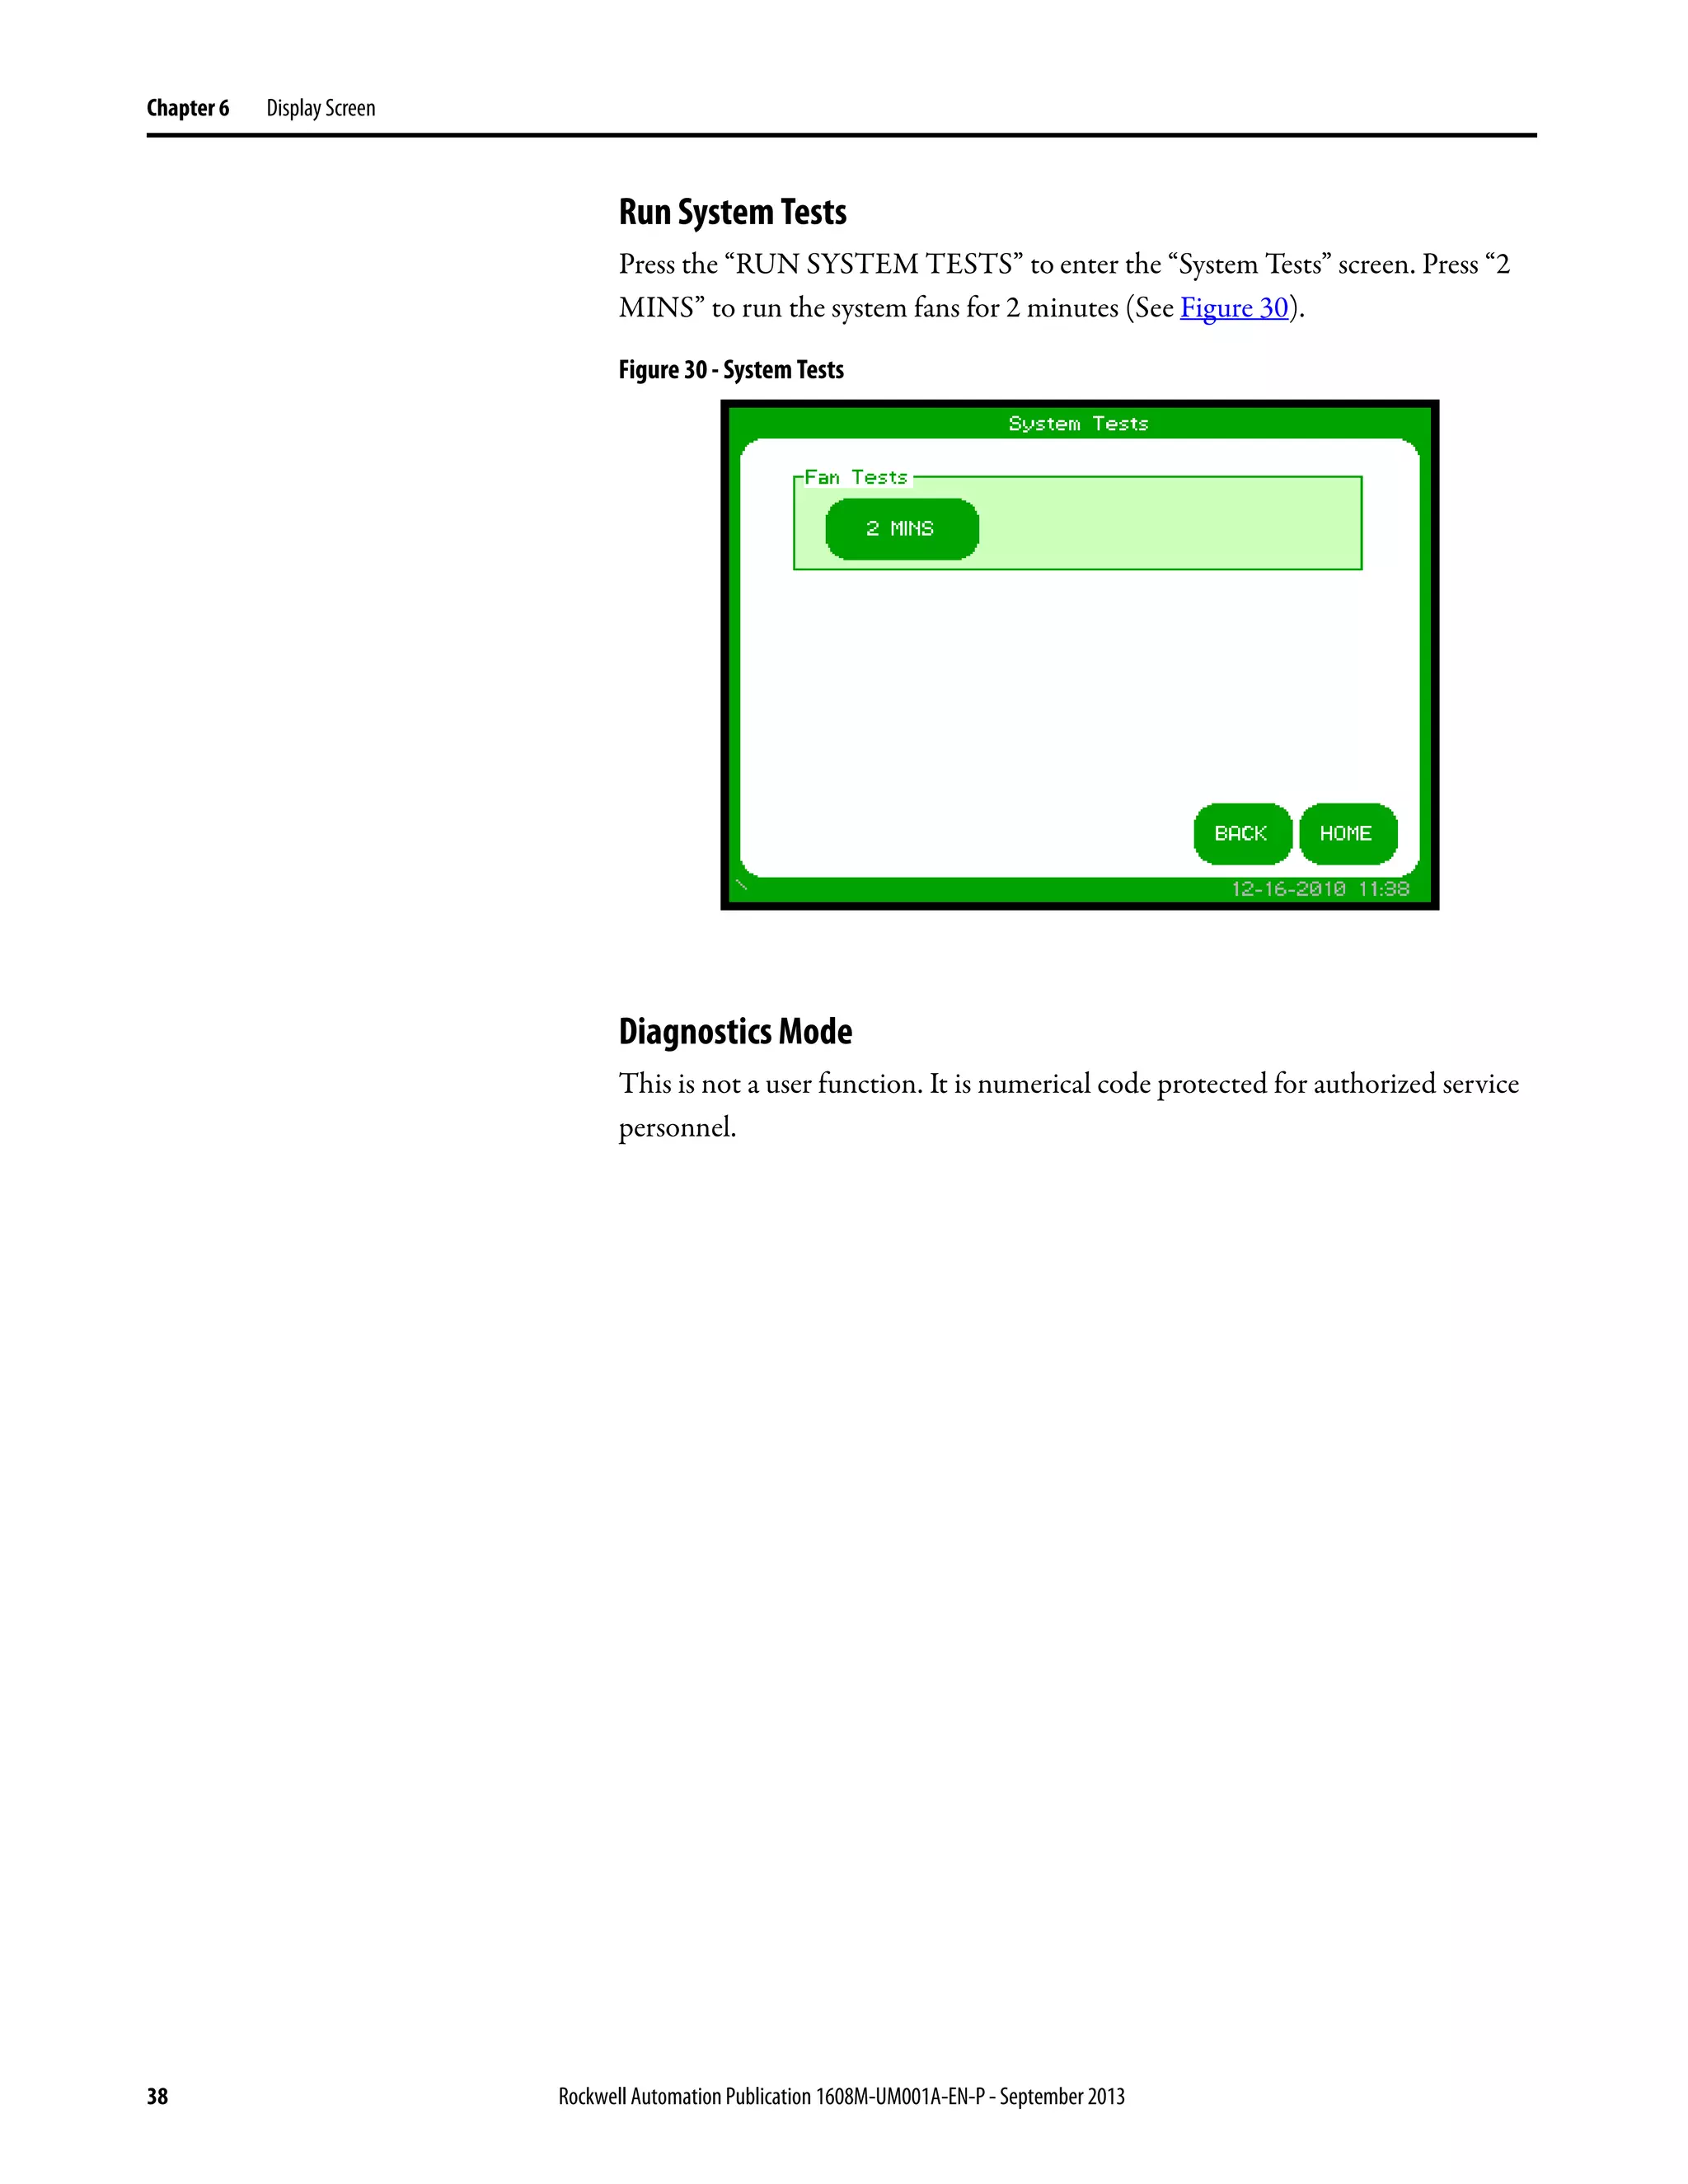
Chapter 8 Specifications
Table 14 - MegaDySC Heat Loading and Typical Efficiency
Table 15 - MegaDySC System Weight
RatedVoltage SR/ER Heat Loss (W) Heat Loss (Btu/h) Efficiency
480V SR 2421 8270 > 99%
480V ER 2852 9740 > 99%
380V SR 2321 7925 > 99%
380V ER 2624 8960 > 99%
3-wire / 4-
wire
SR / ER
MegaDySC /
MegaDySC+ER weight
Automatic Bypass
Switchboard Weight
Total System Weight
3W SR 1792 lb [813 kg] 1075 lb [488 kg] 2867 lb [1300kg]
3W ER 2656 lb [1205 kg] 1075 lb [488 kg] 3731 lb [1692 kg]
4W SR 1792 lb [813 kg] 1039 lb [471 kg] 2831 lb [1284 kg]
4W ER 2656 lb [1205 kg] 1039 lb [471 kg] 3695 lb [1676 kg]](https://image.slidesharecdn.com/1608m-um001-en-p-180403195633/75/1608m-um001-en-p-46-2048.jpg)


This document is the user manual for the Allen-Bradley Bulletin 1608M MegaDySC Dynamic Voltage Sag Corrector. It provides important safety information and guidelines for installing, operating, and maintaining the voltage sag corrector system. The manual describes the system components, installation process, operating modes, display screen interface, preventative maintenance procedures, and technical specifications. It is intended to ensure the voltage sag corrector is properly applied and used to protect equipment from power disturbances on the electrical distribution system.


![Coded Agents – with UiPath SDK + LangGraph [Virtual Hands-on Workshop]](https://cdn.slidesharecdn.com/ss_thumbnails/codedagentsdeck-251215155422-5497c599-thumbnail.jpg?width=640&height=640&fit=bounds)


![Vibe Coding vs. Spec-Driven Development [Free Meetup]](https://cdn.slidesharecdn.com/ss_thumbnails/vibecodingvsspecdrivendevelopment-251209105622-43f455e7-thumbnail.jpg?width=640&height=640&fit=bounds)

