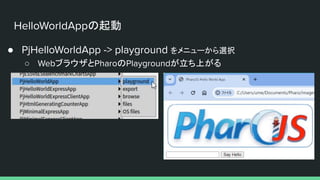
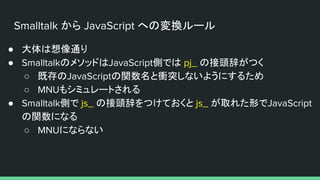
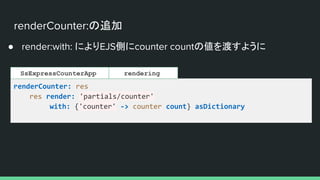
PharoJSを使ってWebアプリケーションを開発する方法の紹介です。 第142回Smalltalk勉強会の発表資料です。 https://smalltalk.connpass.com/event/313973/


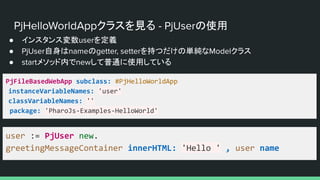
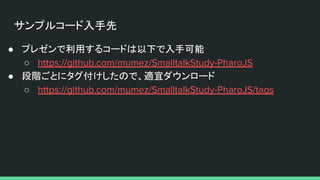
![PjHelloWorldApp クラスを見る - start メソッド
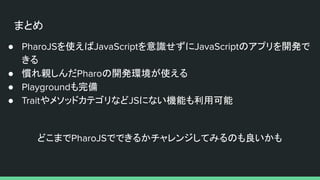
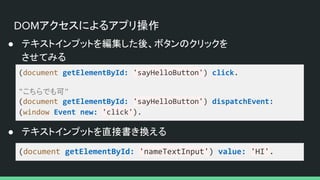
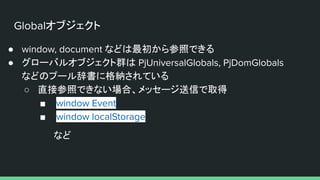
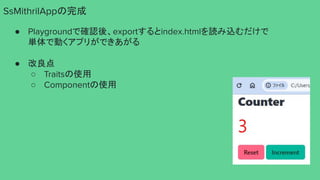
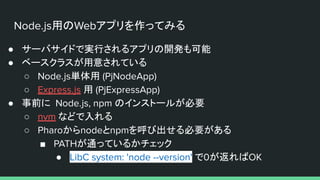
● アプリのエントリポイント
○ getElementById: でDOM要素を取得
○ addEventListener:block: でイベントハンドラを登録
| nameInput sayHelloButton greetingMessageContainer |
super start.
user := PjUser new.
nameInput := document getElementById: #nameTextInput.
sayHelloButton := document getElementById: #sayHelloButton.
nameInput addEventListener: #change block: [ user name: nameInput value ].
greetingMessageContainer := document getElementById:
#greetingMessageContainer.
sayHelloButton addEventListener: #click block: [ greetingMessageContainer
innerHTML: 'Hello ' , user name ]](https://image.slidesharecdn.com/pharojsweb-240427063954-ff5dee76/85/142-Smalltalk-PharoJS-Web-13-320.jpg)

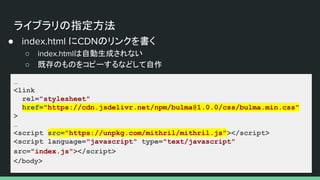


![イベントハンドラの定義
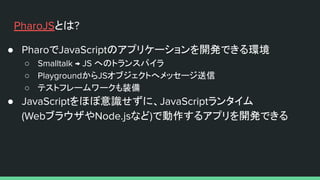
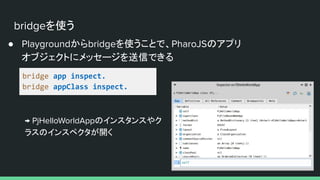
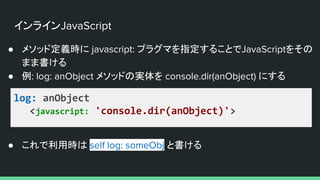
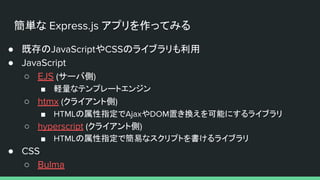
● addEventListener:block:で、ボタンのclickイベントに対して
イベントハンドラを登録
● モデルの状態を変更し、render で表示
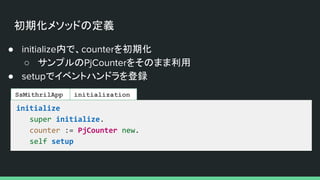
setup
self resetButton addEventListener: #click block: [
counter reset.
self render ].
self incrementButton addEventListener: #click block: [
counter increment.
self render ].
self render
SsMithrilApp initialization](https://image.slidesharecdn.com/pharojsweb-240427063954-ff5dee76/85/142-Smalltalk-PharoJS-Web-32-320.jpg)
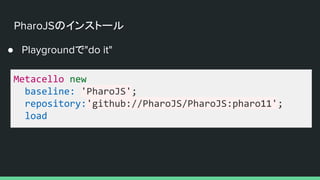
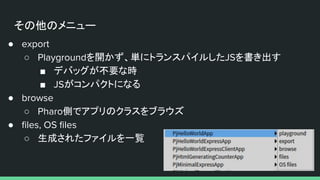
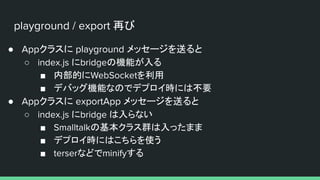
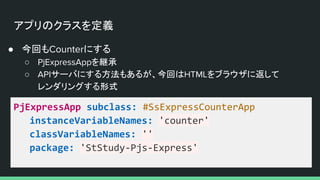
![m("main", [
m("h1", {class: "title"}, "My first app"),
m("button", "A button"),
])
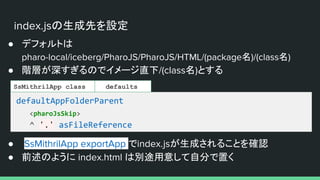
<main>
<h1 class="title">My first app</h1>
<button>A button</button>
</main>
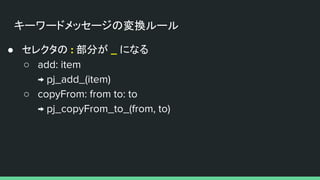
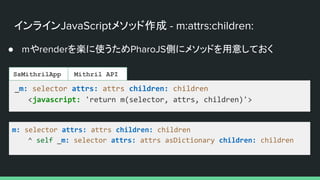
m(selector, attributes, children) の利用
● m関数の入れ子で仮想DOMのツリーが作られる
● HTMLだと...](https://image.slidesharecdn.com/pharojsweb-240427063954-ff5dee76/85/142-Smalltalk-PharoJS-Web-34-320.jpg)
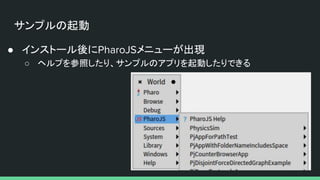
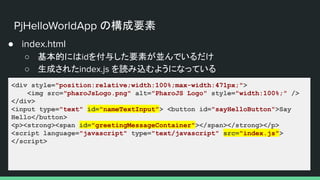
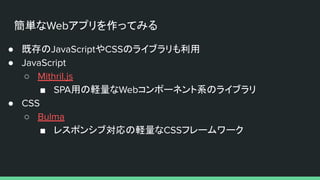
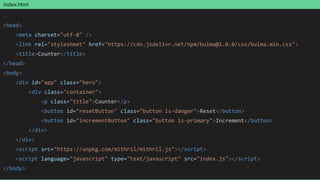
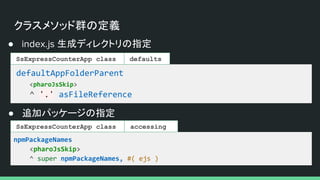
![var vnodes = m("main", [
m("h1", {class: "title"}, "My first app"),
m("button", "A button"),
])
m.render(document.getElementById("app"), vnodes)
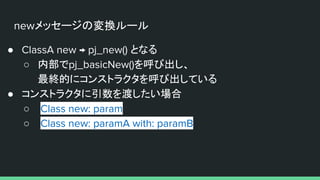
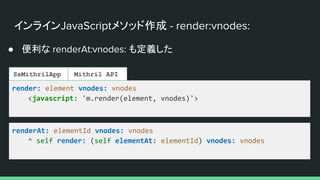
render(element, vnodes) によるHTML生成
● render関数でDOMにHTMLが適用される
● これで id="app"の子要素が、mainタグによる要素に置きかわる](https://image.slidesharecdn.com/pharojsweb-240427063954-ff5dee76/85/142-Smalltalk-PharoJS-Web-35-320.jpg)
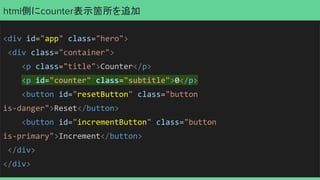
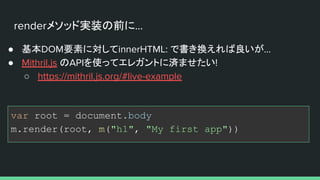
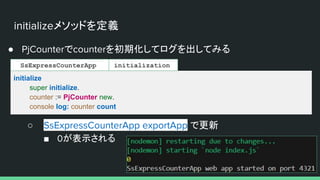
![renderメソッド
● counterの値により色を変えてみる例
SsMithrilApp rendering
render
| style |
style := counter count 3 = 0
ifTrue: [ 'color:red' ]
ifFalse: [ 'color:gray' ].
self renderAt: 'counter' vnodes: (self
m: 'div'
attrs: {
('class' -> 'is-size-1').
('style' -> style) }
children: counter count)](https://image.slidesharecdn.com/pharojsweb-240427063954-ff5dee76/85/142-Smalltalk-PharoJS-Web-40-320.jpg)

![PjApplication class >> inAppFolderRunCommandLine: aBlock のパッチ
inAppFolderRunCommandLine: aBlock
<pharoJsSkip>
| commandLine |
commandLine := String streamContents: [ :str |
str
<< 'cd ';
<< self appFullJsFolderPath pathString;
<< $;.
aBlock value: str ].
OSPlatform current isWindows ifTrue:[
^ WBWindowsWebBrowser
shellExecute: 'Open' file: 'pwsh' parameters:'-Command "',commandLine,'"'
directory: '' show: 5.
].
LibC system: commandLine](https://image.slidesharecdn.com/pharojsweb-240427063954-ff5dee76/85/142-Smalltalk-PharoJS-Web-47-320.jpg)
![ルーティングの定義
● initRoutes メソッドを定義してinitializeから呼ぶように変更
initRoutes
server get: '/' handler: [ :req :res | res send: 'hello' ]
initialize
super initialize.
counter := PjCounter new.
self initRoutes
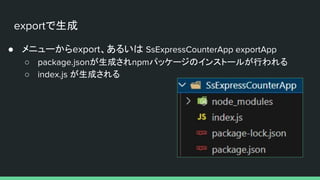
● exportApp で更新するとブラウザにhelloと出るようになる](https://image.slidesharecdn.com/pharojsweb-240427063954-ff5dee76/85/142-Smalltalk-PharoJS-Web-55-320.jpg)

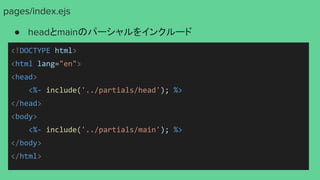
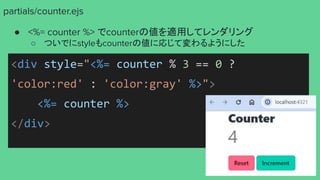
![EJSの利用
● initRoutes のhandler: 内をejsを使う形に変更
initRoutes
server set: 'view engine' to: 'ejs'.
server get: '/' handler: [ :req :res | self renderIndex: res ]
initialization
SsExpressCounterApp
renderIndex: res
res render: 'pages/index'
rendering
SsExpressCounterApp
○ index.ejs の内容が表示されるようになる](https://image.slidesharecdn.com/pharojsweb-240427063954-ff5dee76/85/142-Smalltalk-PharoJS-Web-60-320.jpg)
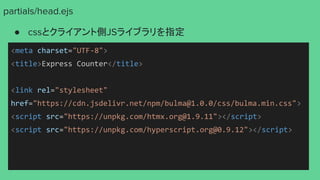
![initRoutesの修正
● increment, reset のルーティングを追加
○ GETリクエストがあったらモデルを更新し renderCounter: でレンダリング
initRoutes
server set: 'view engine' to: 'ejs'.
server get: '/' handler: [ :req :res | self renderIndex: res ].
server get: '/increment' handler: [ :req :res |
counter increment.
self renderCounter: res ].
server get: '/reset' handler: [ :req :res |
counter reset.
self renderCounter: res ]
initialization
SsExpressCounterApp](https://image.slidesharecdn.com/pharojsweb-240427063954-ff5dee76/85/142-Smalltalk-PharoJS-Web-63-320.jpg)
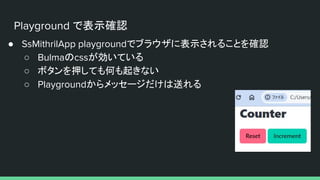
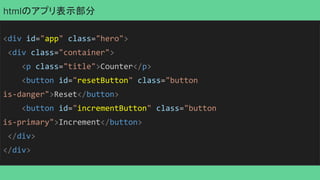
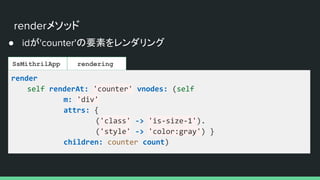
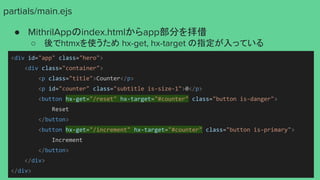
![hyperscriptで連打対策
● ちょっとしたロジックをクライアント側に入れたい時
○ Incrementボタン連打の間隔をhyperscriptで調整
<div id="app" class="hero">
<div class="container">
<p class="title">Counter</p>
<p id="counter" class="subtitle is-size-1">0</p>
<button hx-get="/reset" hx-target="#counter" class="button is-danger">
Reset
</button>
<button hx-get="/increment" hx-target="#counter" class="button is-primary"
_="on click toggle [@disabled='true'] for 0.1s">
Increment
</button>
</div>
</div>](https://image.slidesharecdn.com/pharojsweb-240427063954-ff5dee76/85/142-Smalltalk-PharoJS-Web-65-320.jpg)