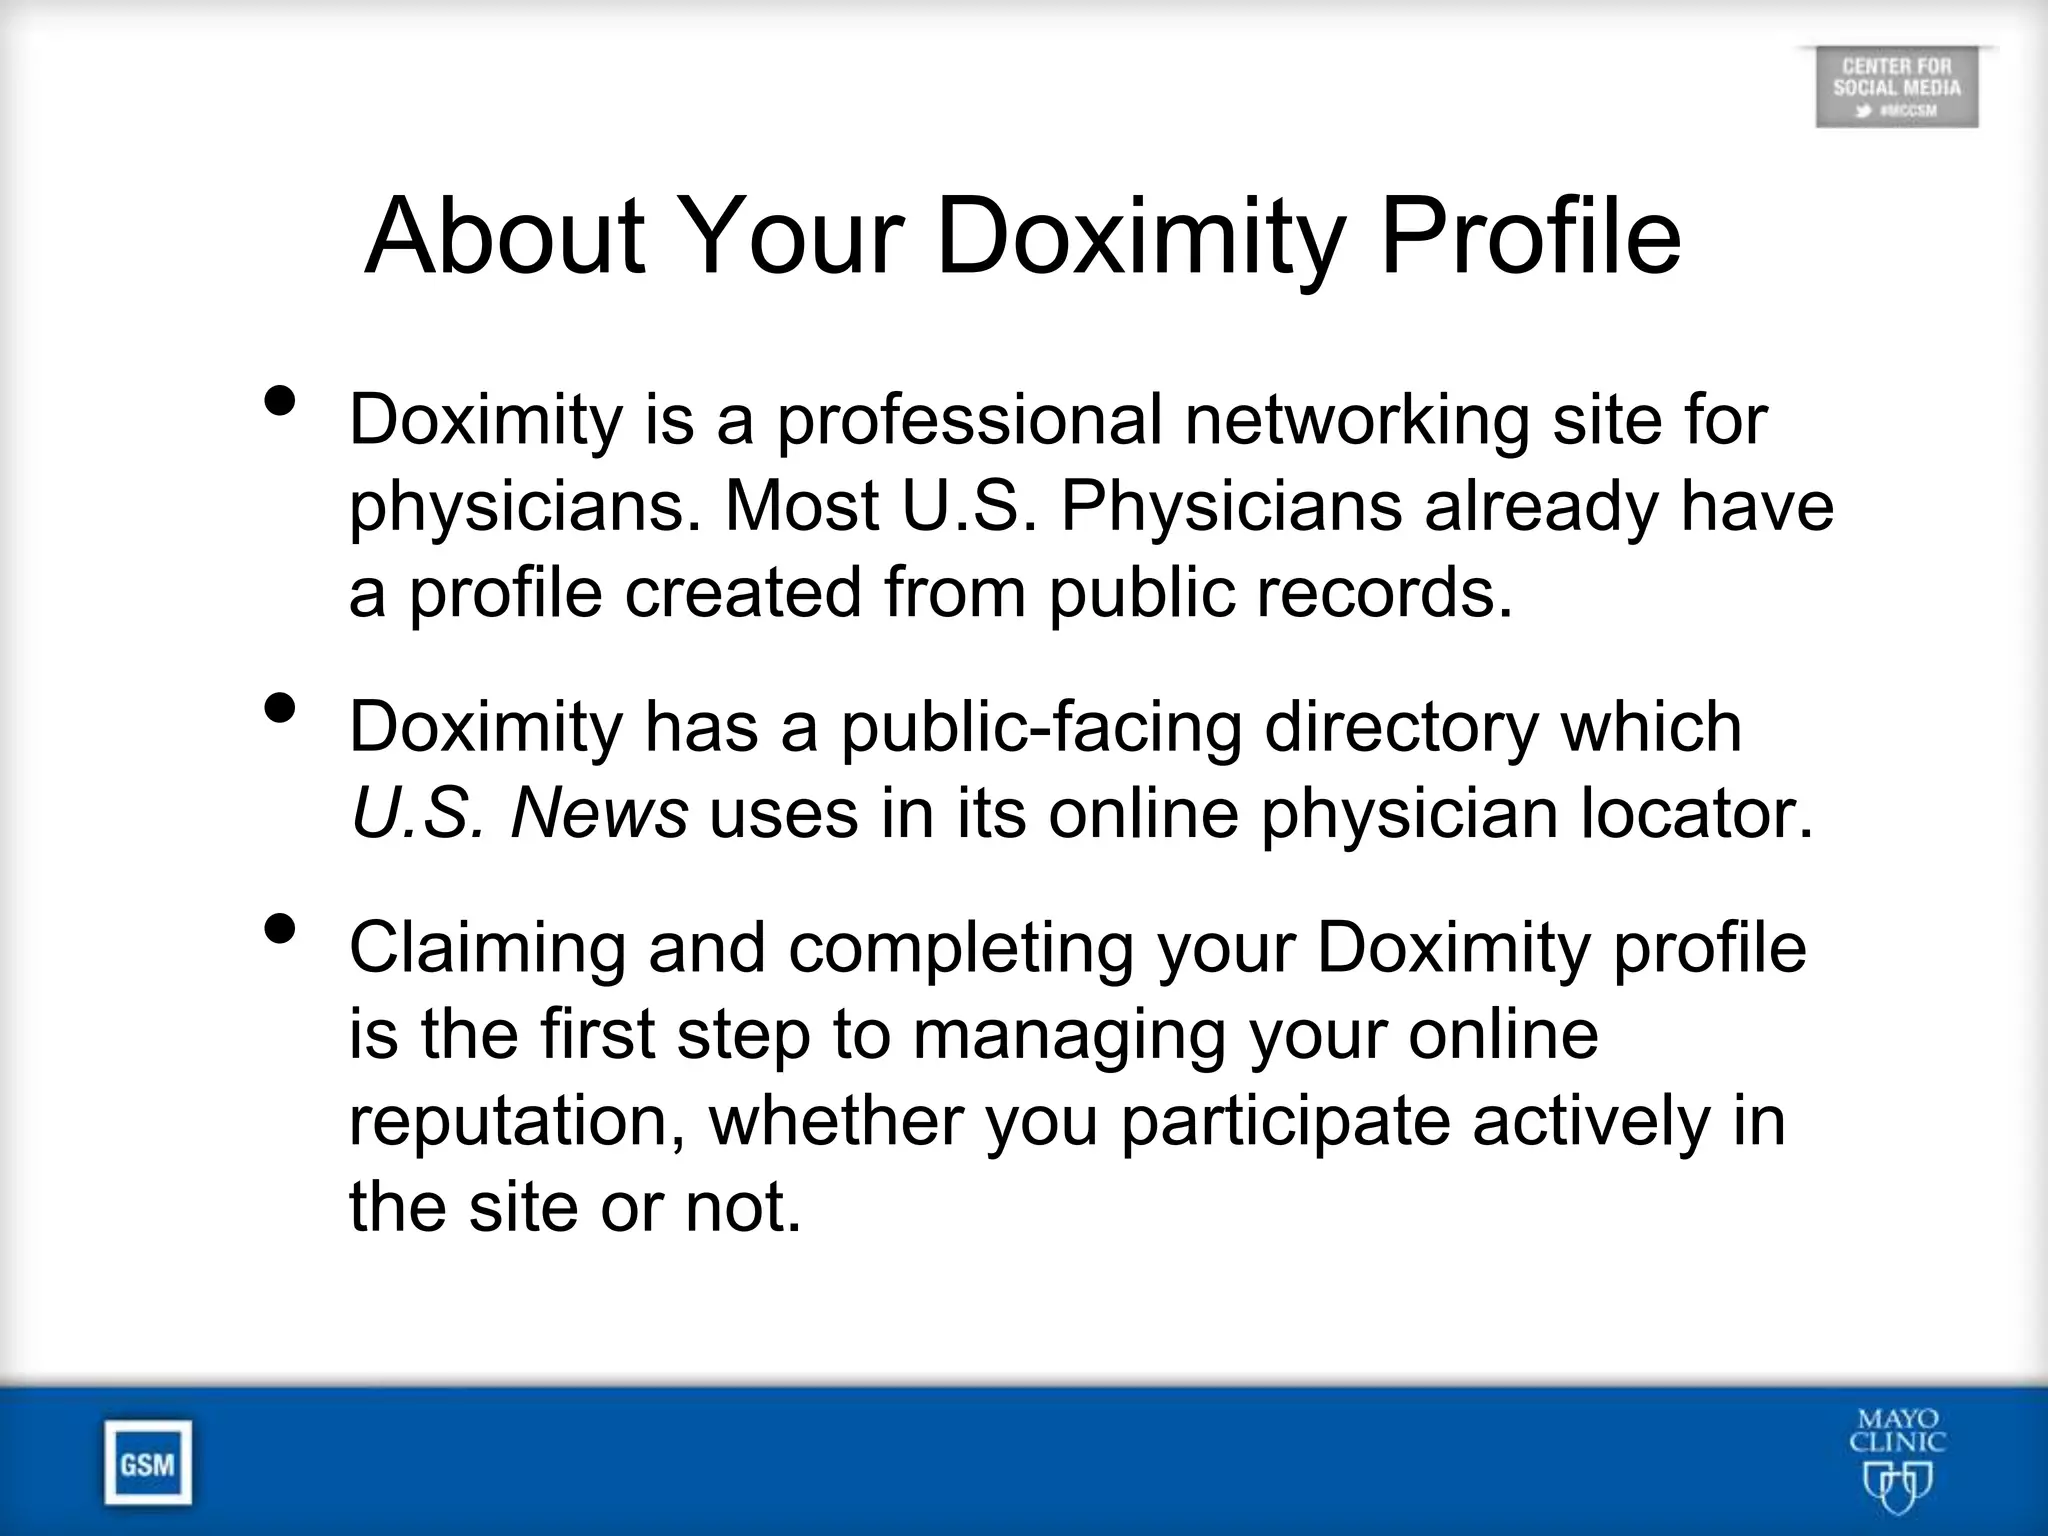
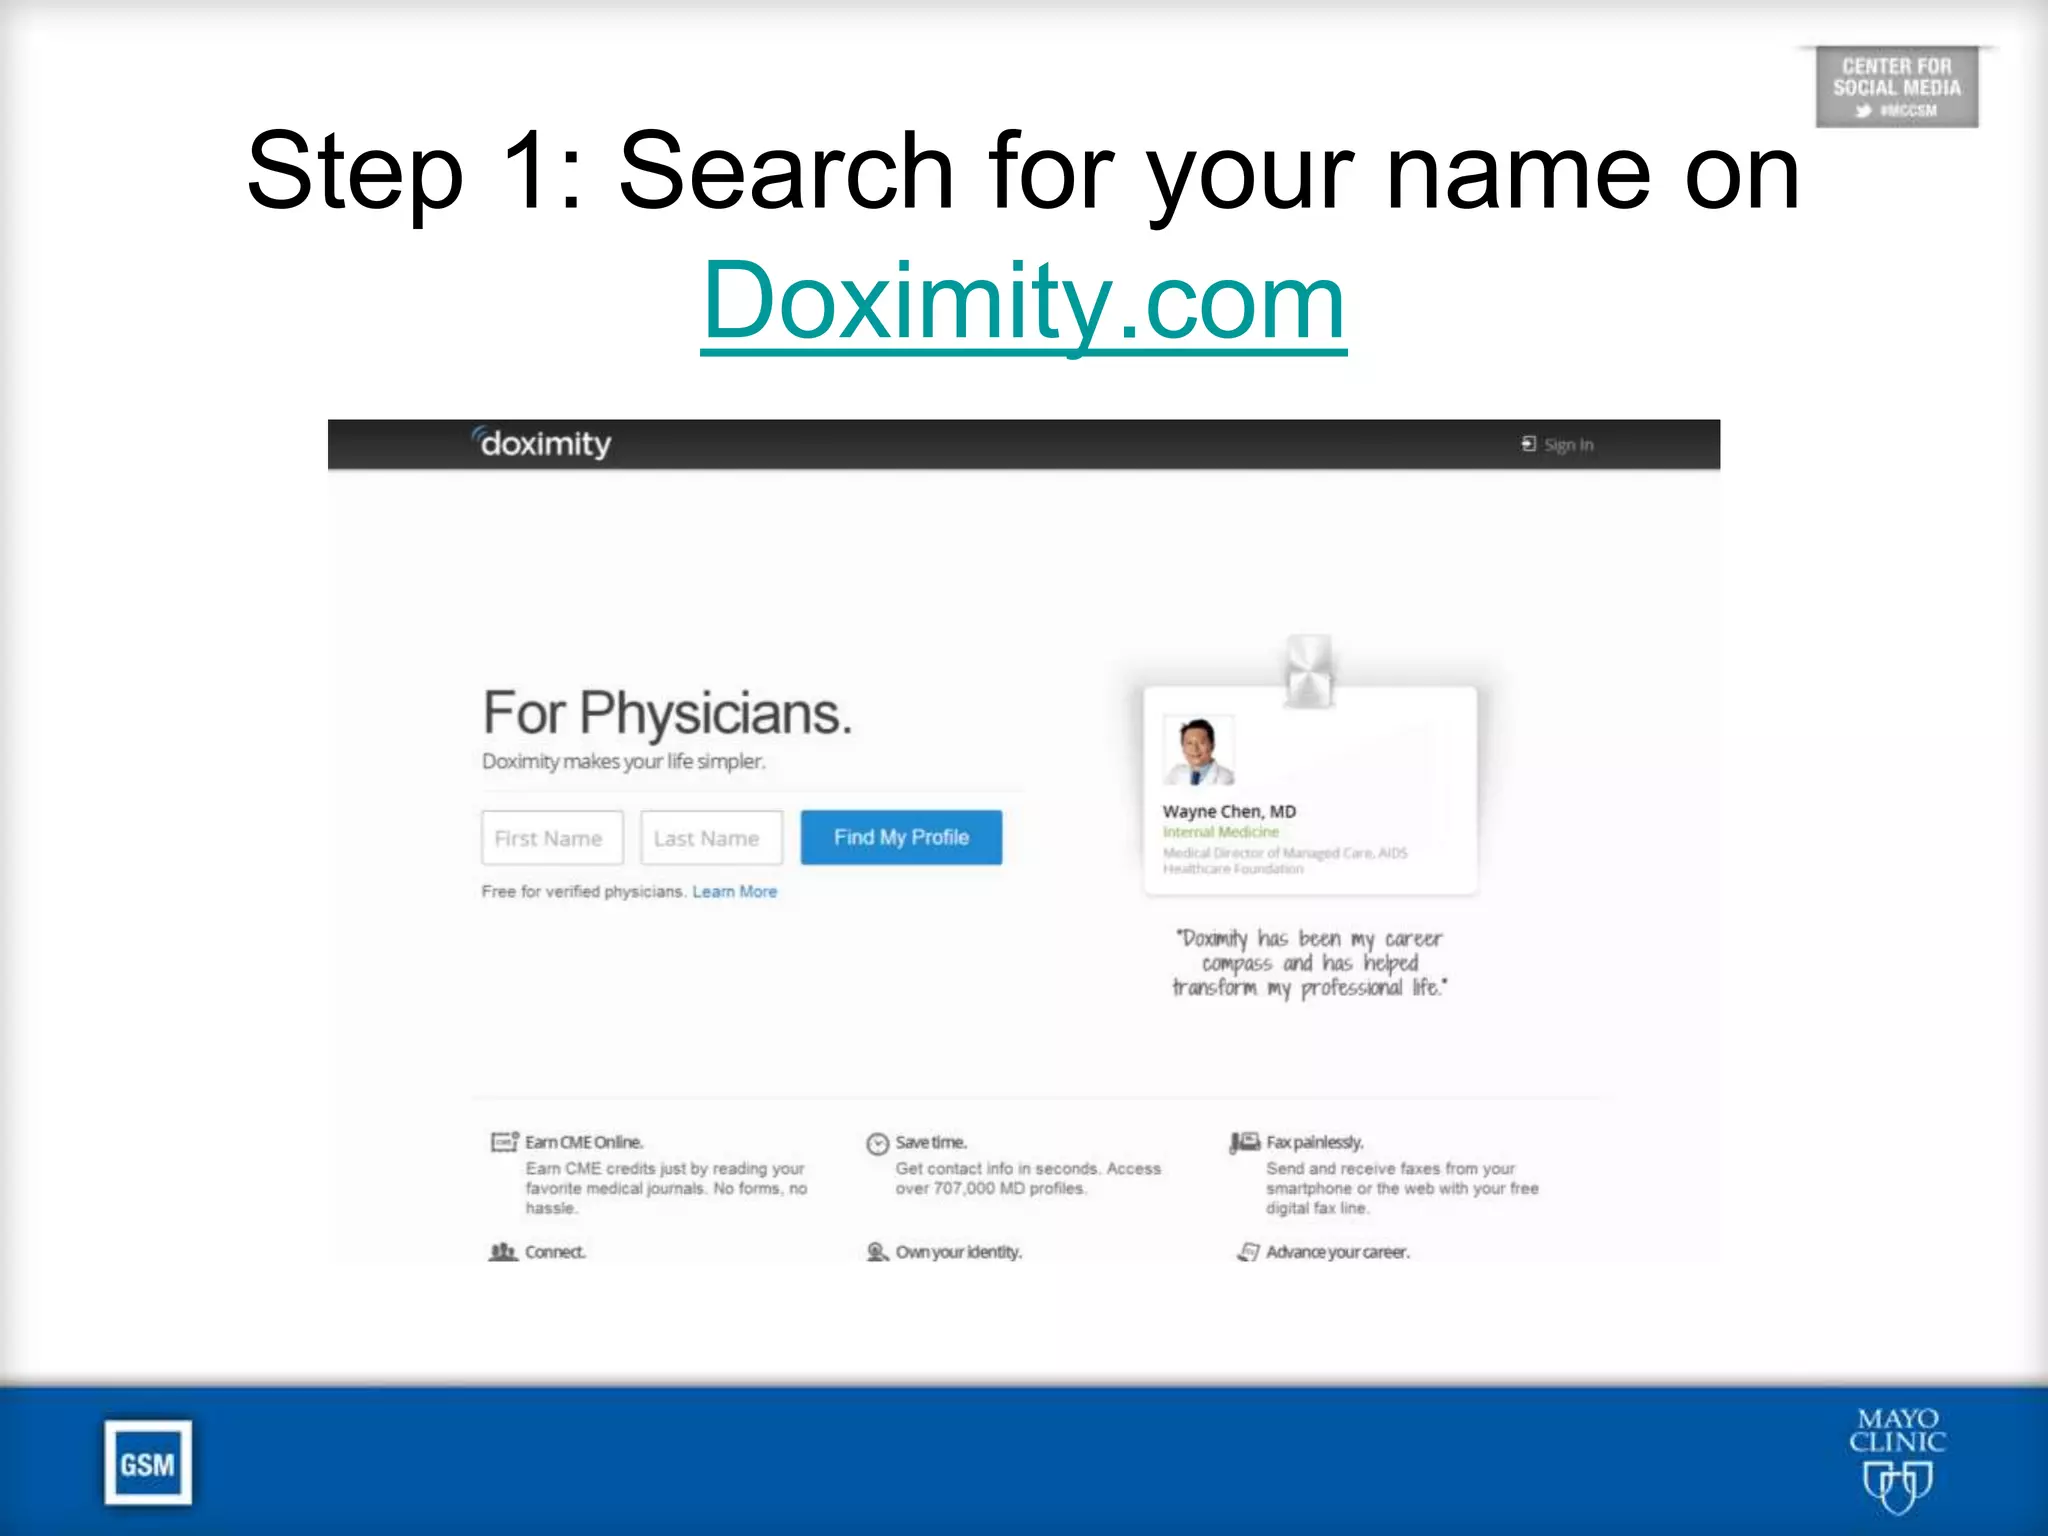

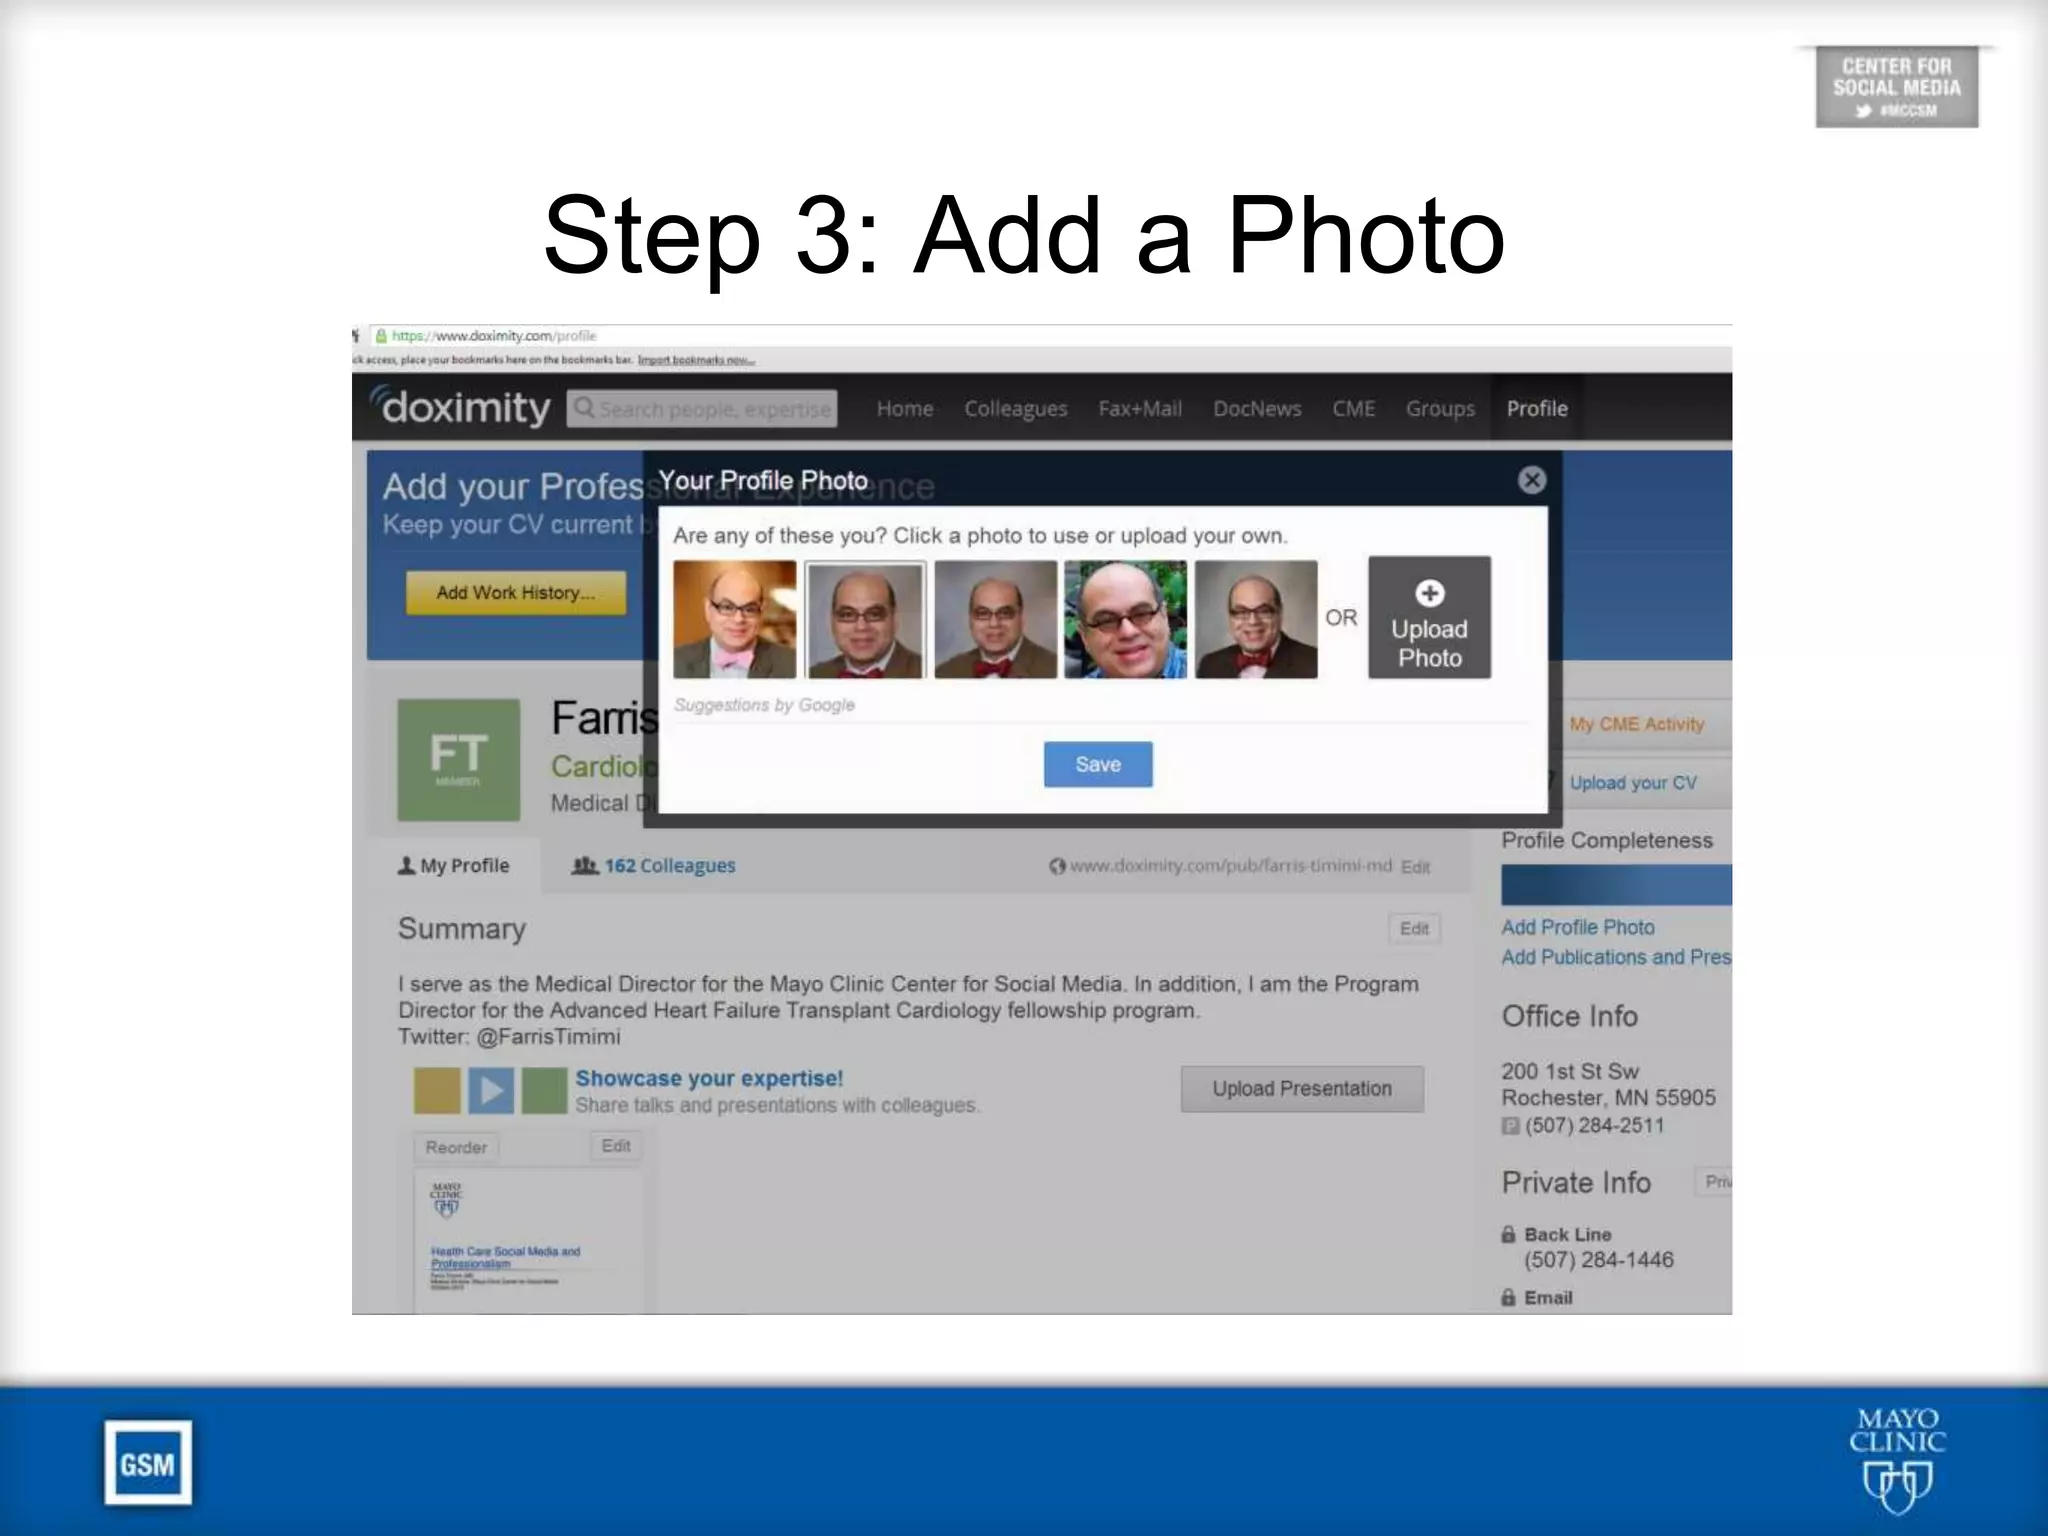
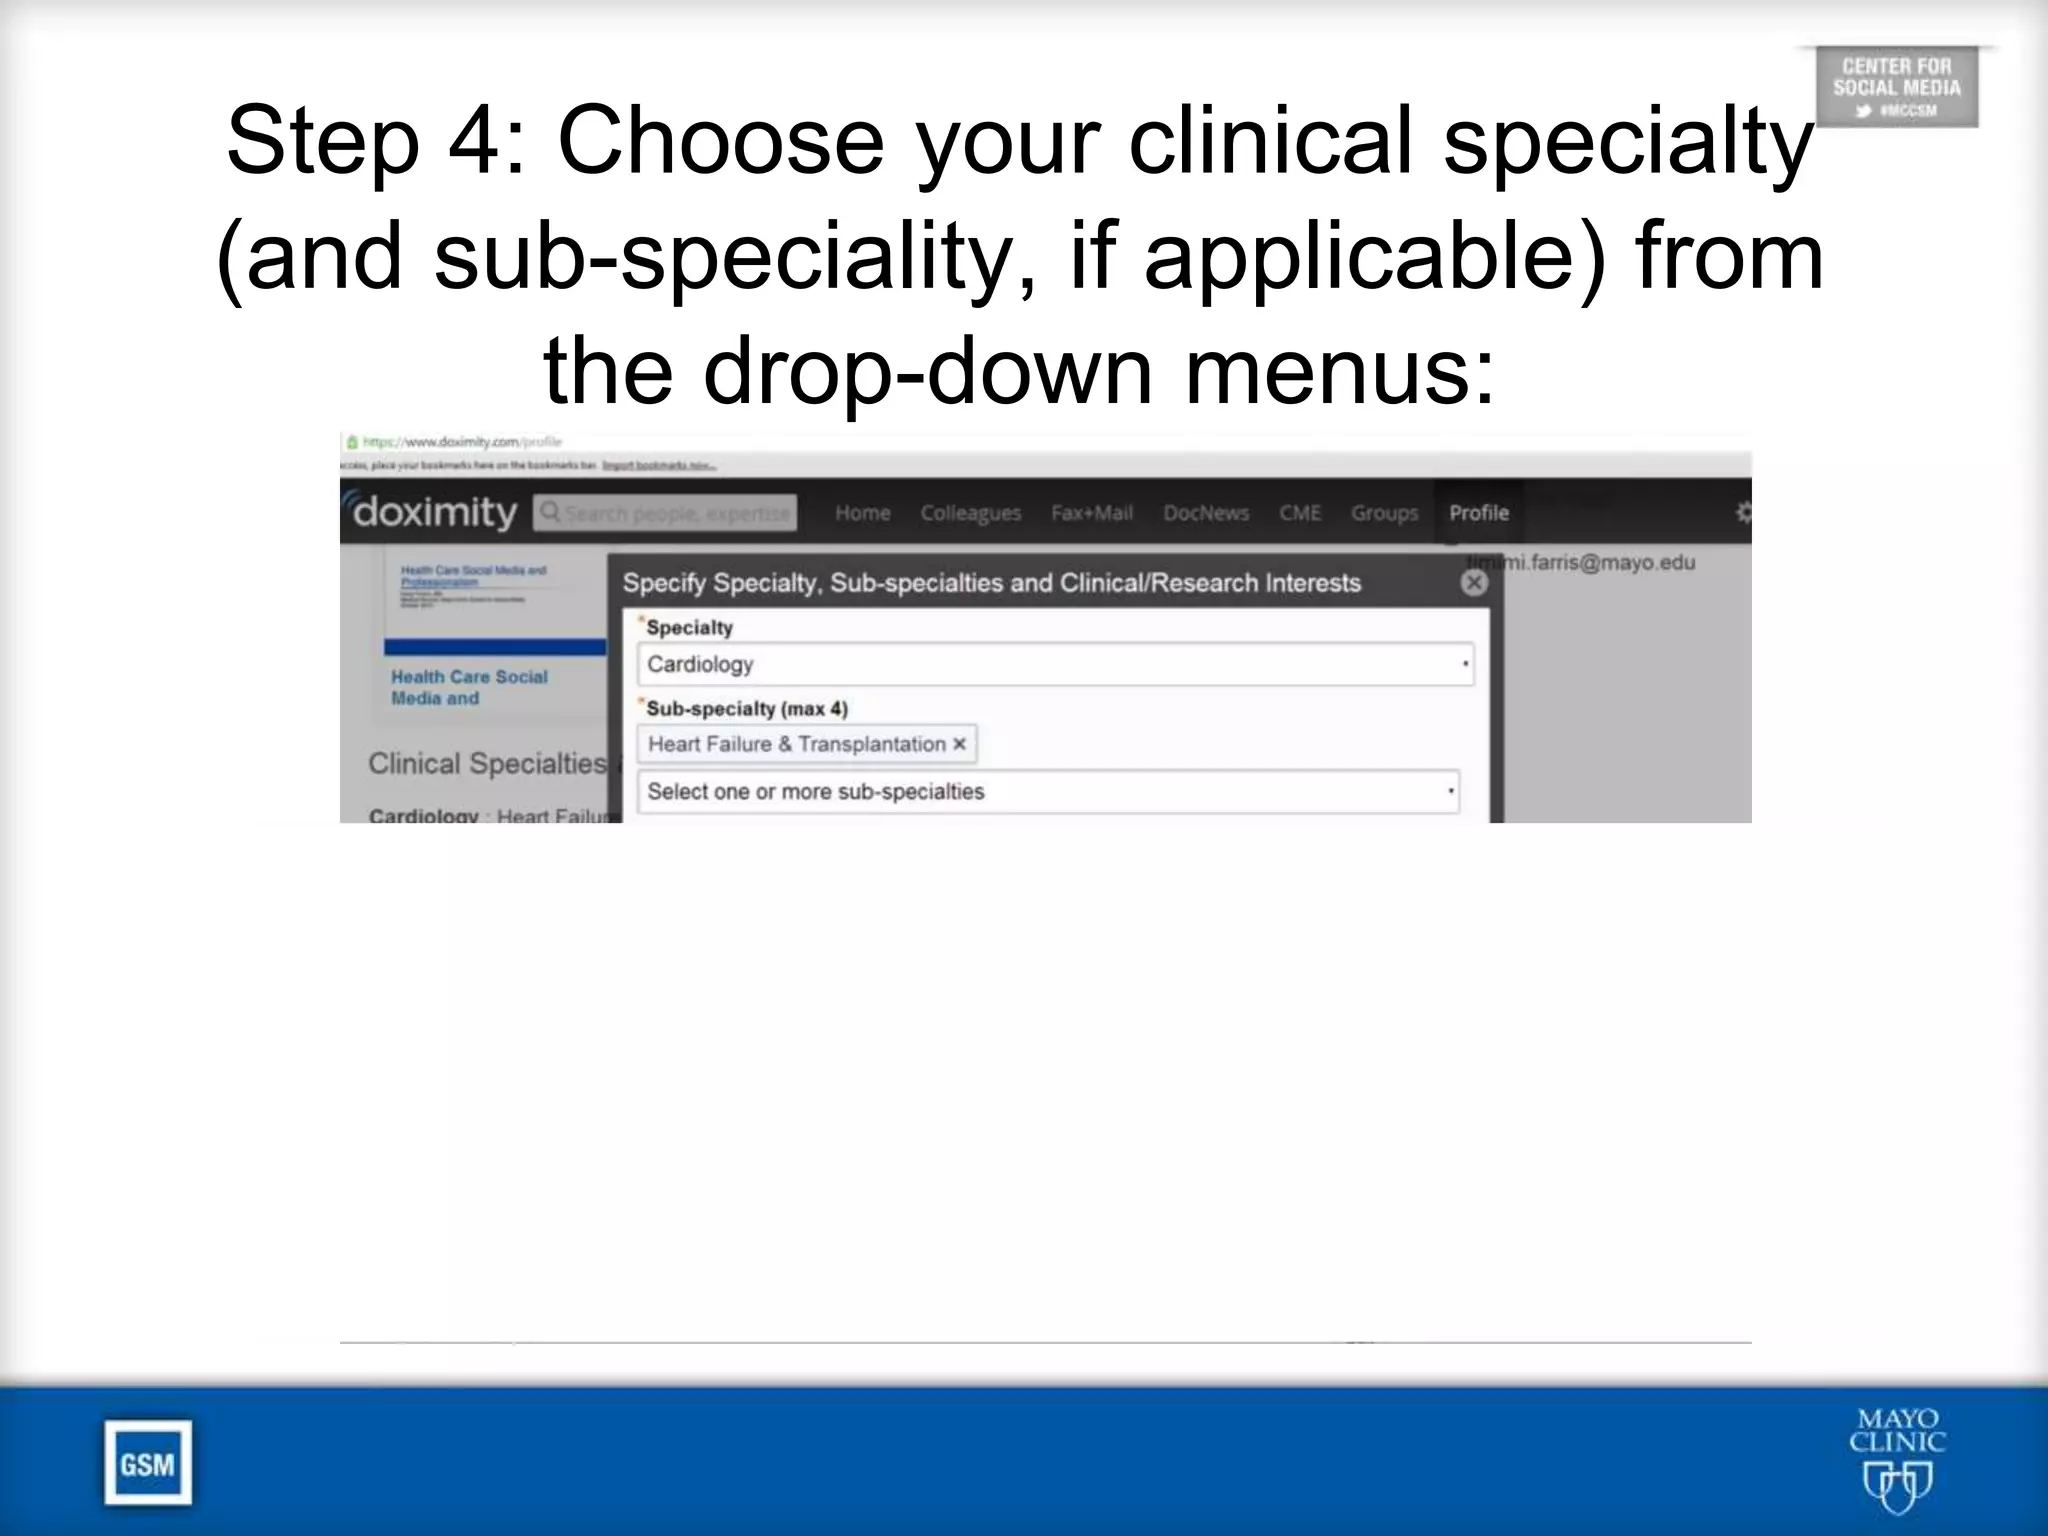
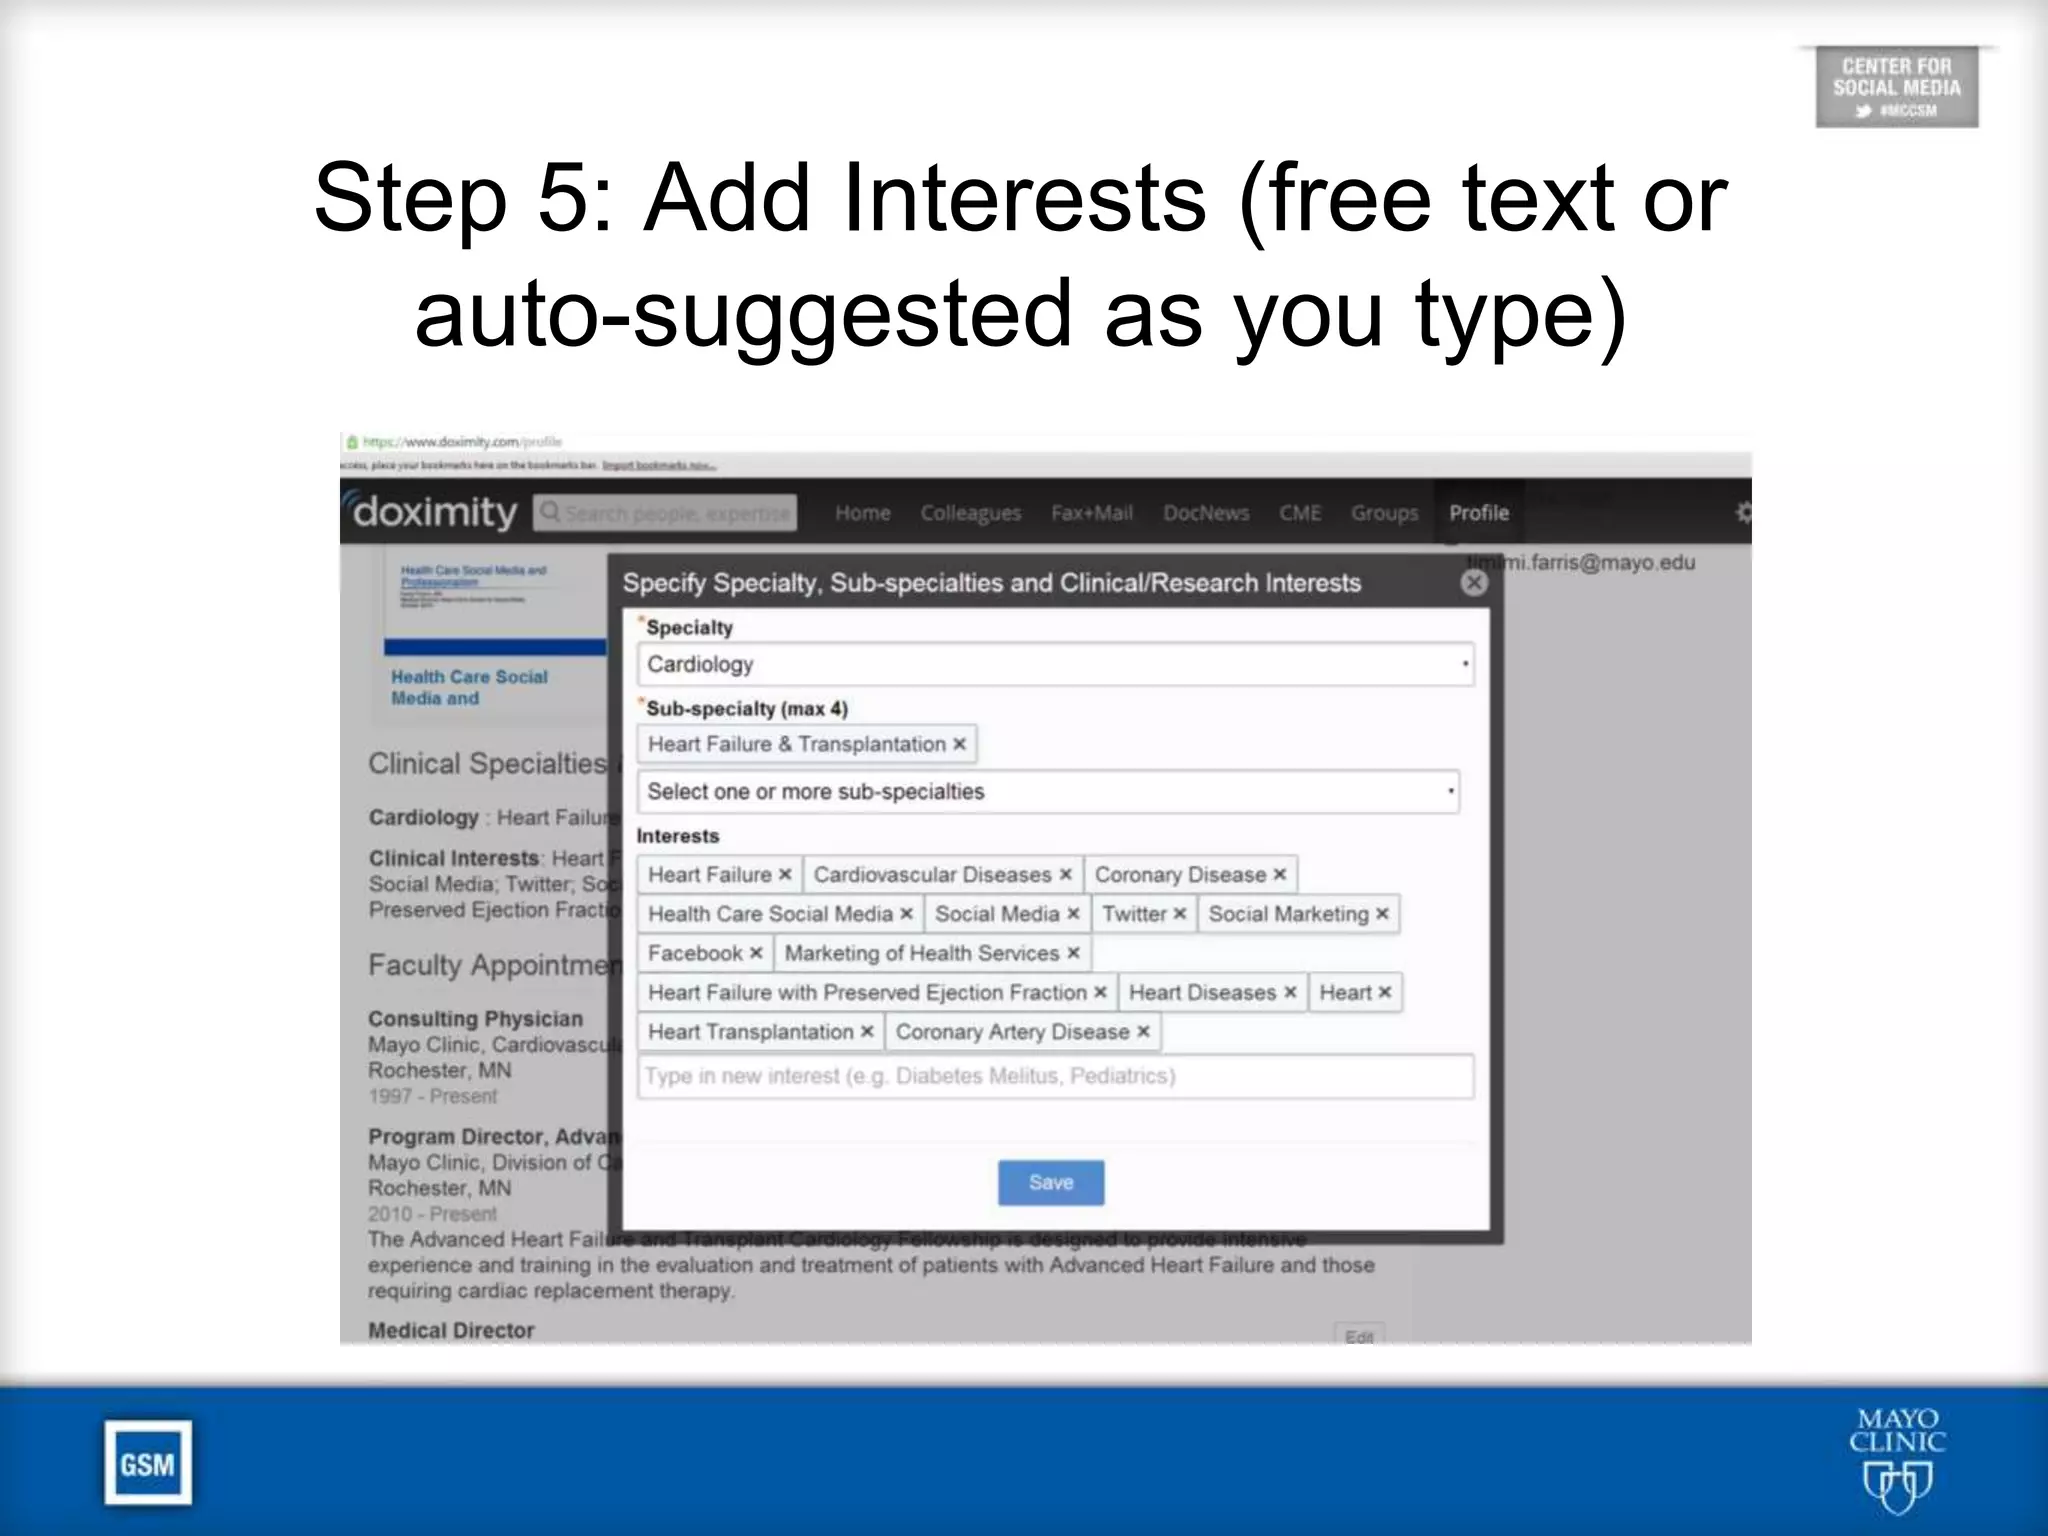
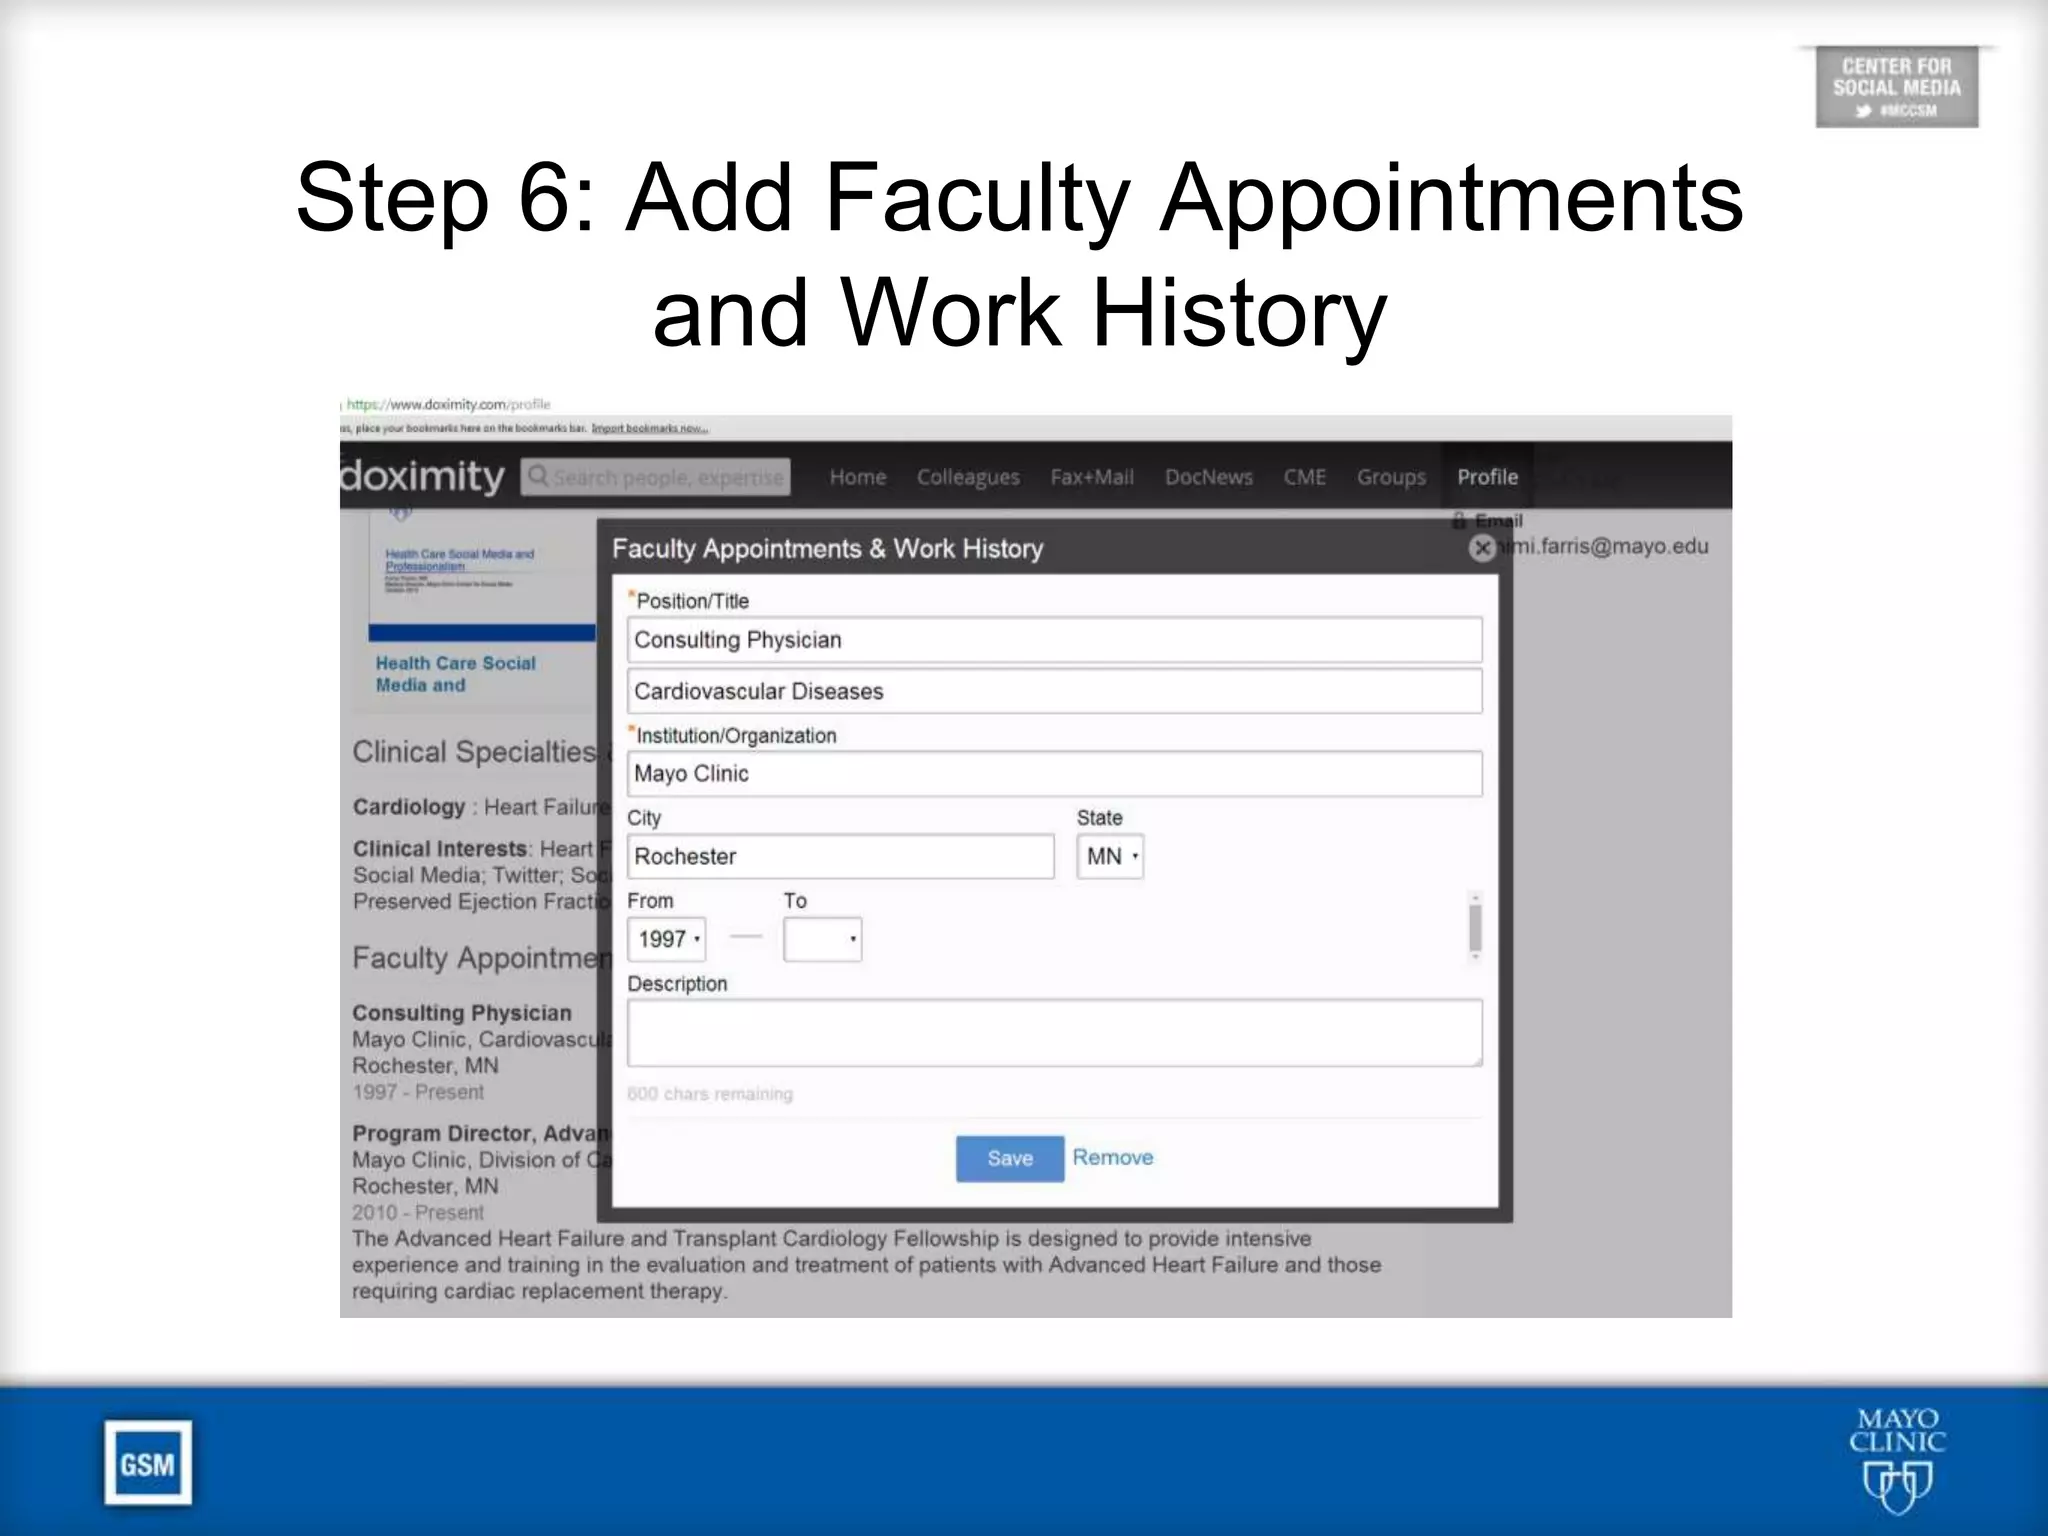
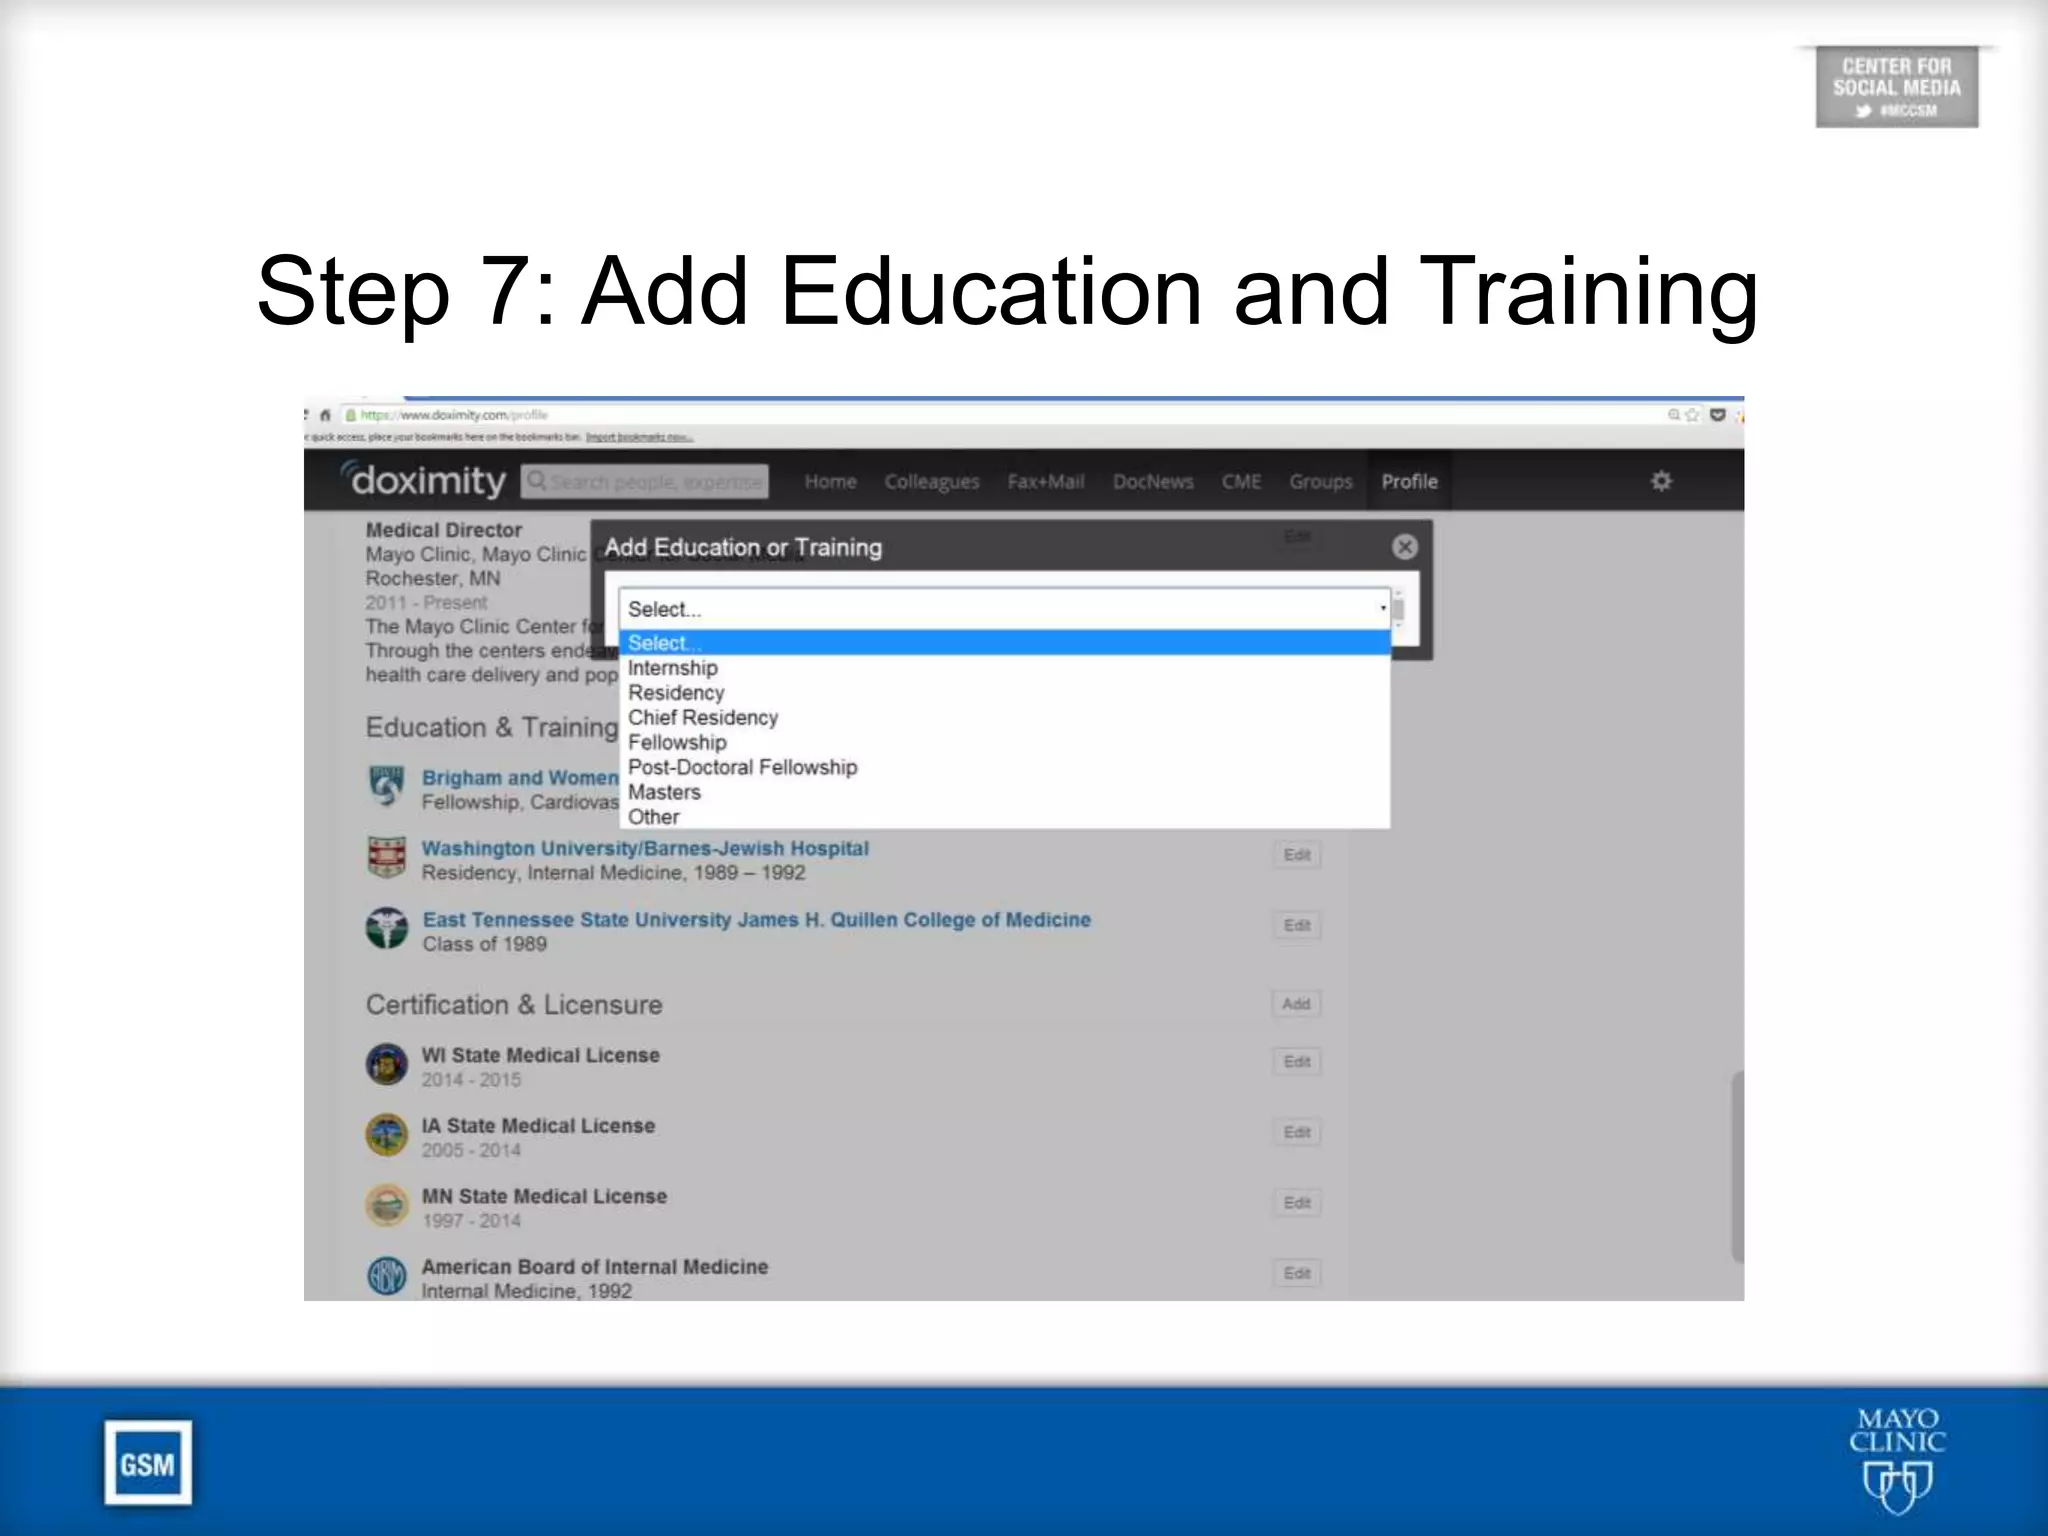
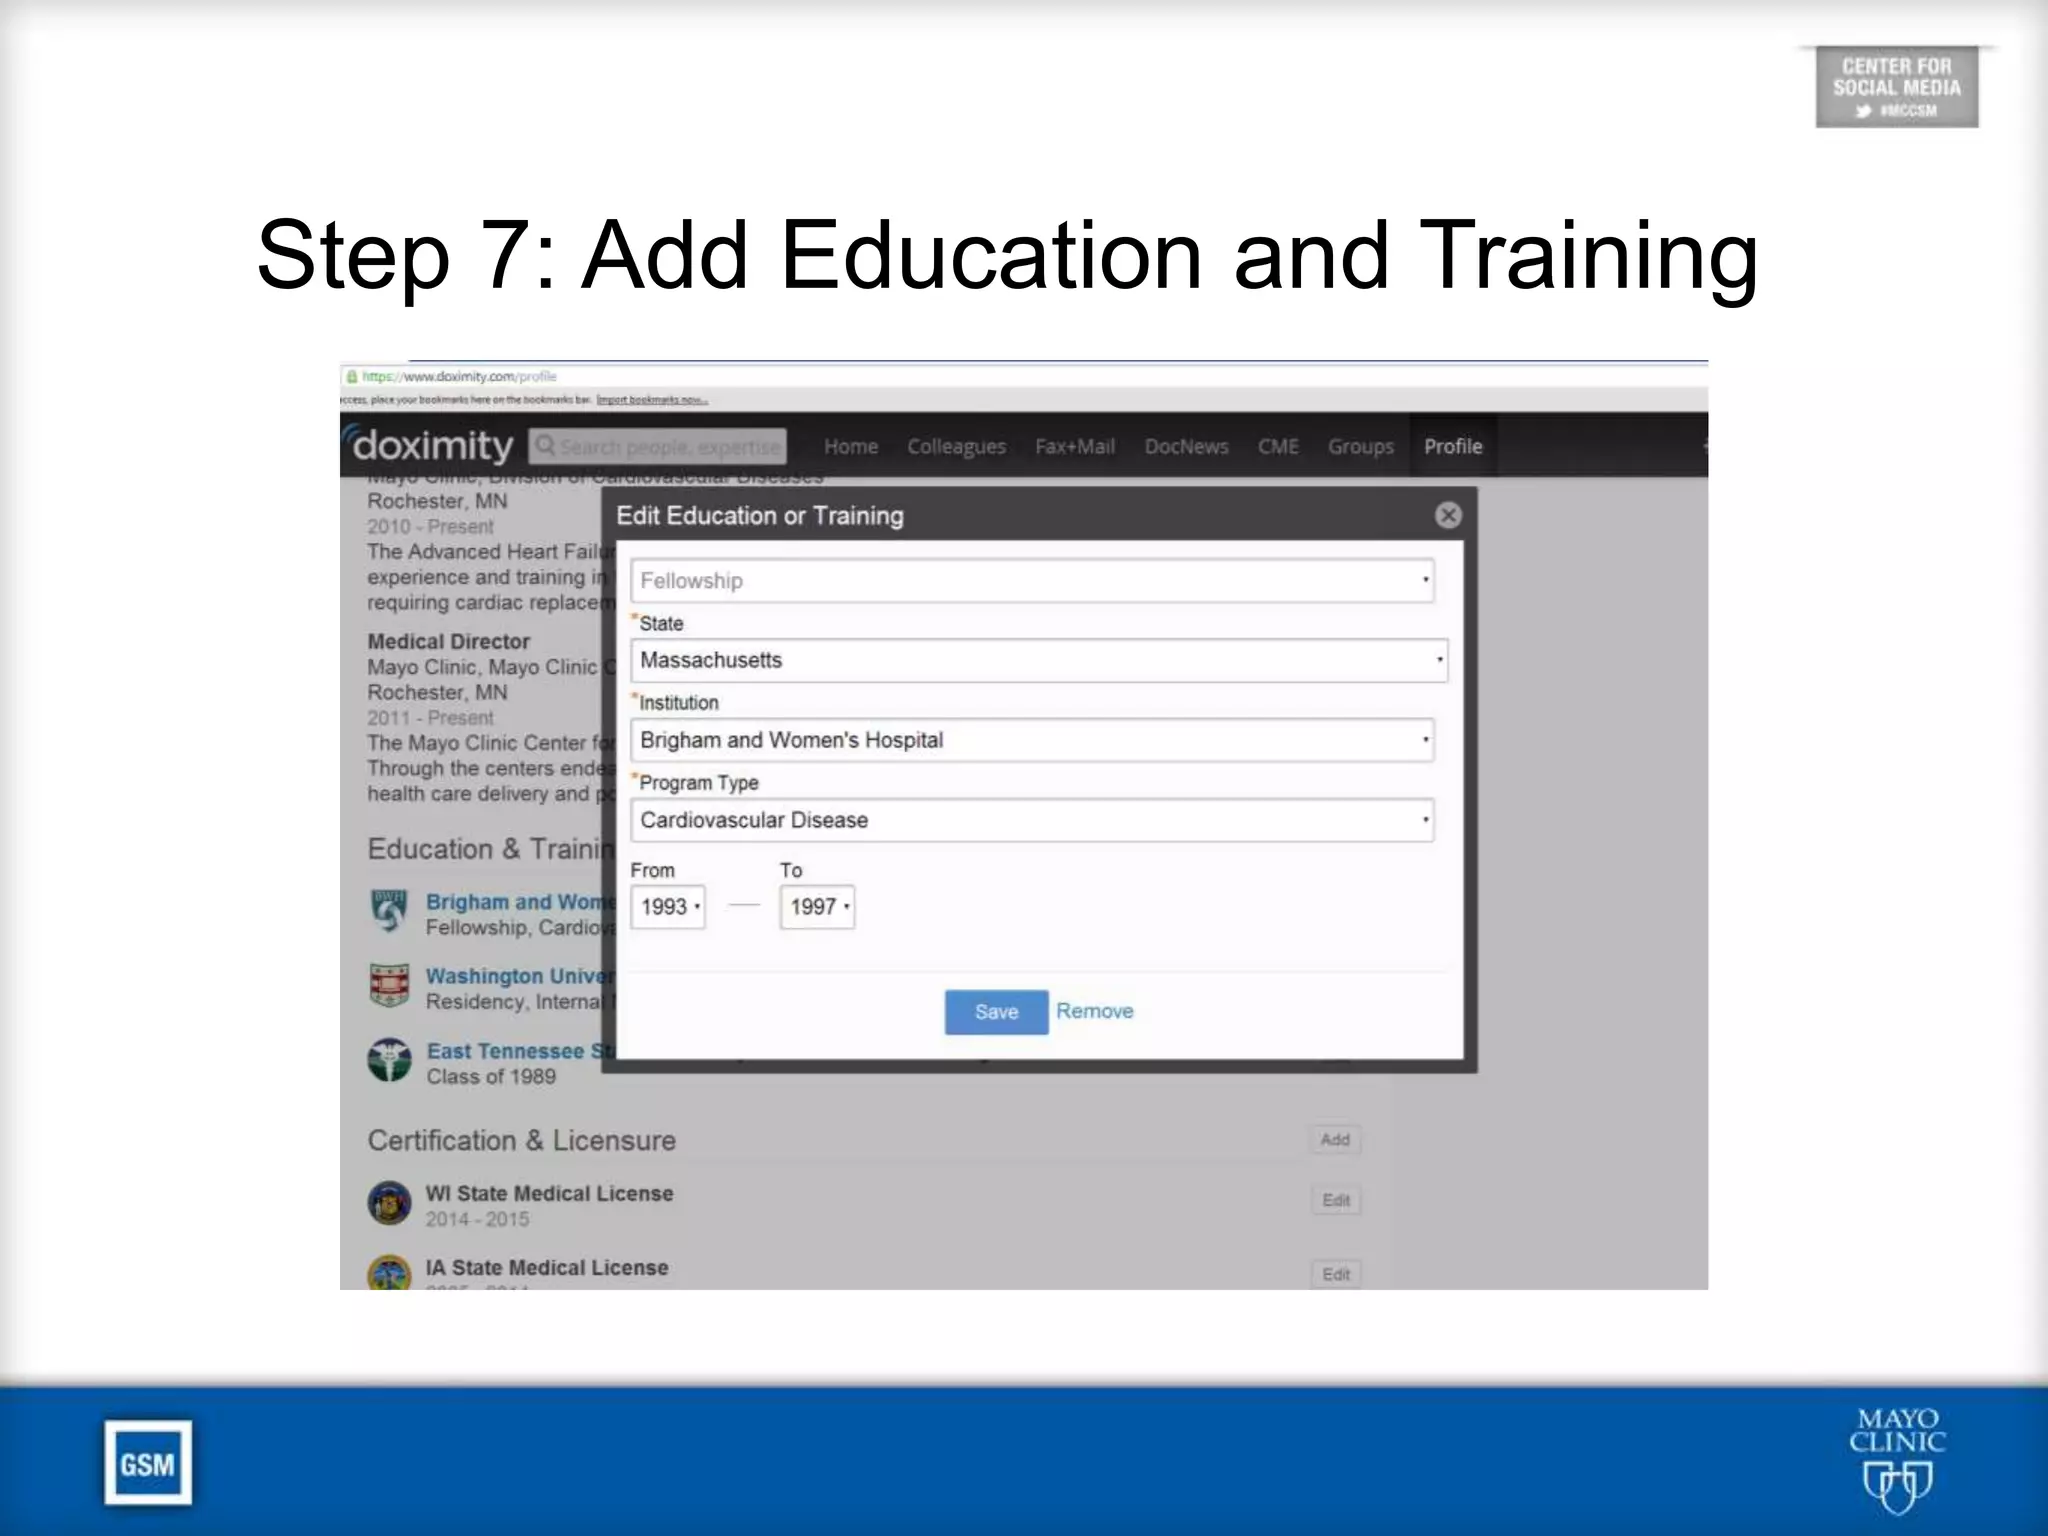
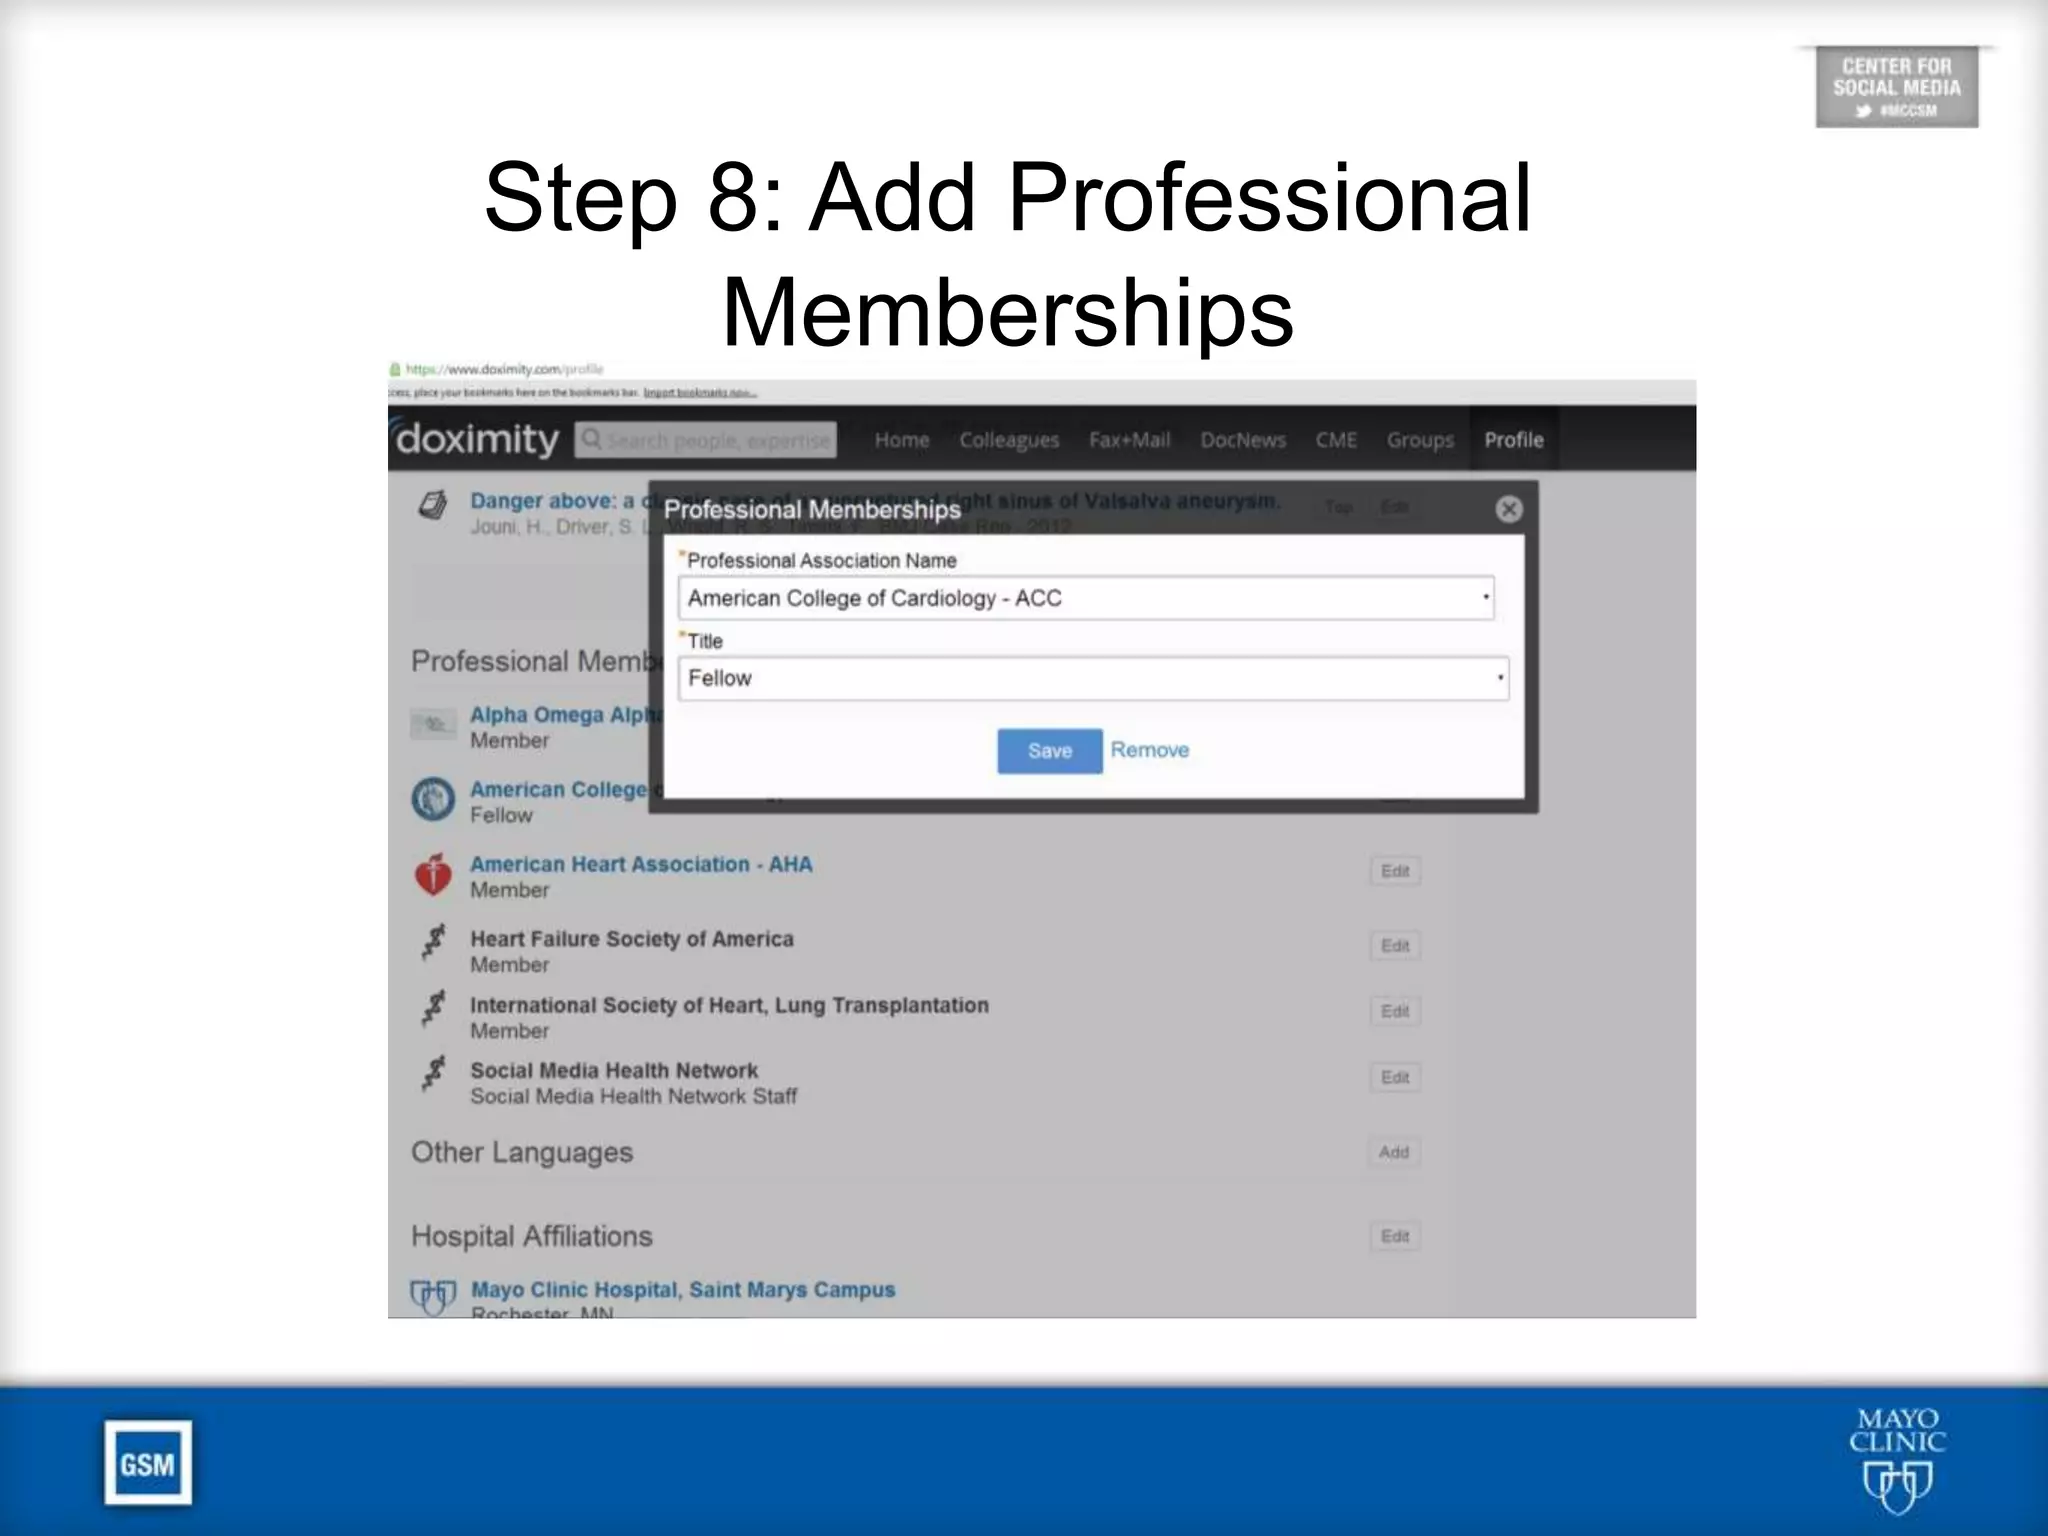
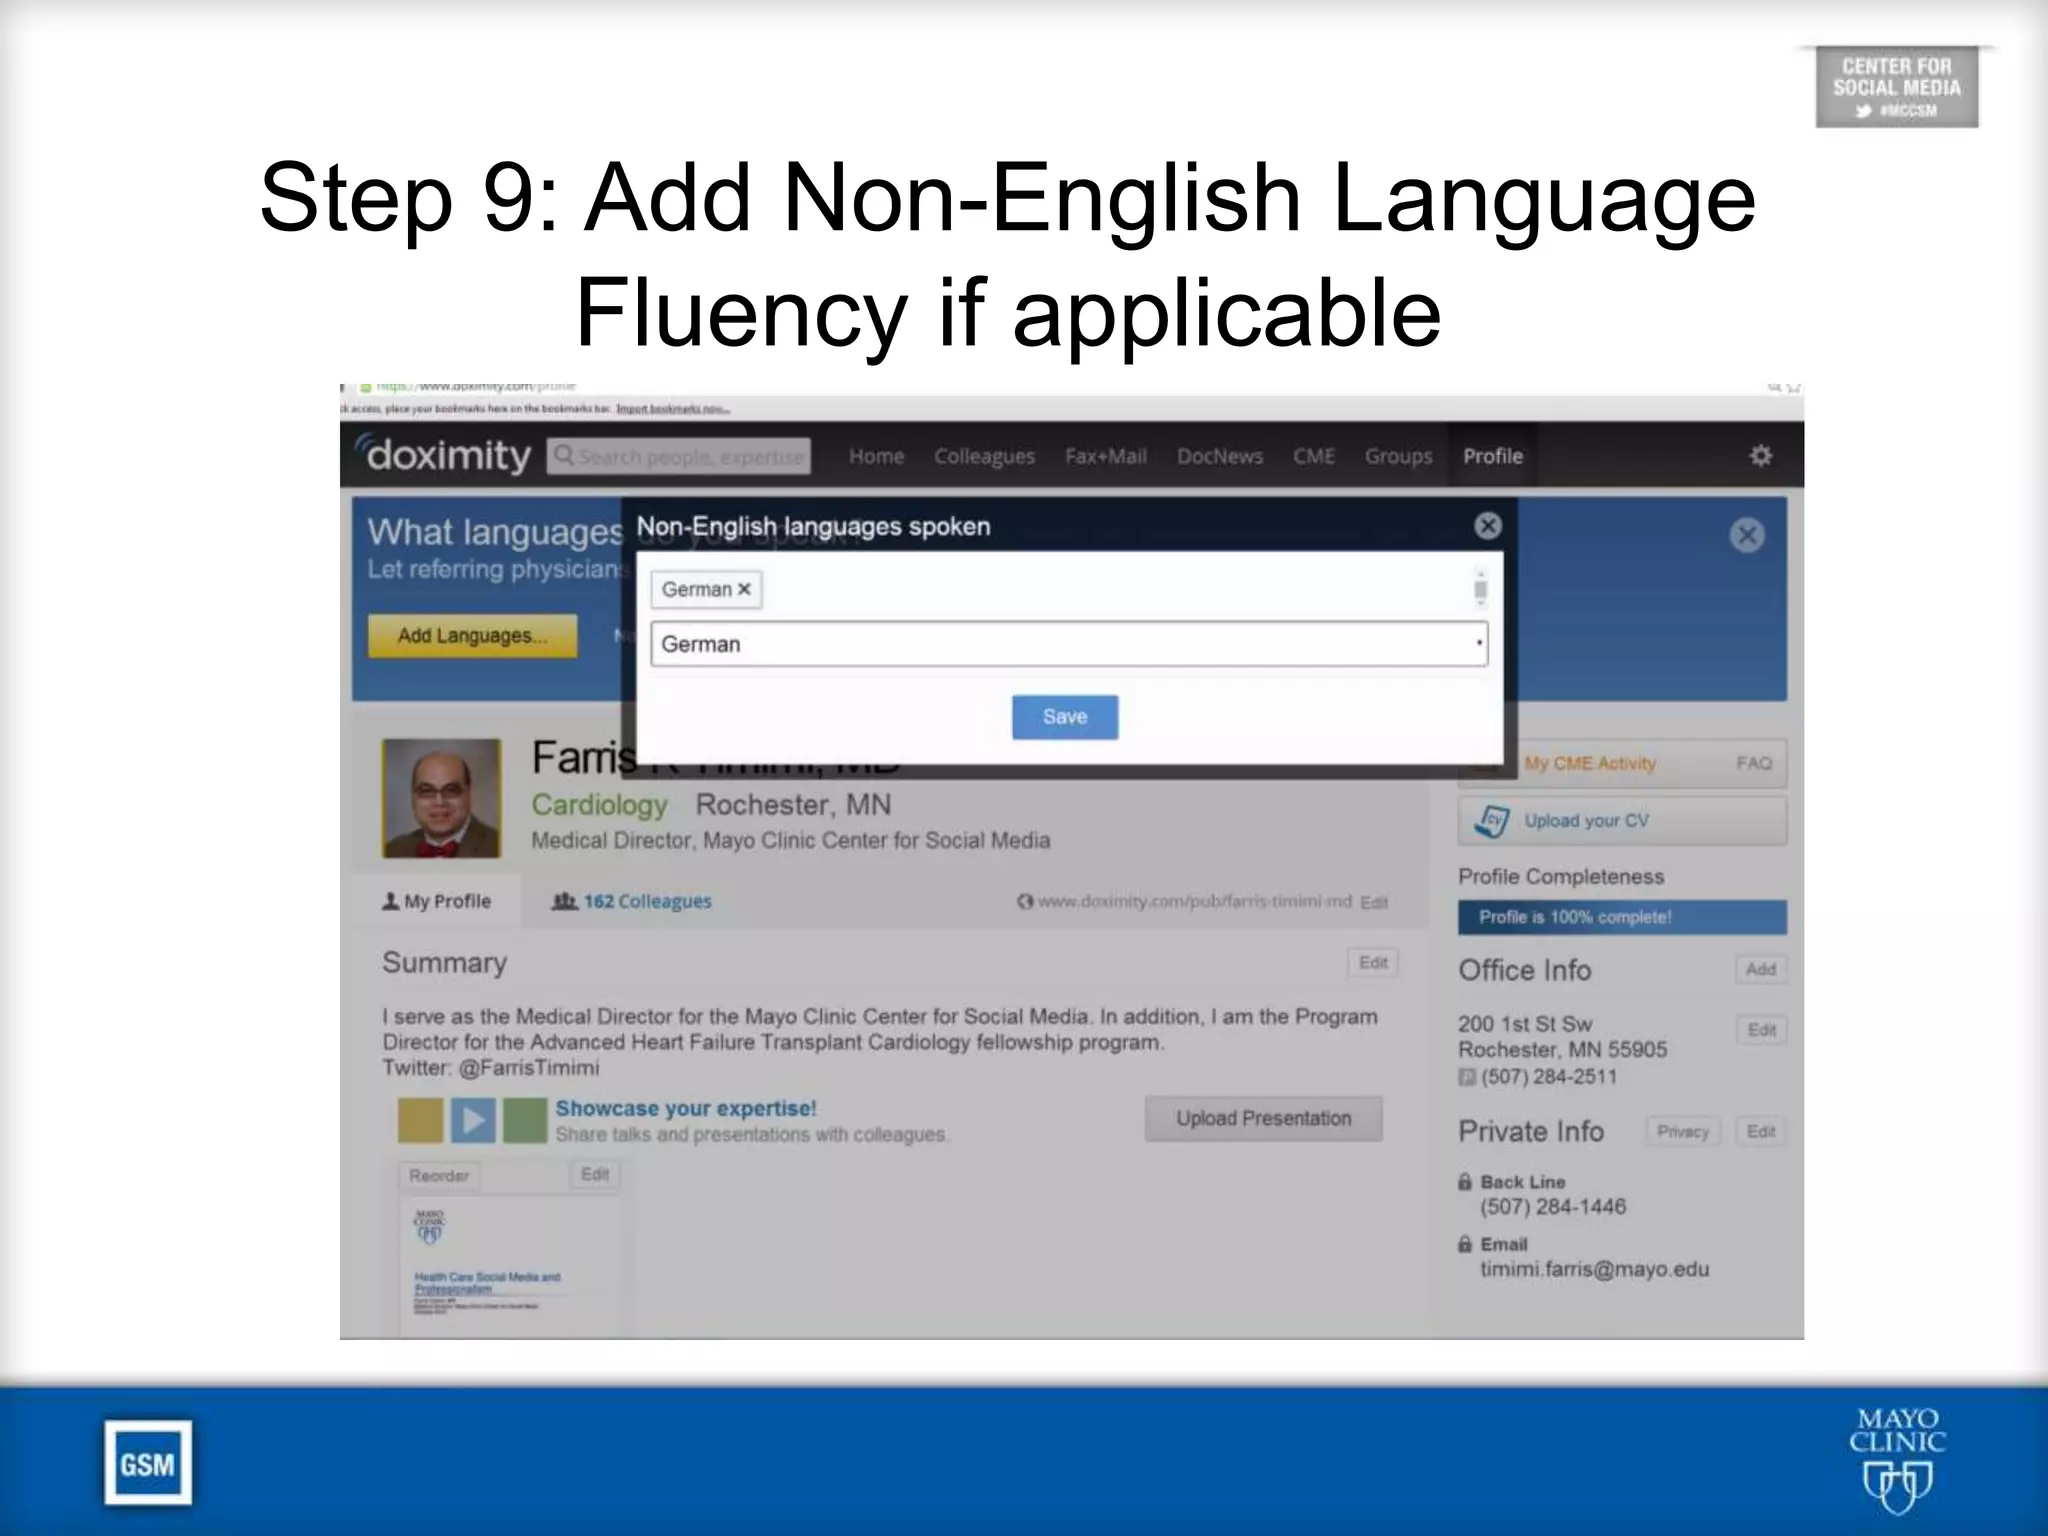
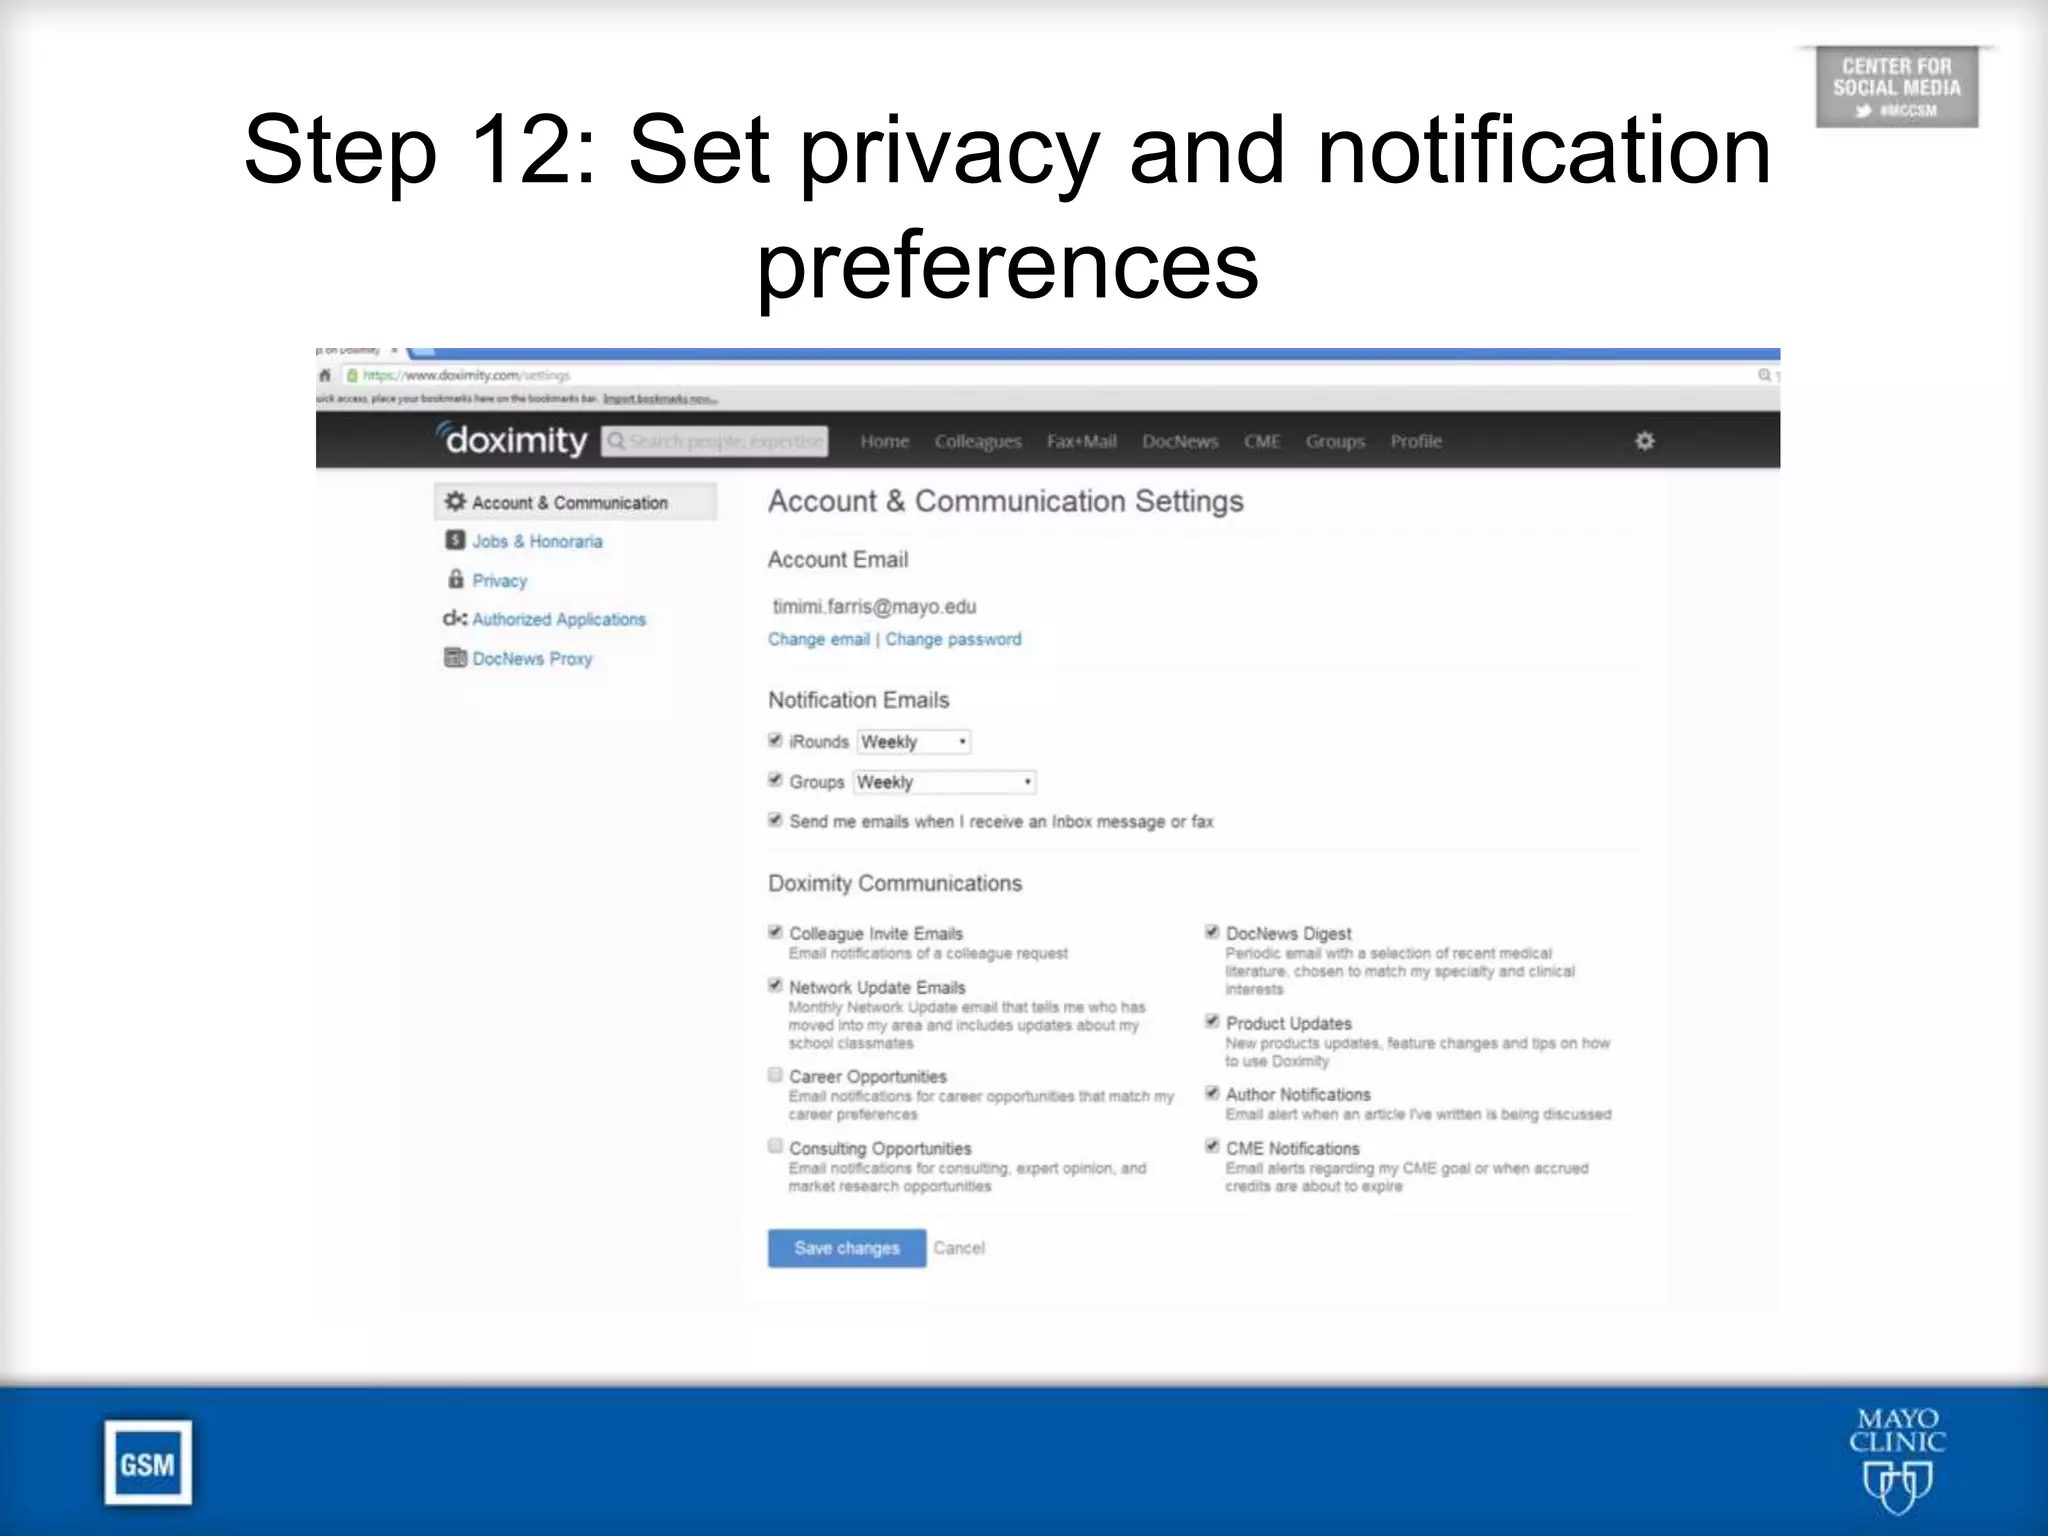


Doximity is a professional networking site for U.S. physicians, allowing them to manage their online profiles and reputations. Physicians can claim their profiles, enhance them by adding expertise, and engage with peers, which also influences hospital and residency program rankings by U.S. News. The document outlines a 12-step process for completing and managing one's Doximity profile effectively.


