1. City College Norwich AS Photography
Portrait Lighting
Latitude
The acceptable limits of things such as focusing, exposure and development. A
degree by which exposure can be varied and still produce an acceptable image.
Your task today is to explore latitude and in particular latitude exposure. Have your camera
set to AV with an ISO somewhere between 100 and 400 (Do Not Use Auto ISO!!) and use a
tripod. Today you will be paying attention to your camerasin-built light meter as well as
purposefully ignoring it.
Work in groups taking it in turns to be the model and Photographer.
Firstly have the model sit (or stand) with light on just one side of their face (what is this type
of lighting called?). Set the camera aperture to the lowest F-stop available and take a picture
using what the camera says is the correct exposure.
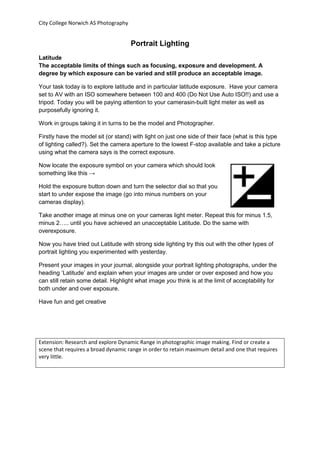
Now locate the exposure symbol on your camera which should look
something like this →
Hold the exposure button down and turn the selector dial so that you
start to under expose the image (go into minus numbers on your
cameras display).
Take another image at minus one on your cameras light meter. Repeat this for minus 1.5,
minus 2….. until you have achieved an unacceptable Latitude. Do the same with
overexposure.
Now you have tried out Latitude with strong side lighting try this out with the other types of
portrait lighting you experimented with yesterday.
Present your images in your journal, alongside your portrait lighting photographs, under the
heading ‘Latitude’ and explain when your images are under or over exposed and how you
can still retain some detail. Highlight what image you think is at the limit of acceptability for
both under and over exposure.
Have fun and get creative
Extension: Research and explore Dynamic Range in photographic image making. Find or create a
scene that requires a broad dynamic range in order to retain maximum detail and one that requires
very little.