1. 5869
HOLD-UP SWITCH/TRANSMITTER
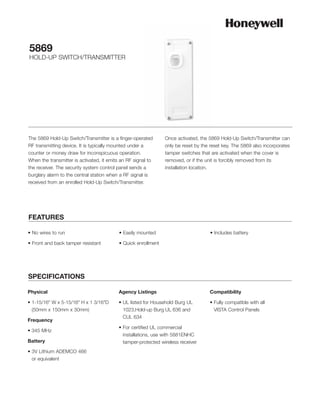
The 5869 Hold-Up Switch/Transmitter is a finger-operated Once activated, the 5869 Hold-Up Switch/Transmitter can
RF transmitting device. It is typically mounted under a only be reset by the reset key. The 5869 also incorporates
counter or money draw for inconspicuous operation. tamper switches that are activated when the cover is
When the transmitter is activated, it emits an RF signal to removed, or if the unit is forcibly removed from its
the receiver. The security system control panel sends a installation location.
burglary alarm to the central station when a RF signal is
received from an enrolled Hold-Up Switch/Transmitter.
FEATURES
• No wires to run • Easily mounted • Includes battery
• Front and back tamper resistant • Quick enrollment
SPECIFICATIONS
Physical Agency Listings Compatibility
• 1-15/16" W x 5-15/16" H x 1 3/16"D • UL listed for Household Burg UL • Fully compatible with all
(50mm x 150mm x 30mm) 1023,Hold-up Burg UL 636 and VISTA Control Panels
CUL 634
Frequency
• For certified UL commercial
• 345 MHz
installations, use with 5881ENHC
Battery tamper-protected wireless receiver
• 3V Lithium ADEMCO 466
or equivalent