Downloaded 12 times


![{{ ADMIN }}
Something is missing.
Create MyBlog/admin.py
from django.contrib import admin
from MyBlog.models import Post
class PostAdmin(admin.ModelAdmin):
search_fields = ['title']
admin.site.register(Post, PostAdmin)
17](https://image.slidesharecdn.com/zagrebworkshop-121215030647-phpapp02/85/Zagreb-workshop-17-320.jpg)

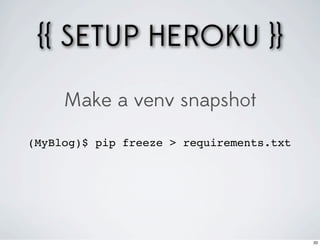
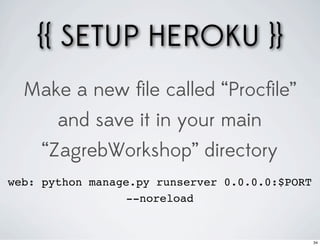
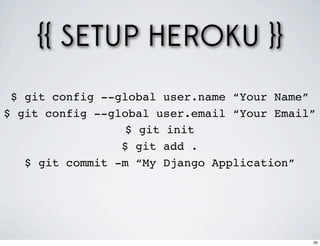
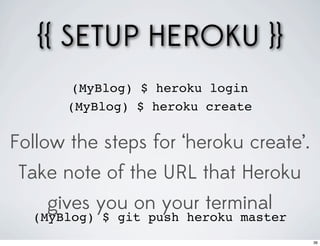

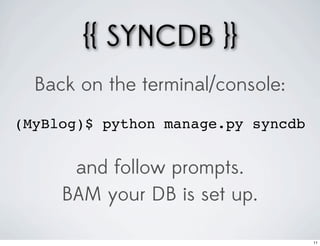
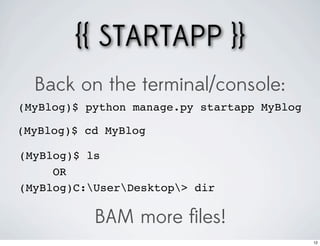
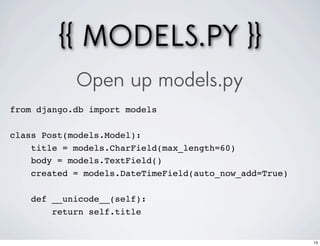
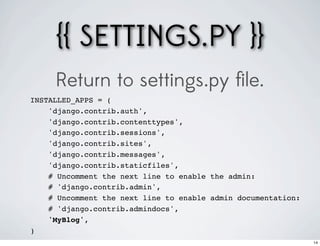
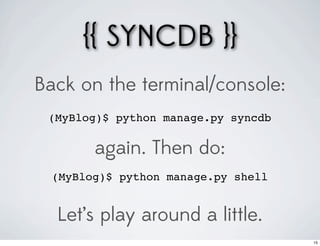
This document provides step-by-step instructions for building a blog using Django, including setting up the project structure, models, views, templates, and deploying to Heroku. Key steps include initializing the project with Django, creating models and admin interfaces, writing views, setting up the template directory, and configuring settings, URLs, and static files. The document concludes by walking through deploying the blog to Heroku.