Downloaded 2,174 times
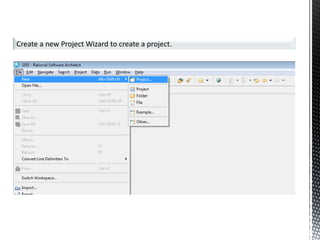
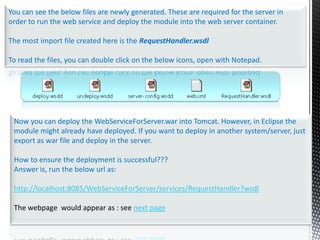
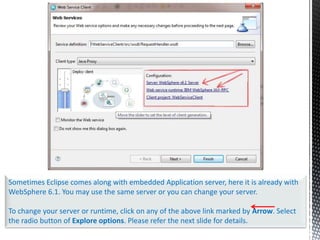
![You need to select Dynamic Web Project so the deployment module can be deployed in a server. If for you it does not appear, below there is a checkbox [Show All Wizard], check in and then try.](https://image.slidesharecdn.com/writingsimplewebservicesusingeclipseeditor-110504014542-phpapp01/85/Writing-simple-web-services-in-java-using-eclipse-editor-3-320.jpg)
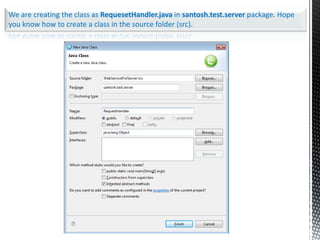
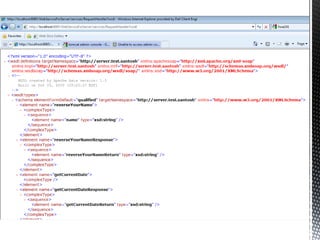
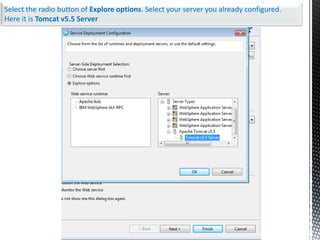
![Two important task here before you click the Finish button are:1) Provide a project name for your web service application.2) Put a server configuration under Target Runtime.[NB: You can’t see Apache Tomcat under the list unless Add project to an EAR is disabled.]](https://image.slidesharecdn.com/writingsimplewebservicesusingeclipseeditor-110504014542-phpapp01/85/Writing-simple-web-services-in-java-using-eclipse-editor-4-320.jpg)
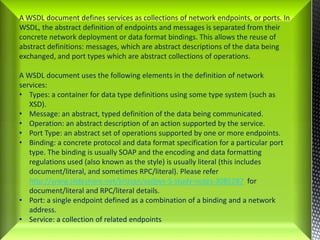
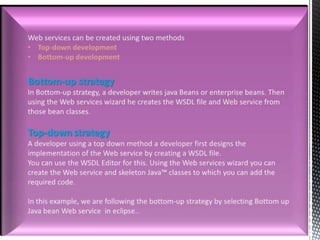


The document provides a comprehensive guide on creating simple Java web services using Eclipse, detailing both bottom-up and top-down development strategies. It explains the key concepts of WSDL, such as operations, bindings, and ports, and offers step-by-step instructions for generating web service files and deploying them on a server. Additionally, it outlines the process for creating a client application to interact with the web service.


![[234]멀티테넌트 하둡 클러스터 운영 경험기](https://cdn.slidesharecdn.com/ss_thumbnails/234-171017024419-thumbnail.jpg?width=640&height=640&fit=bounds)


![Java Web Services [4/5]: Java API for XML Web Services](https://cdn.slidesharecdn.com/ss_thumbnails/jws-chapter4-130106065907-phpapp02-thumbnail.jpg?width=640&height=640&fit=bounds)


![Java Web Services [2/5]: Introduction to SOAP](https://cdn.slidesharecdn.com/ss_thumbnails/jws-chapter2-130106065304-phpapp01-thumbnail.jpg?width=640&height=640&fit=bounds)
![Java Web Services [5/5]: REST and JAX-RS](https://cdn.slidesharecdn.com/ss_thumbnails/jws-chapter5-130106065549-phpapp01-thumbnail.jpg?width=640&height=640&fit=bounds)