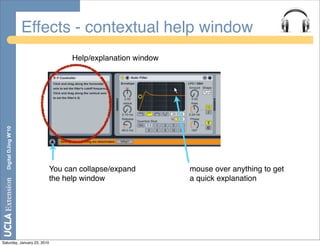
Downloaded 57 times
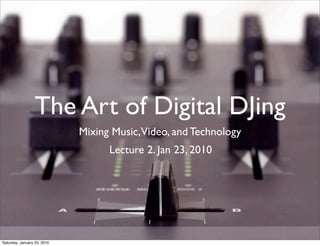
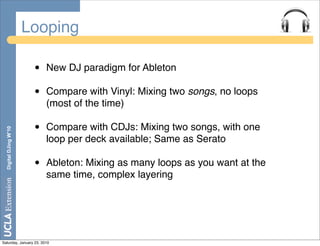
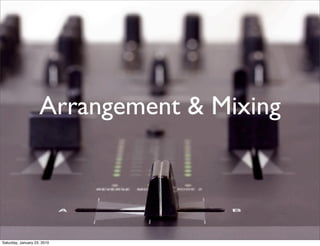
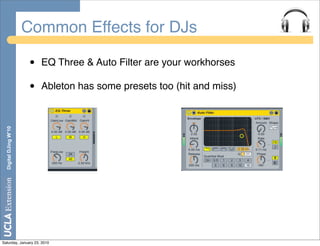
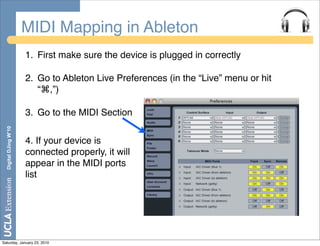
![Loops in Ableton
Looping on/off Loop bracket
Digital DJing W’10
• Every loop has a Loop-in and Loop-out point that you set by stretching and/or
dragging the bracket
• If looping is on, when your play-head is inside the loop, it doesnʼt come out
and loops forever unless:
1) you turn off looping
2) skip somewhere out of loop
3) hit stop [recommended]
4) hit play on another clip in same track (column) [recommended]
5) have some follow action setup [mostly for composition]
Saturday, January 23, 2010](https://image.slidesharecdn.com/uclaxdjcourselecture21-23-10-100123172039-phpapp02/85/Uclax-Dj-Course-Lecture-2-Jan-23-2010-6-320.jpg)
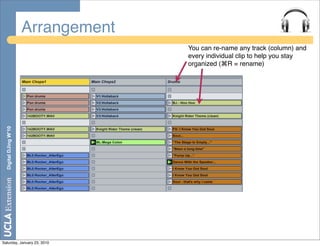

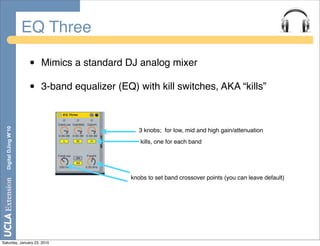
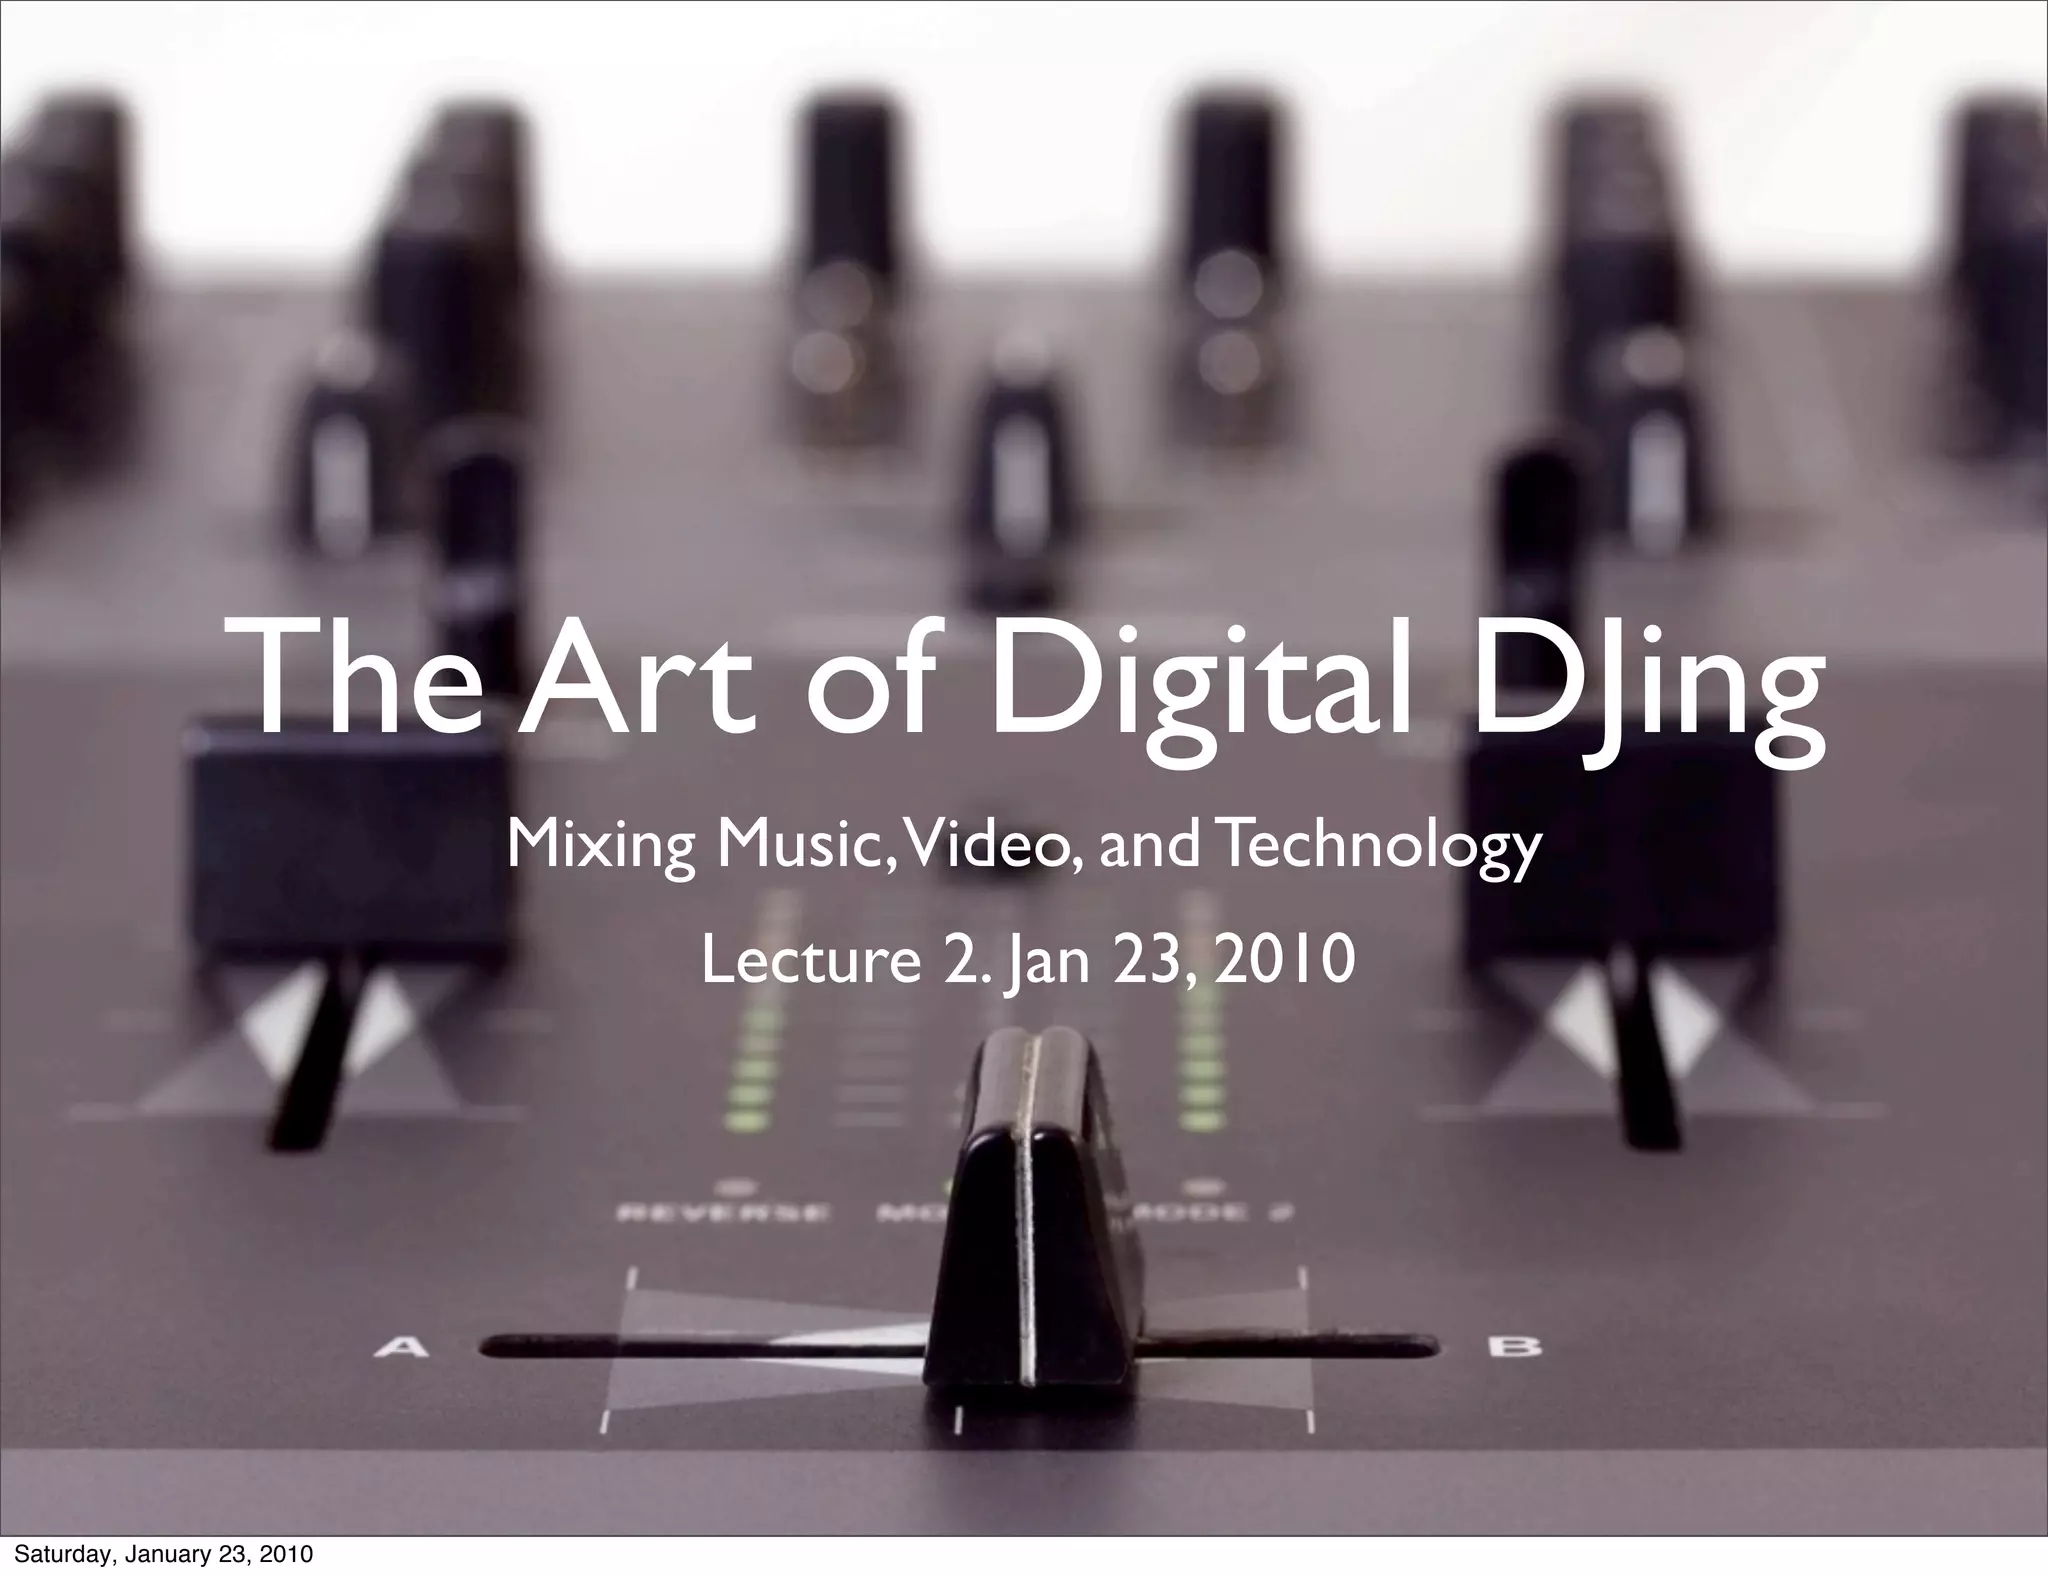
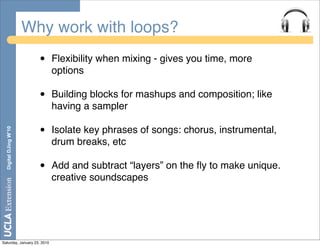
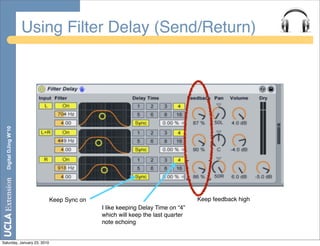
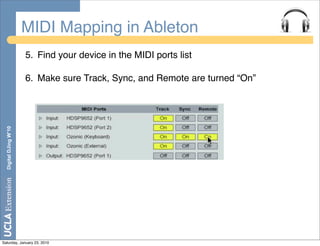
![Using Filter Delay (Send/Return)
• Filter Delay is an echo effect that helps you transition
between songs
• Use when 1) the next song doesnʼt blend well [eg key
clash] 2) when youʼre not sure when to bring in the next
song 3) to end a set for the night 4) to make drastic
changes in BPM and/or switch genres (eg hip-hop at
Digital DJing W’10
80bpm to a disco track at 120bpm)
• To use, toggle the sends up all the way to let through
portion you want to echo, then kill the sound quickly
• To get longer echos, increase feedback
• watch your send volume - donʼt let it overpower
Saturday, January 23, 2010](https://image.slidesharecdn.com/uclaxdjcourselecture21-23-10-100123172039-phpapp02/85/Uclax-Dj-Course-Lecture-2-Jan-23-2010-22-320.jpg)

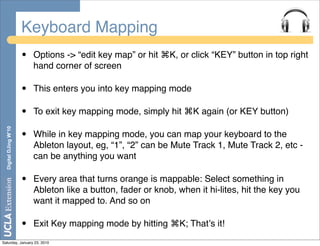
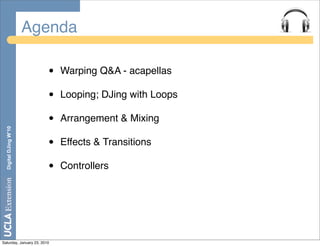
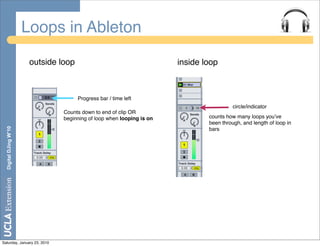
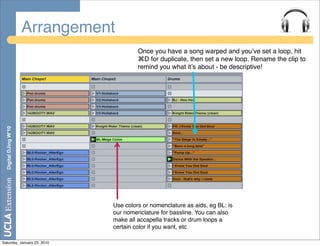
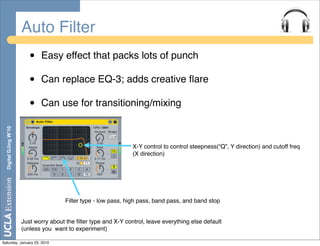
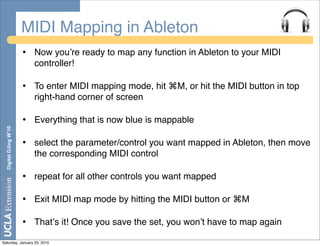
![Keyboard Mapping
Digital DJing W’10
• When in map mode, you can see a list of your mappings pop up on the
left - For knobs and faders, you can set the on/off limits [Min / Max]
• Keyʼs act as on/off toggle switches, even for knobs and faders, because
hitting keys is a binary action (on or off)
• Whatʼs good to Key map? Kill switches, tap tempo, mutes, stops, but
whatever youʼre comfortable with really
Saturday, January 23, 2010](https://image.slidesharecdn.com/uclaxdjcourselecture21-23-10-100123172039-phpapp02/85/Uclax-Dj-Course-Lecture-2-Jan-23-2010-28-320.jpg)

This document provides an agenda and summary for a lecture on digital DJing with Ableton Live. The topics covered include warping audio, working with loops, arrangement and mixing, effects and transitions, controllers, and keyboard/MIDI mapping. Looping in Ableton allows DJs to mix as many loops as they want simultaneously, providing flexibility and creative options. Effects like EQ Three and Auto Filter are commonly used to mimic DJ mixers or go beyond traditional DJing. Controllers and keyboard/MIDI mapping allow more natural control over Ableton's functions than a mouse and keyboard alone.


