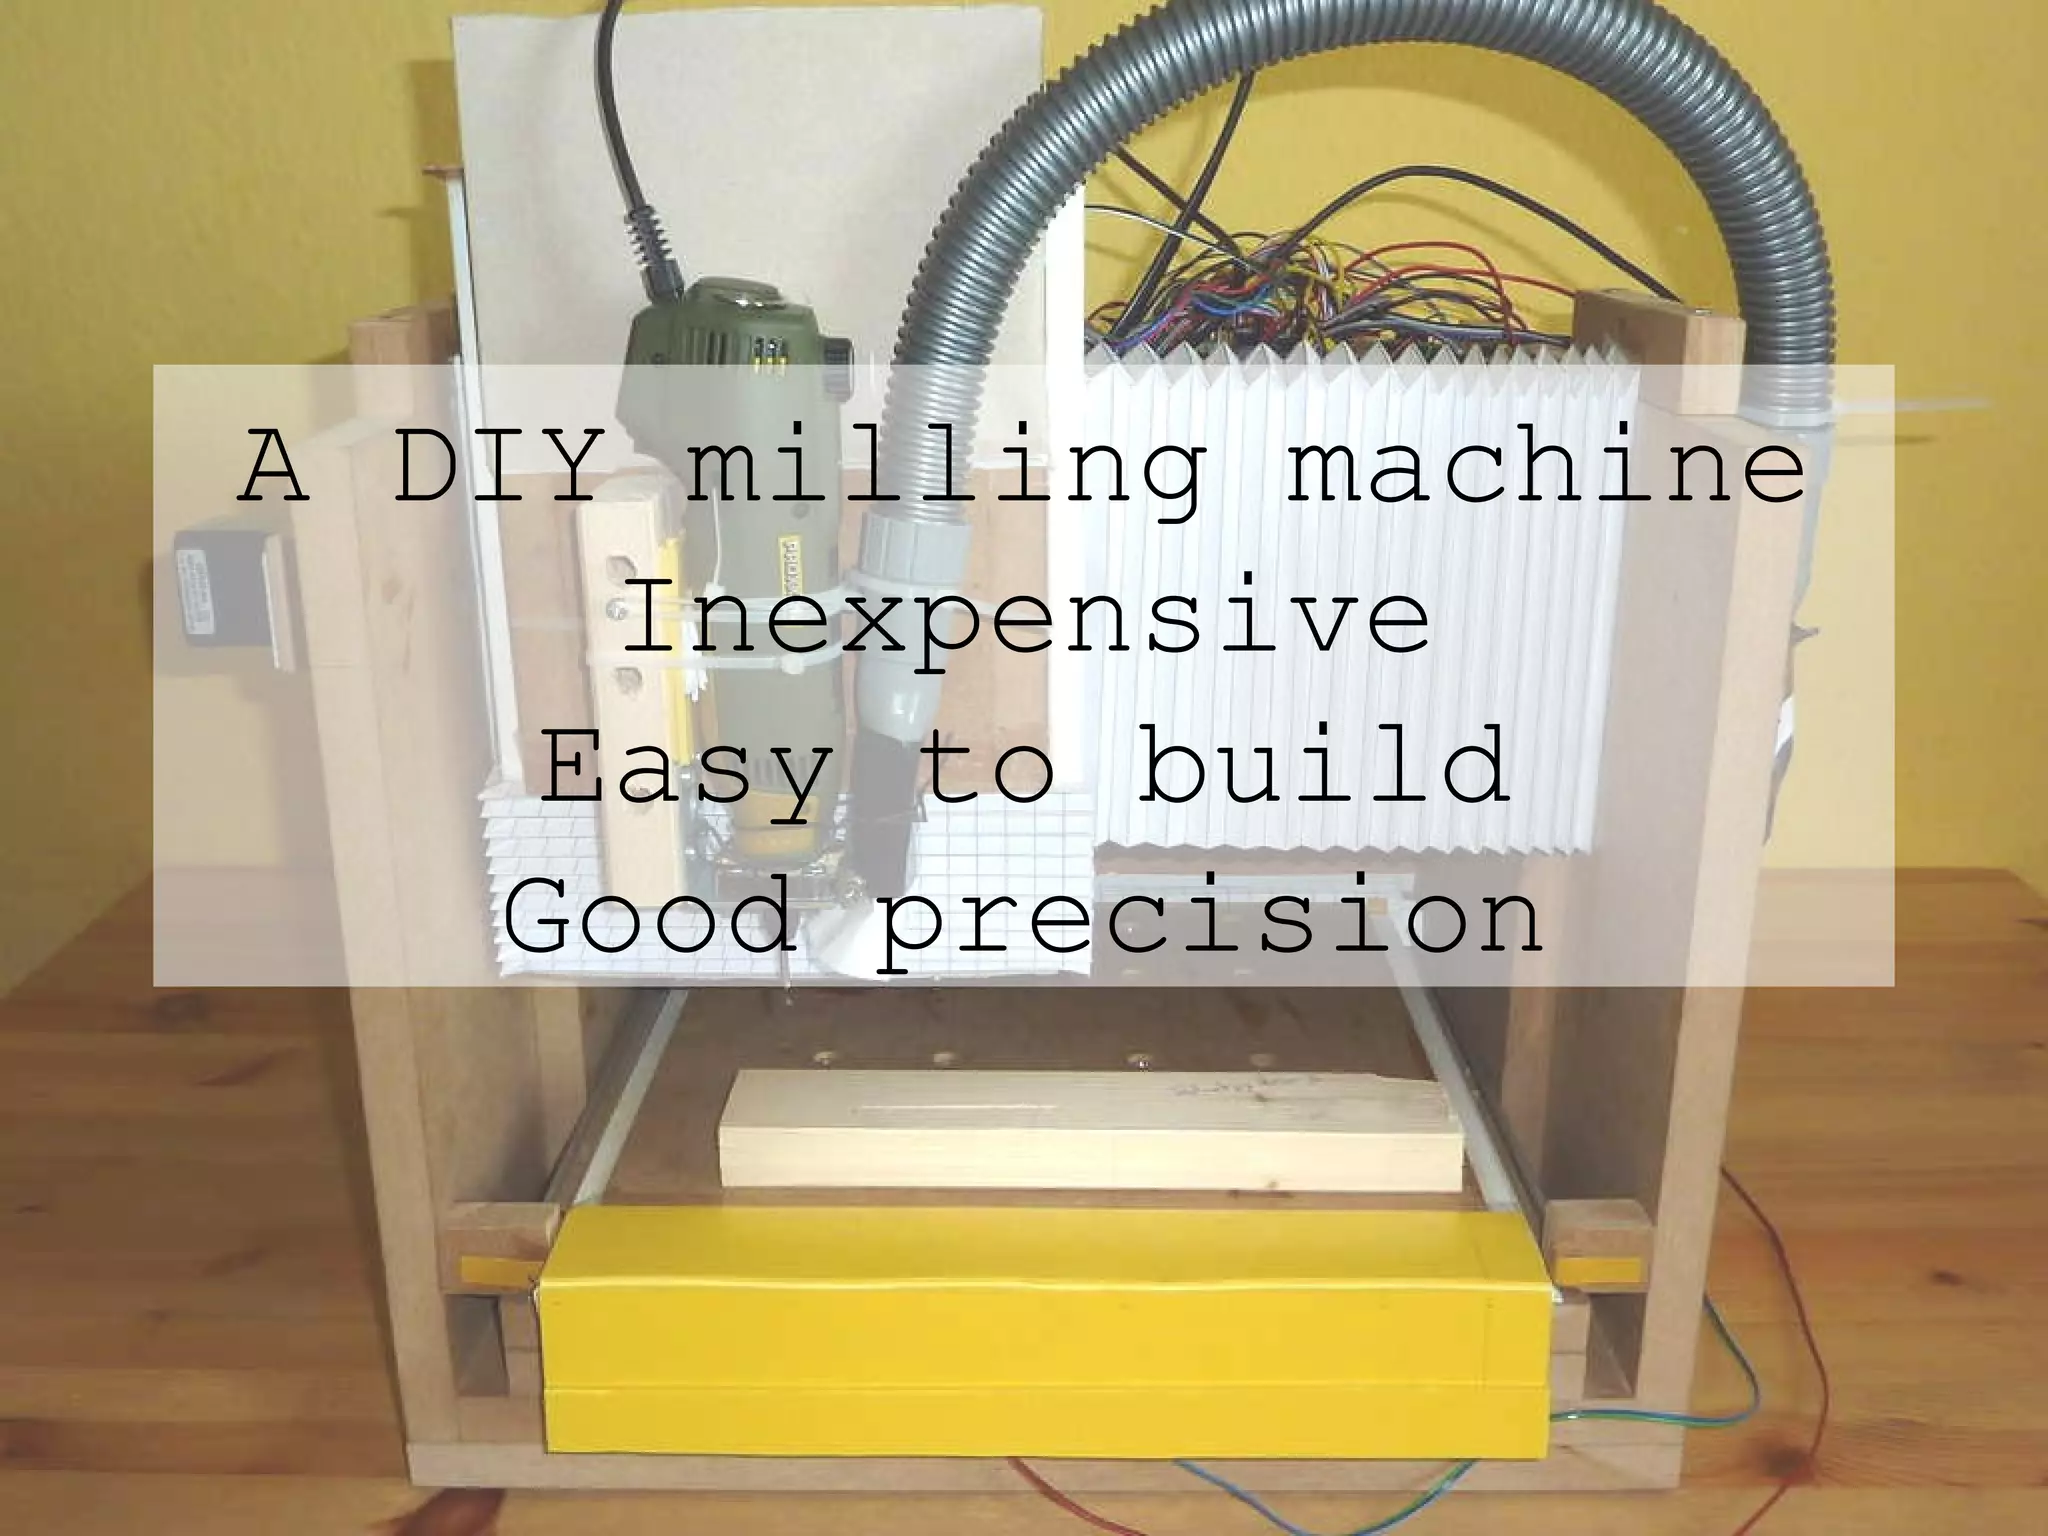
The document describes the process of building a DIY milling machine. It details the goals, tools, expenses, and methods used. Some key points:
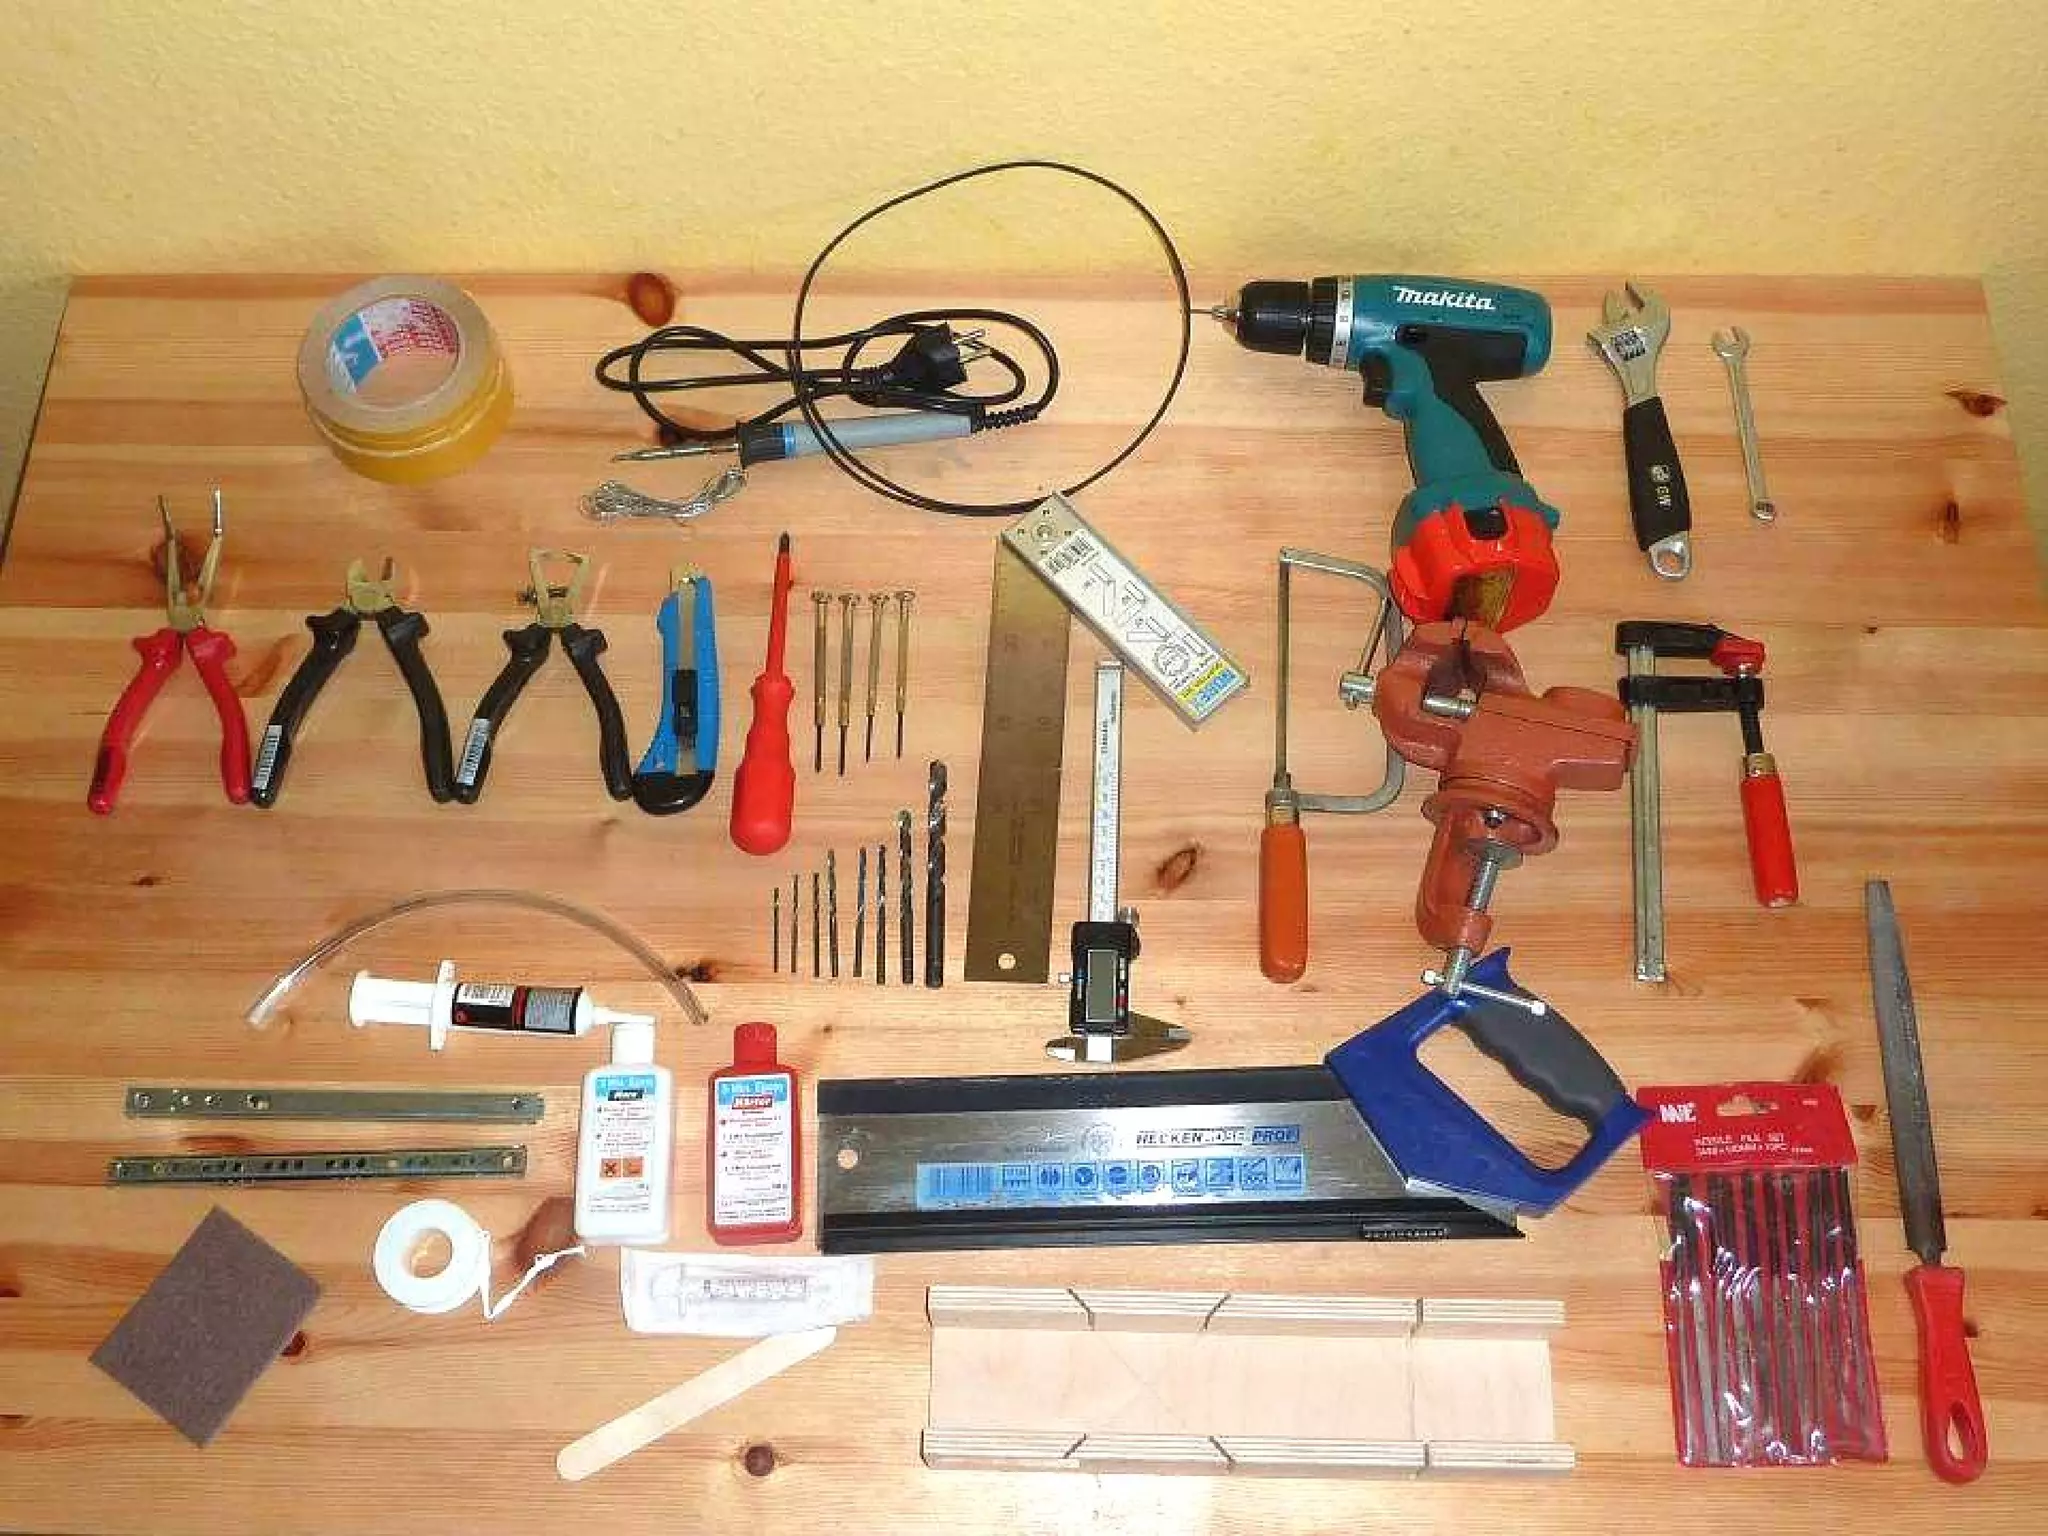
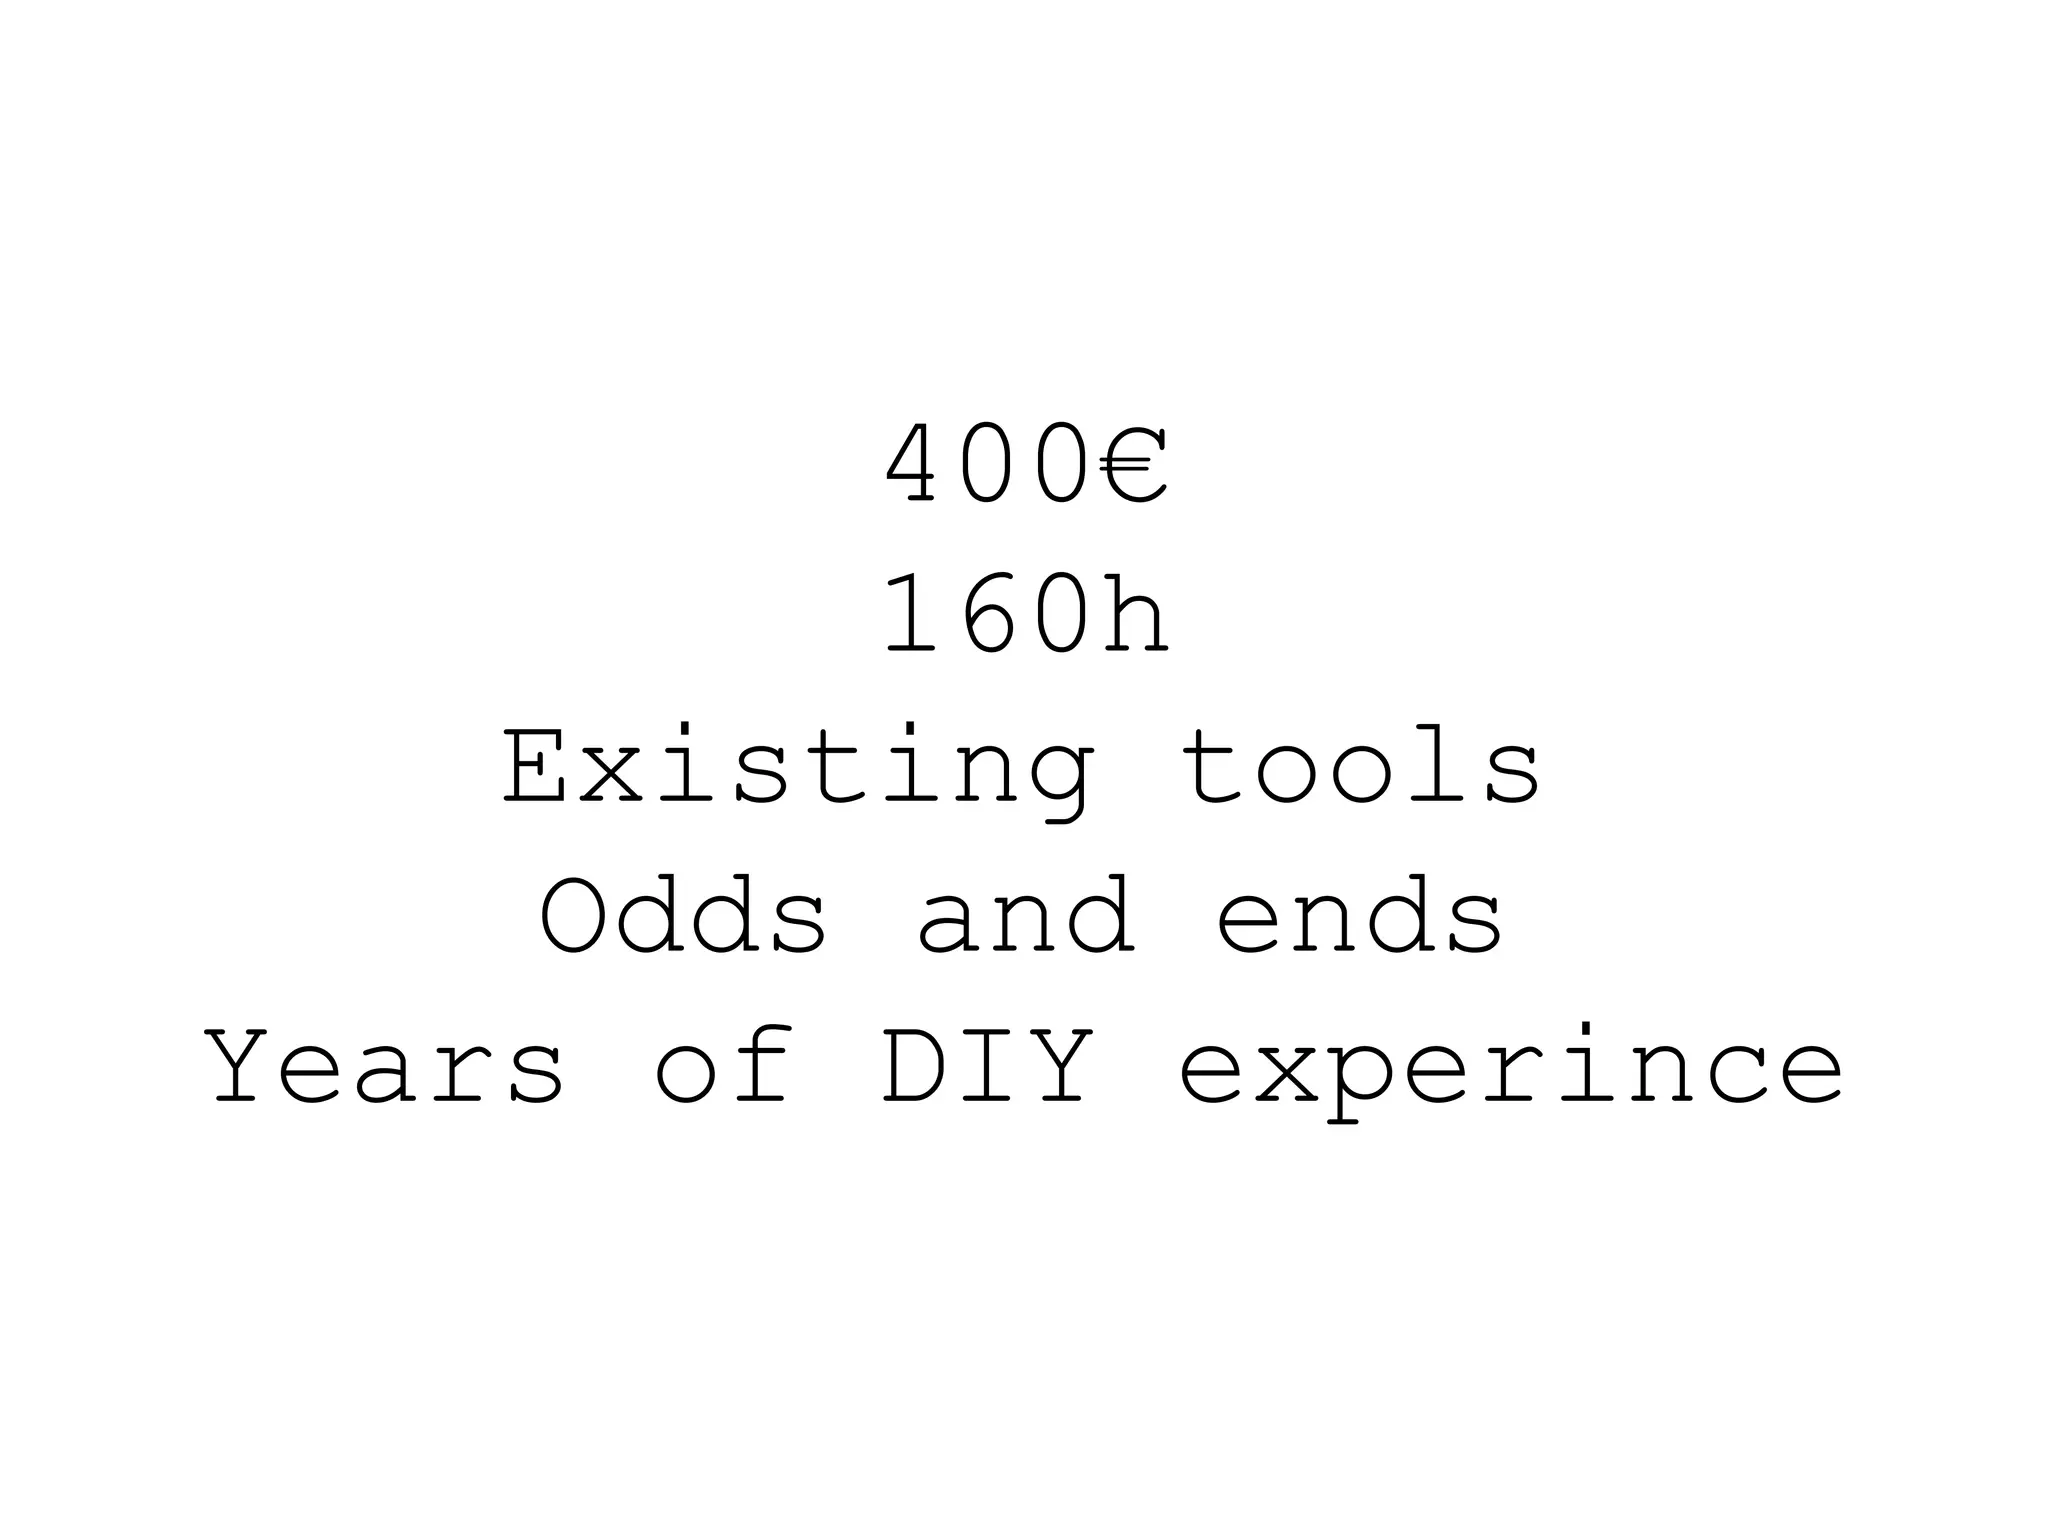
- The goal was to build an inexpensive but precise milling machine for around 400€ using existing tools and materials from years of DIY experience.
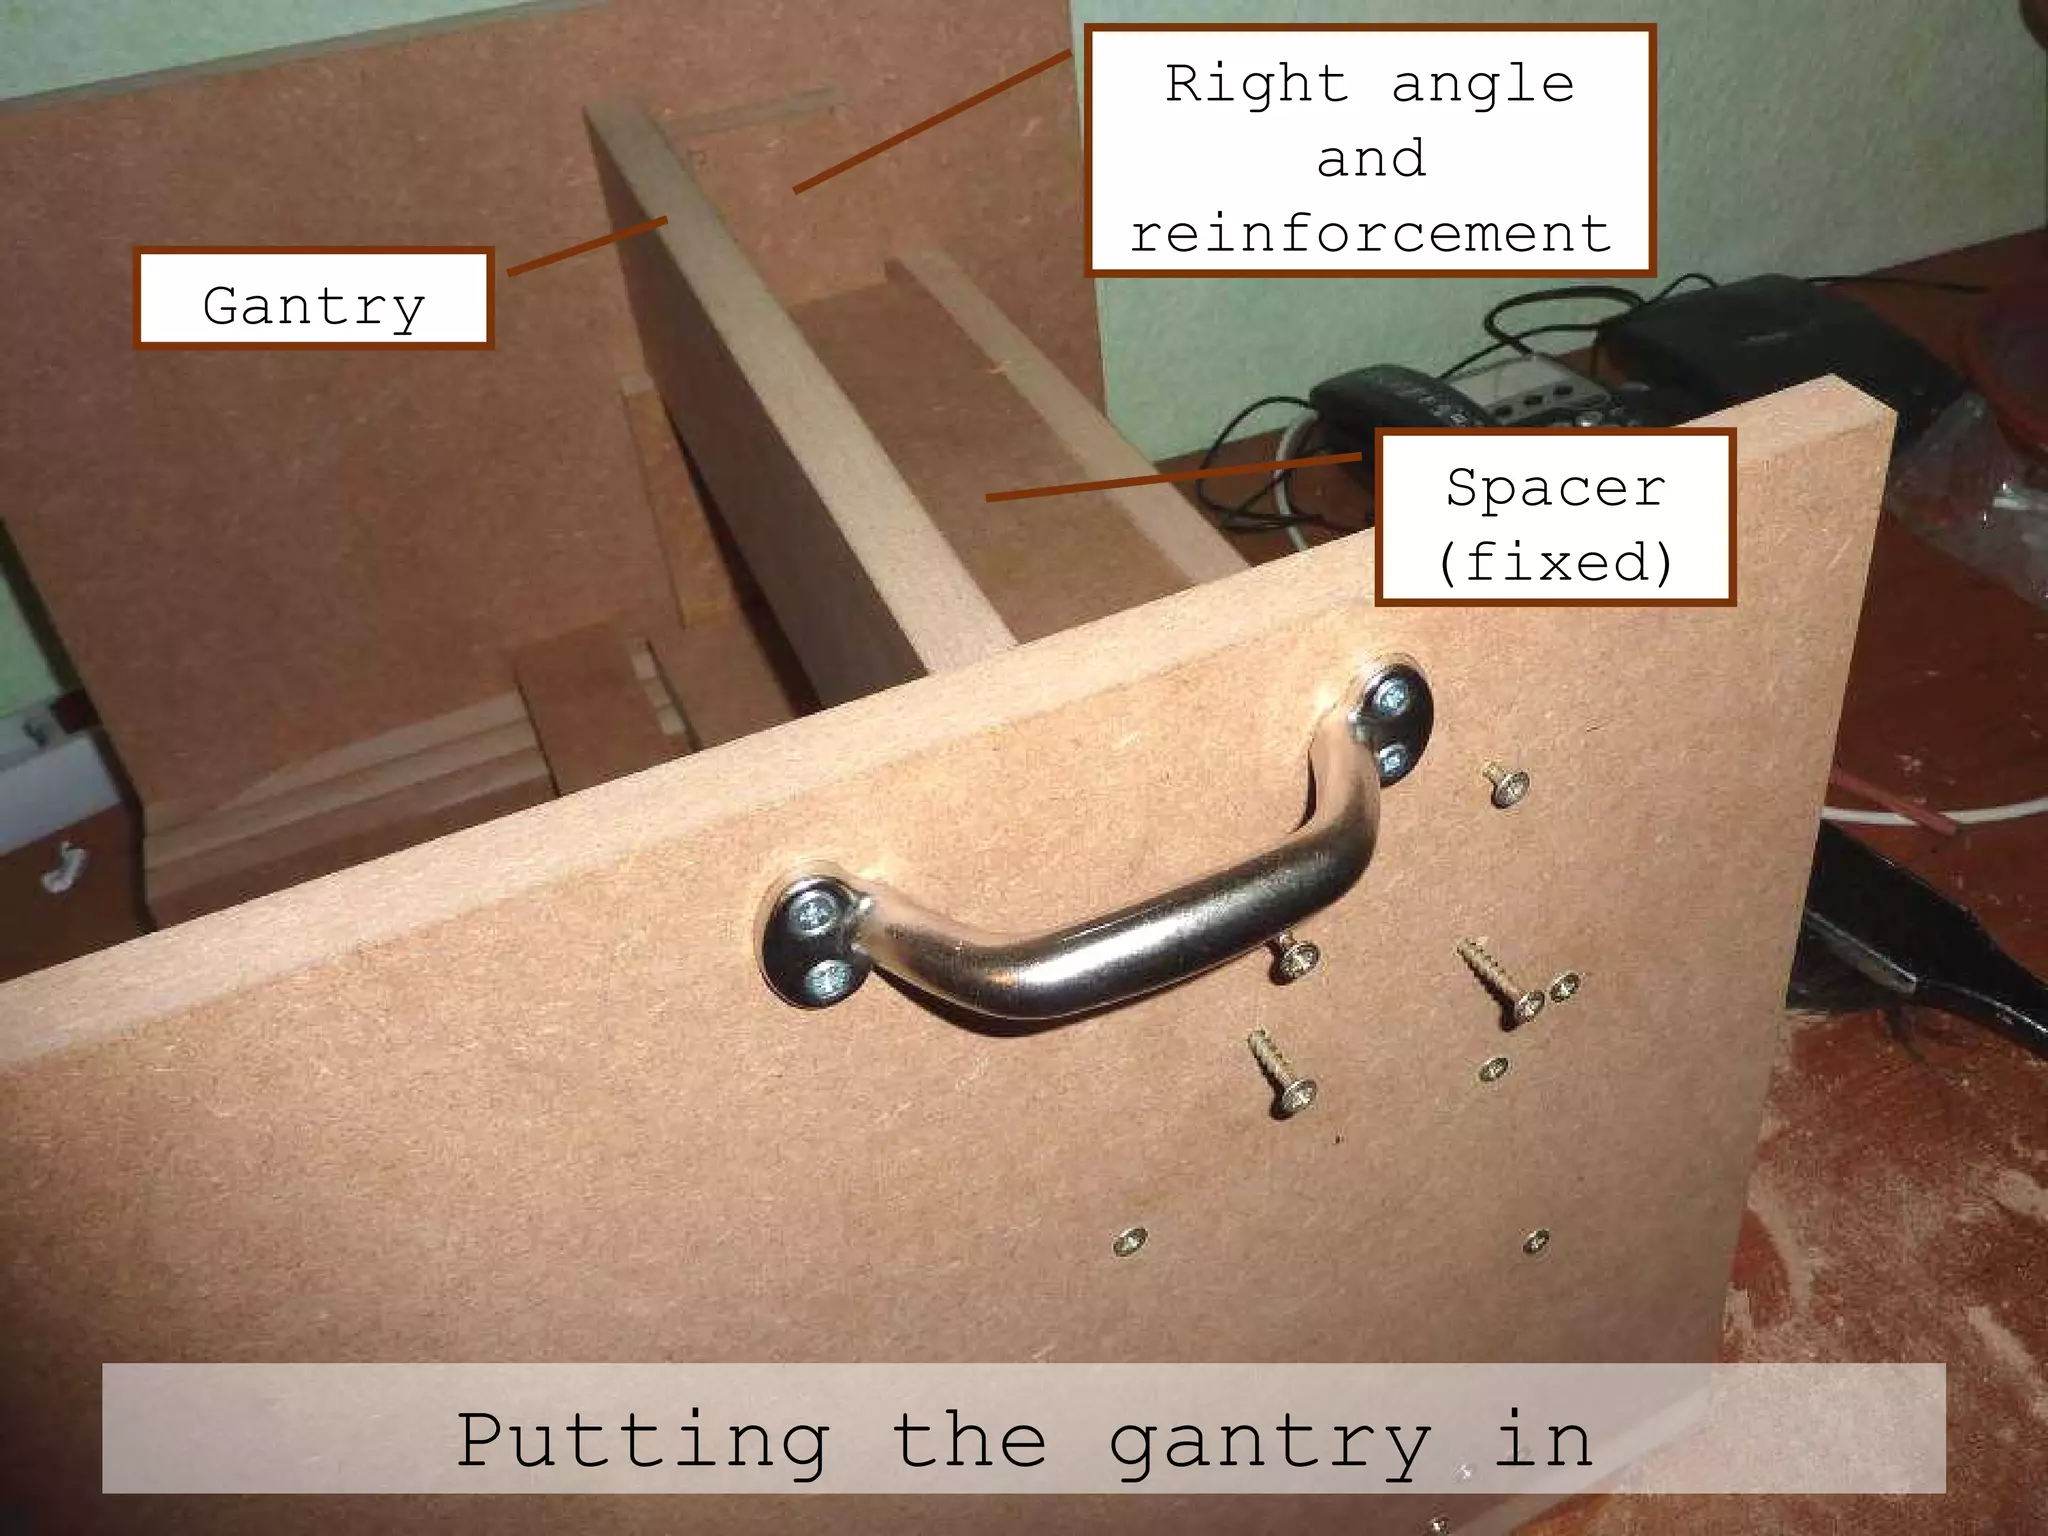
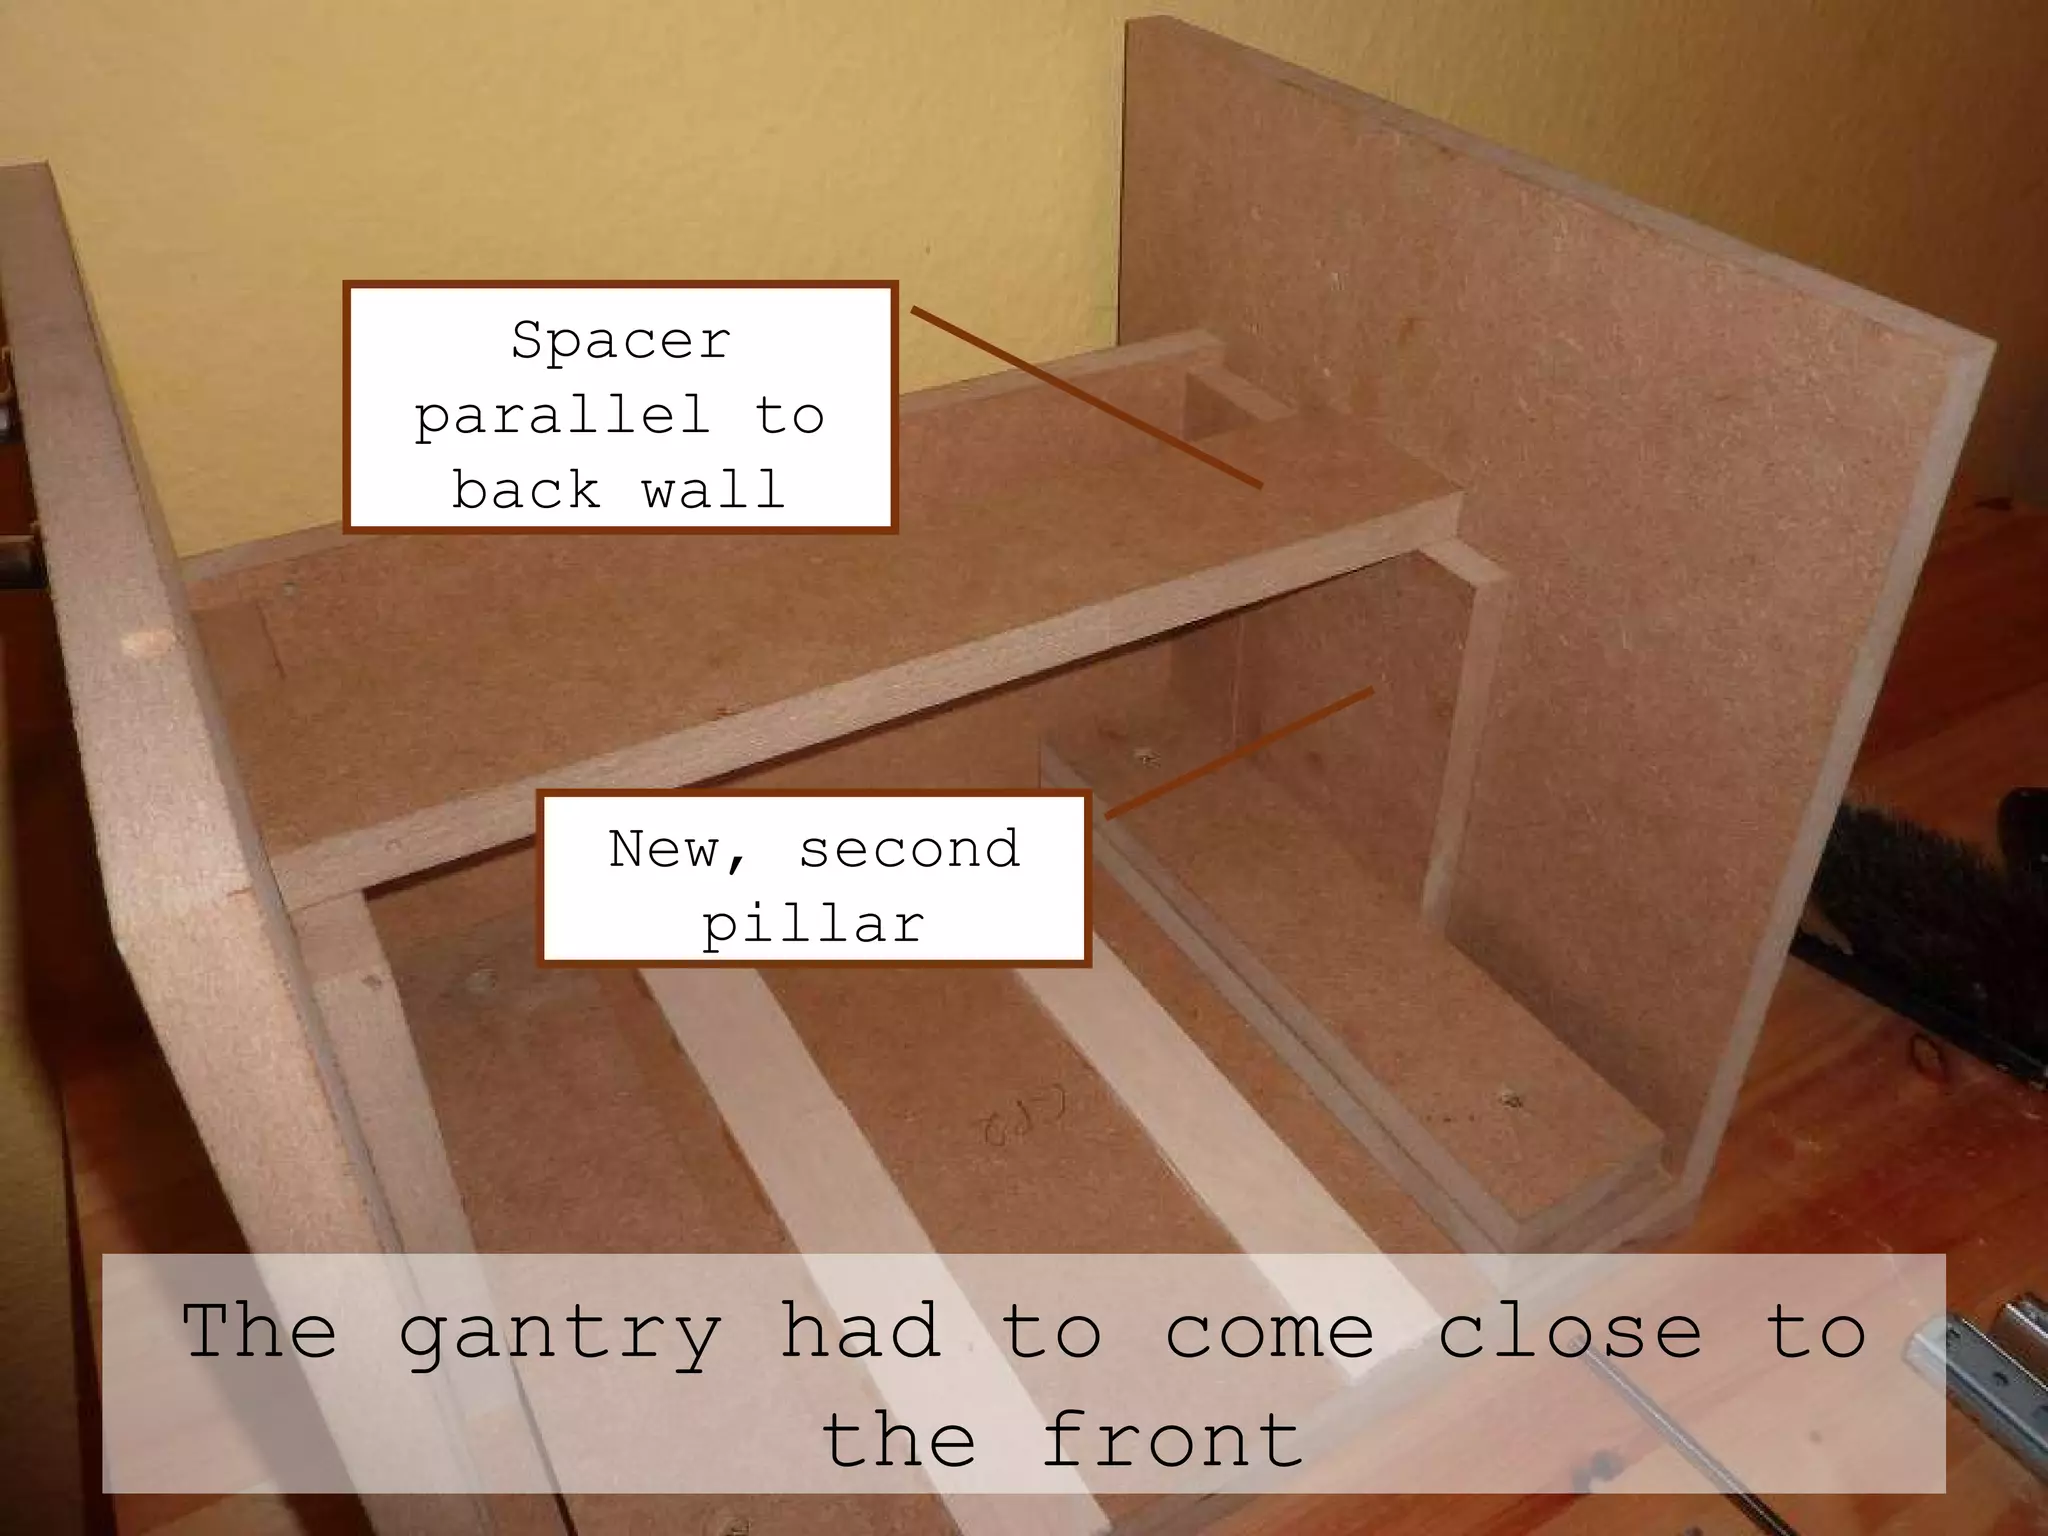
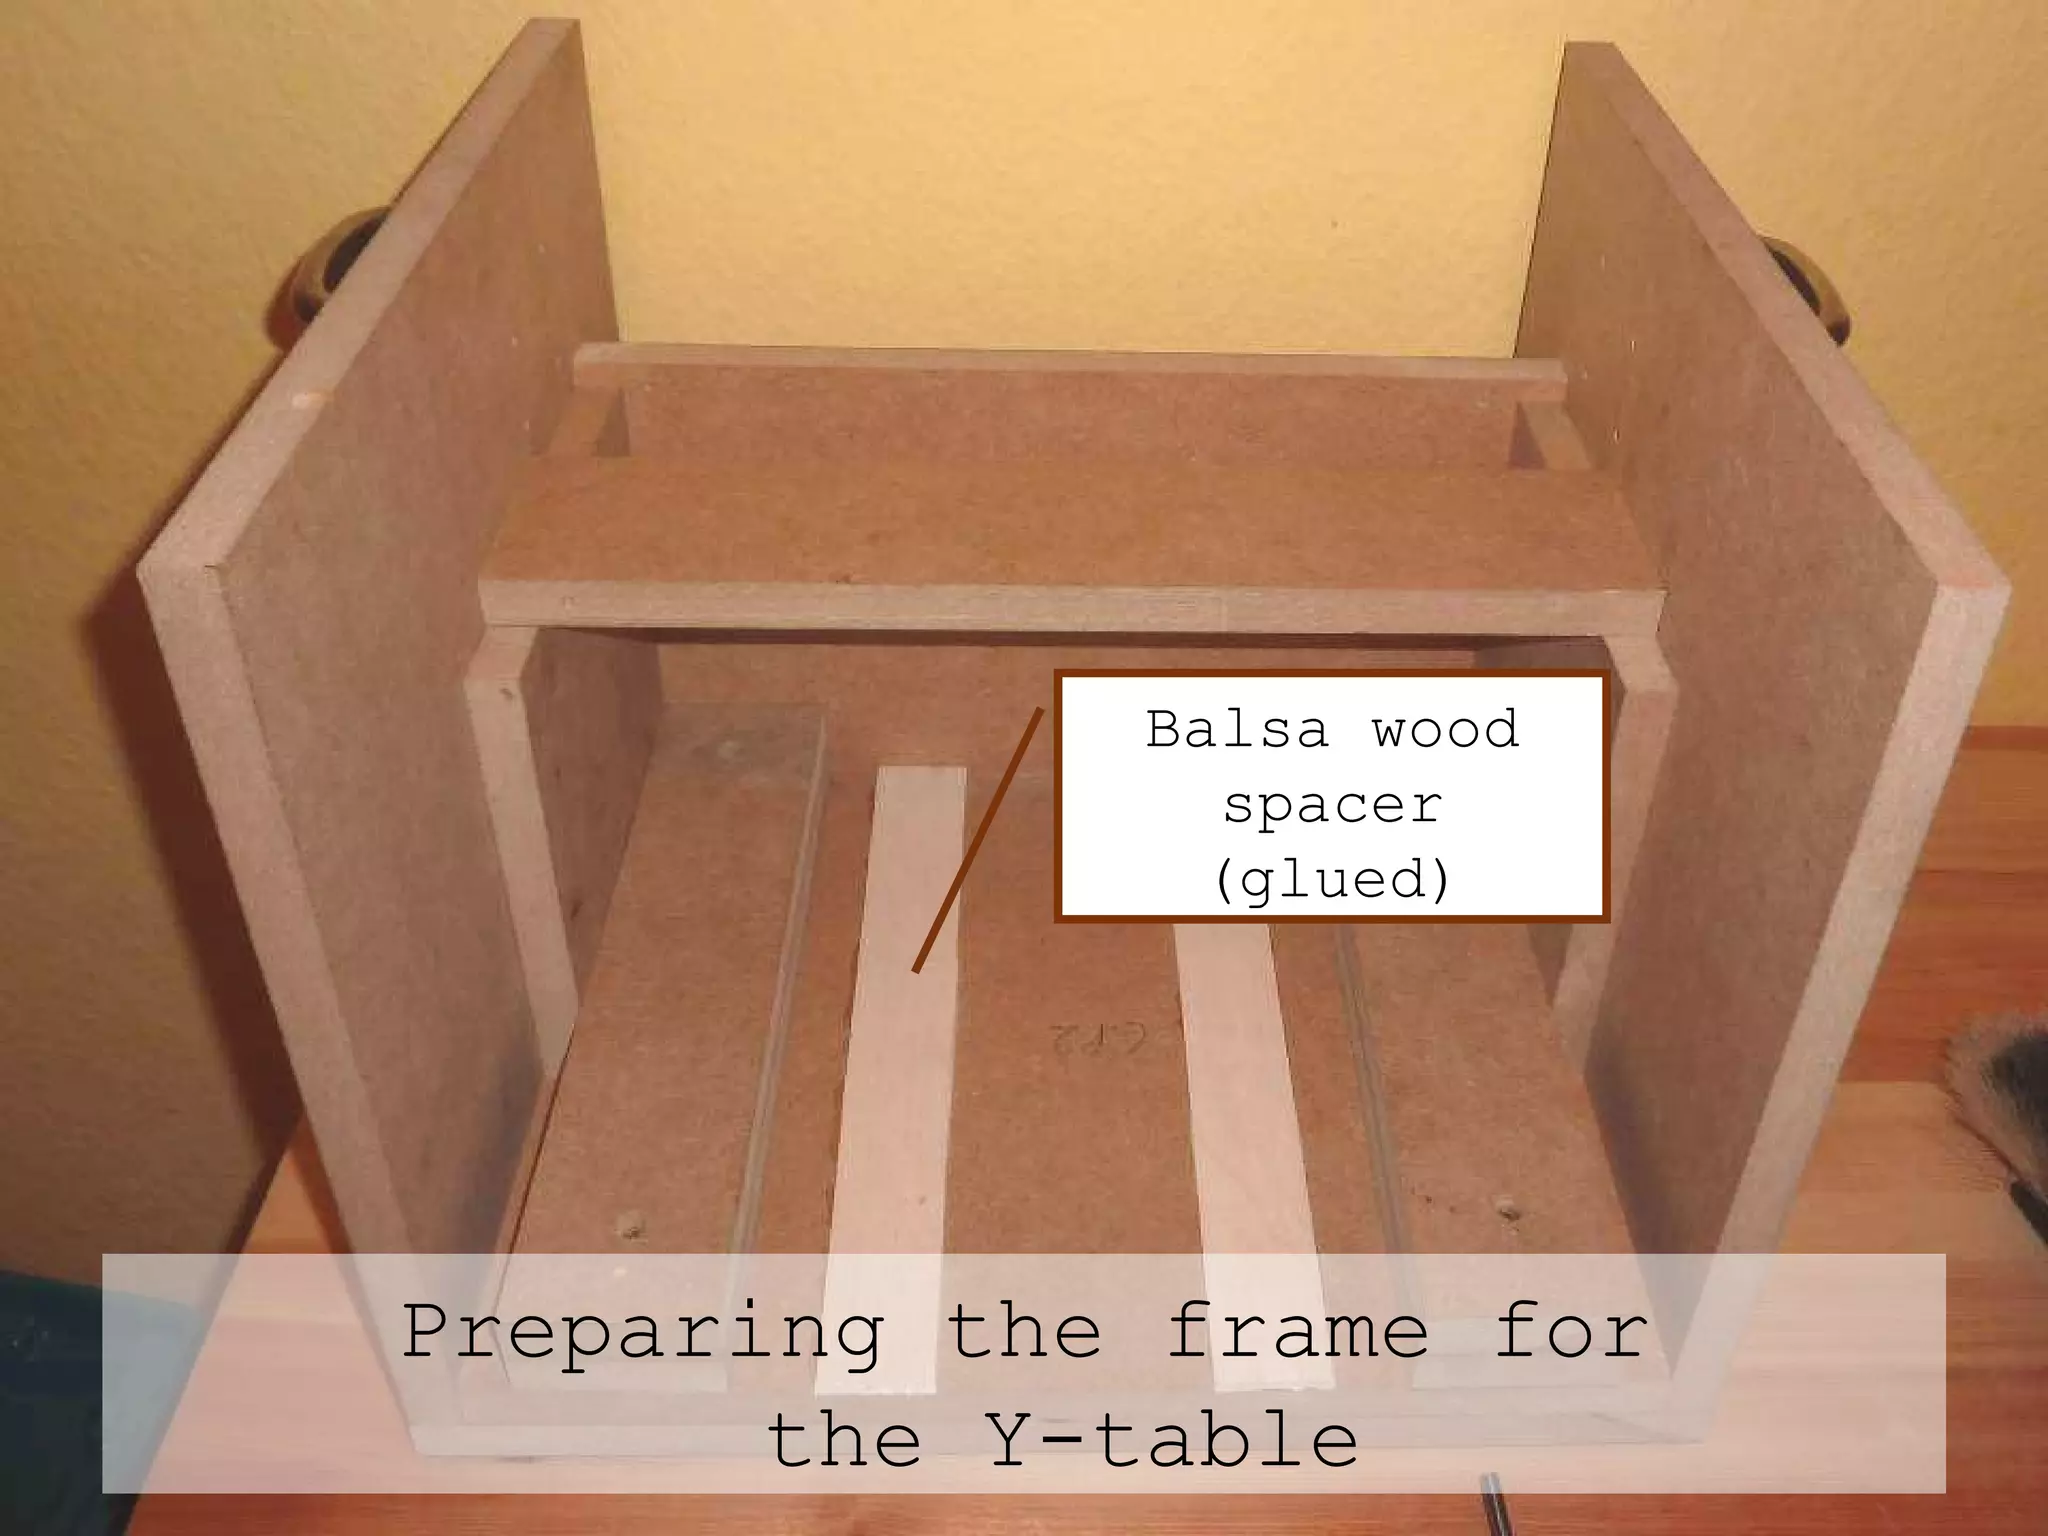
- Precisely cut MDF plates were used to achieve parallel edges and right angles for the base and frame. Loose spacers and screws were used to assemble components.
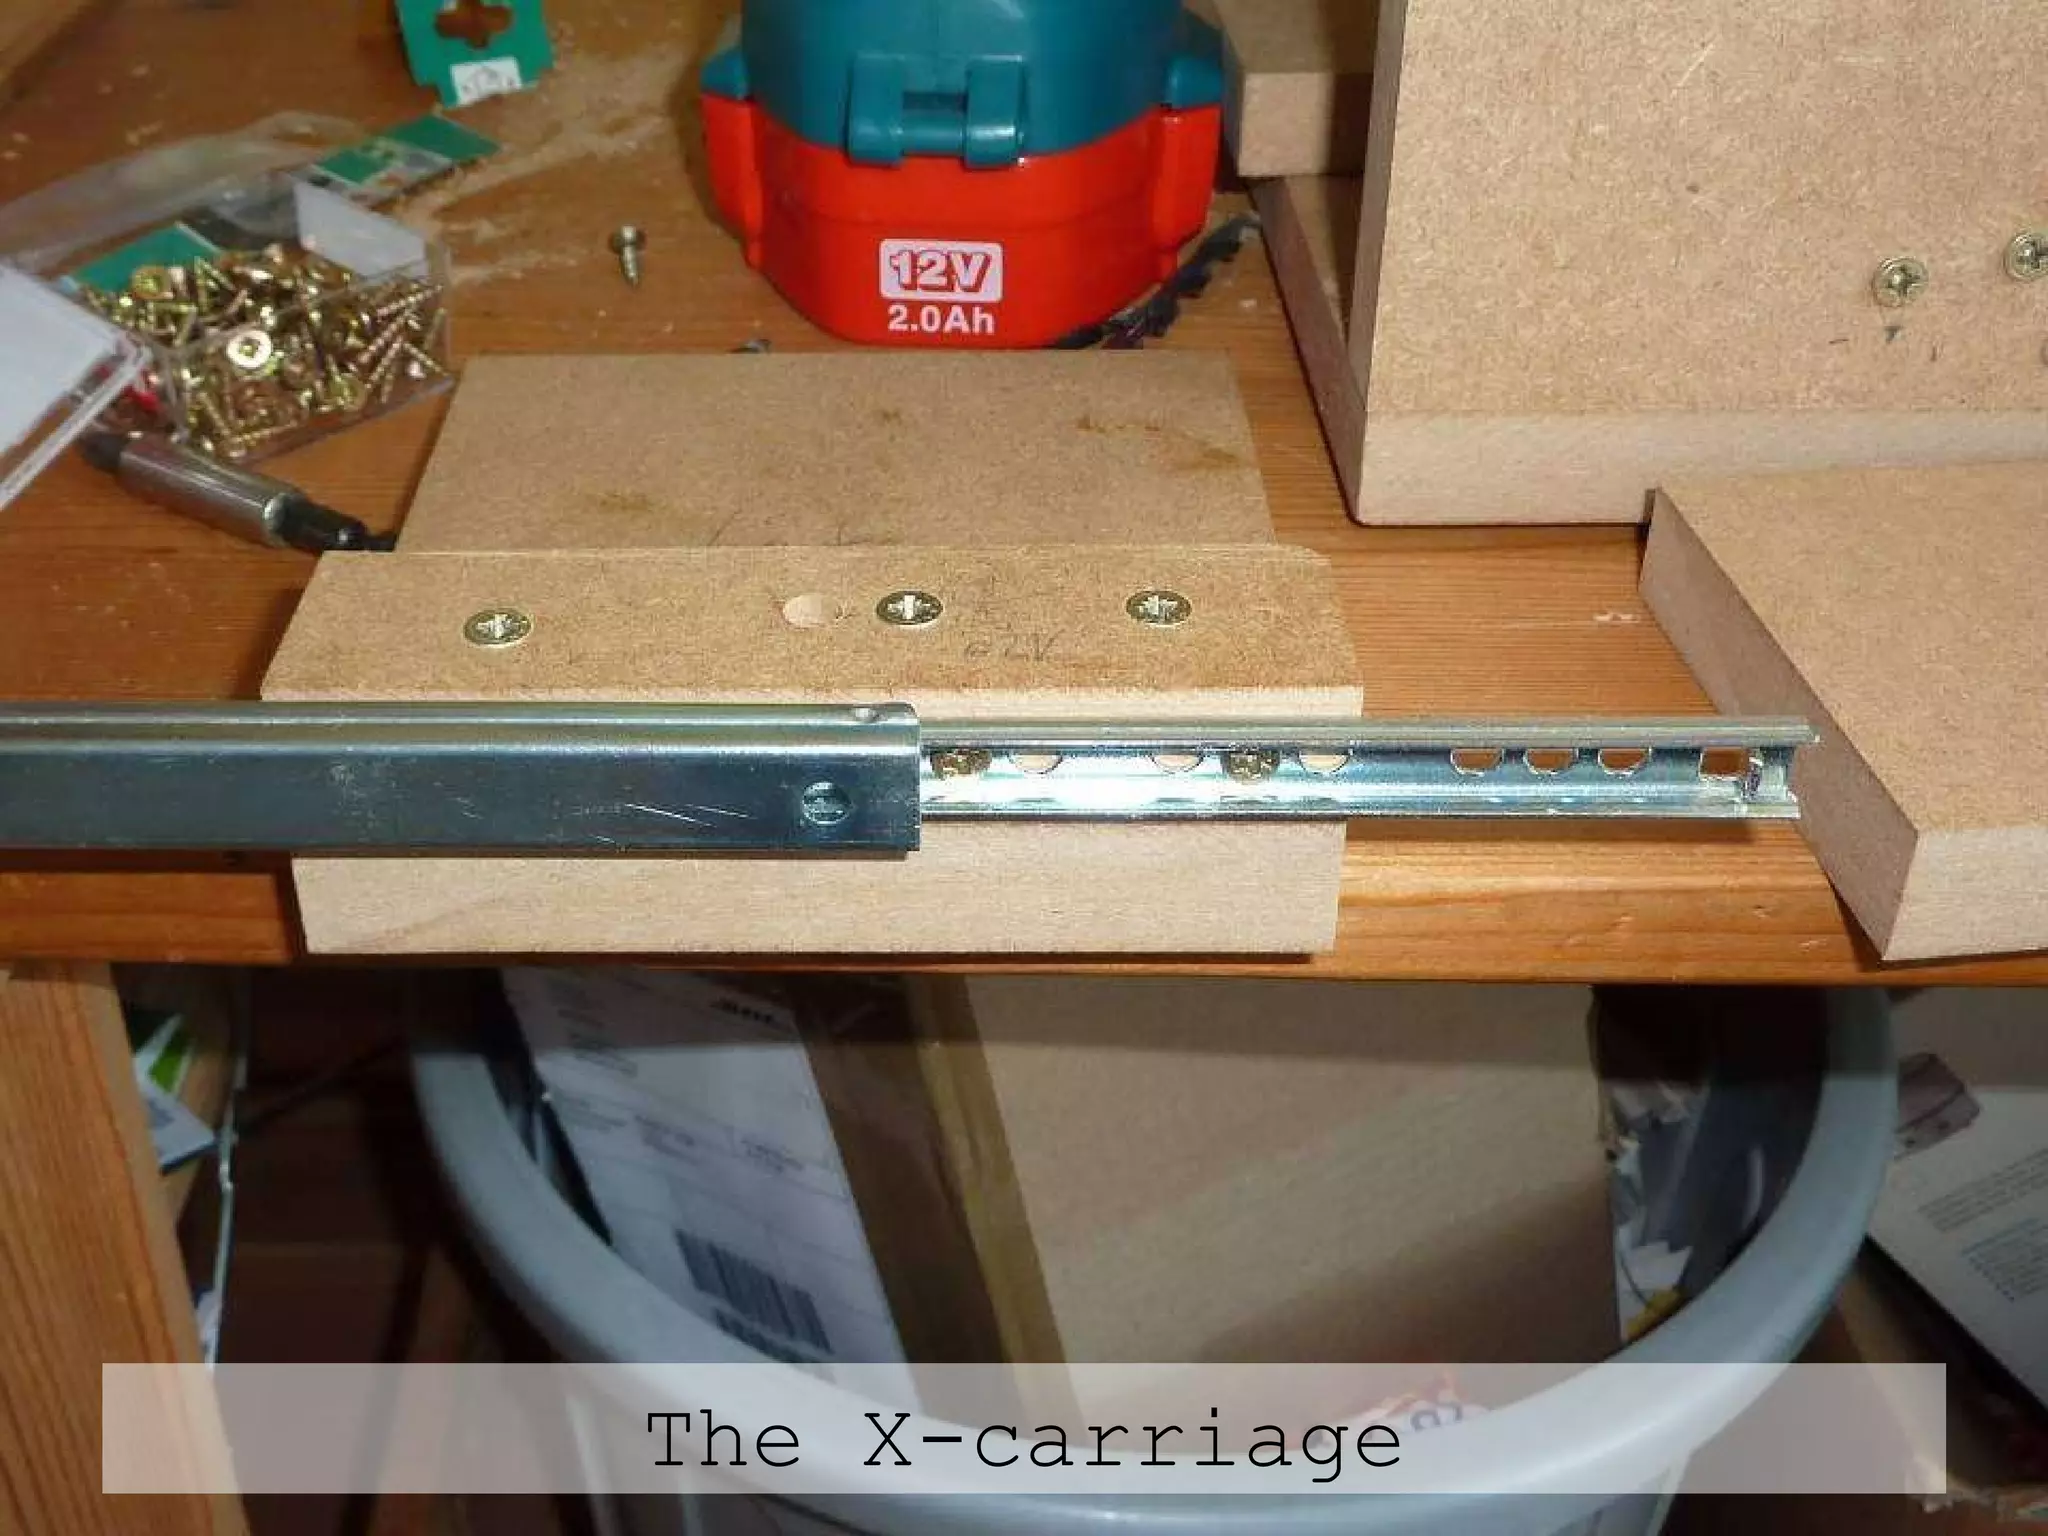
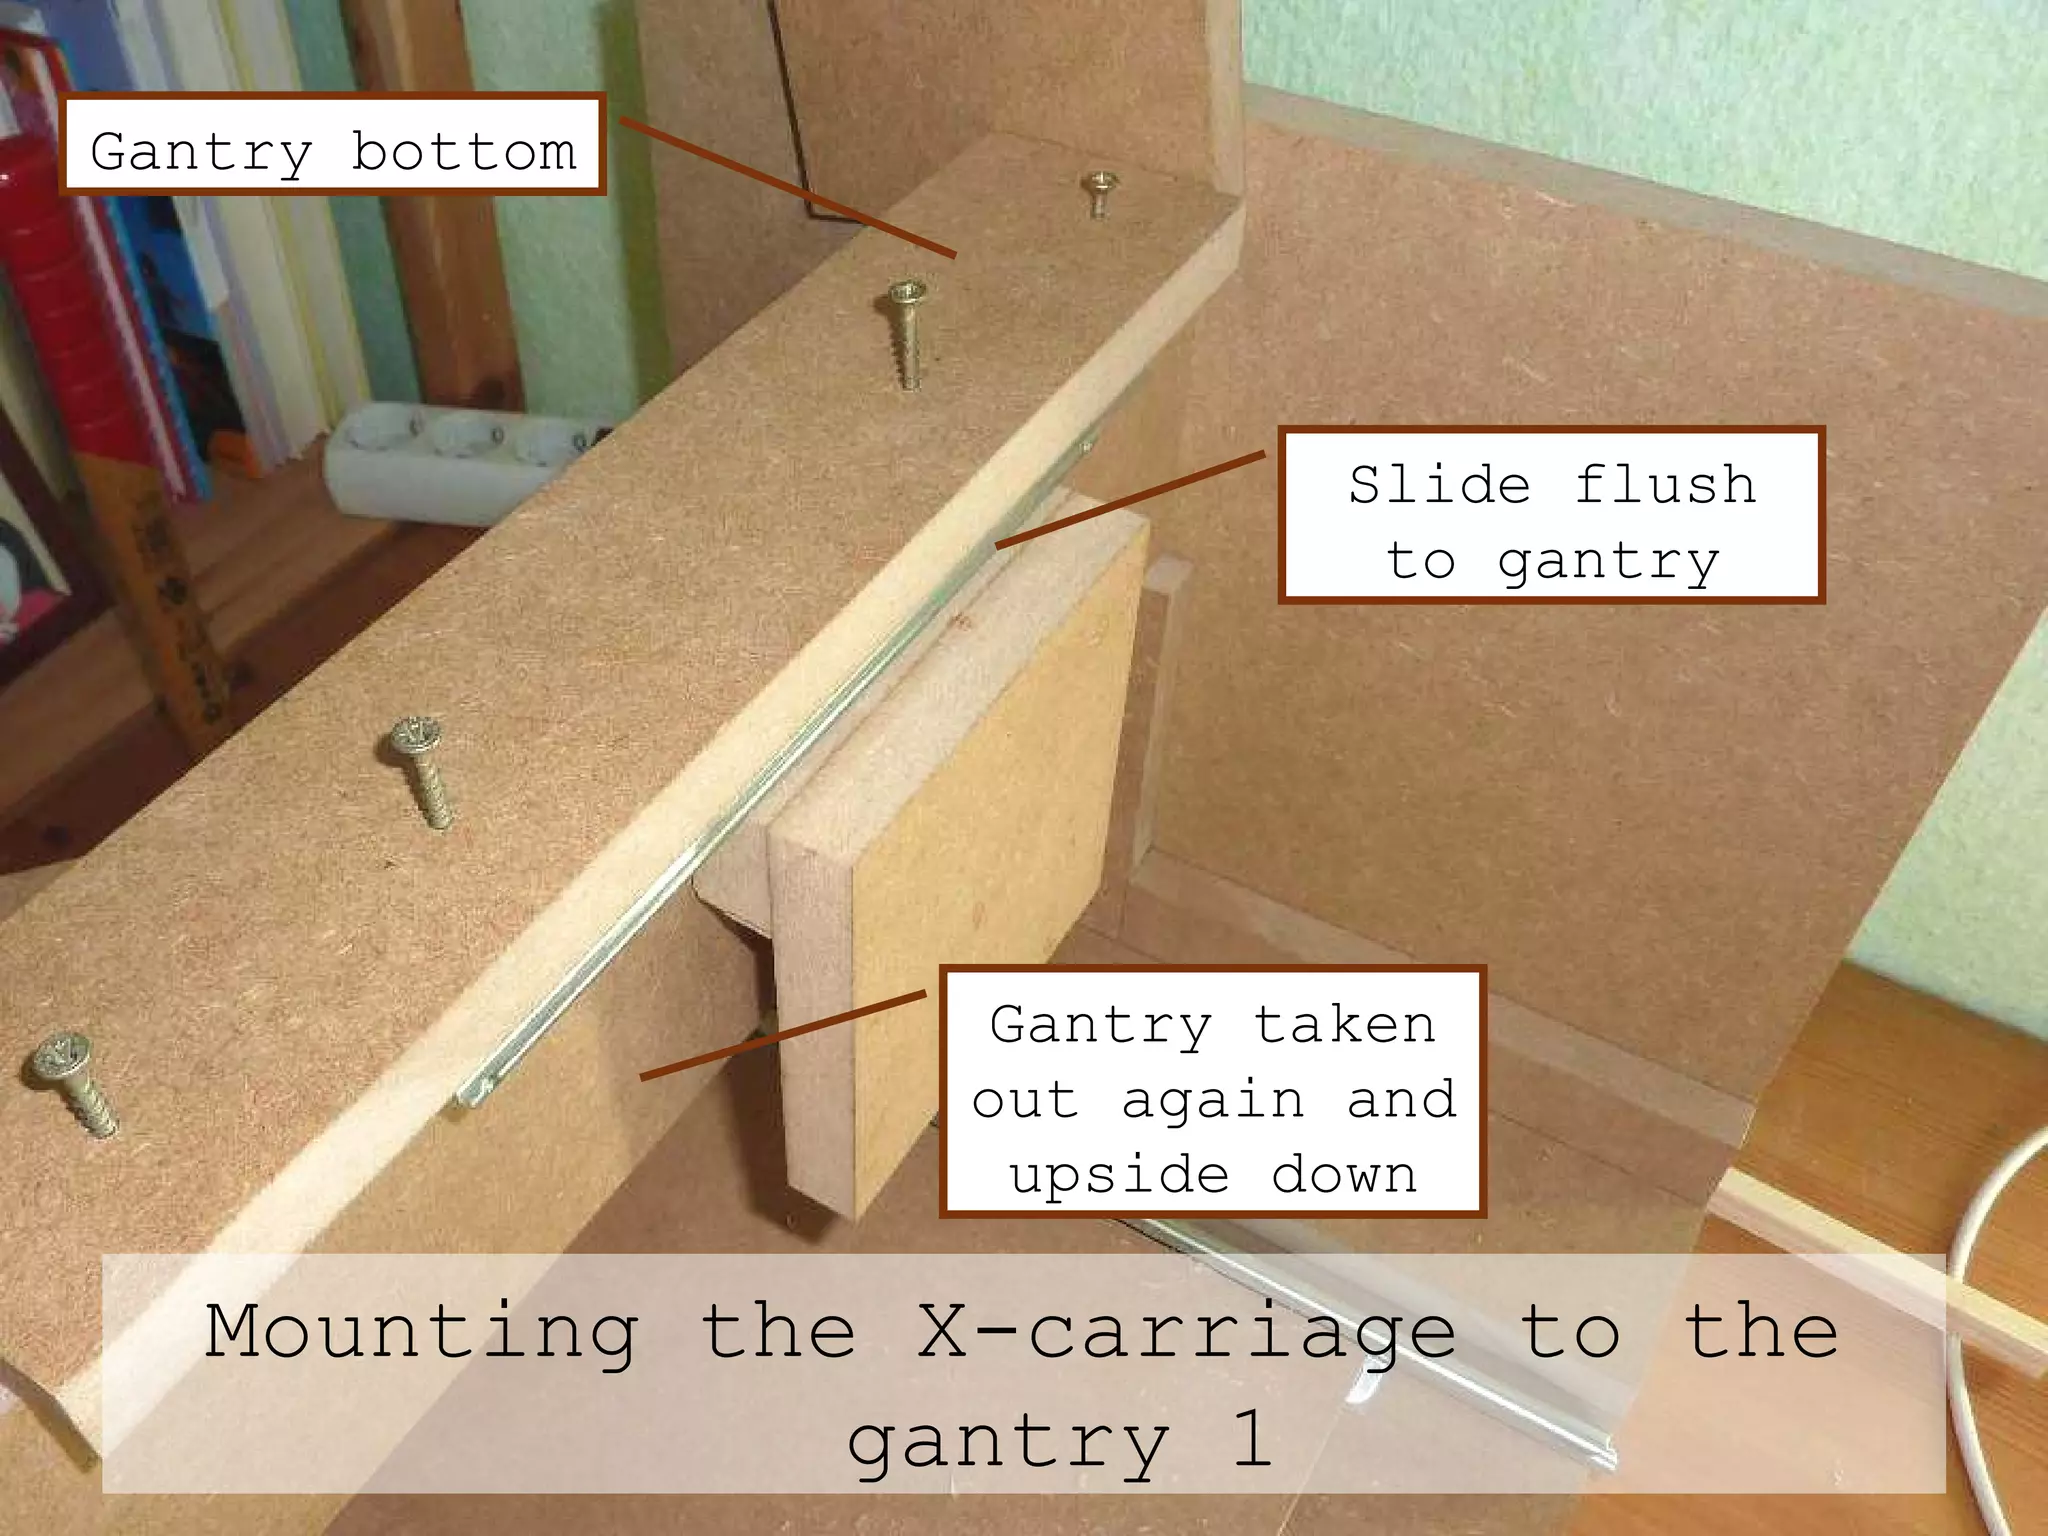
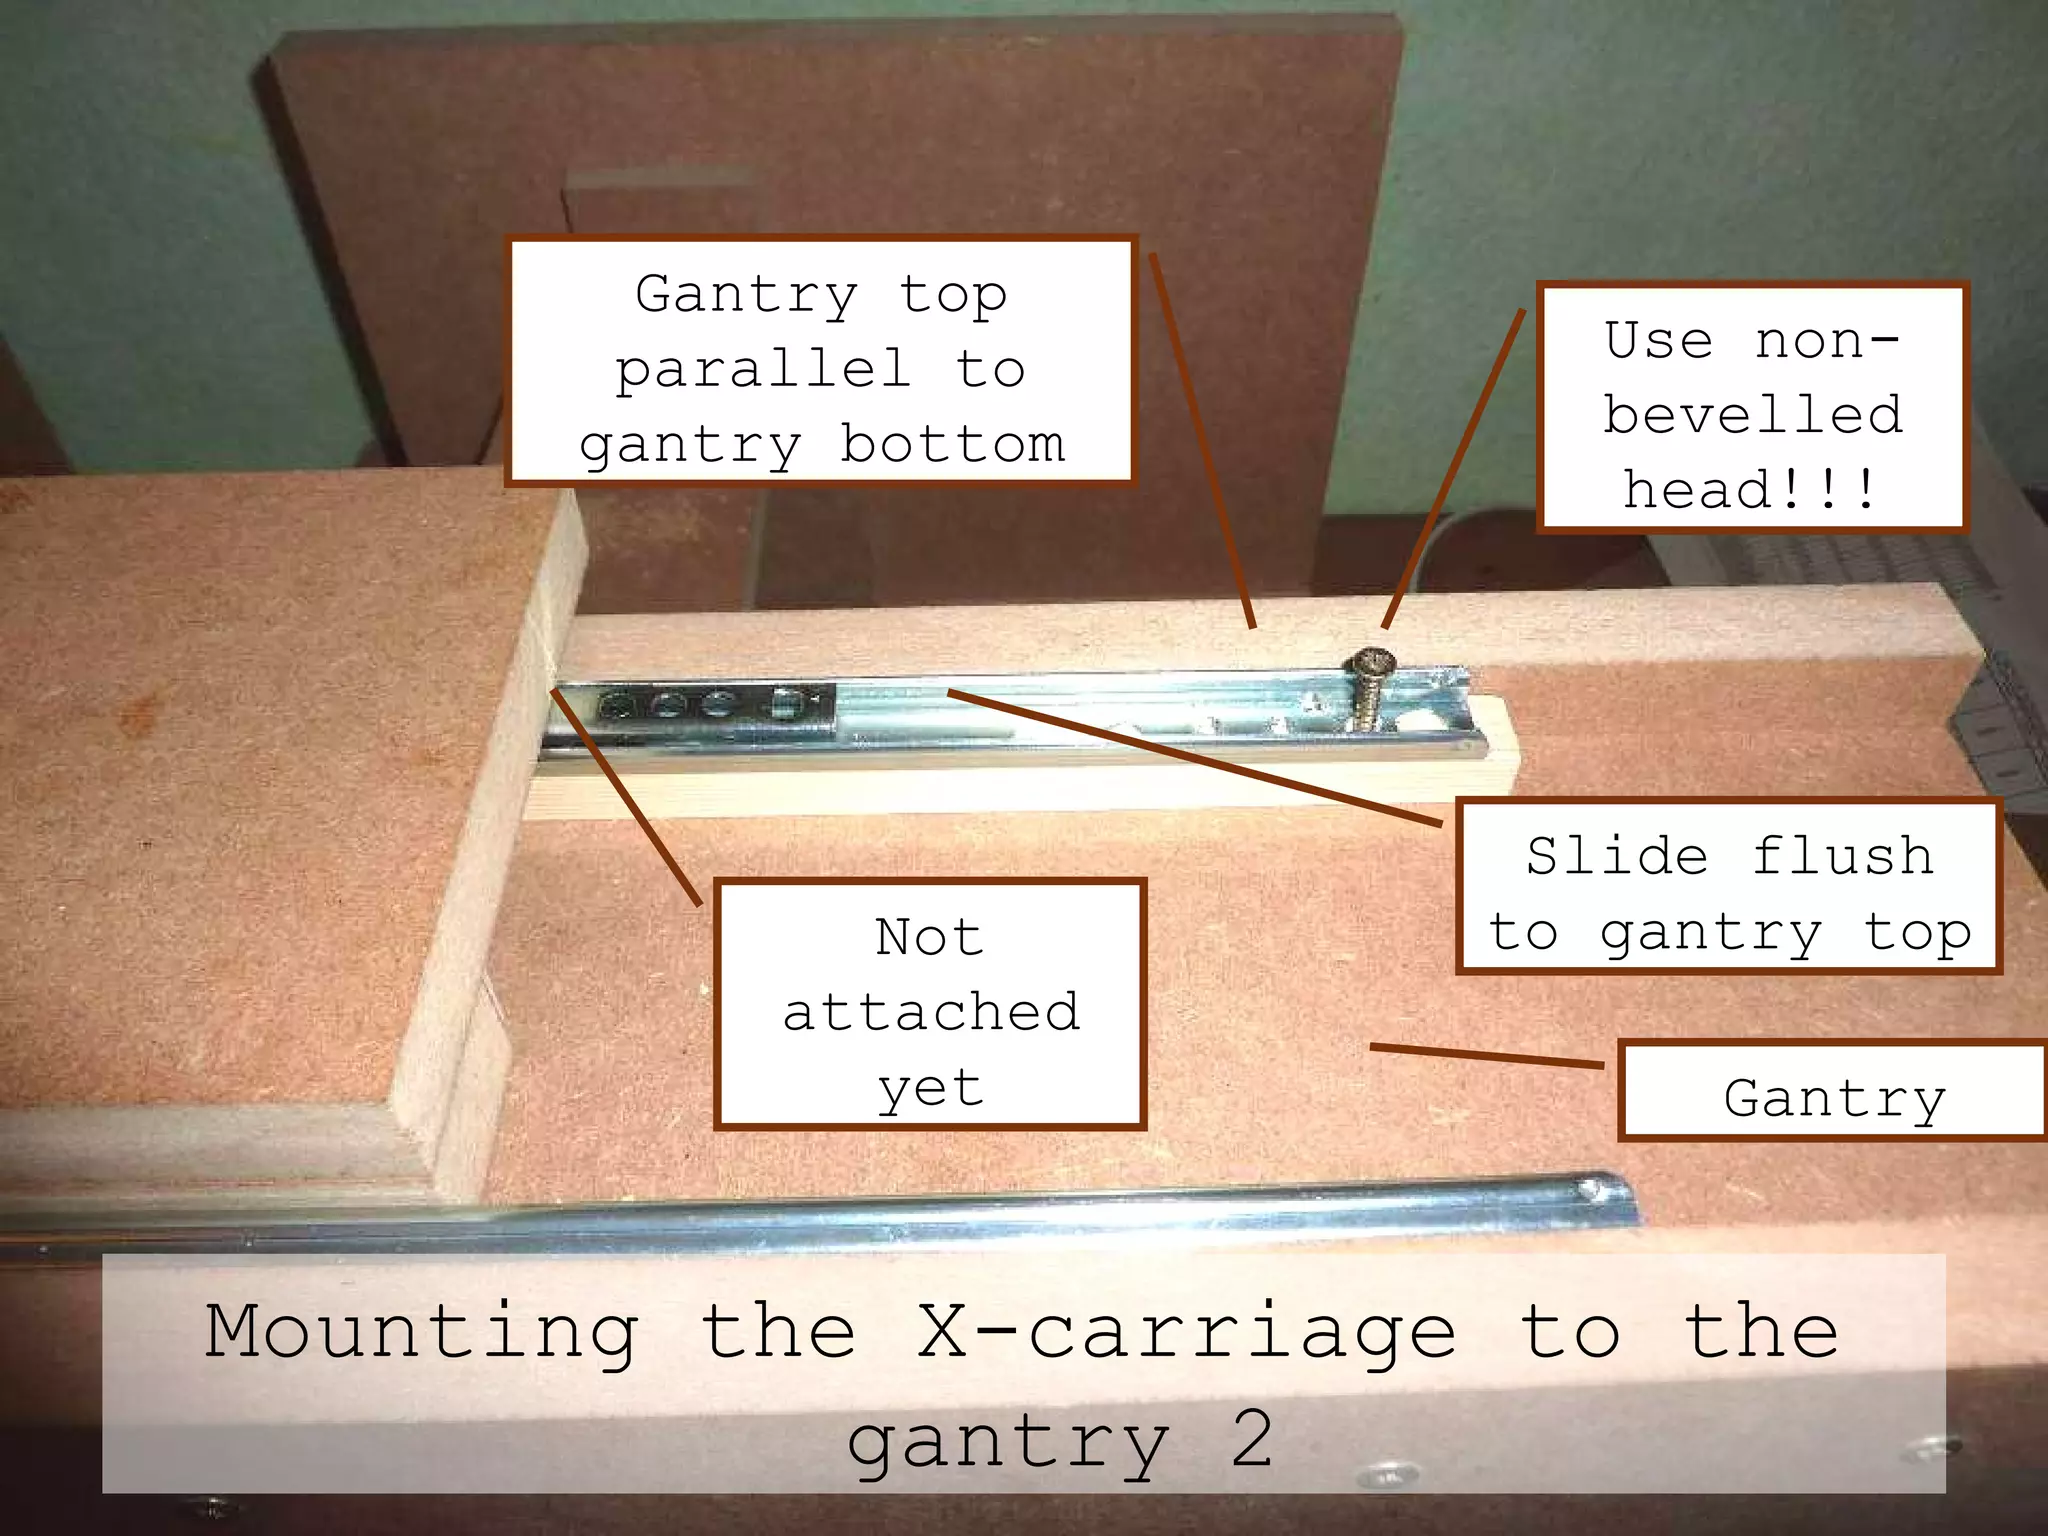
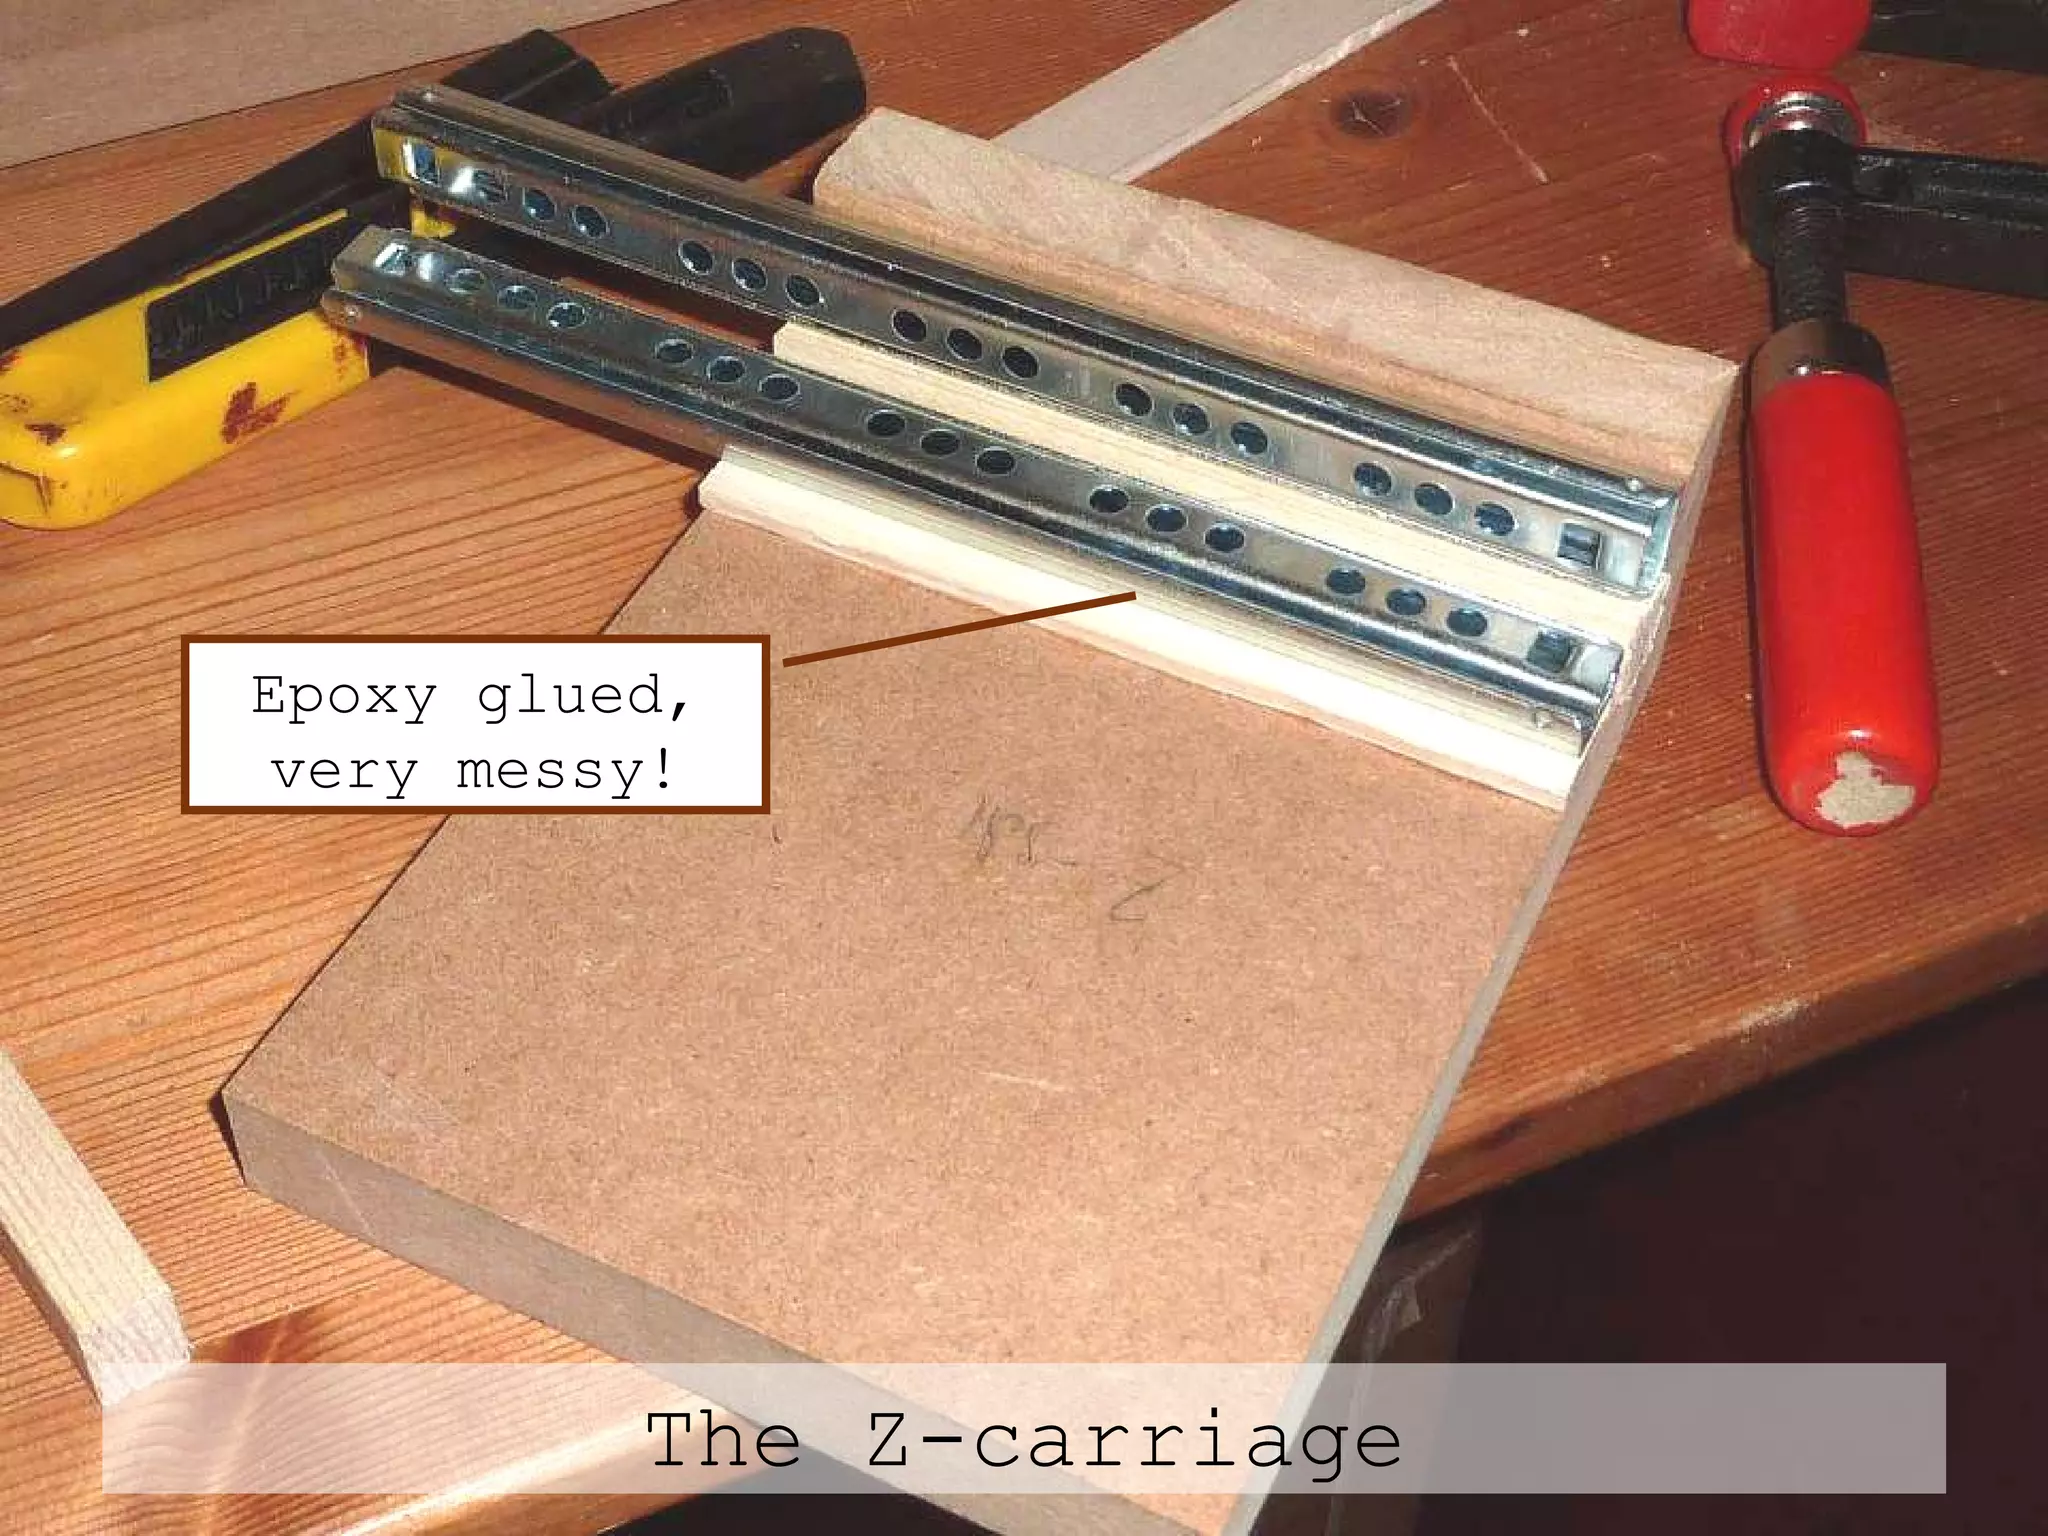
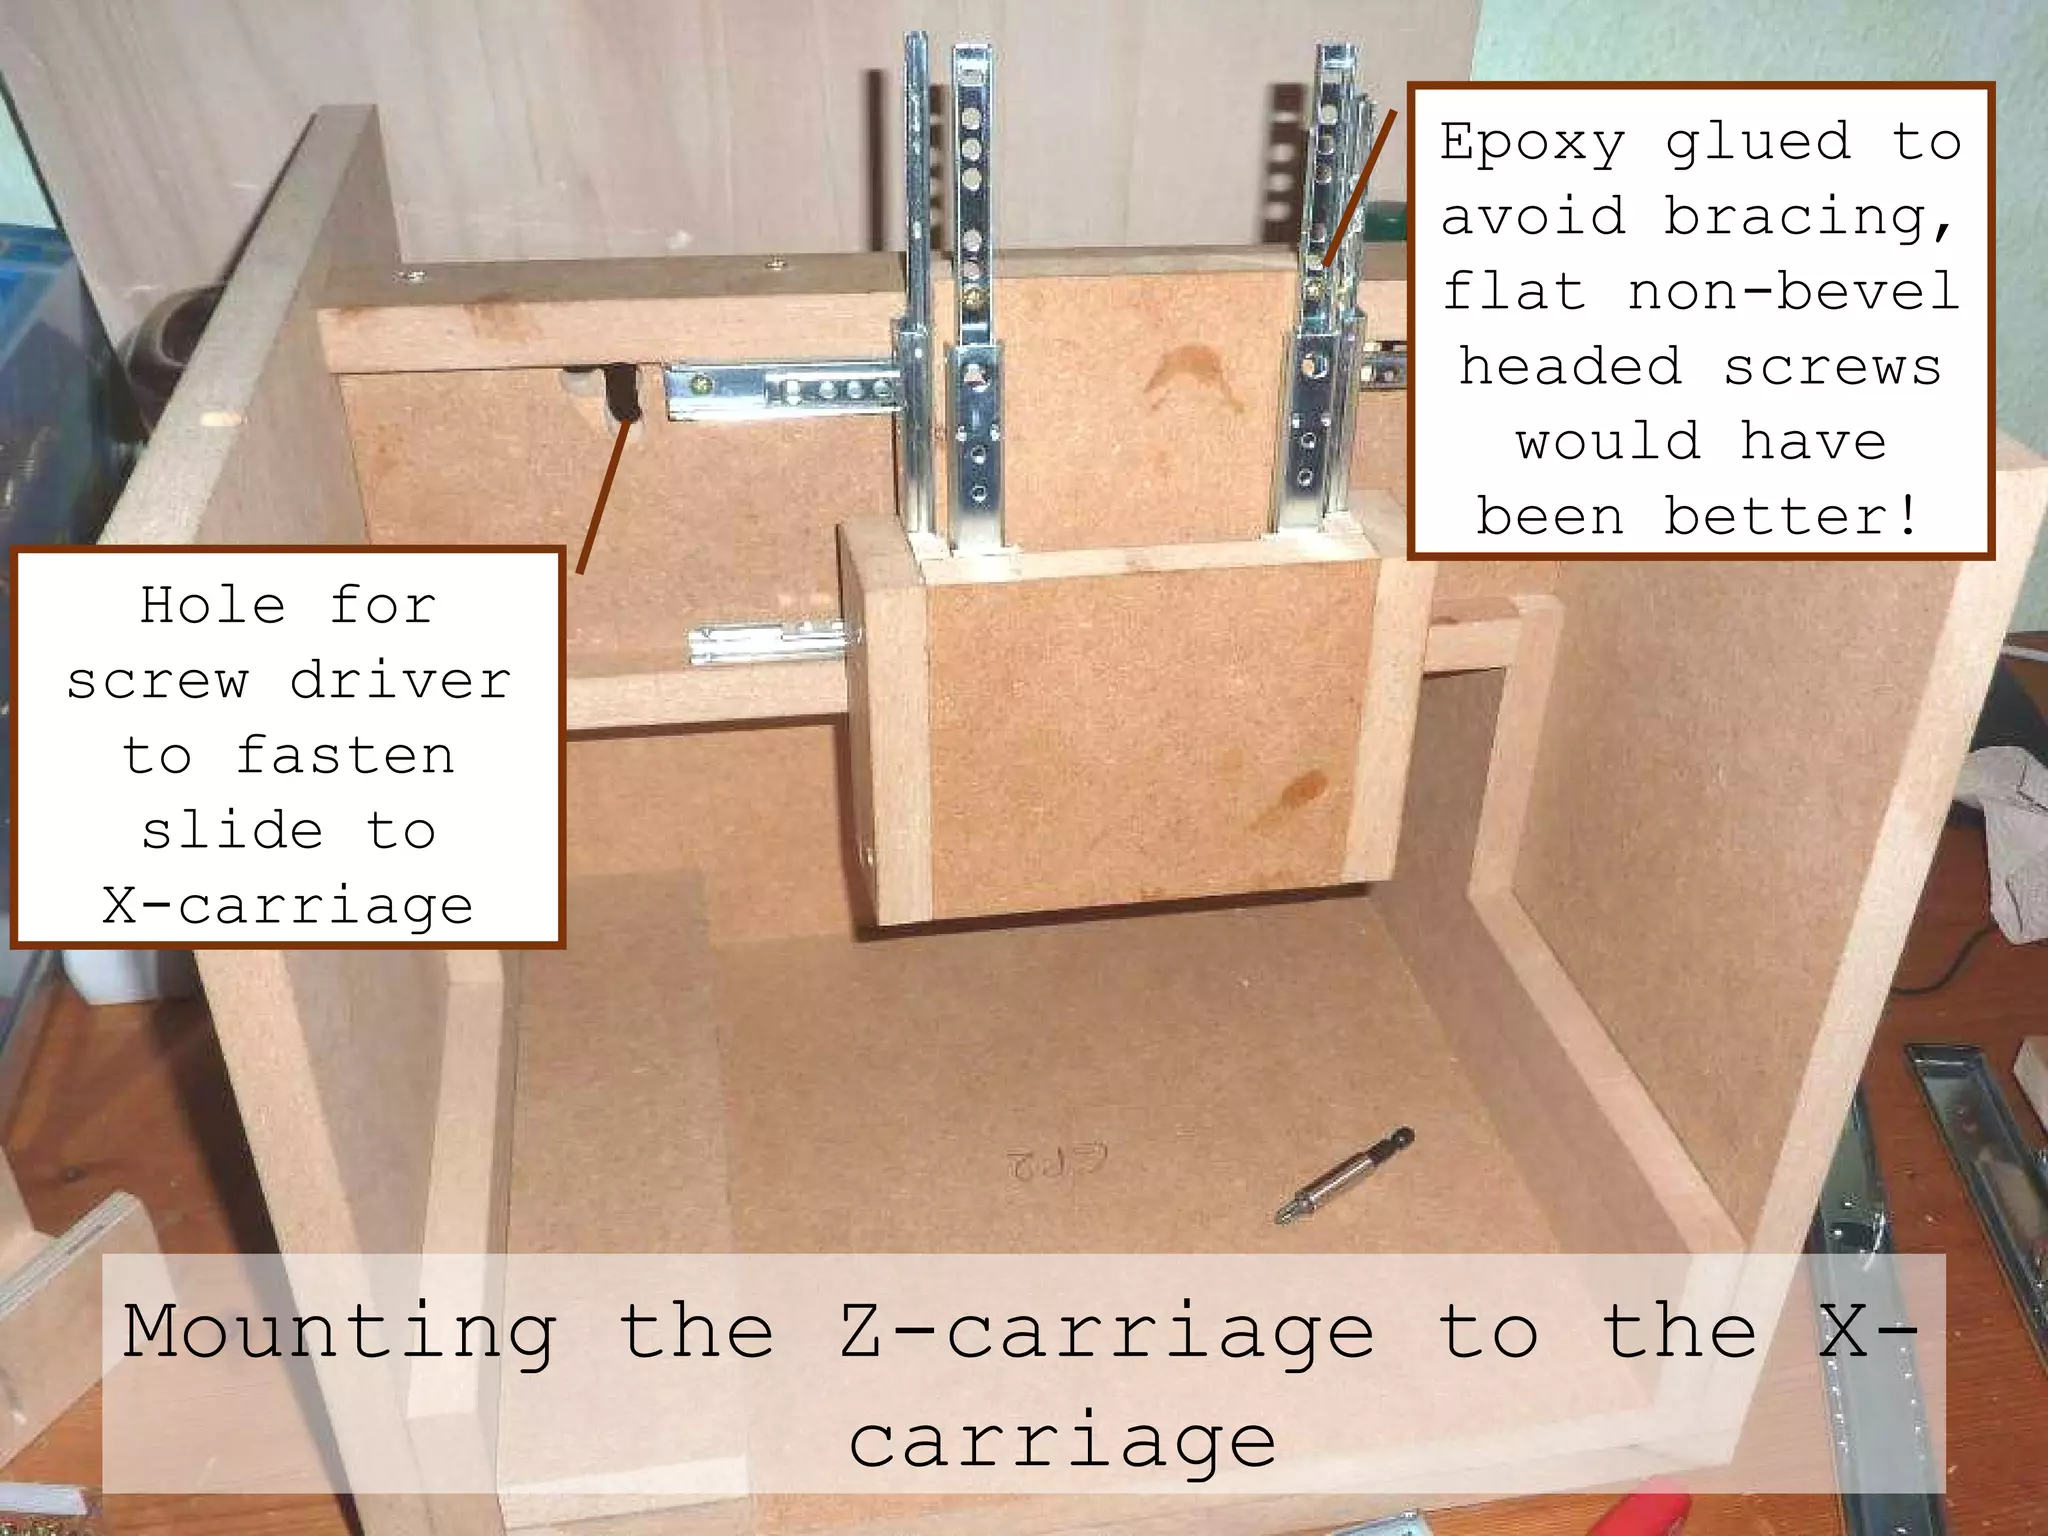
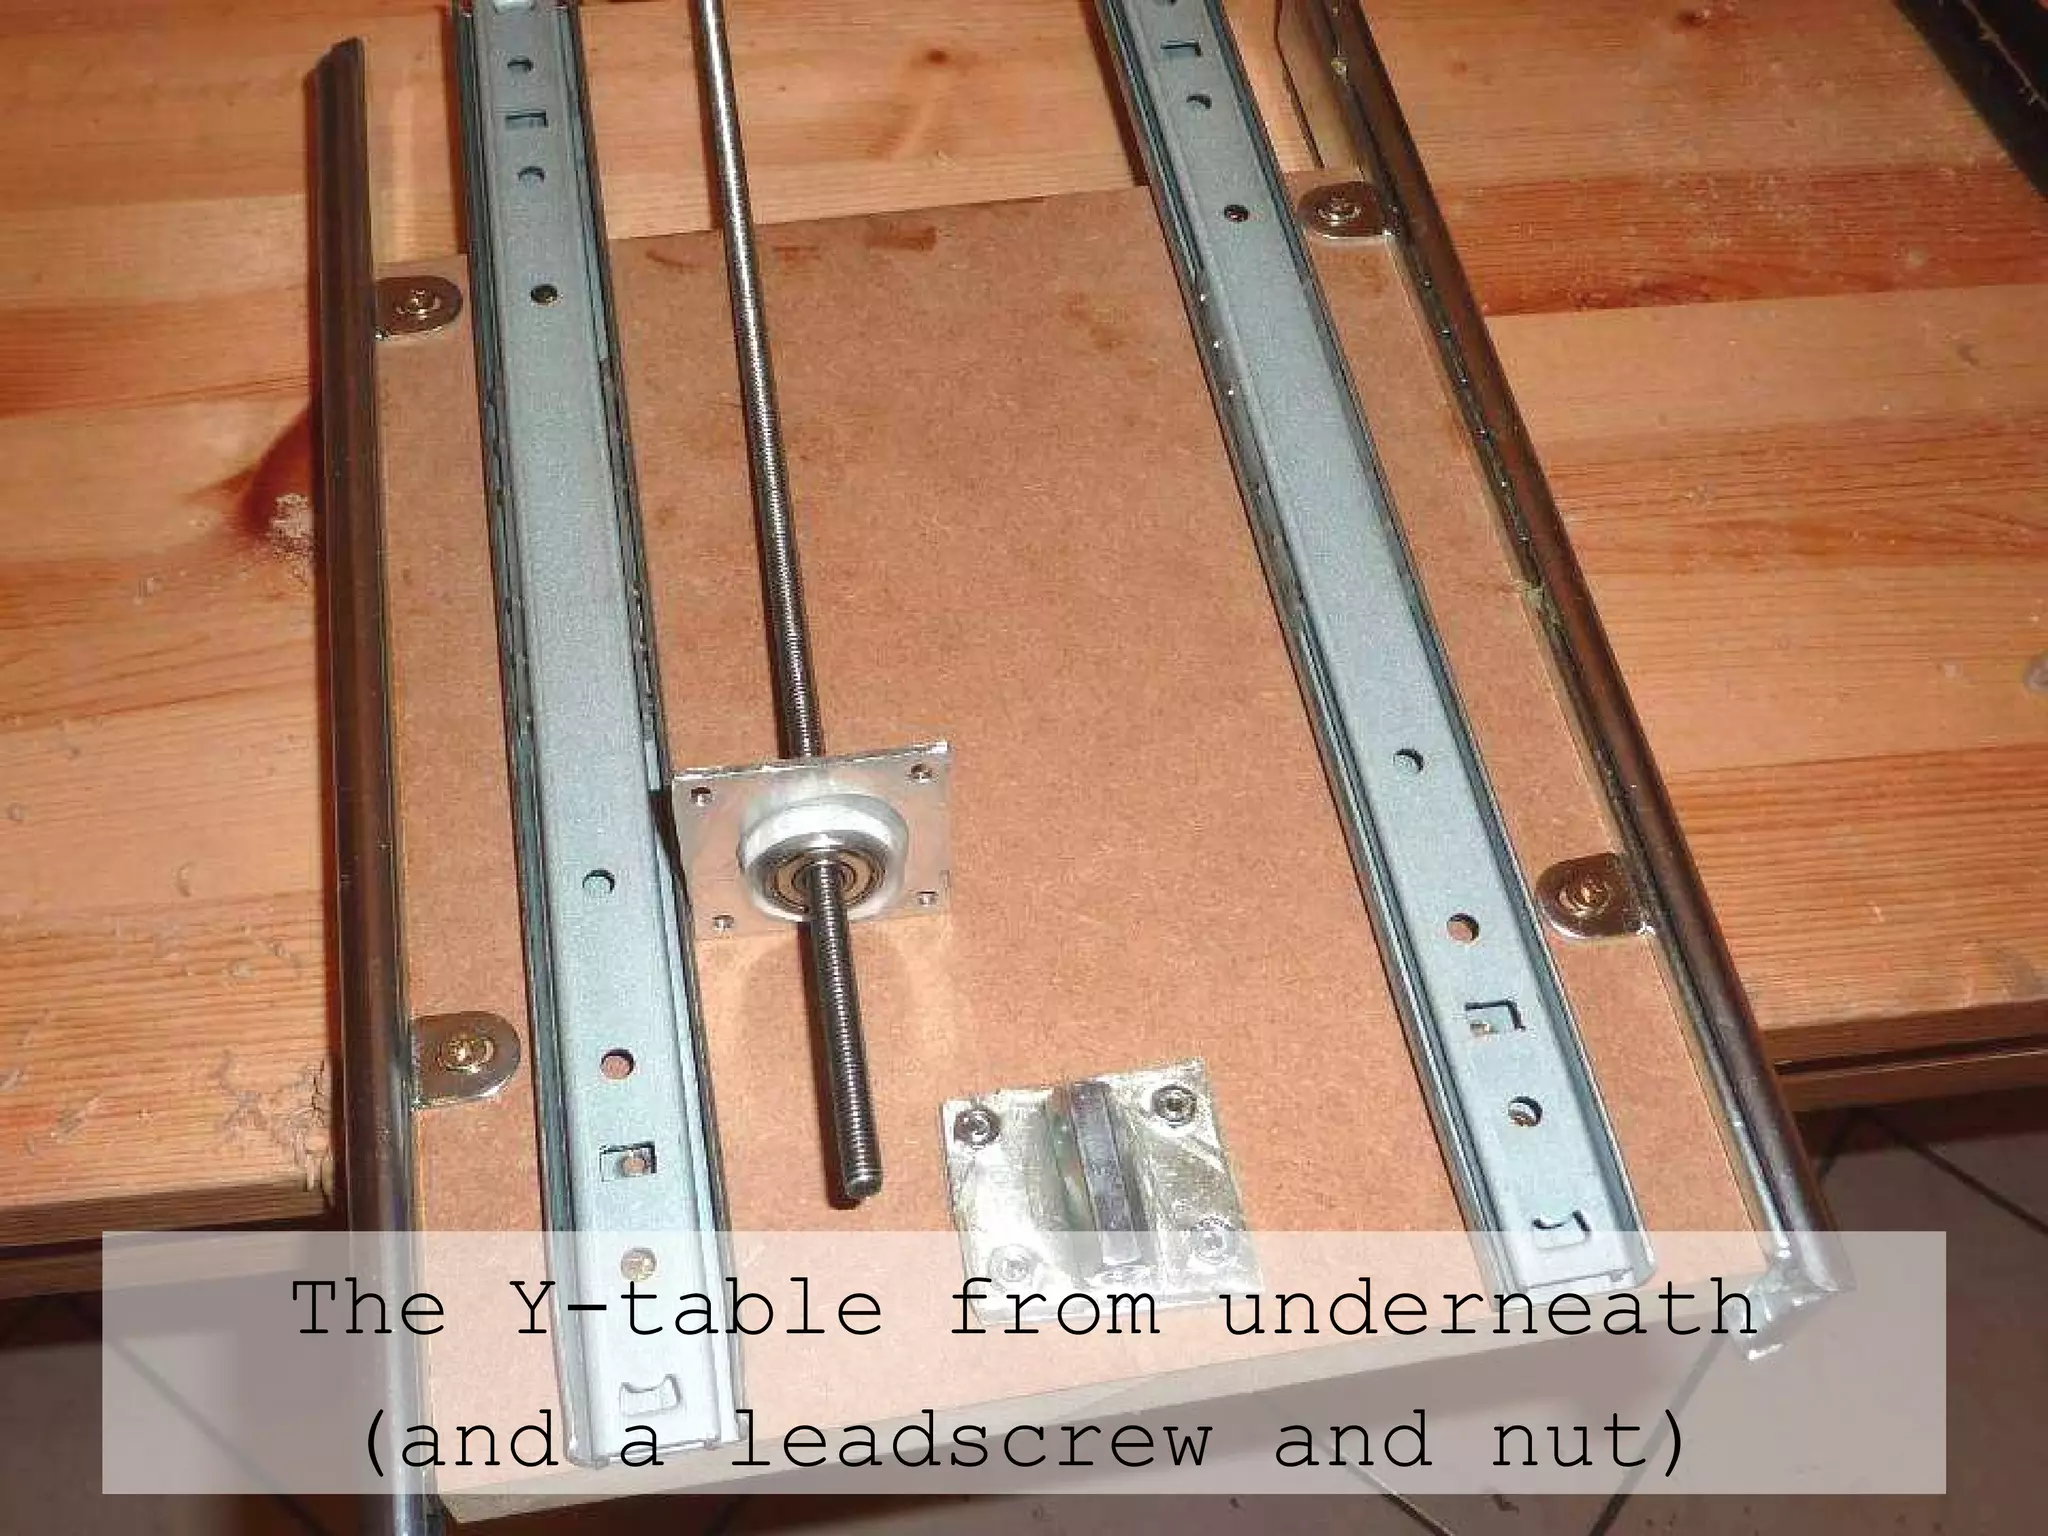
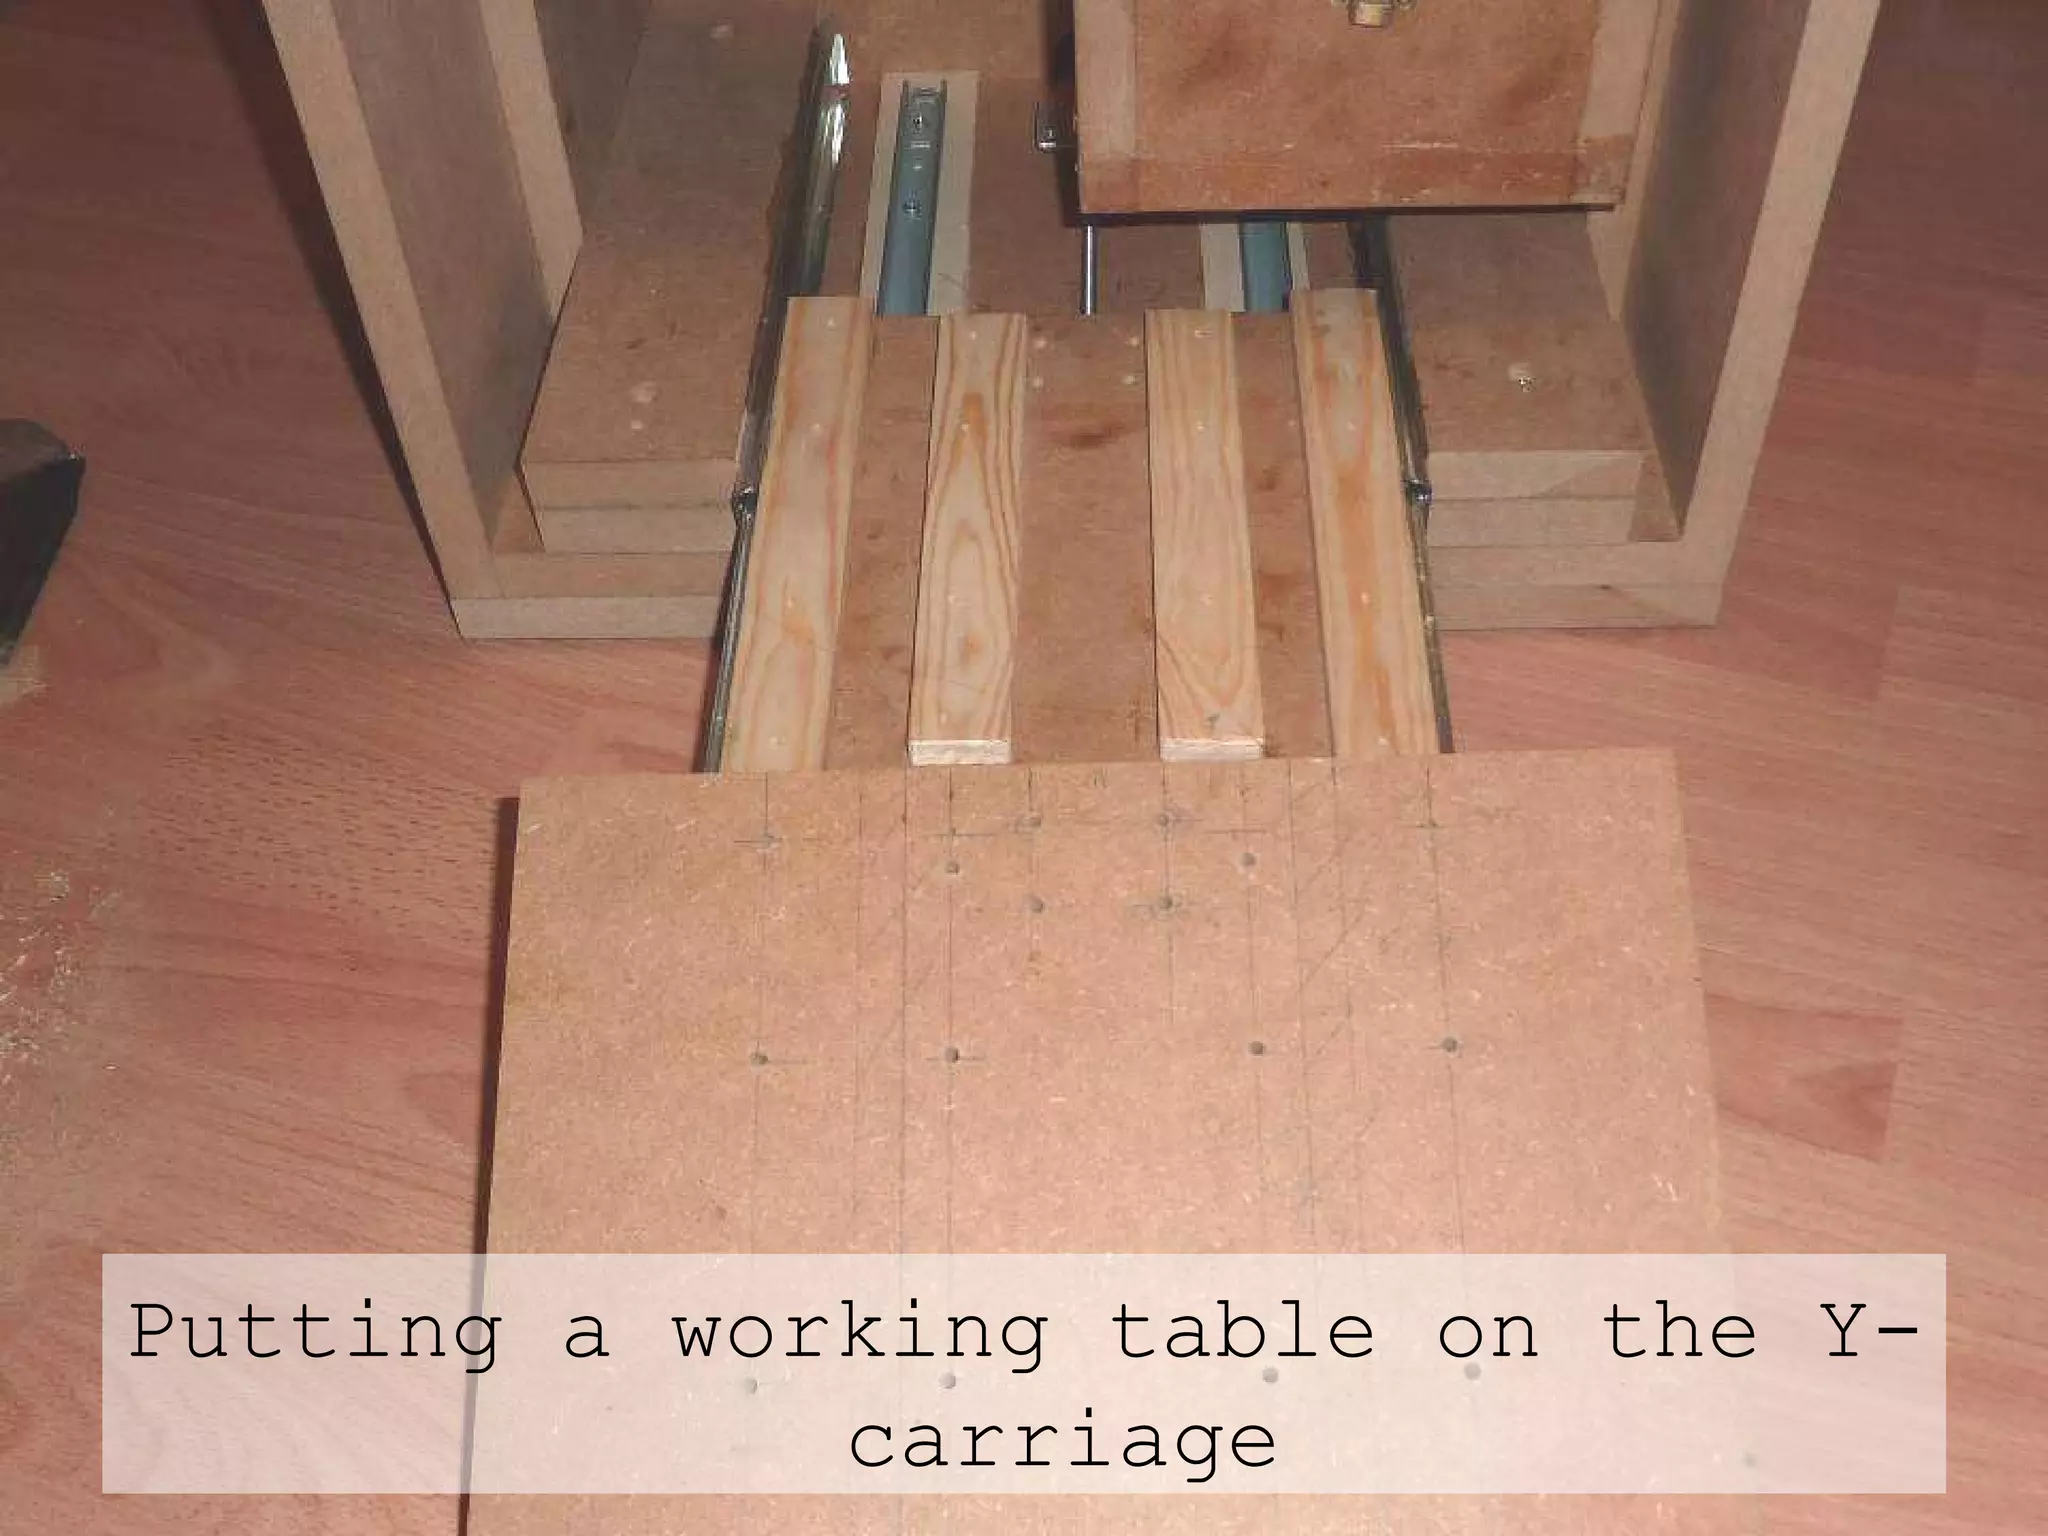
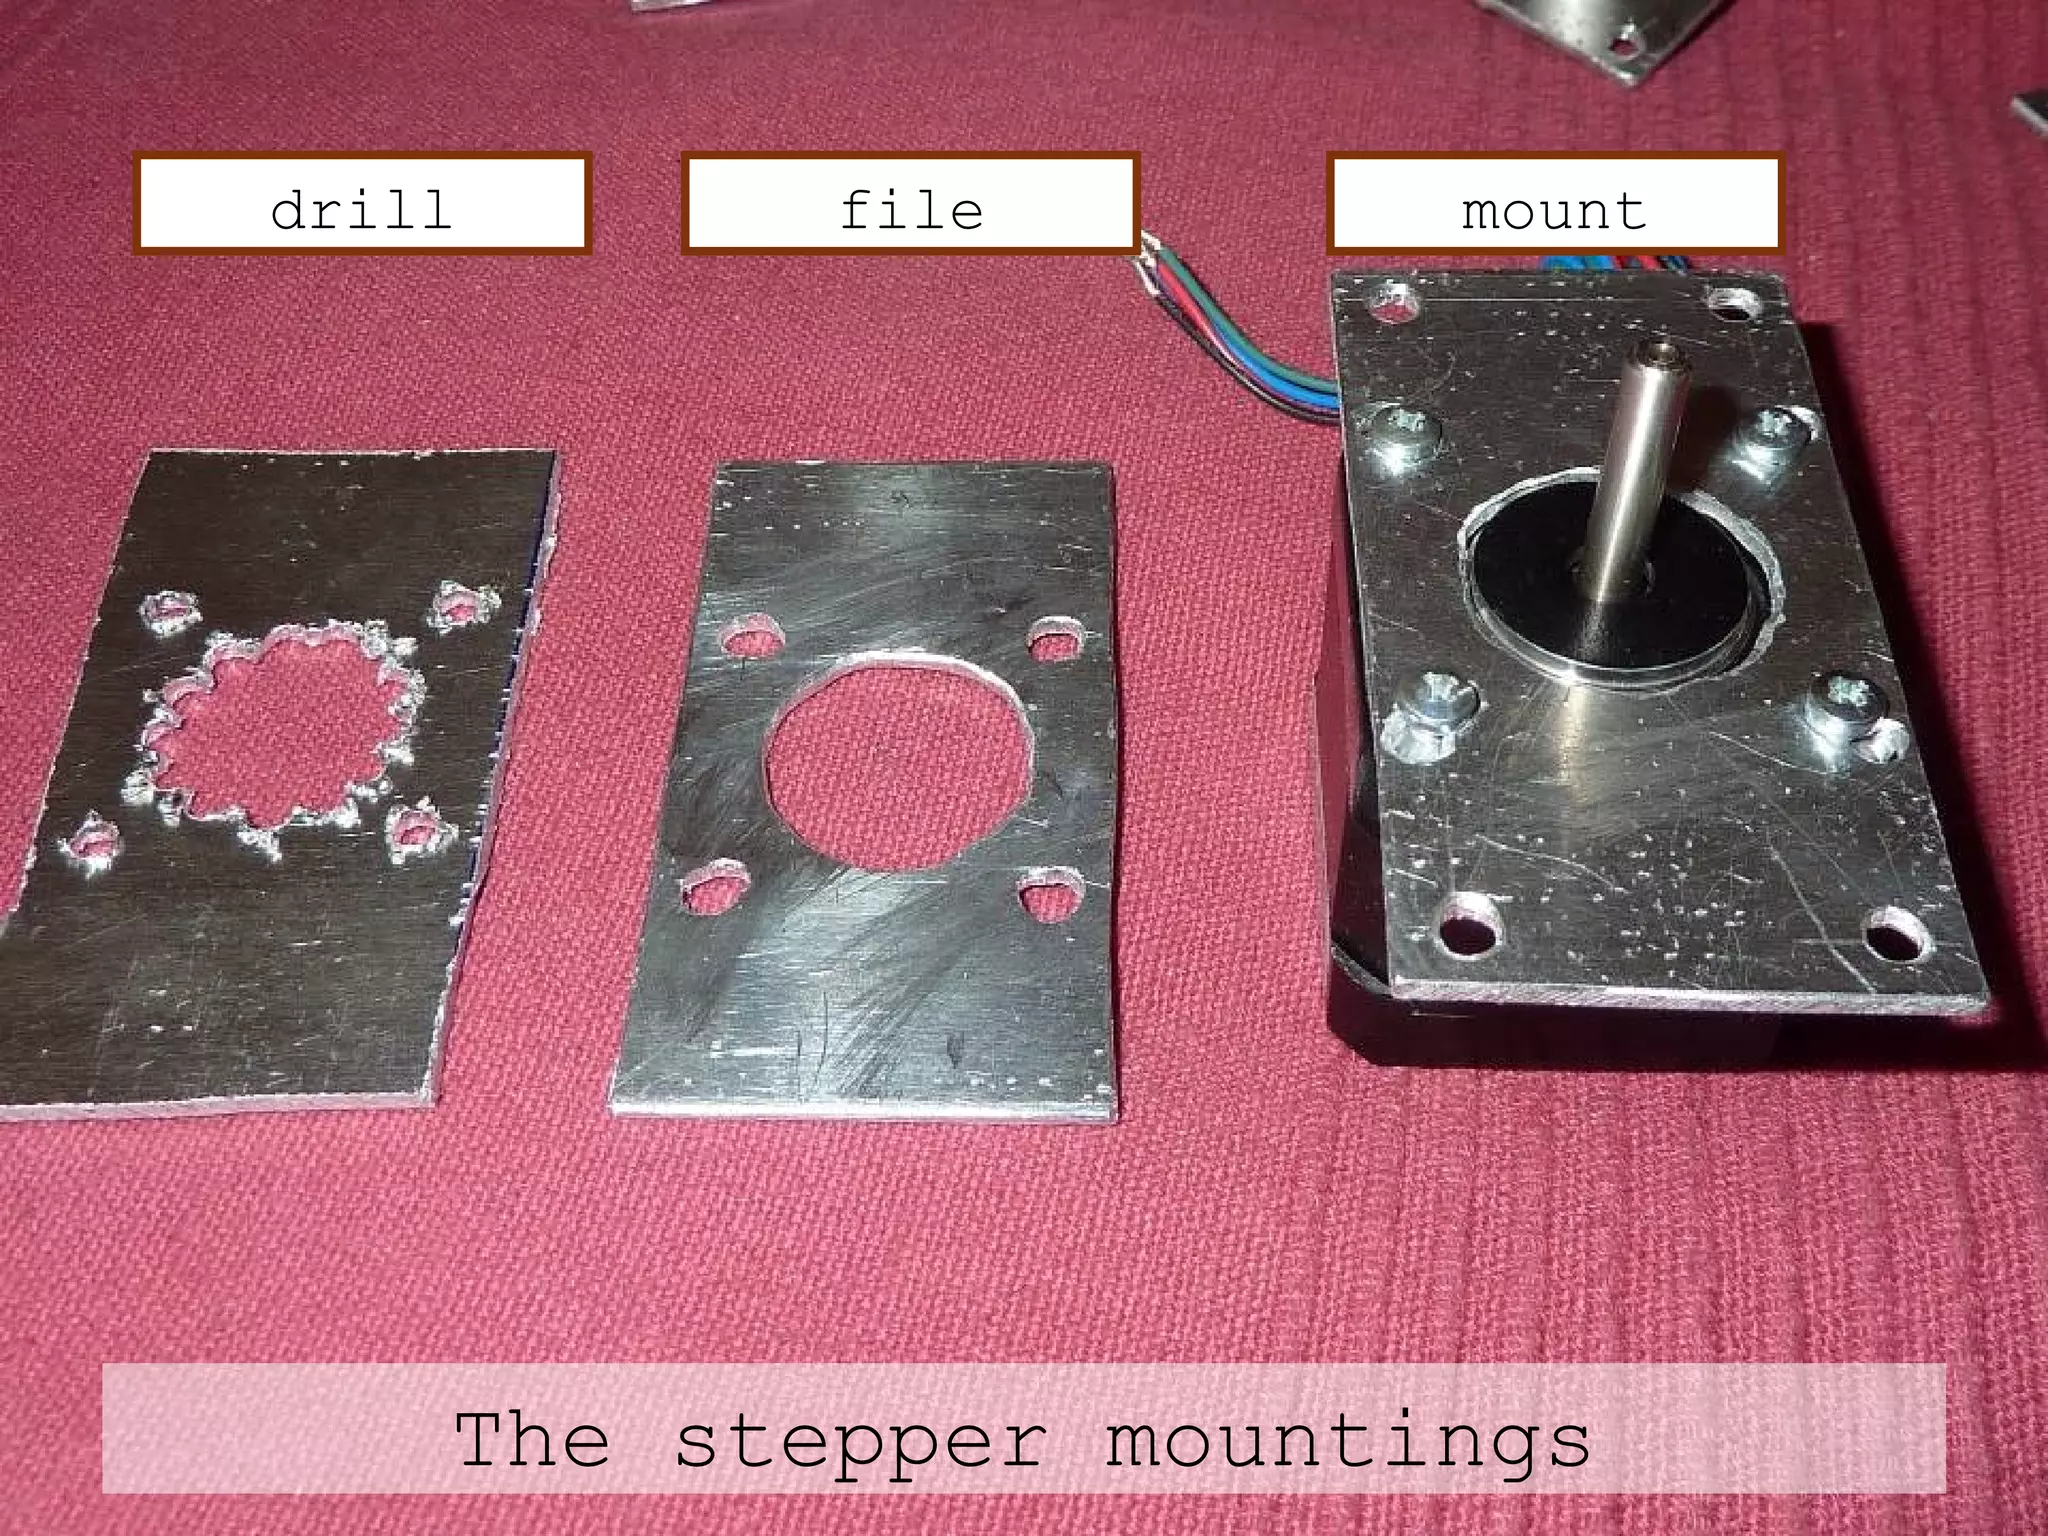
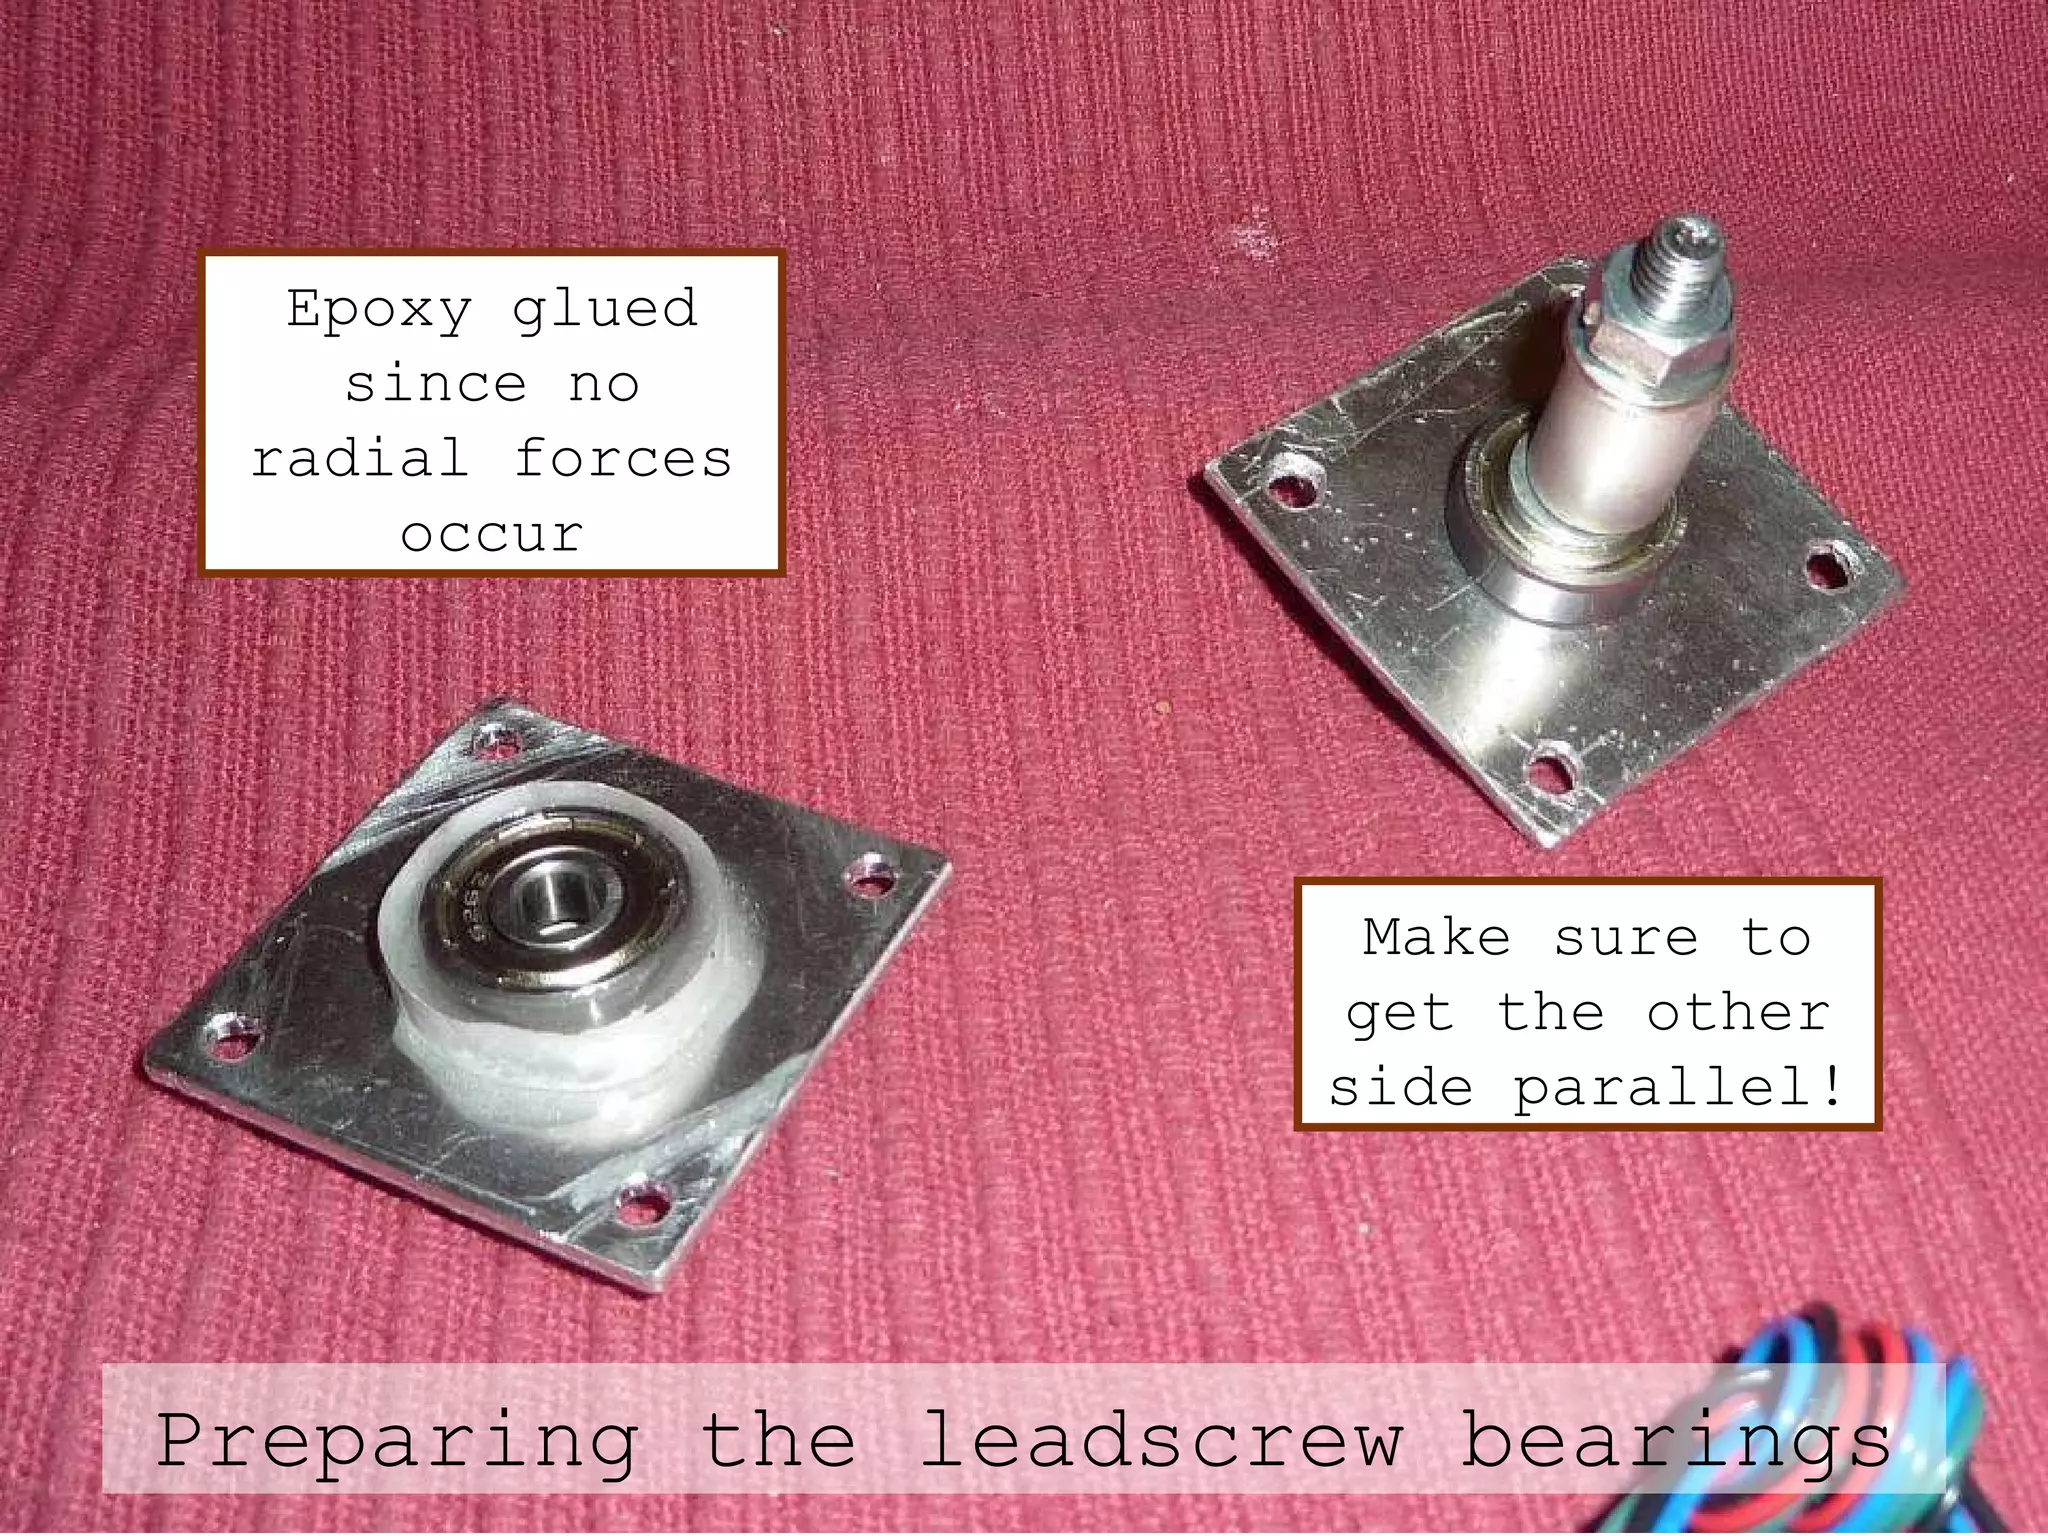
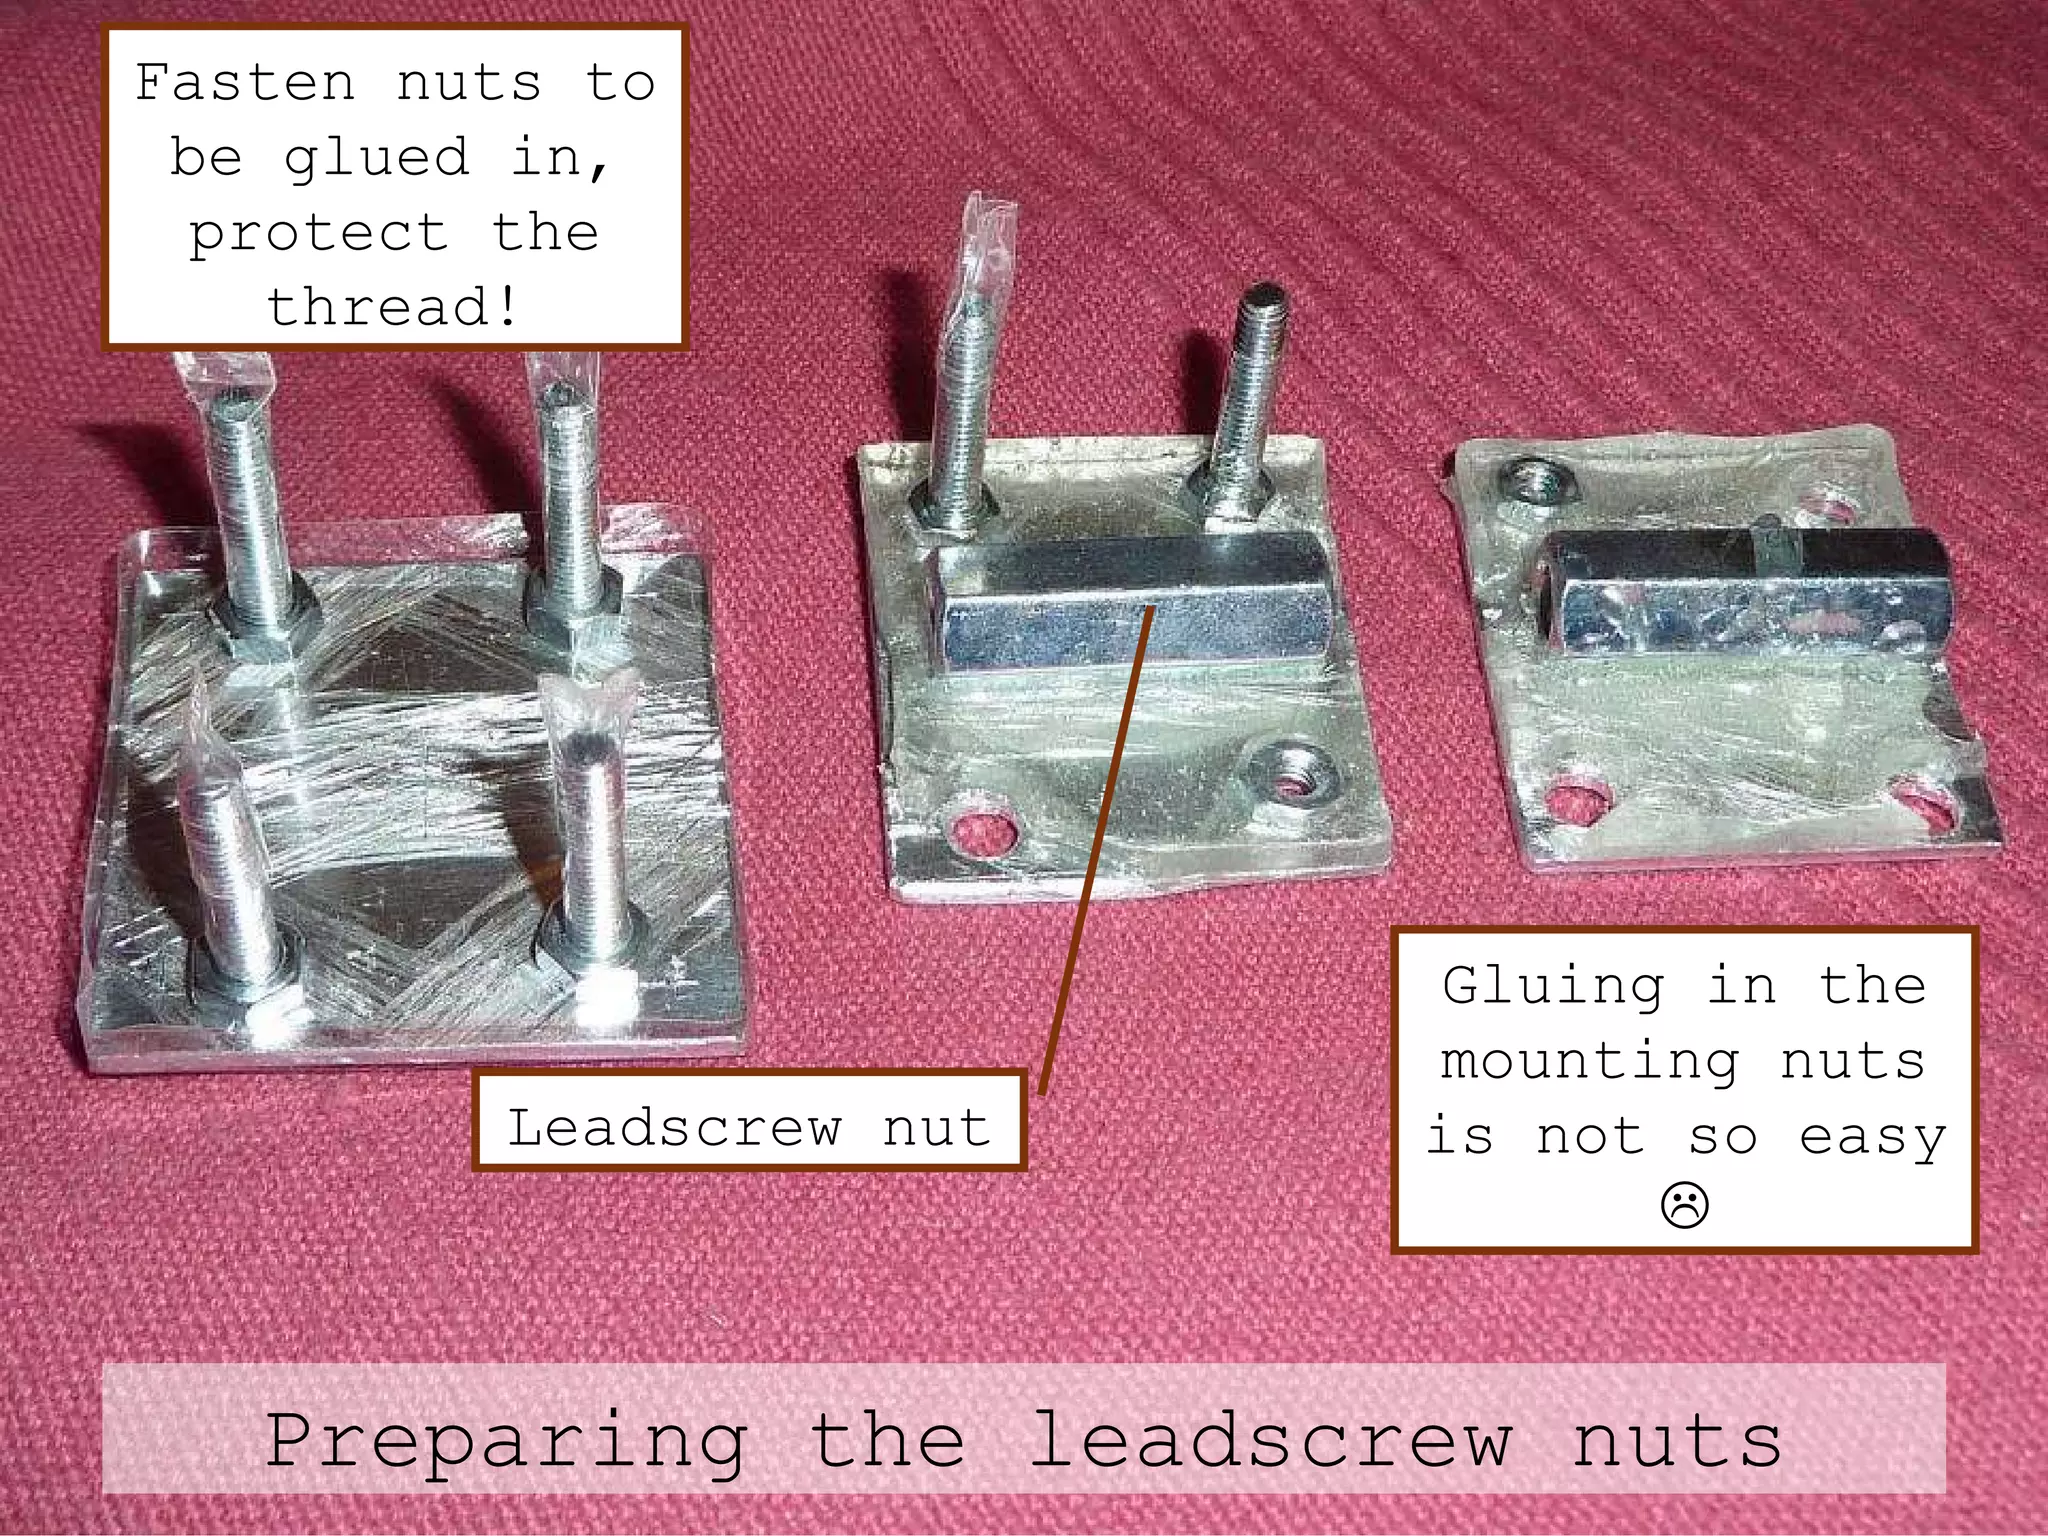
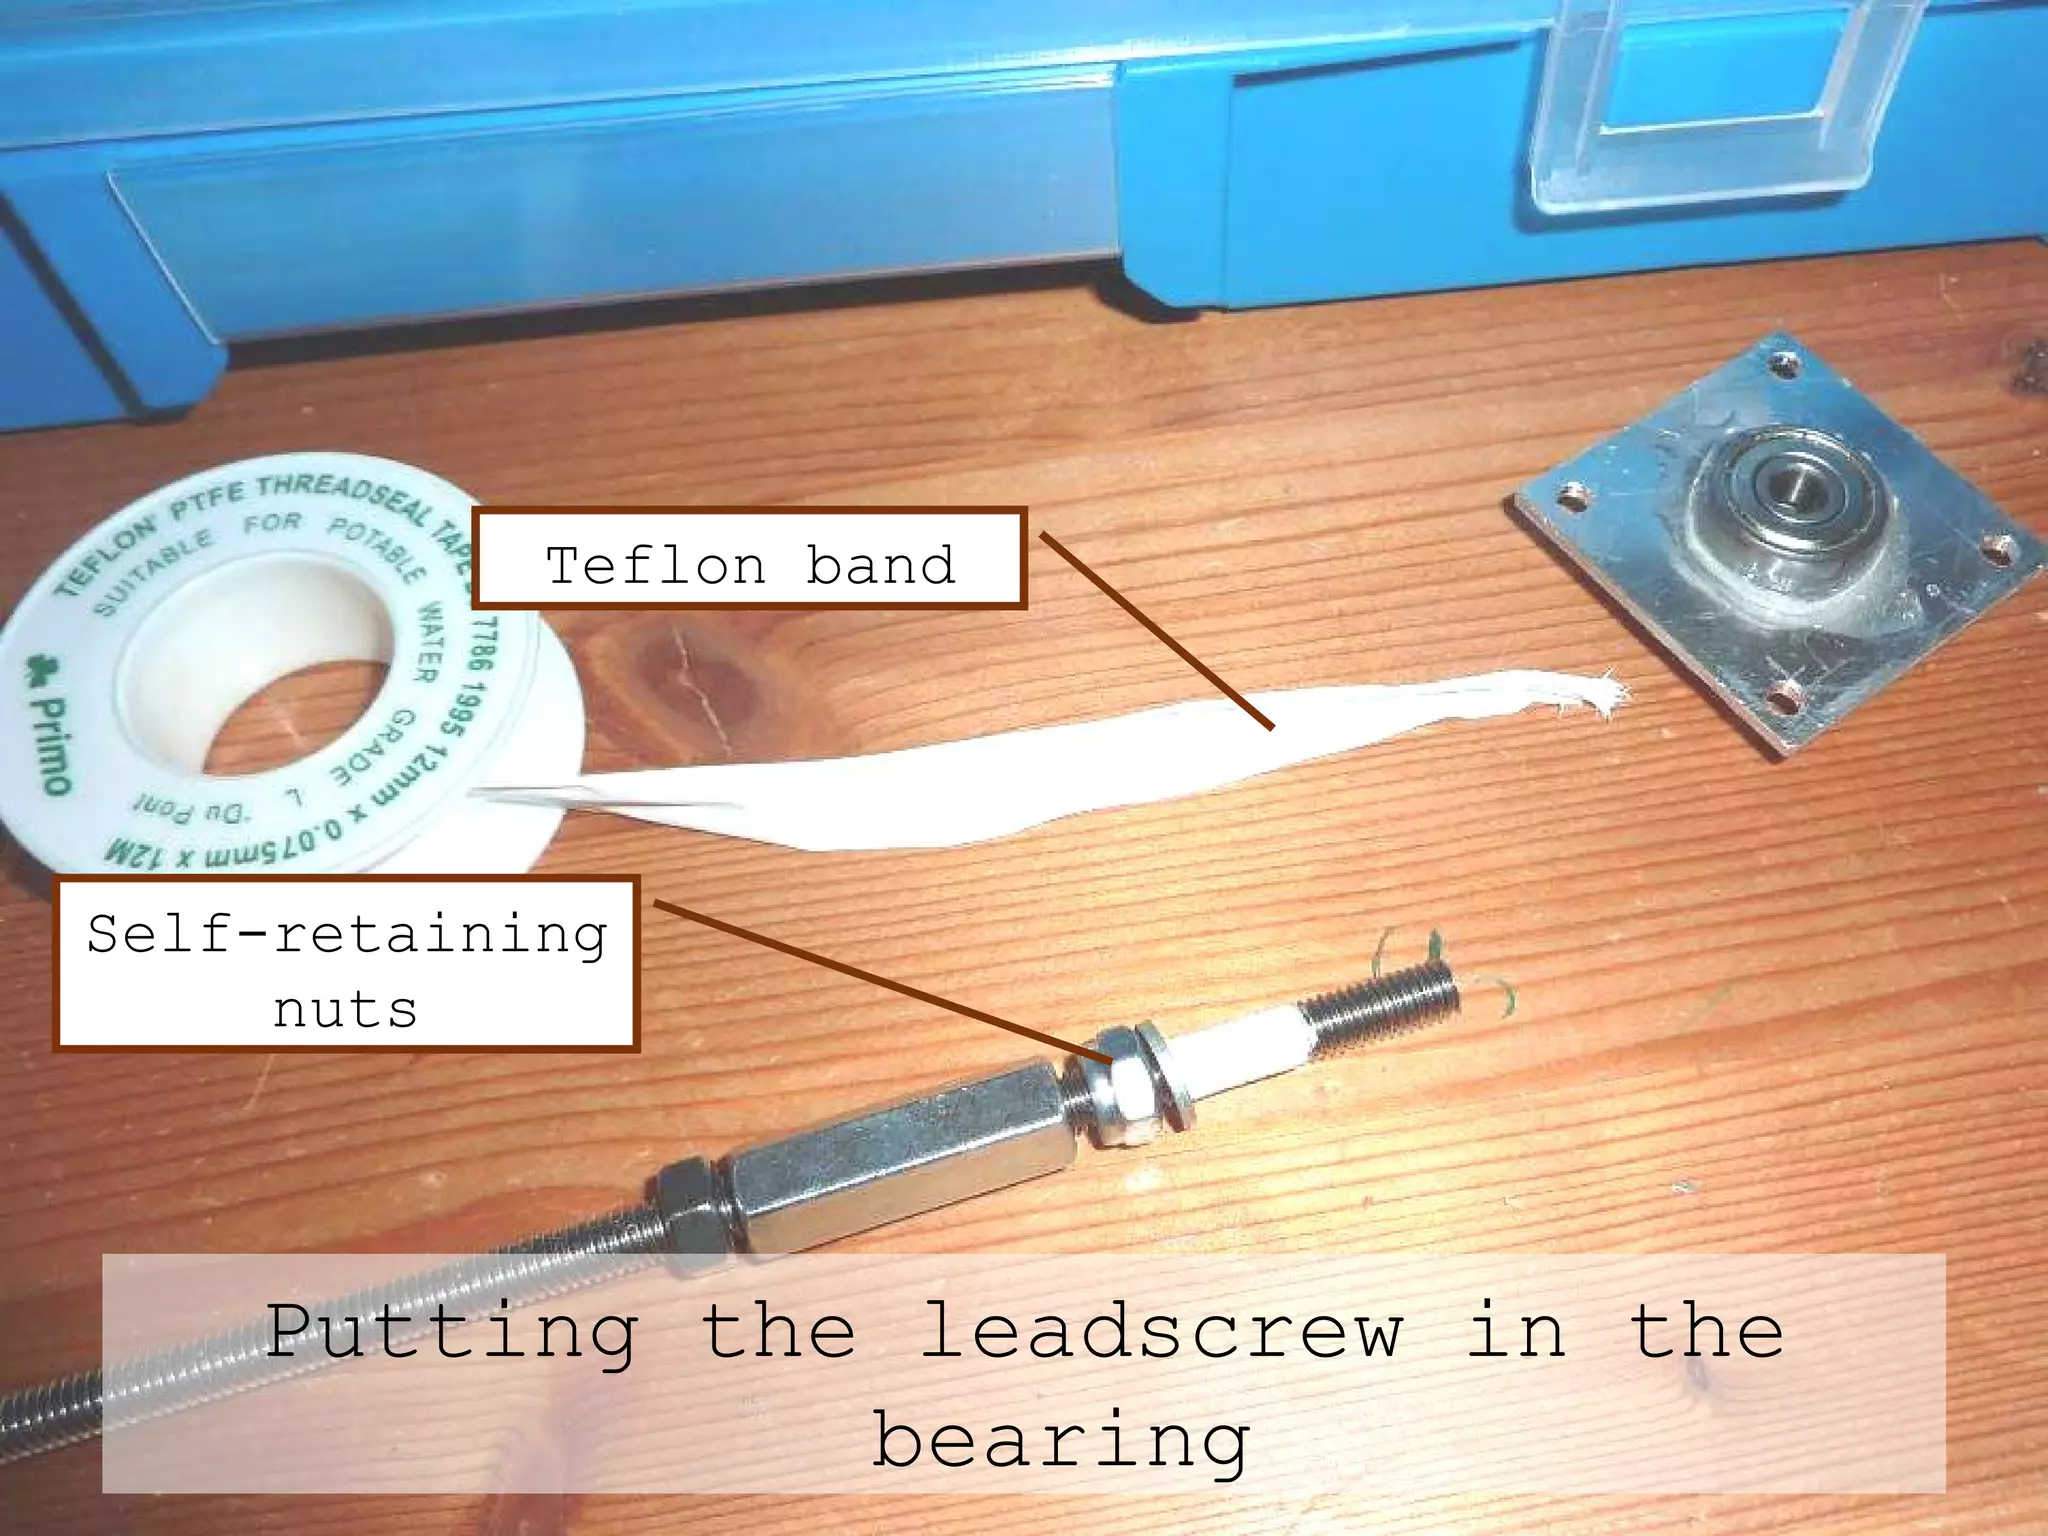
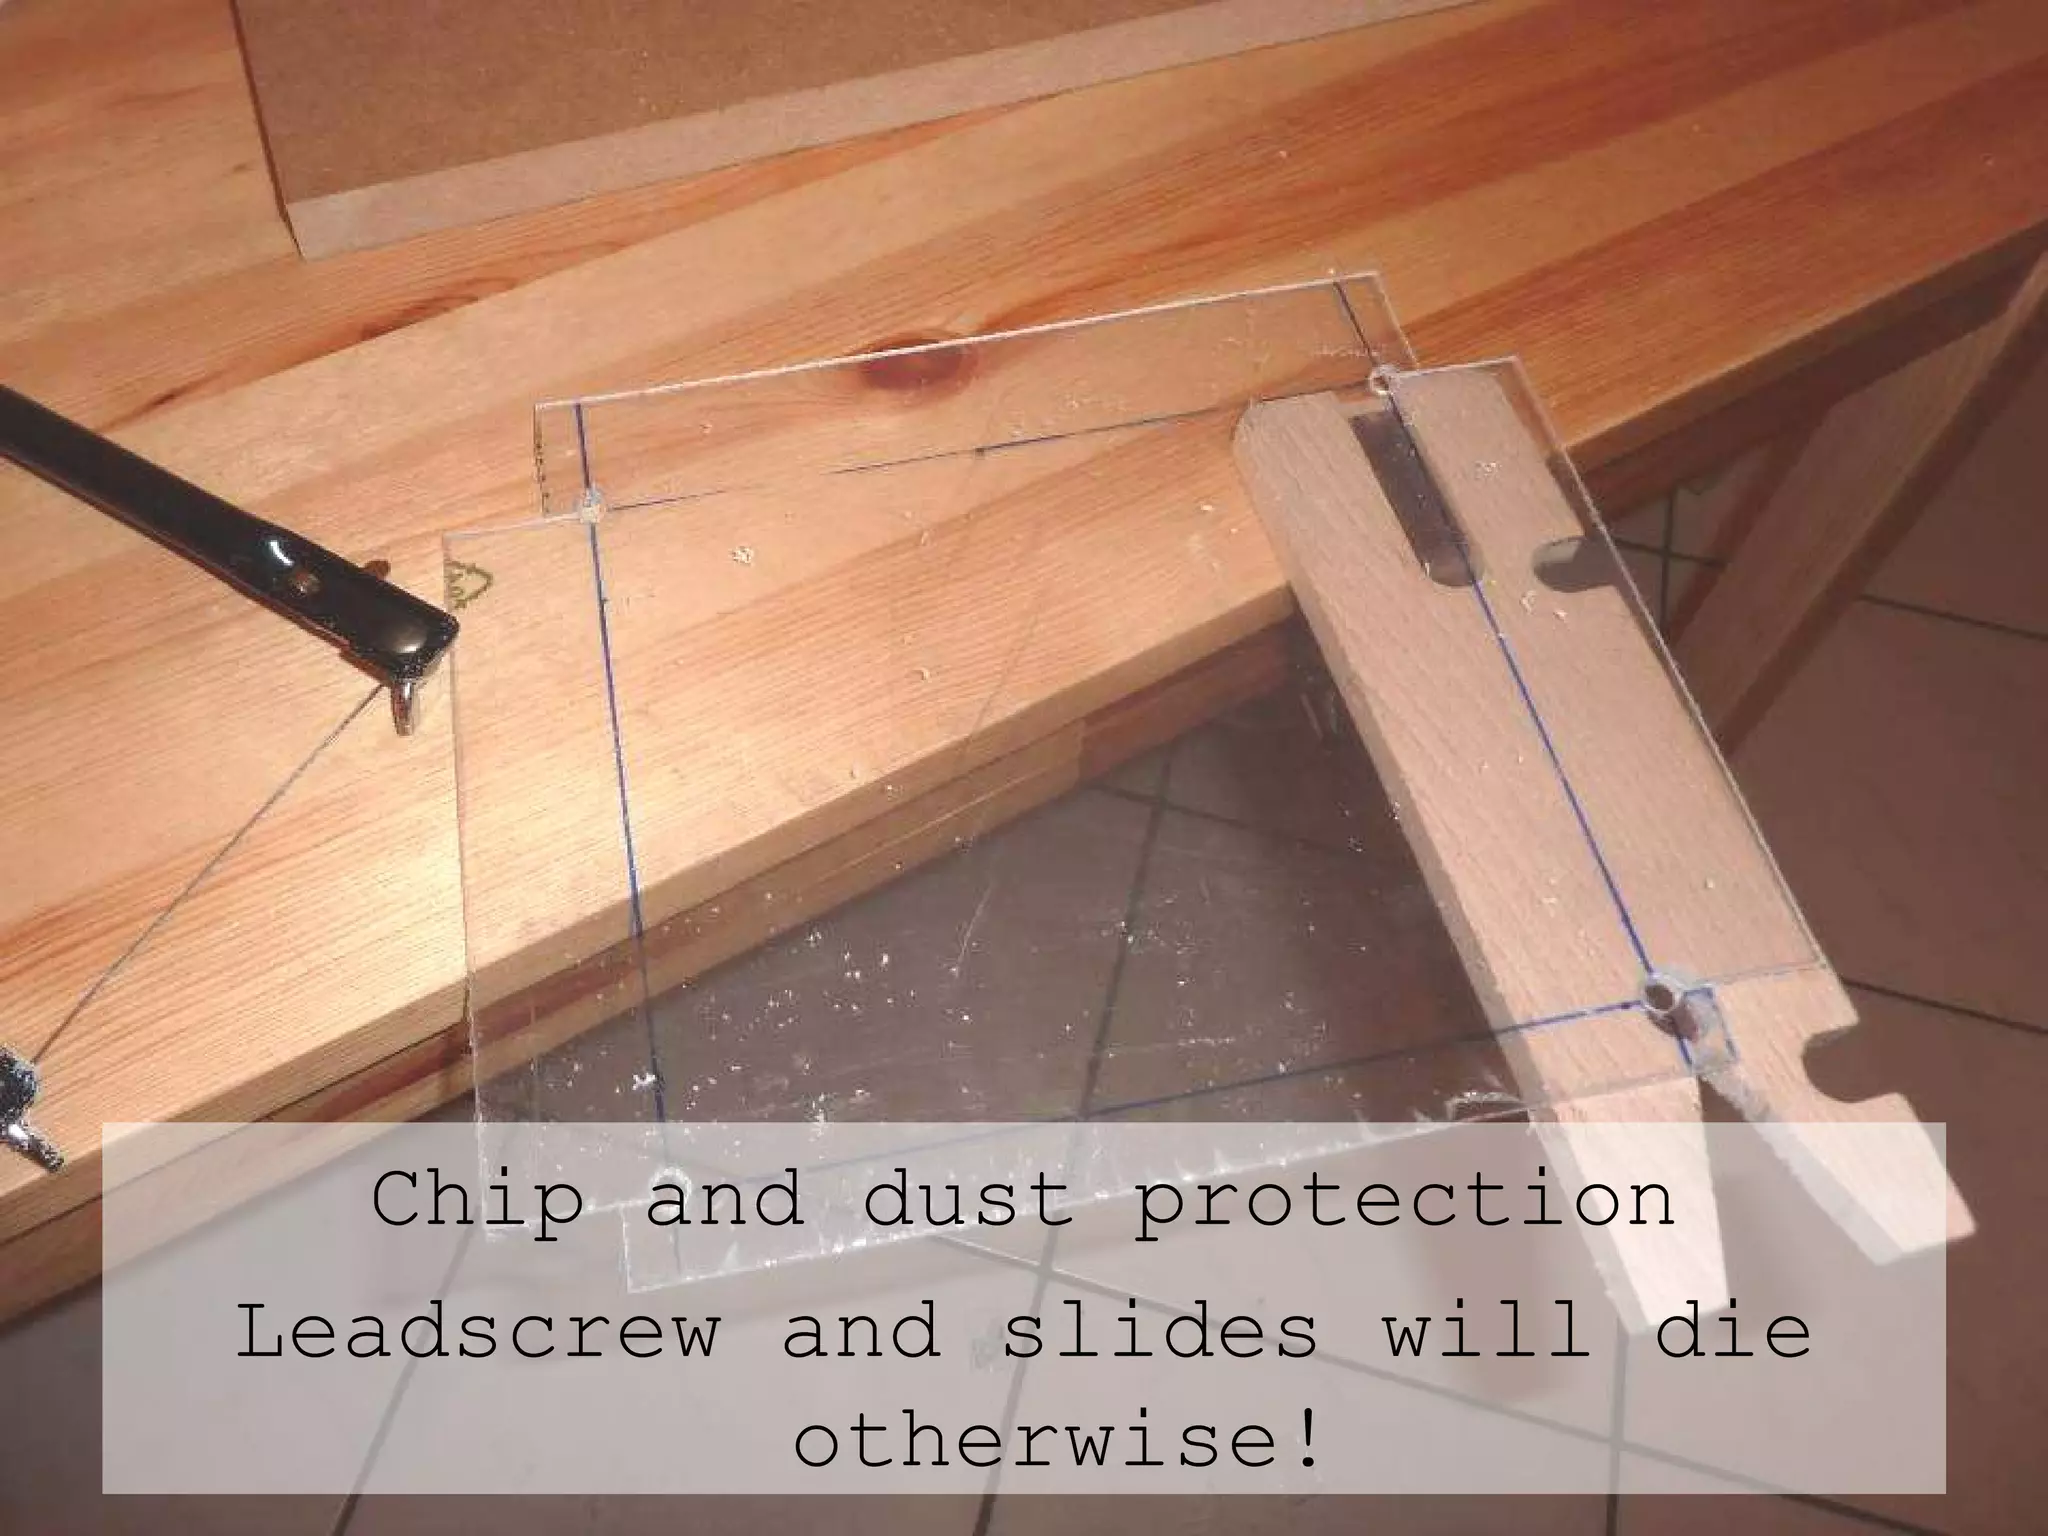
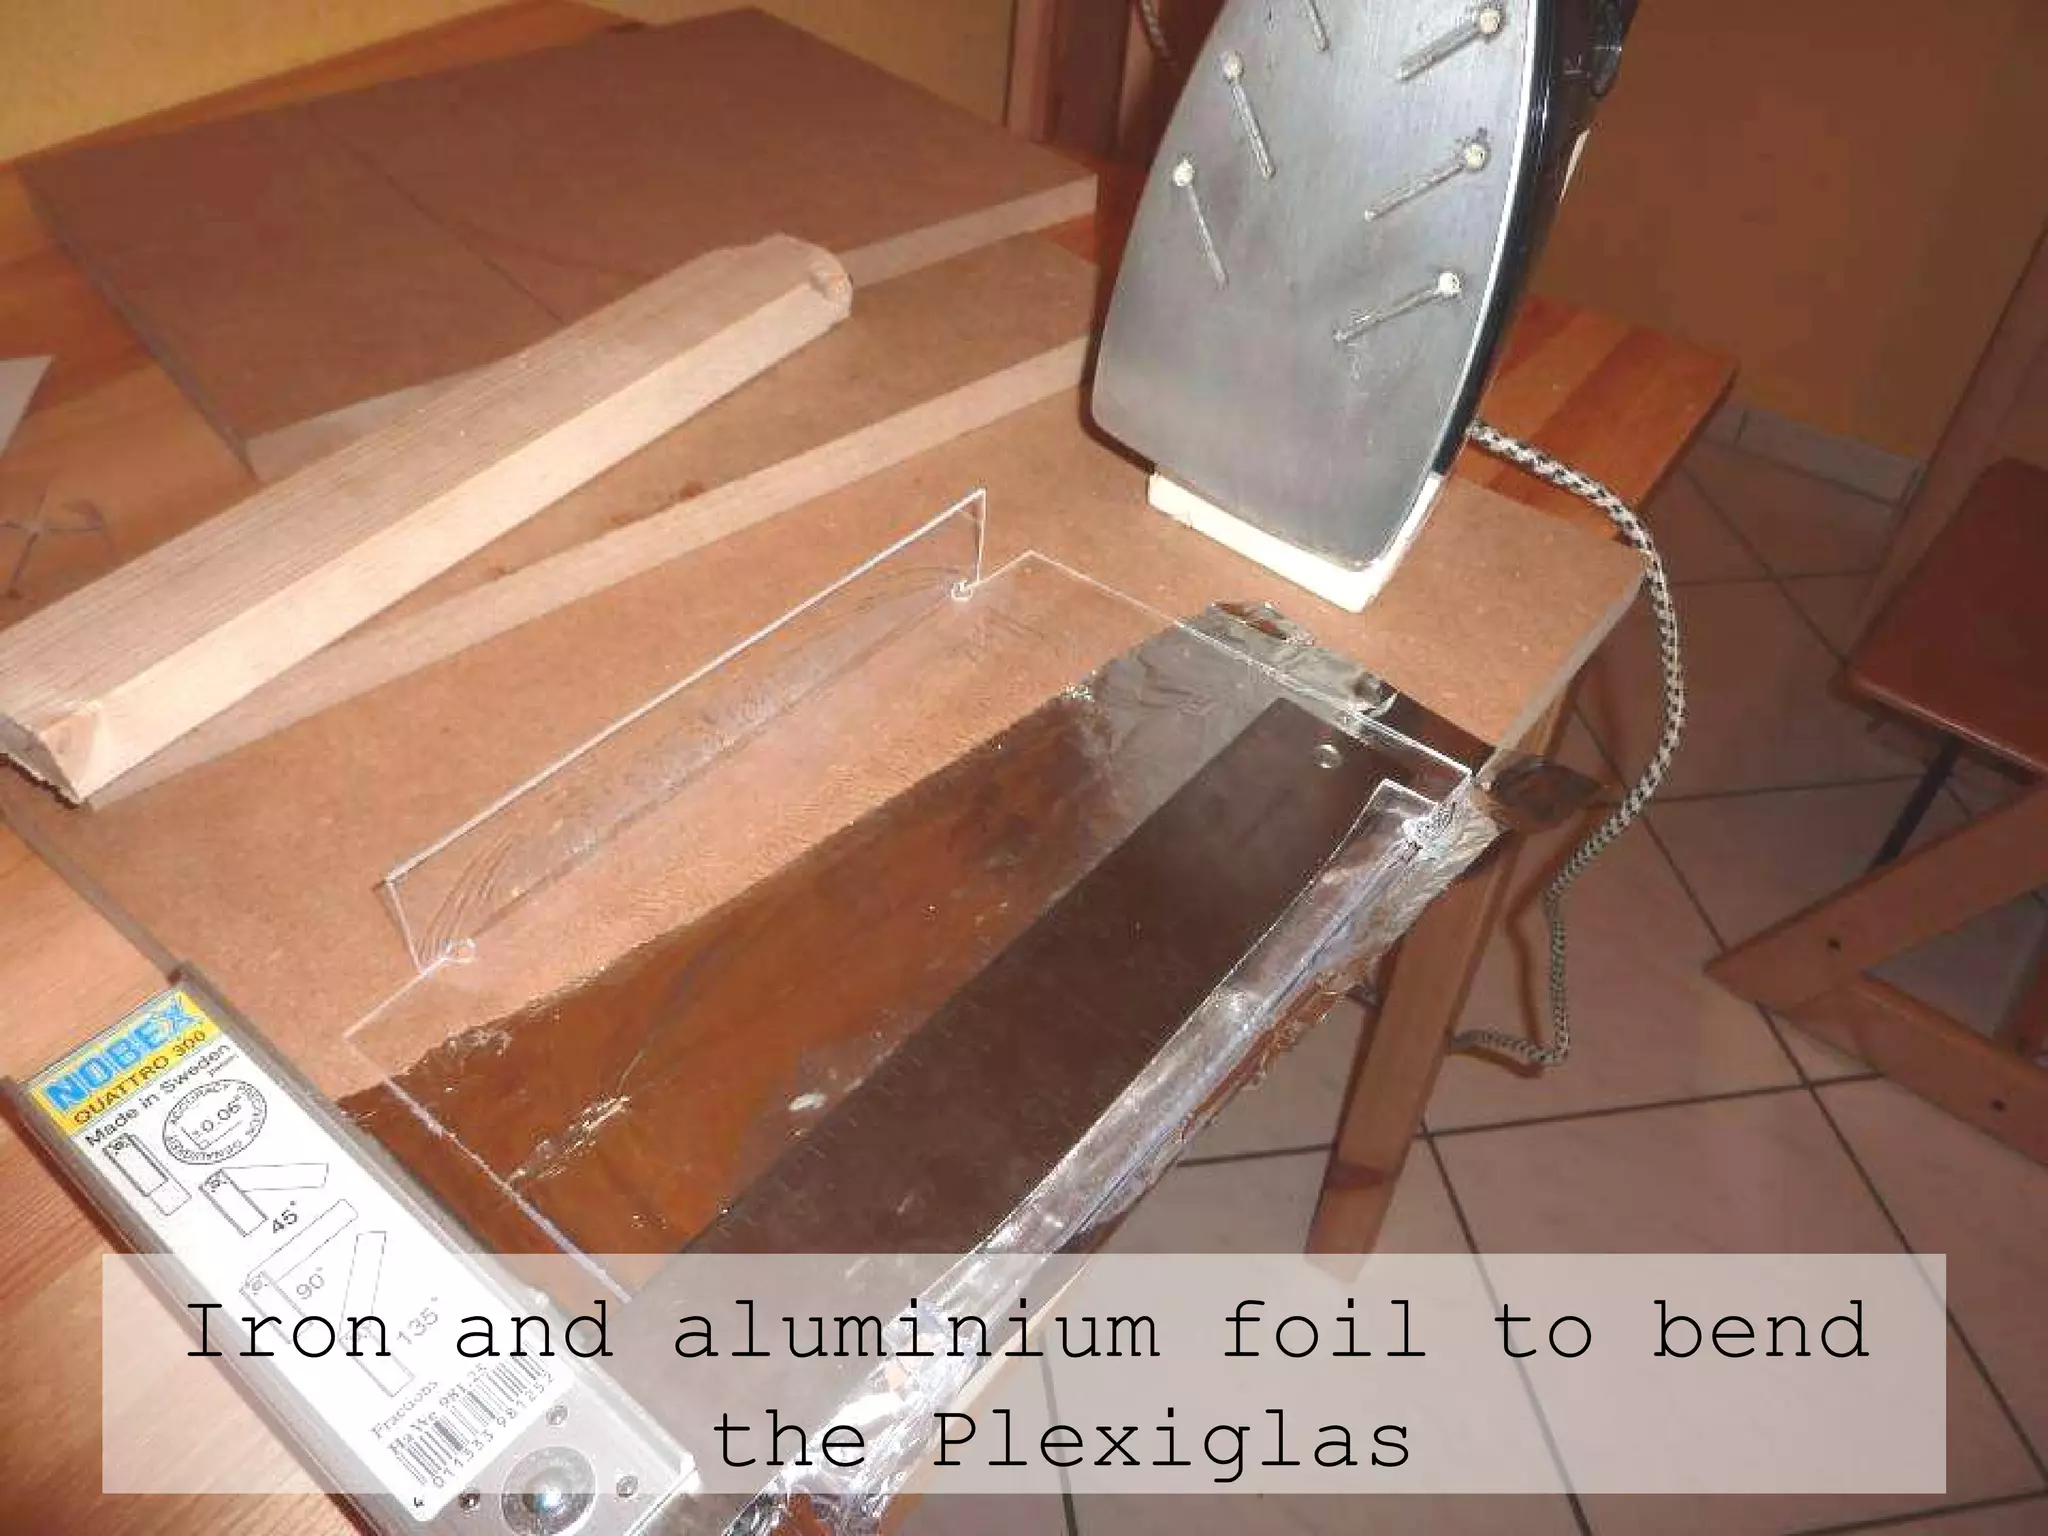
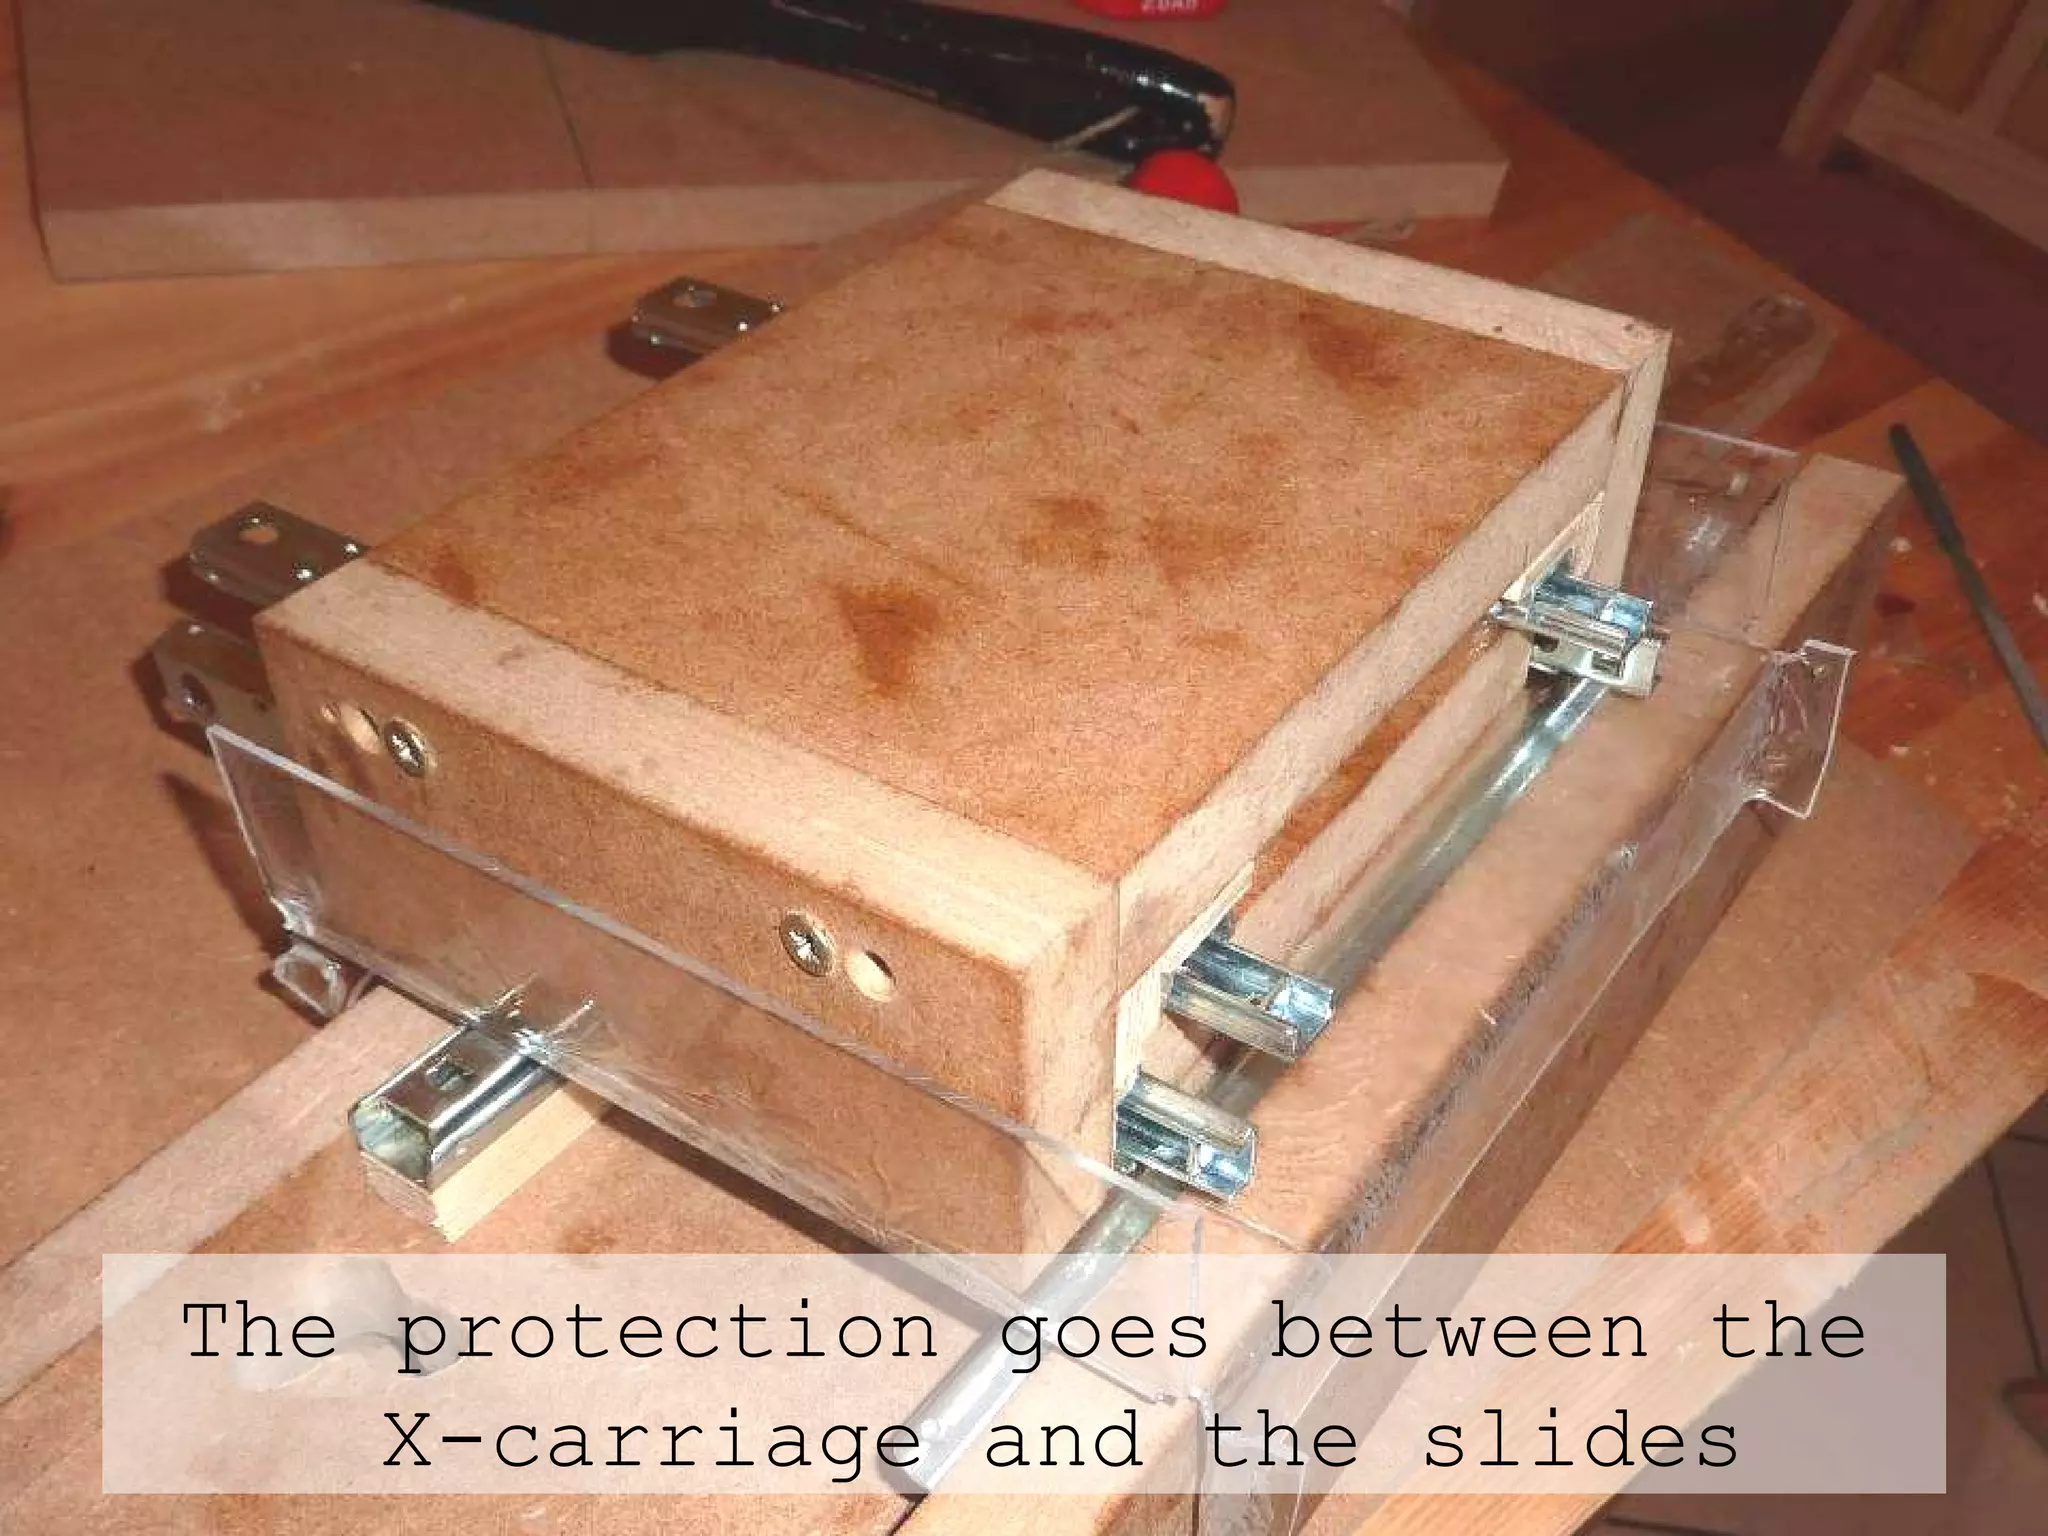
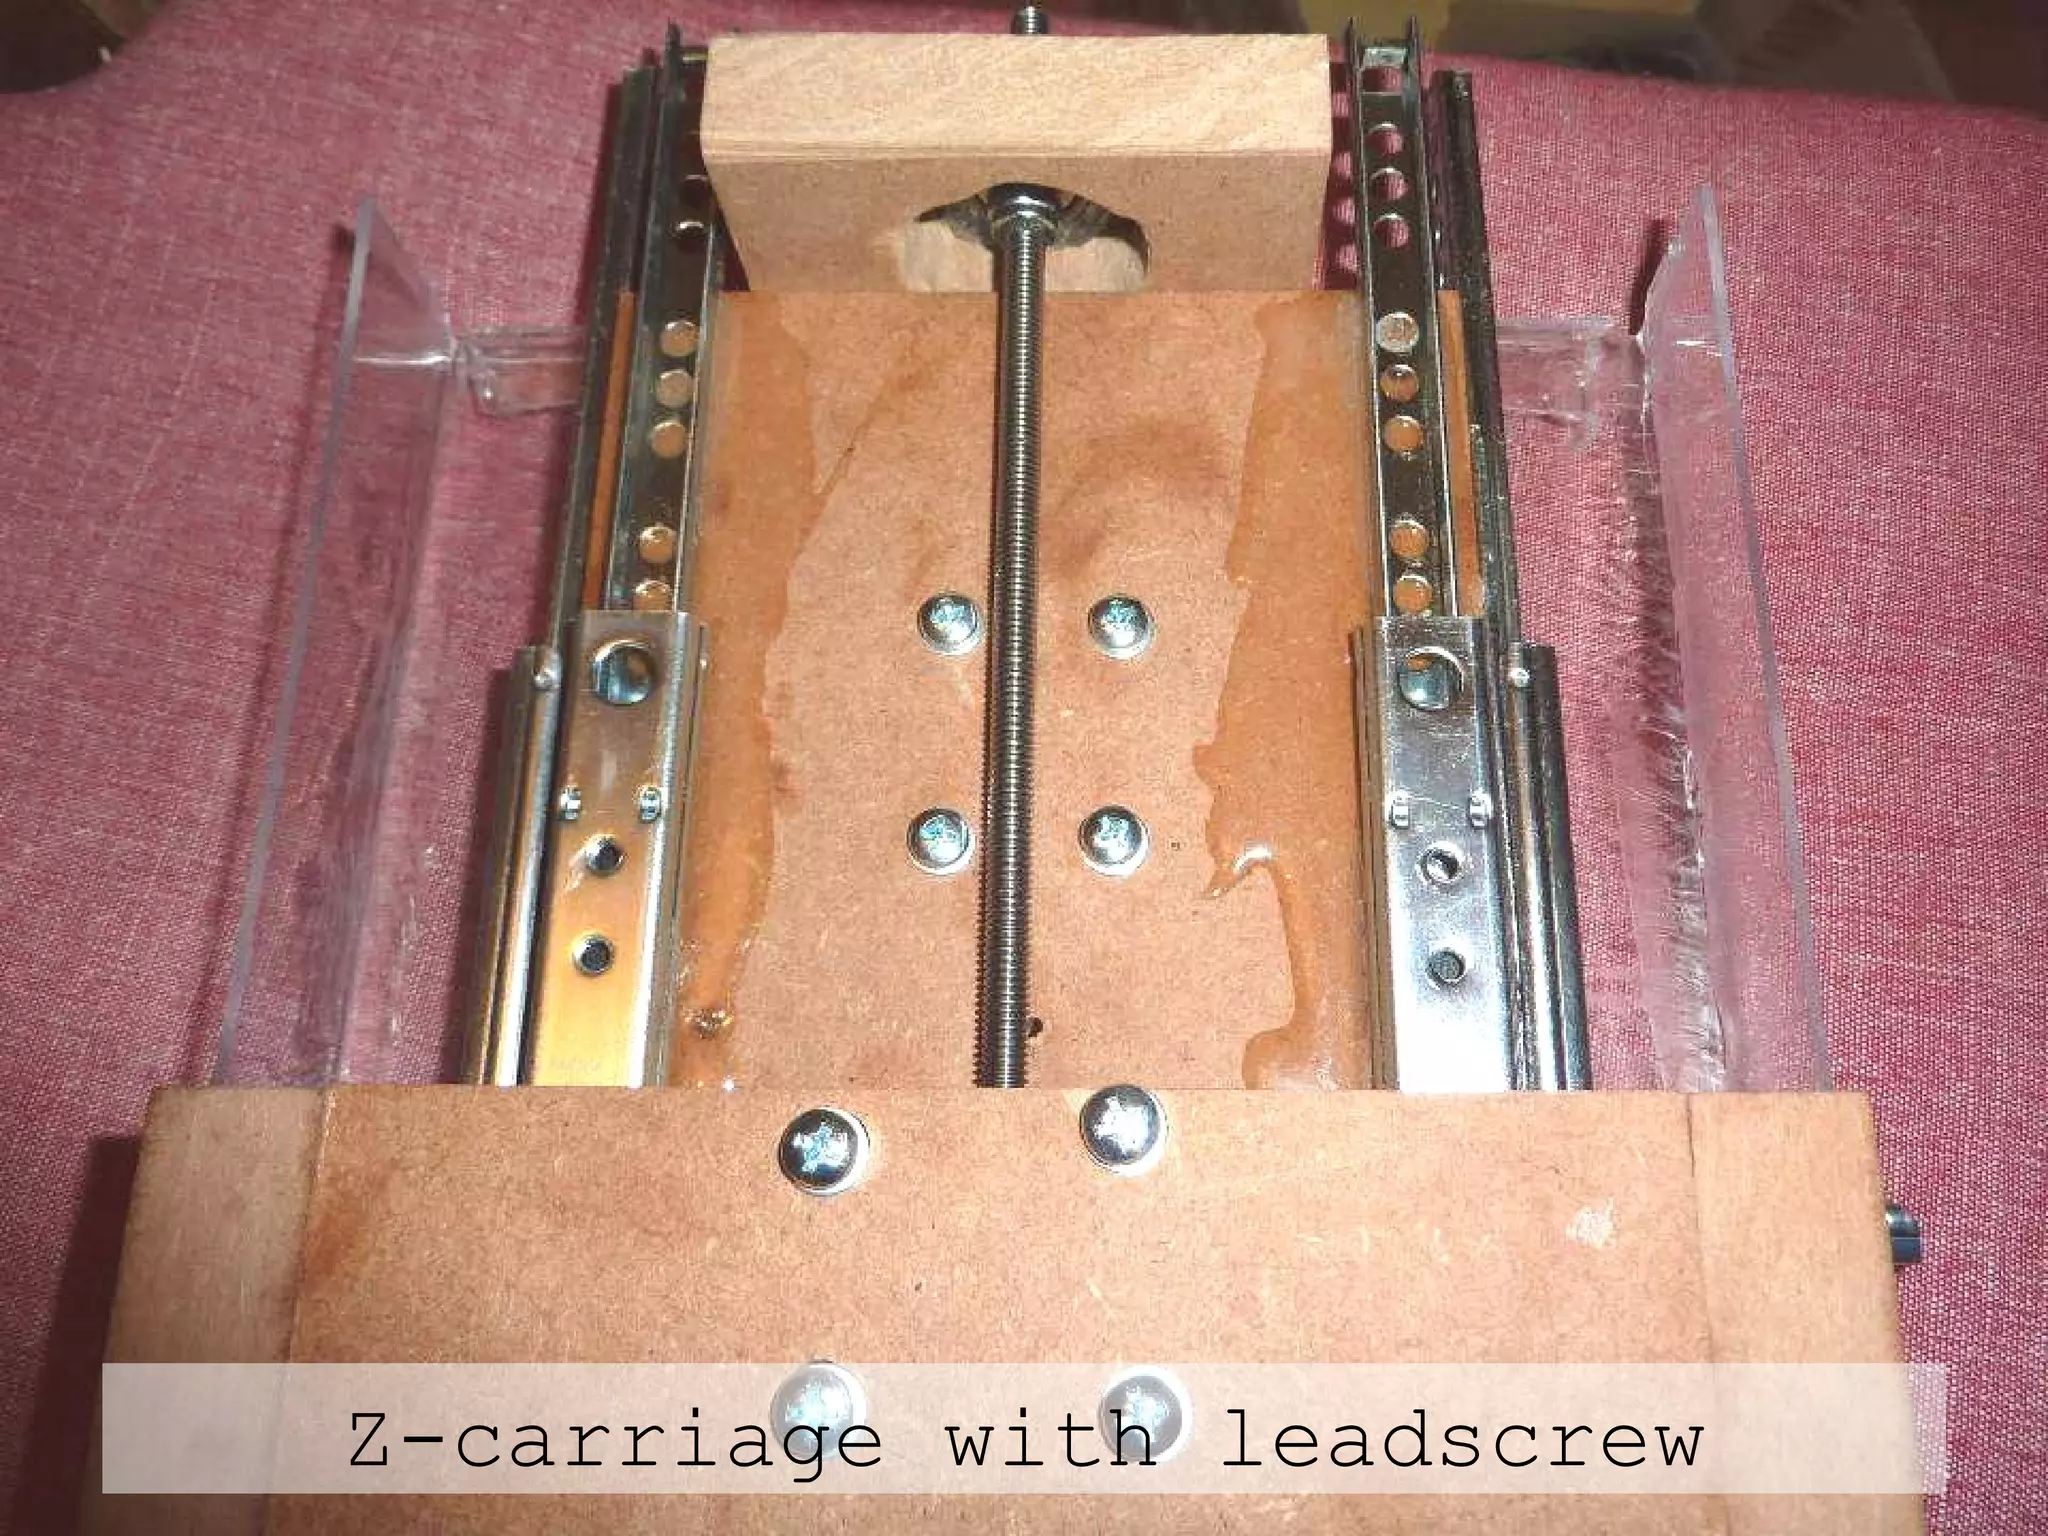
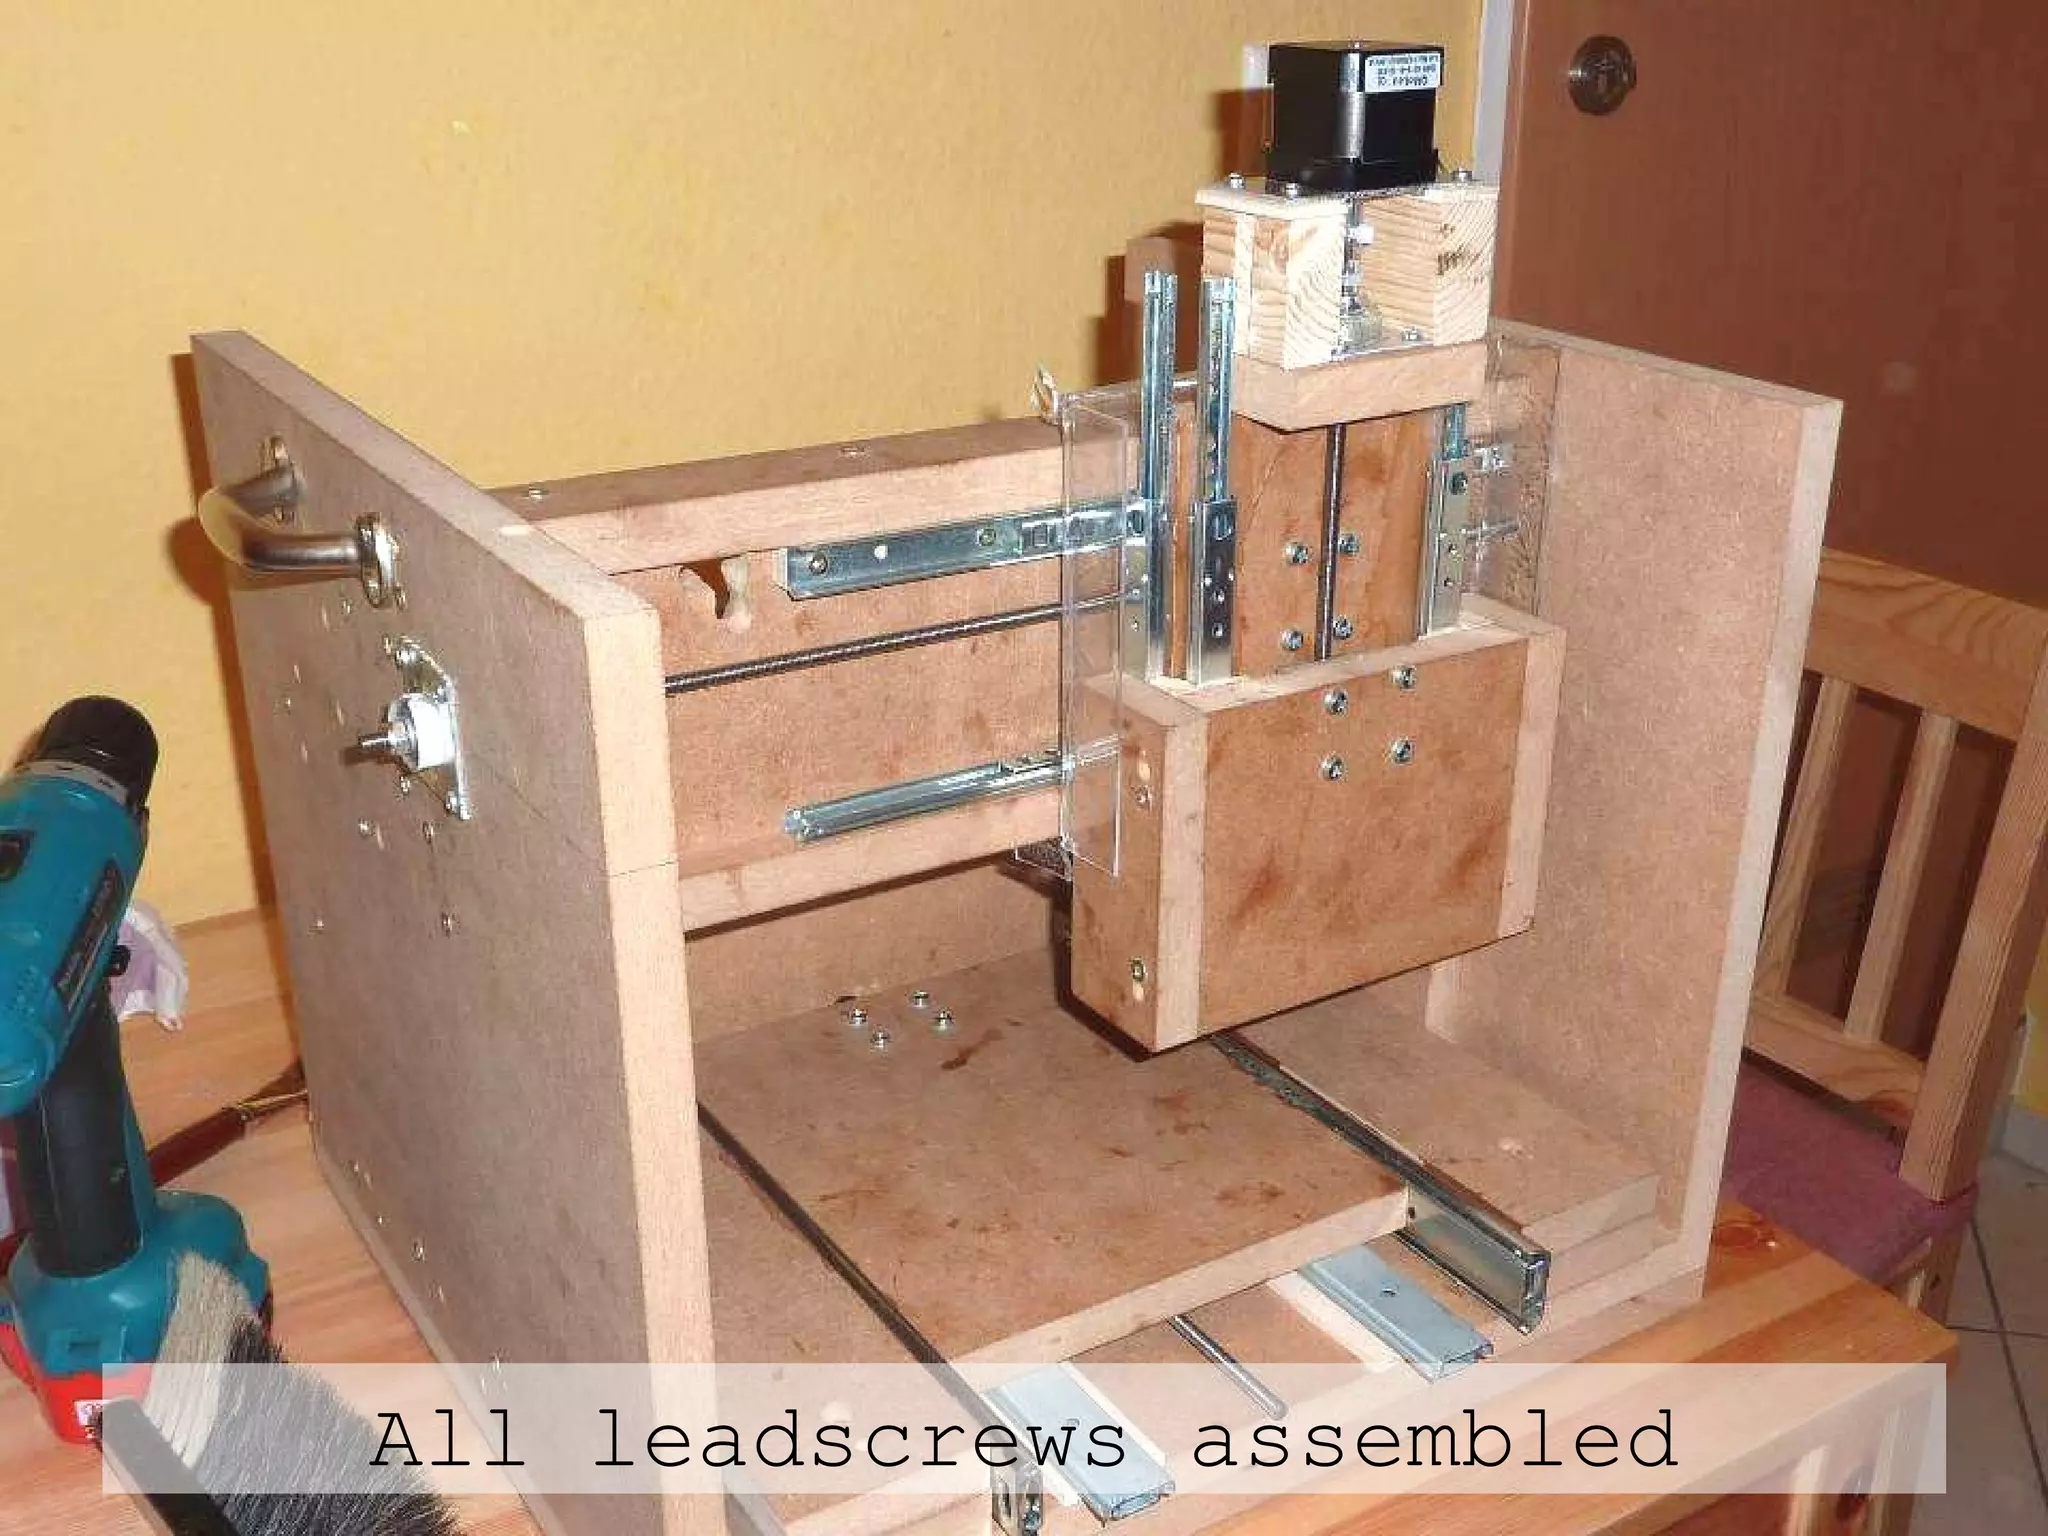
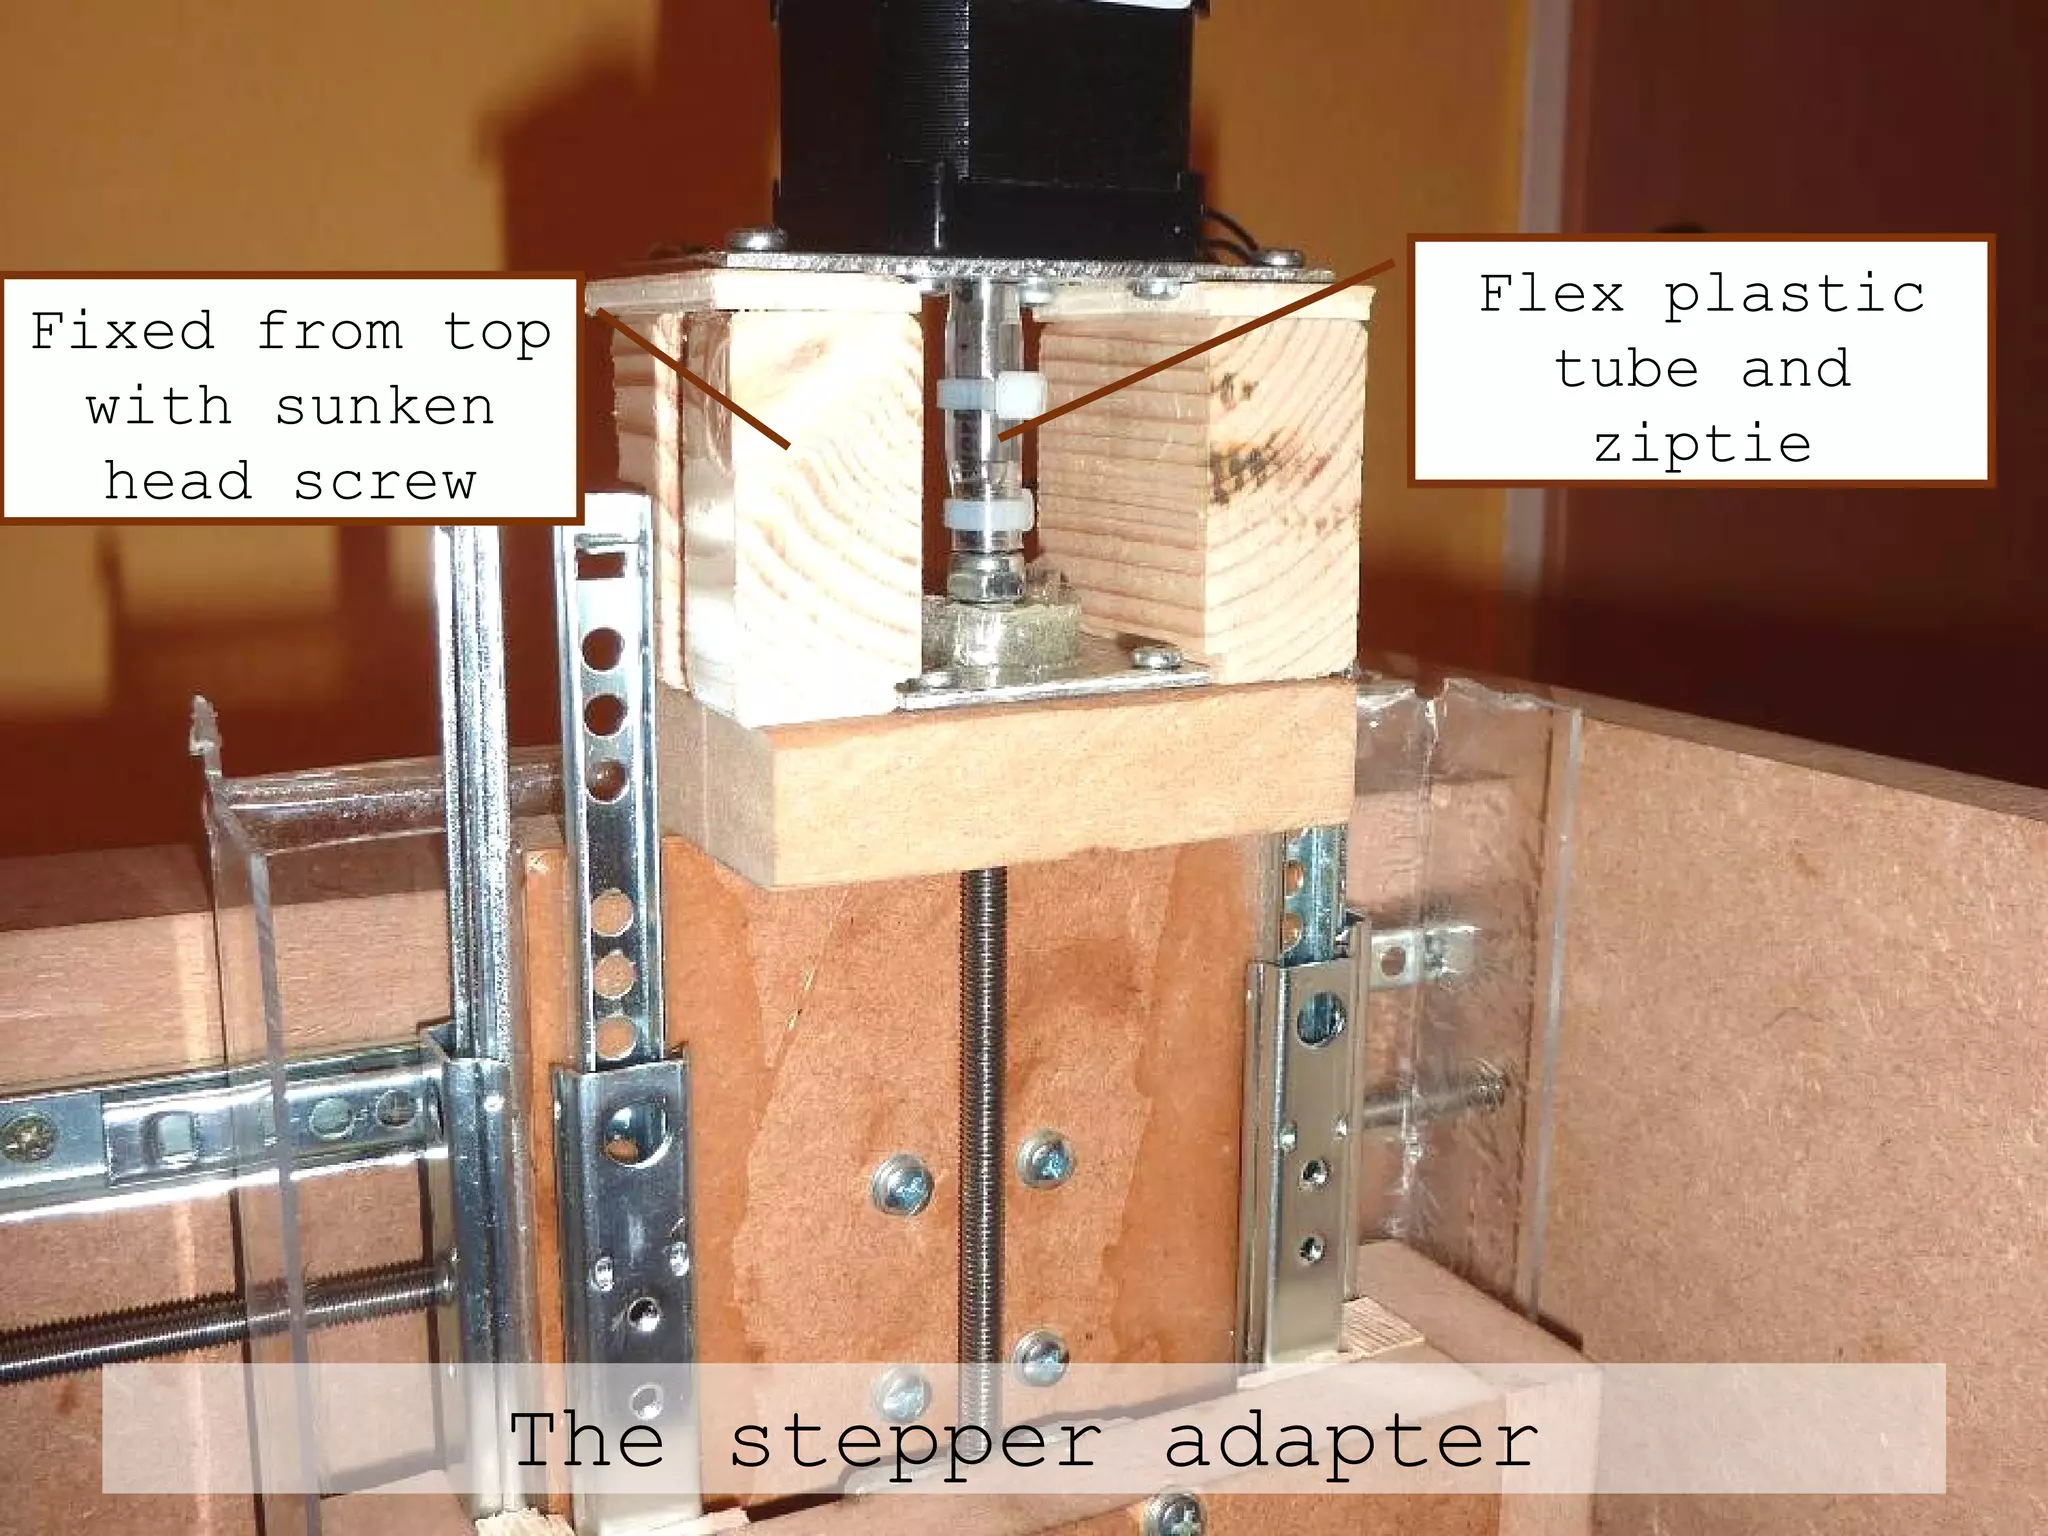
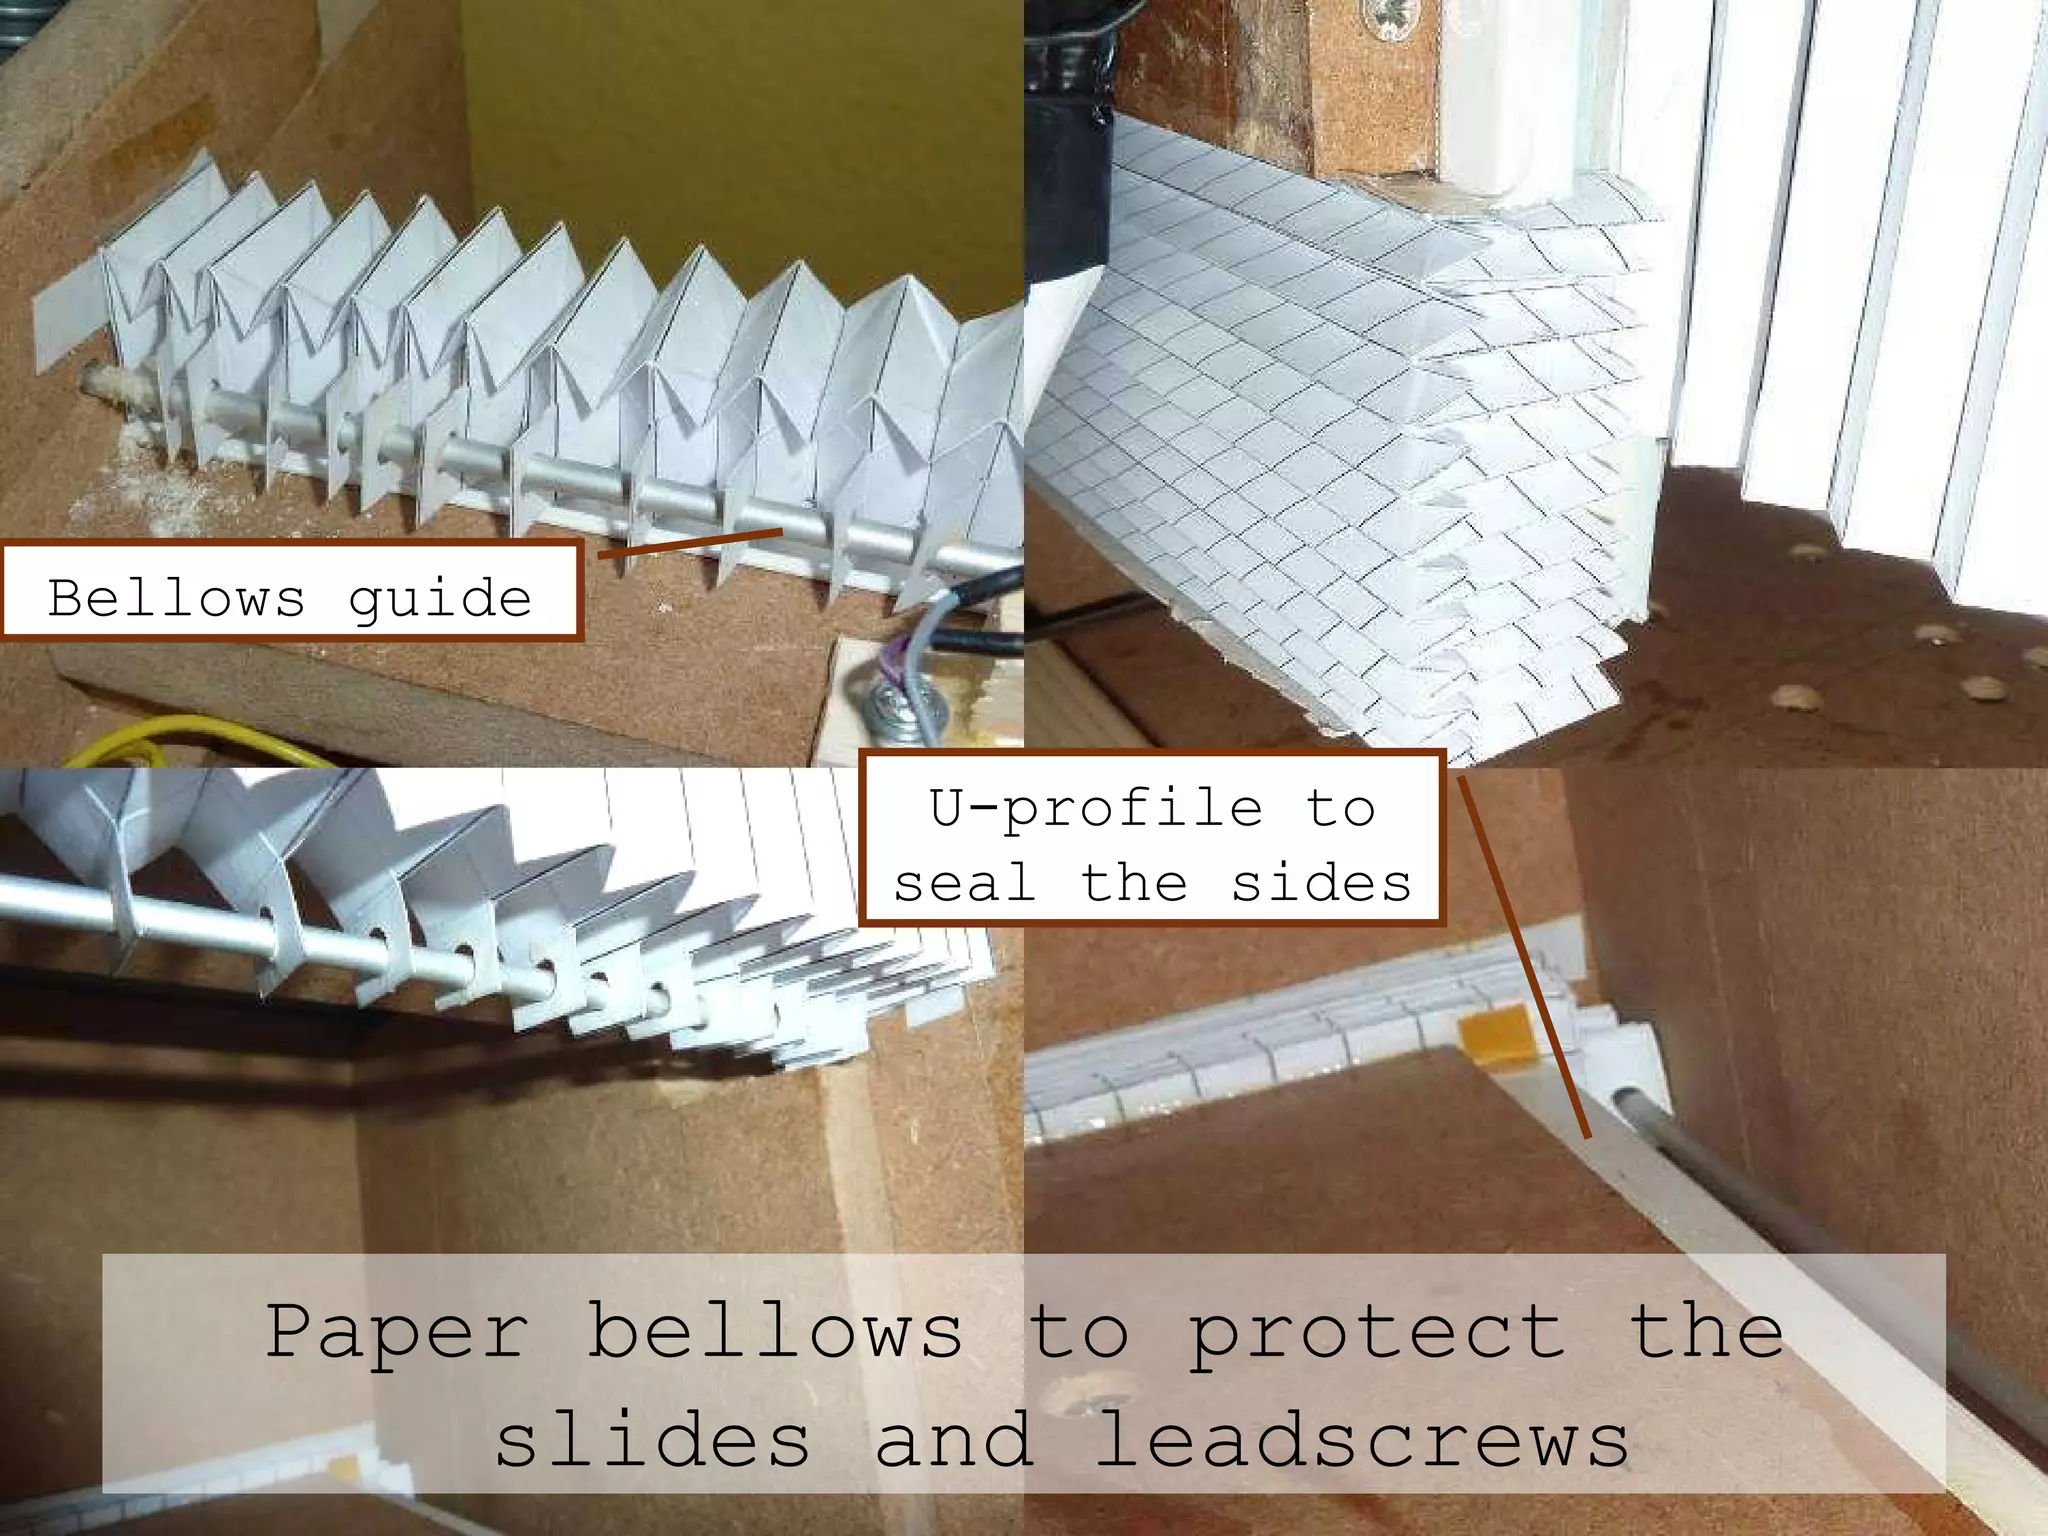
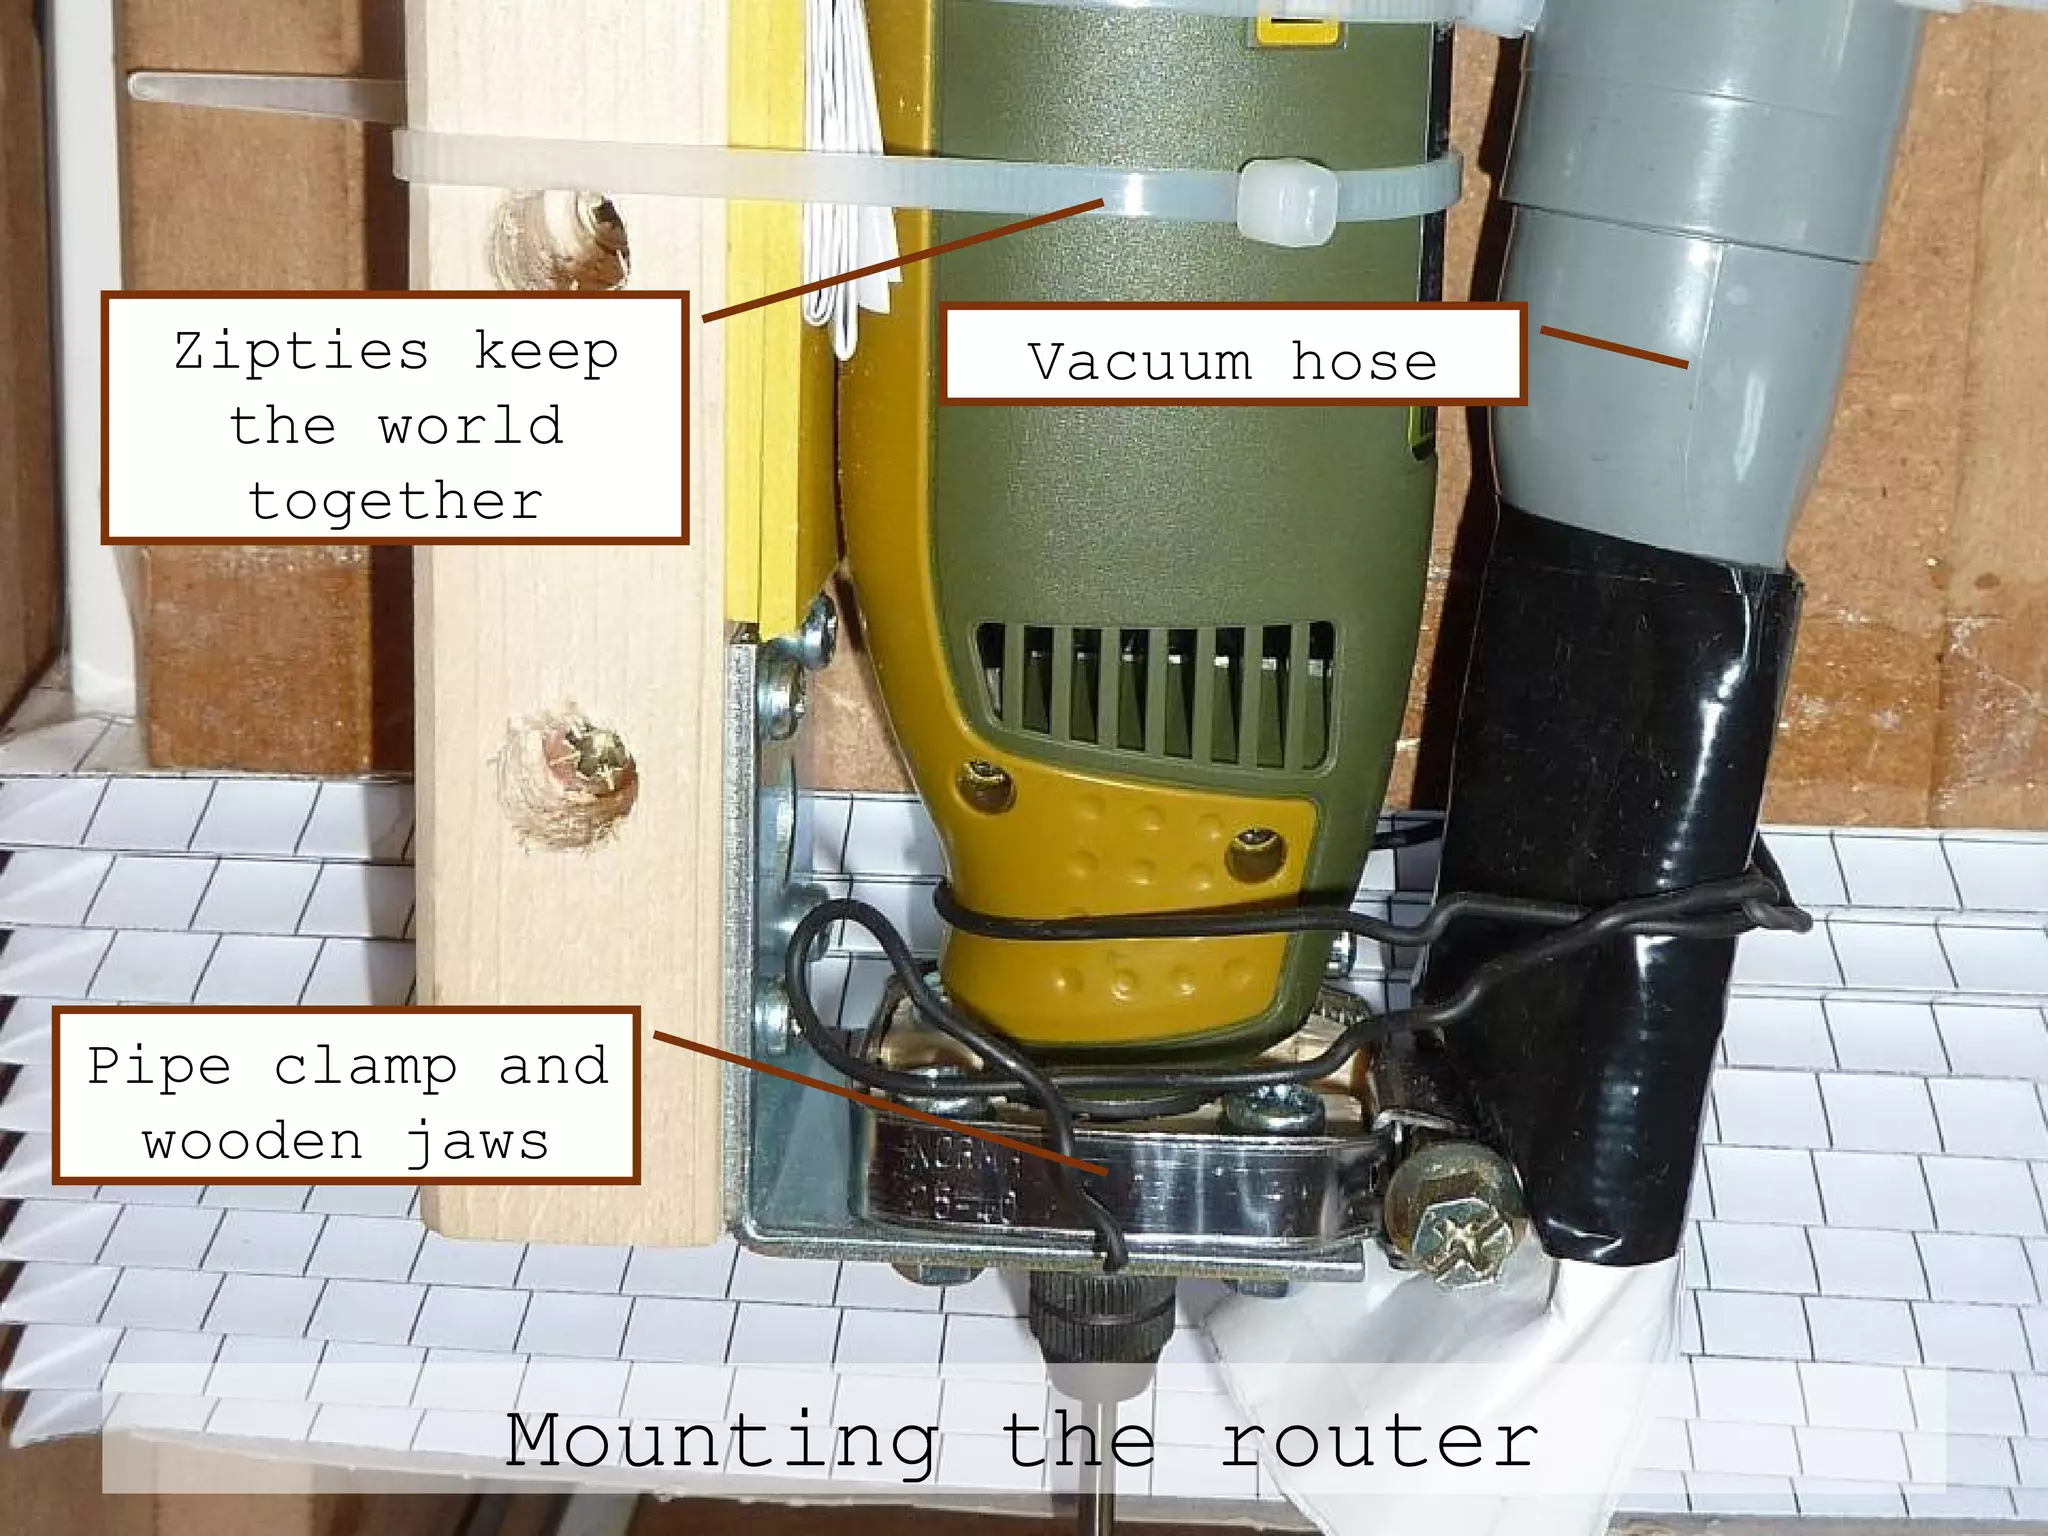
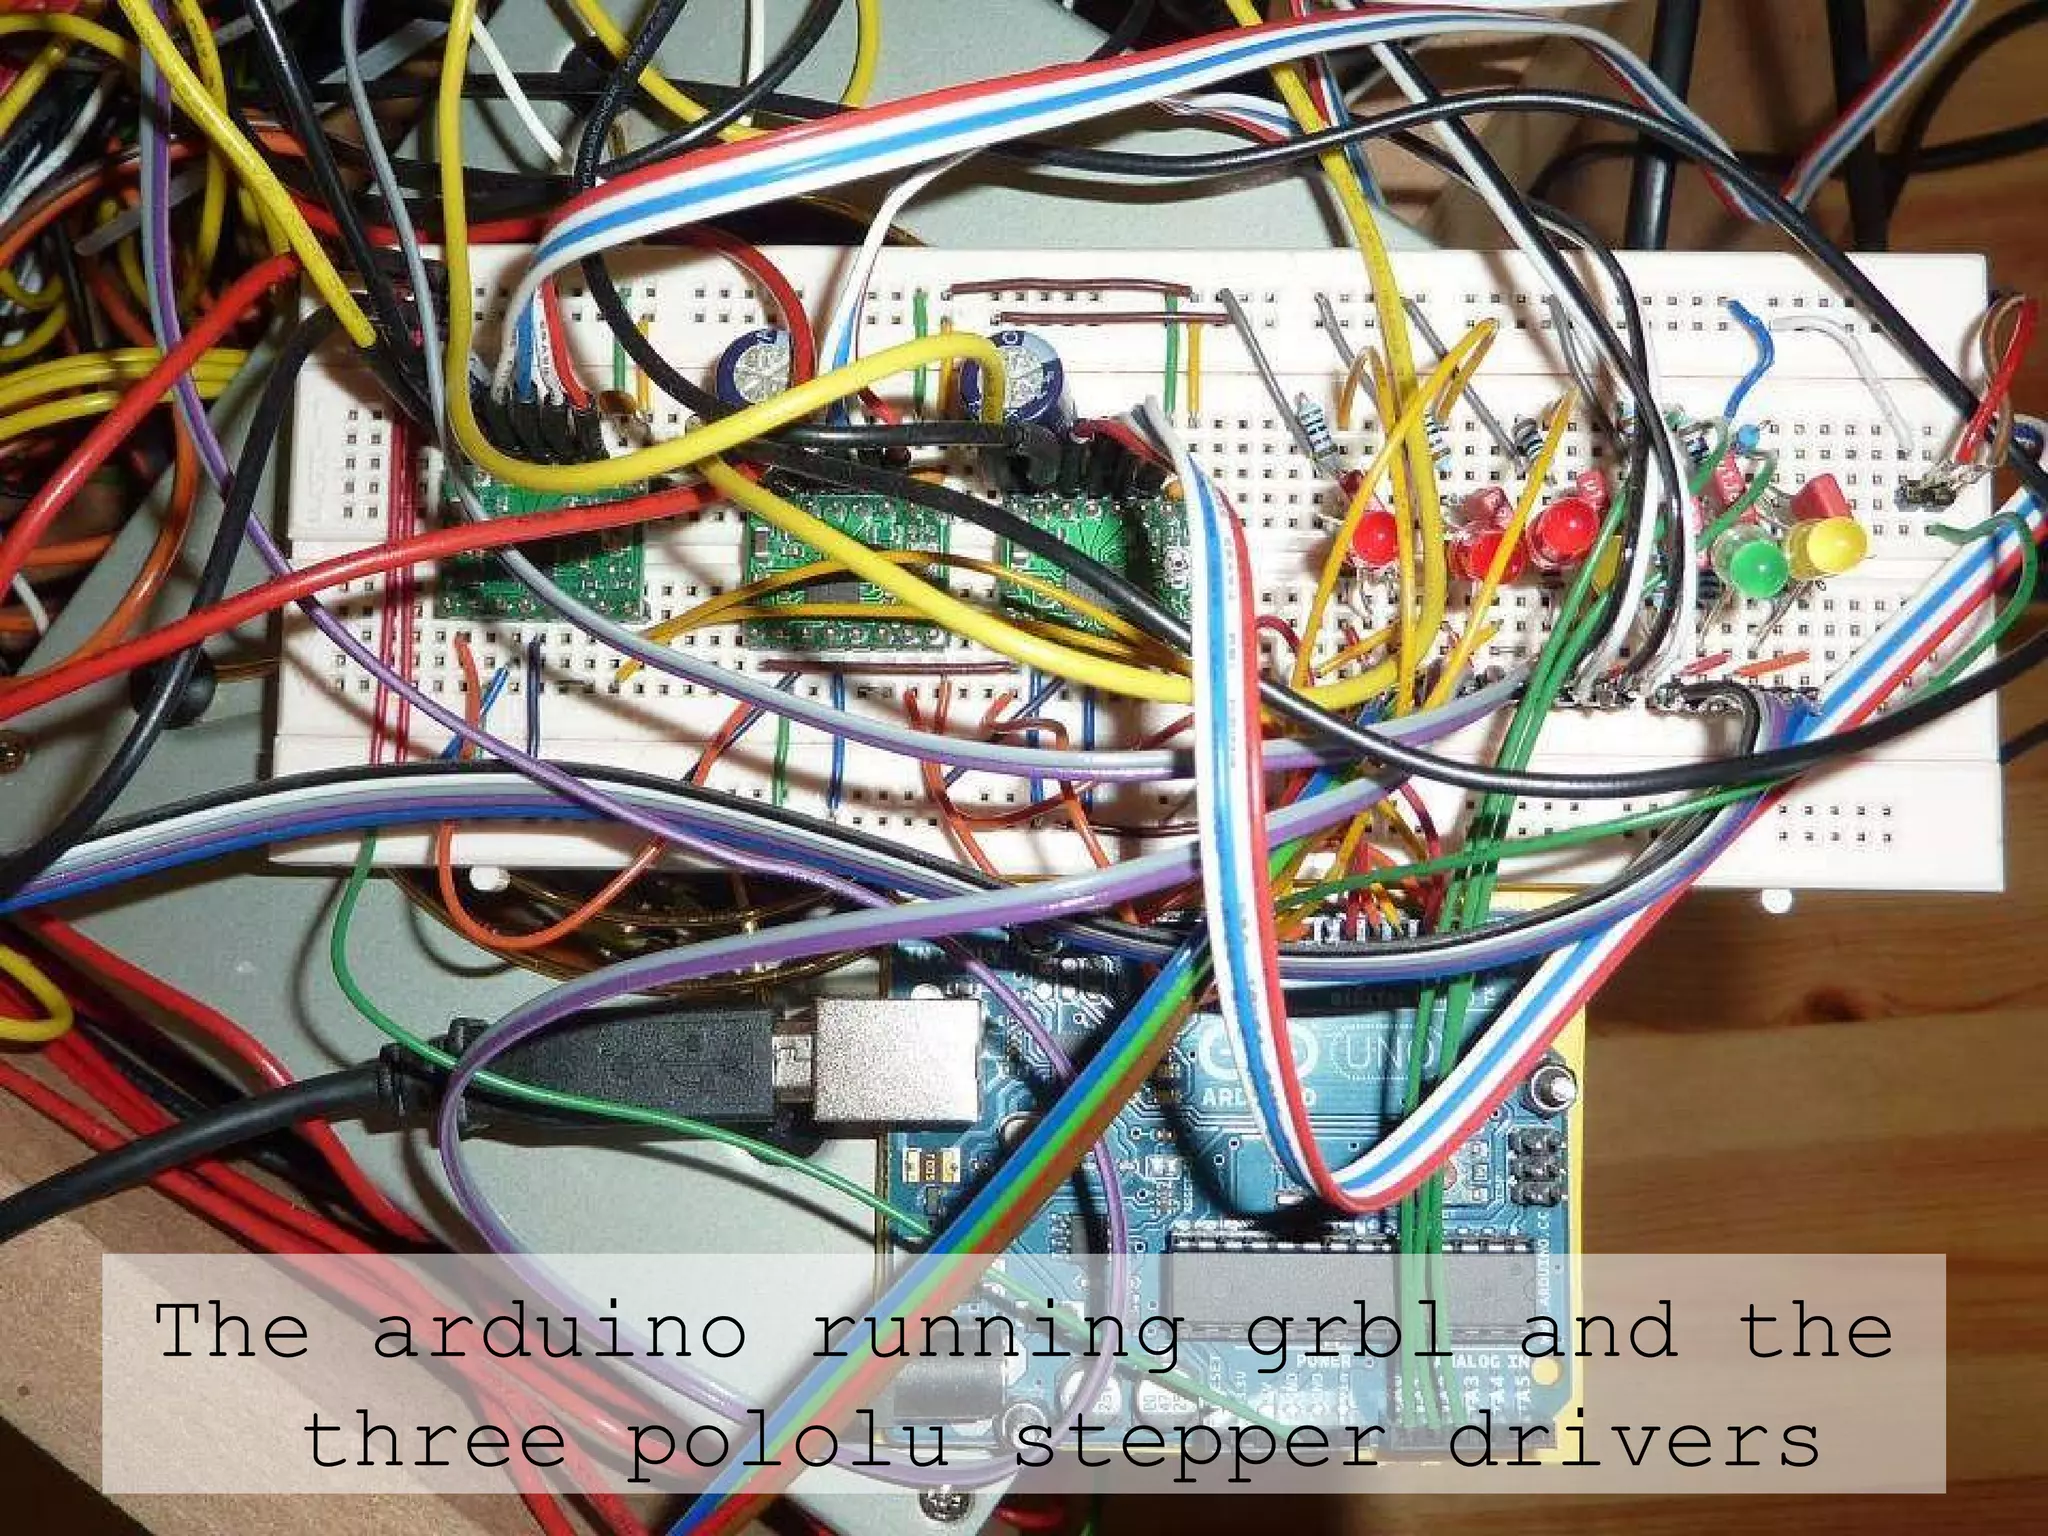
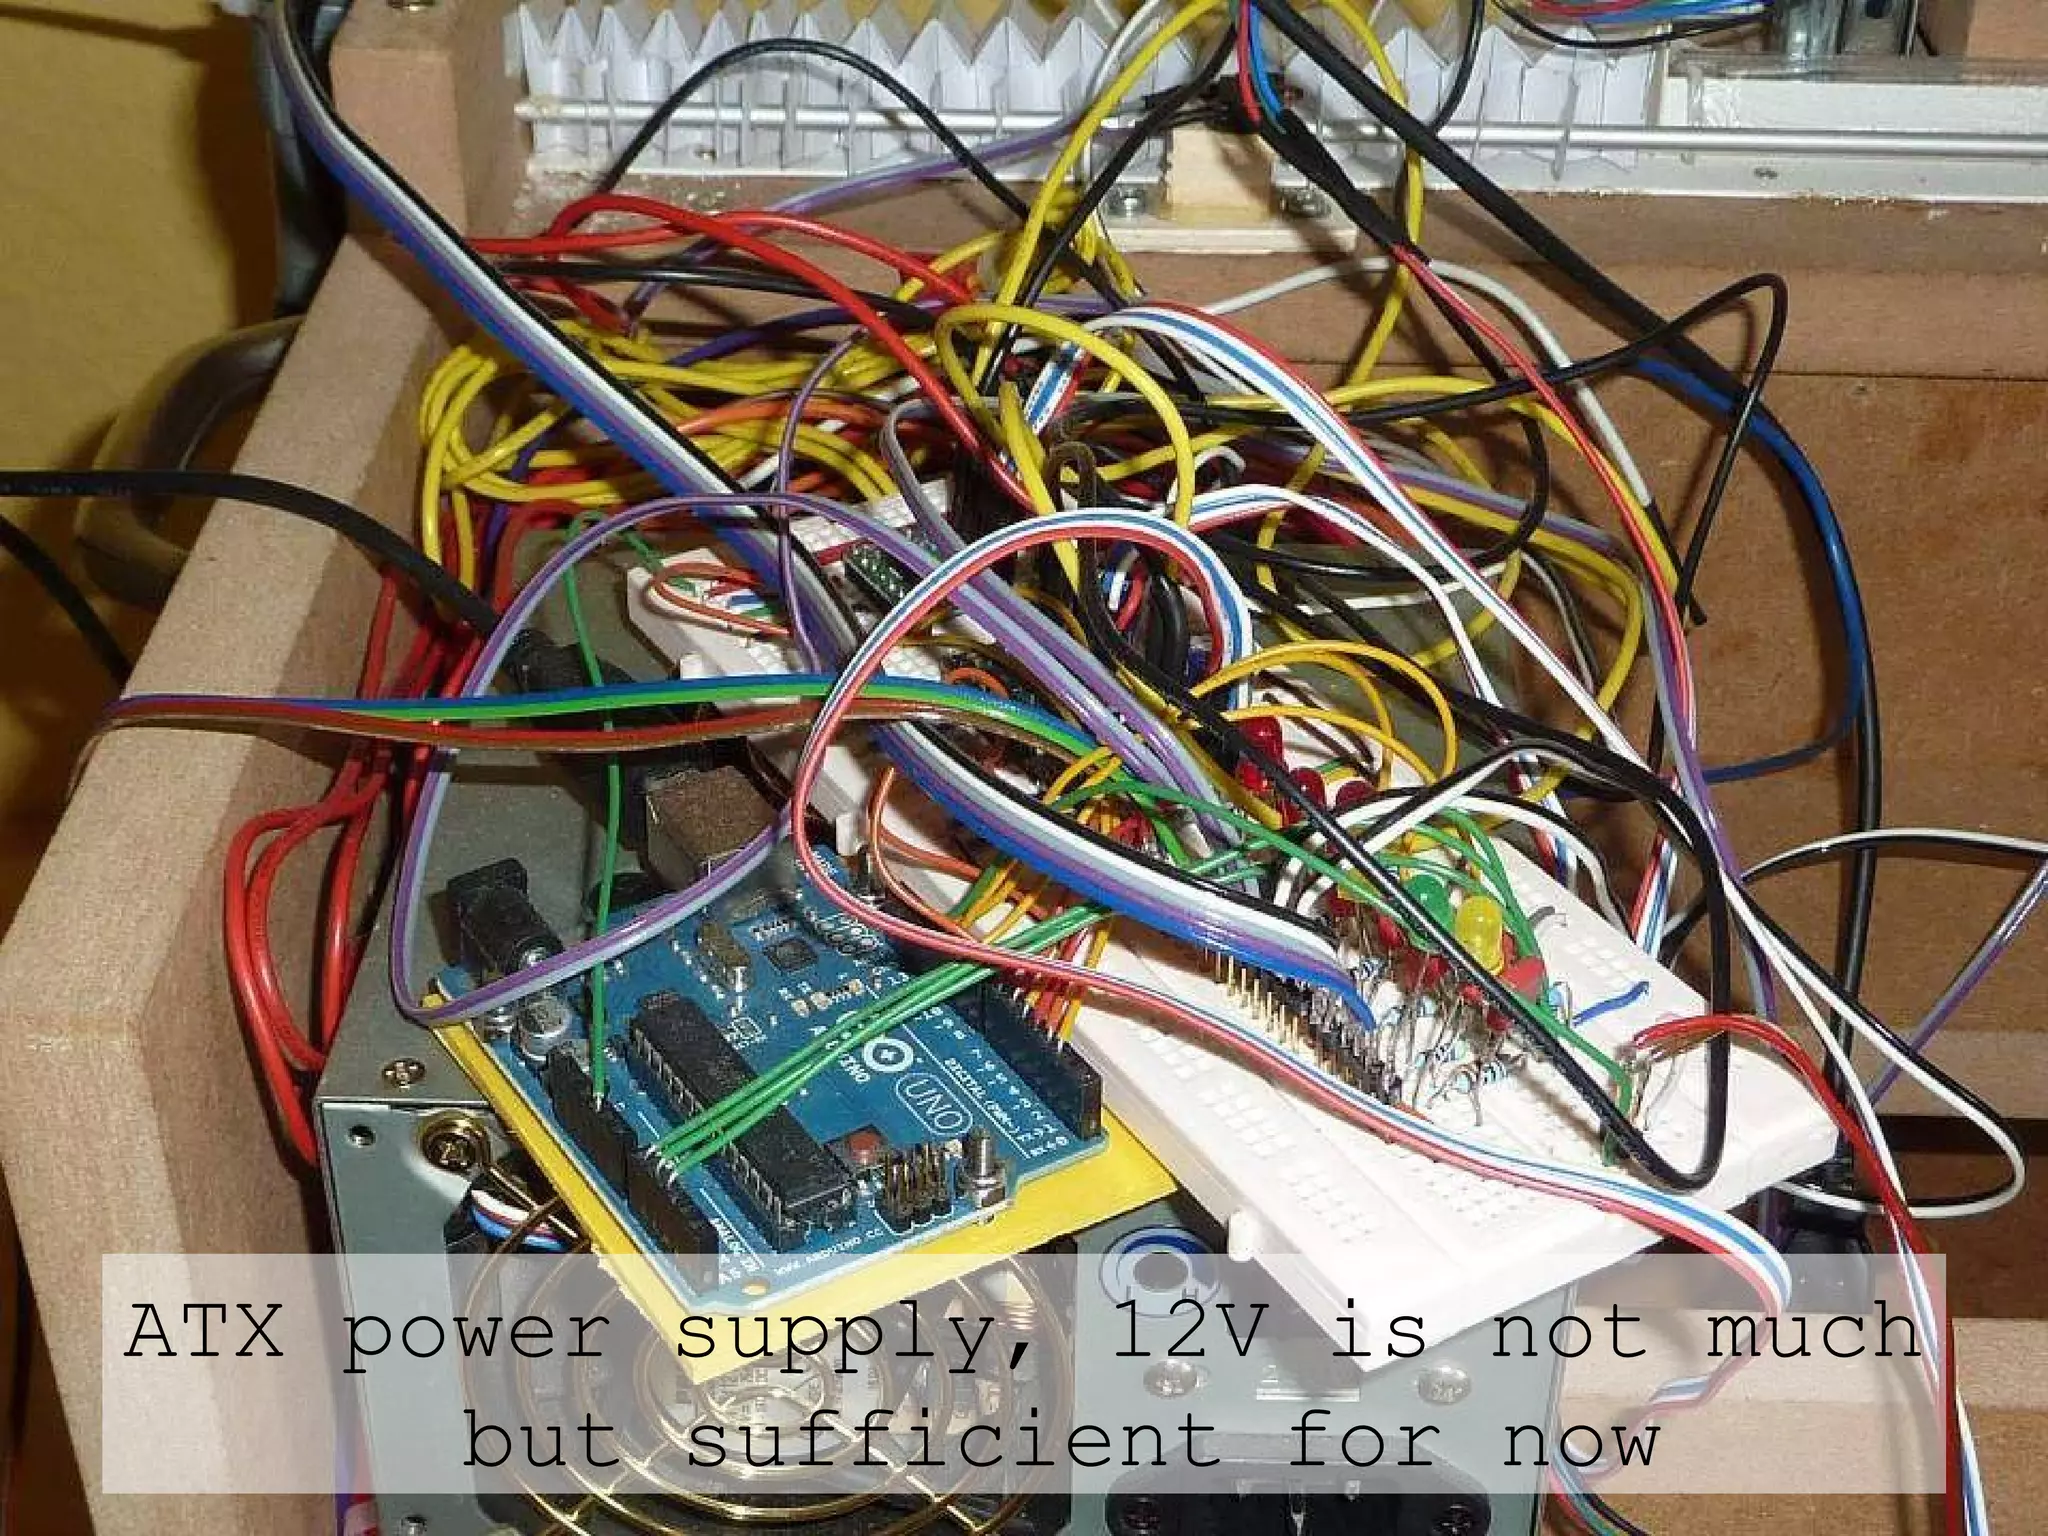
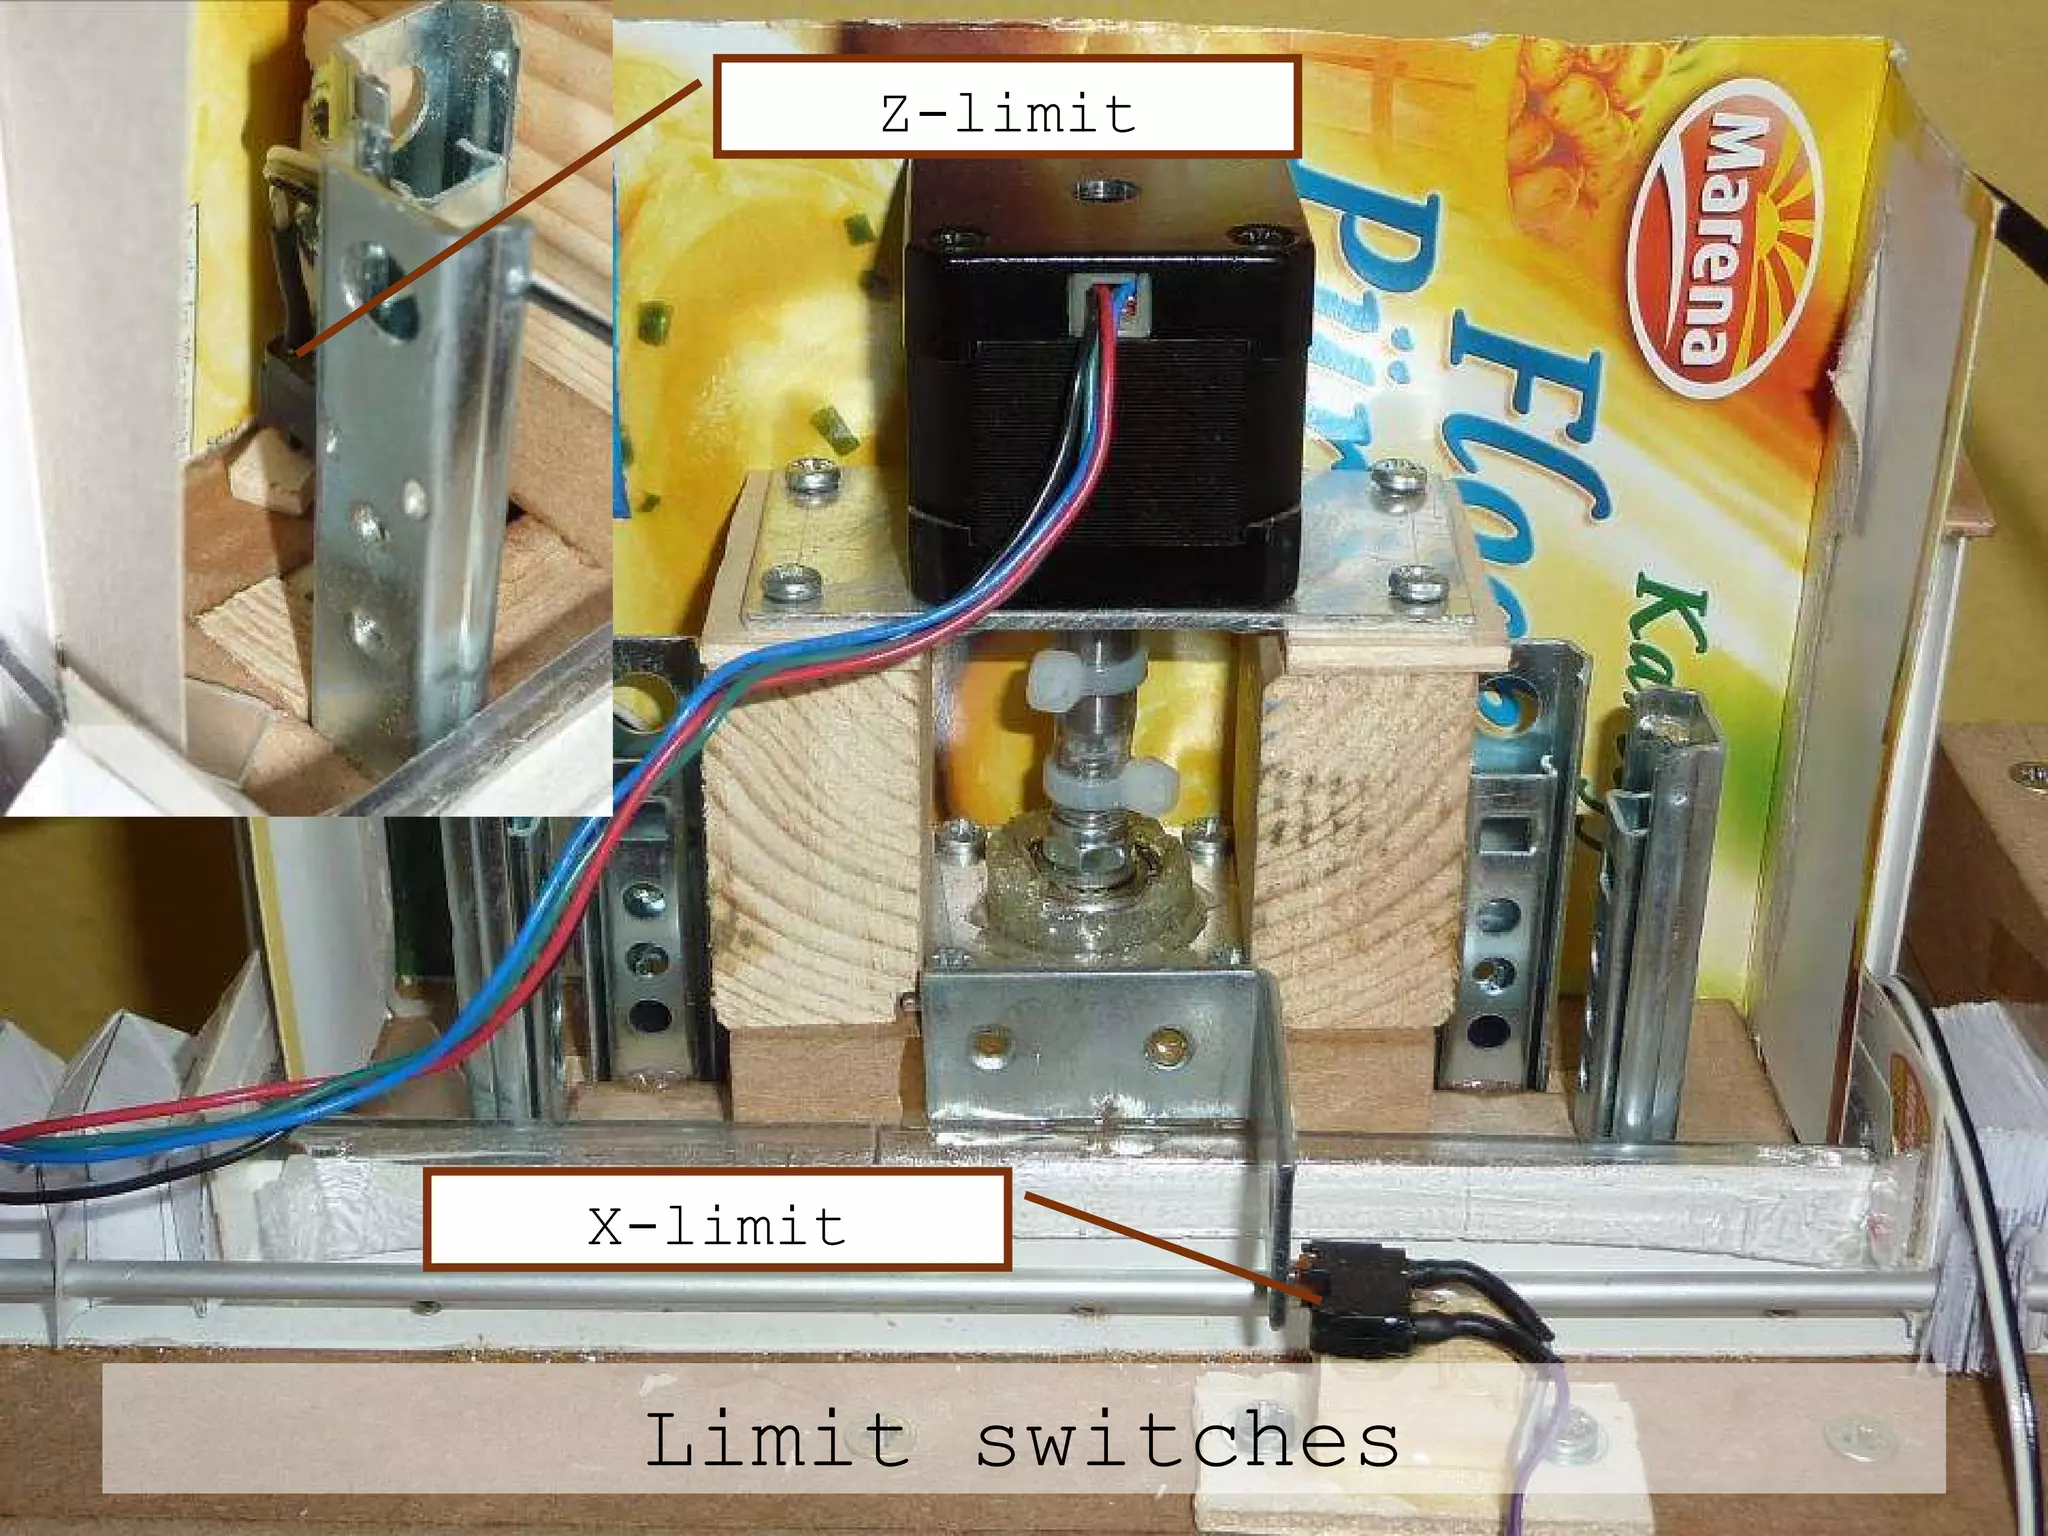
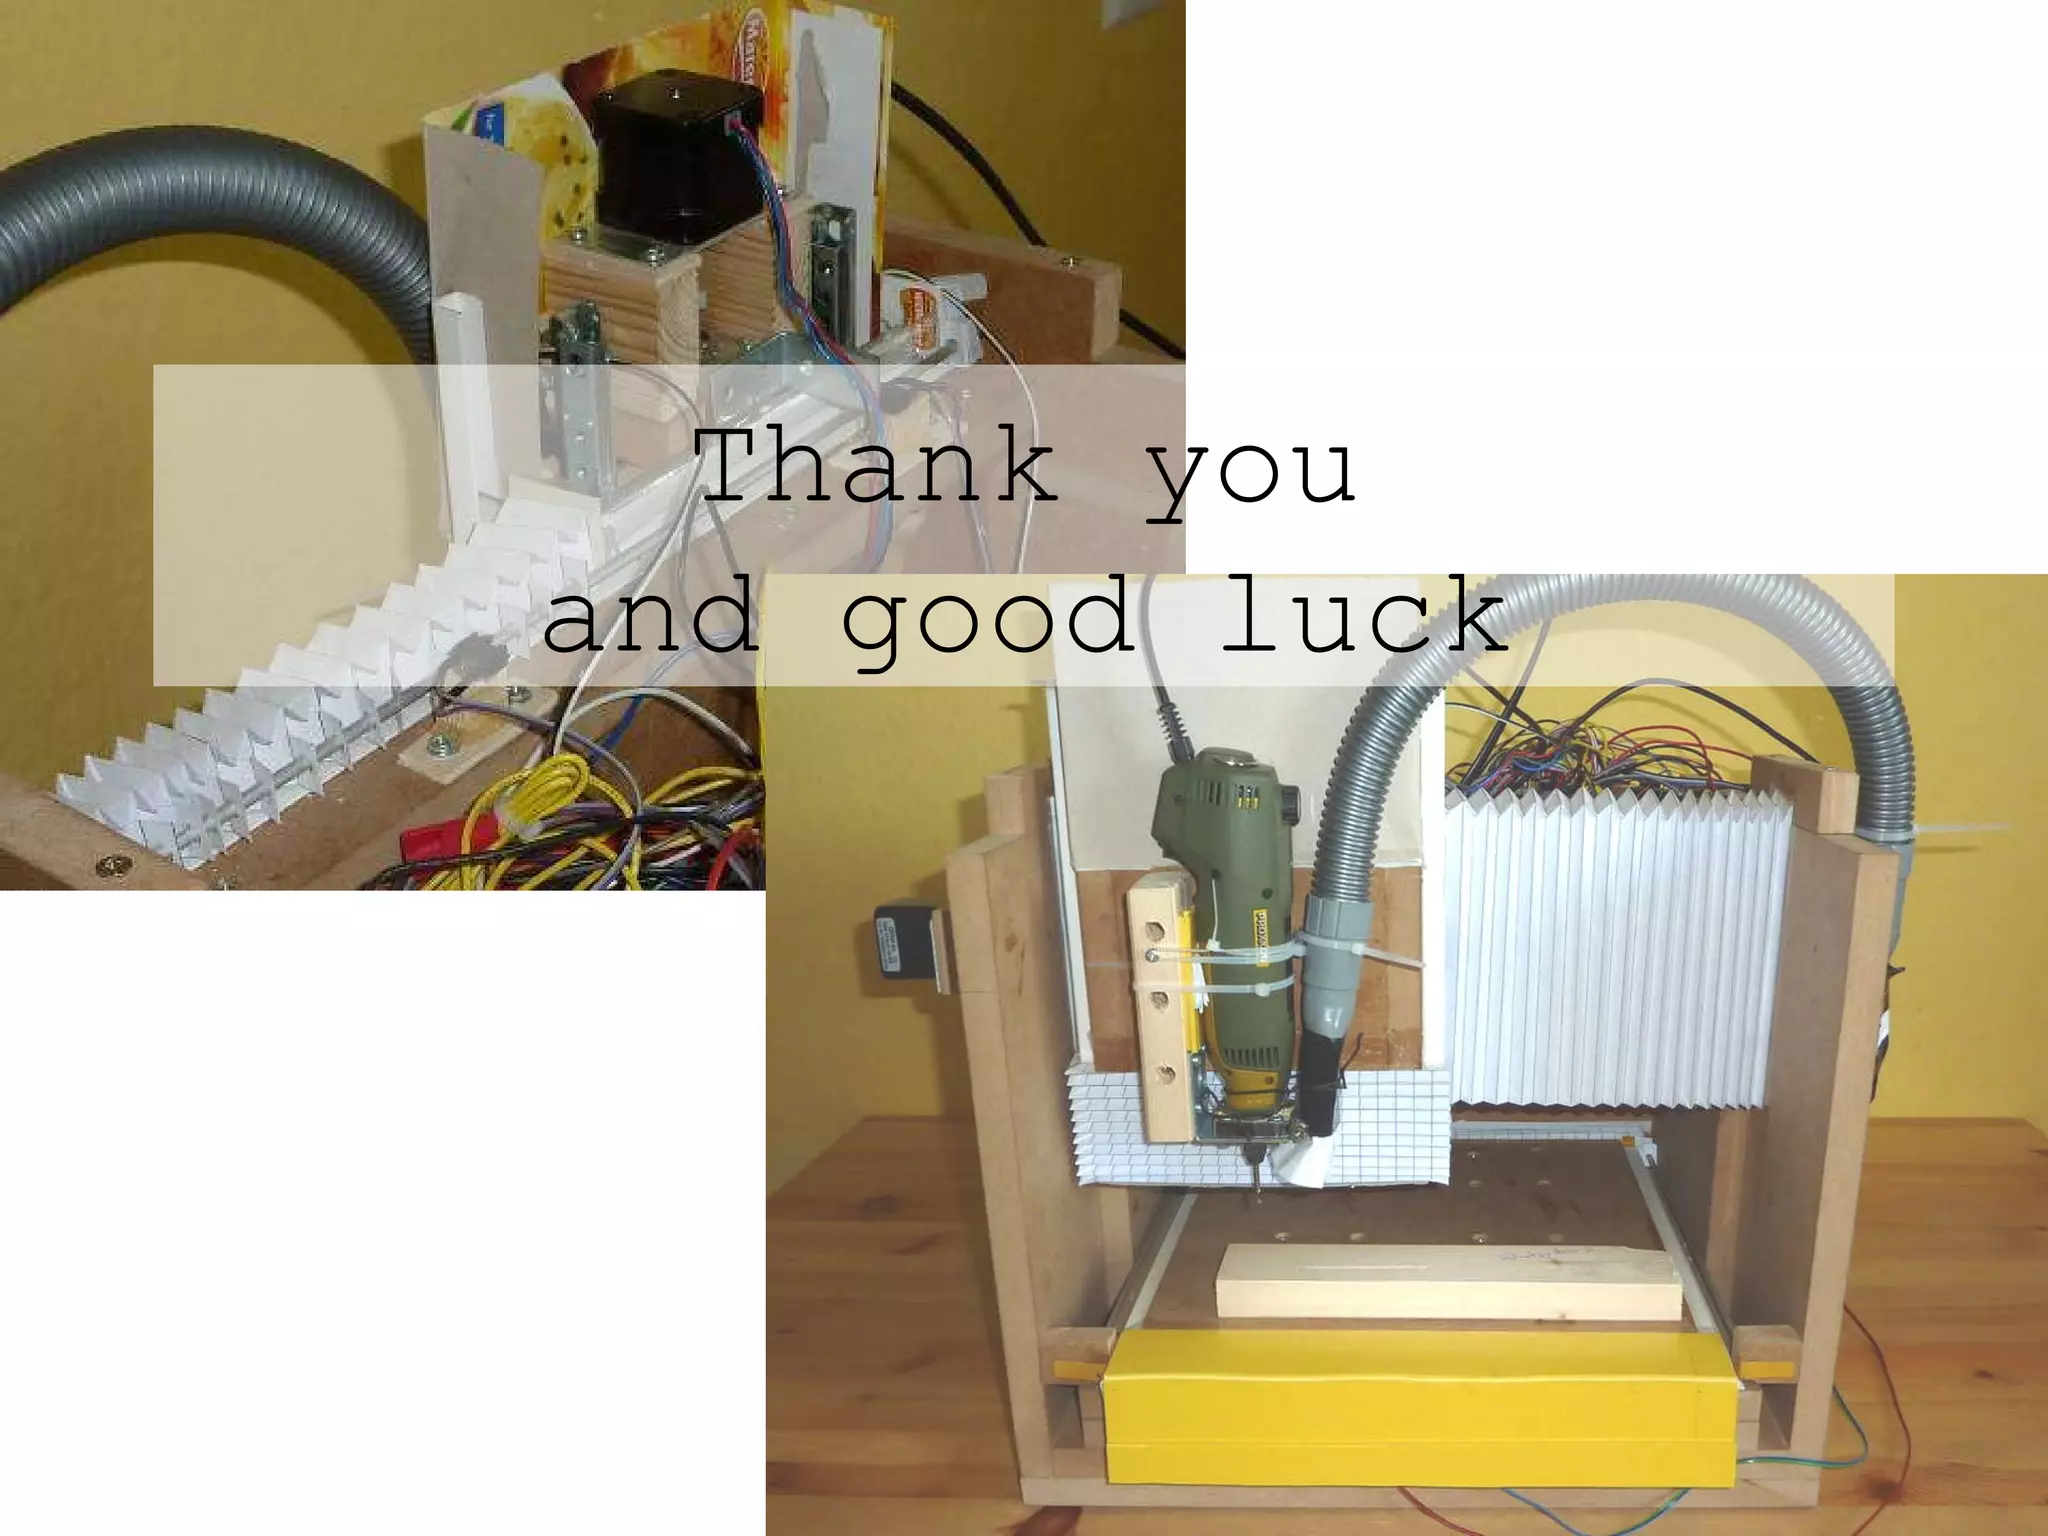
- X, Y, and Z carriages were constructed and mounted, along with stepper motors and lead screws, to provide 3-axis movement. Protections like bellows and foil were added to shield components.
-