Download to read offline
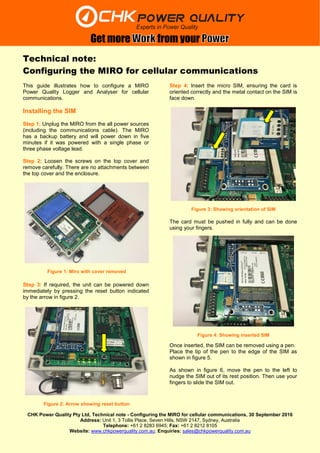
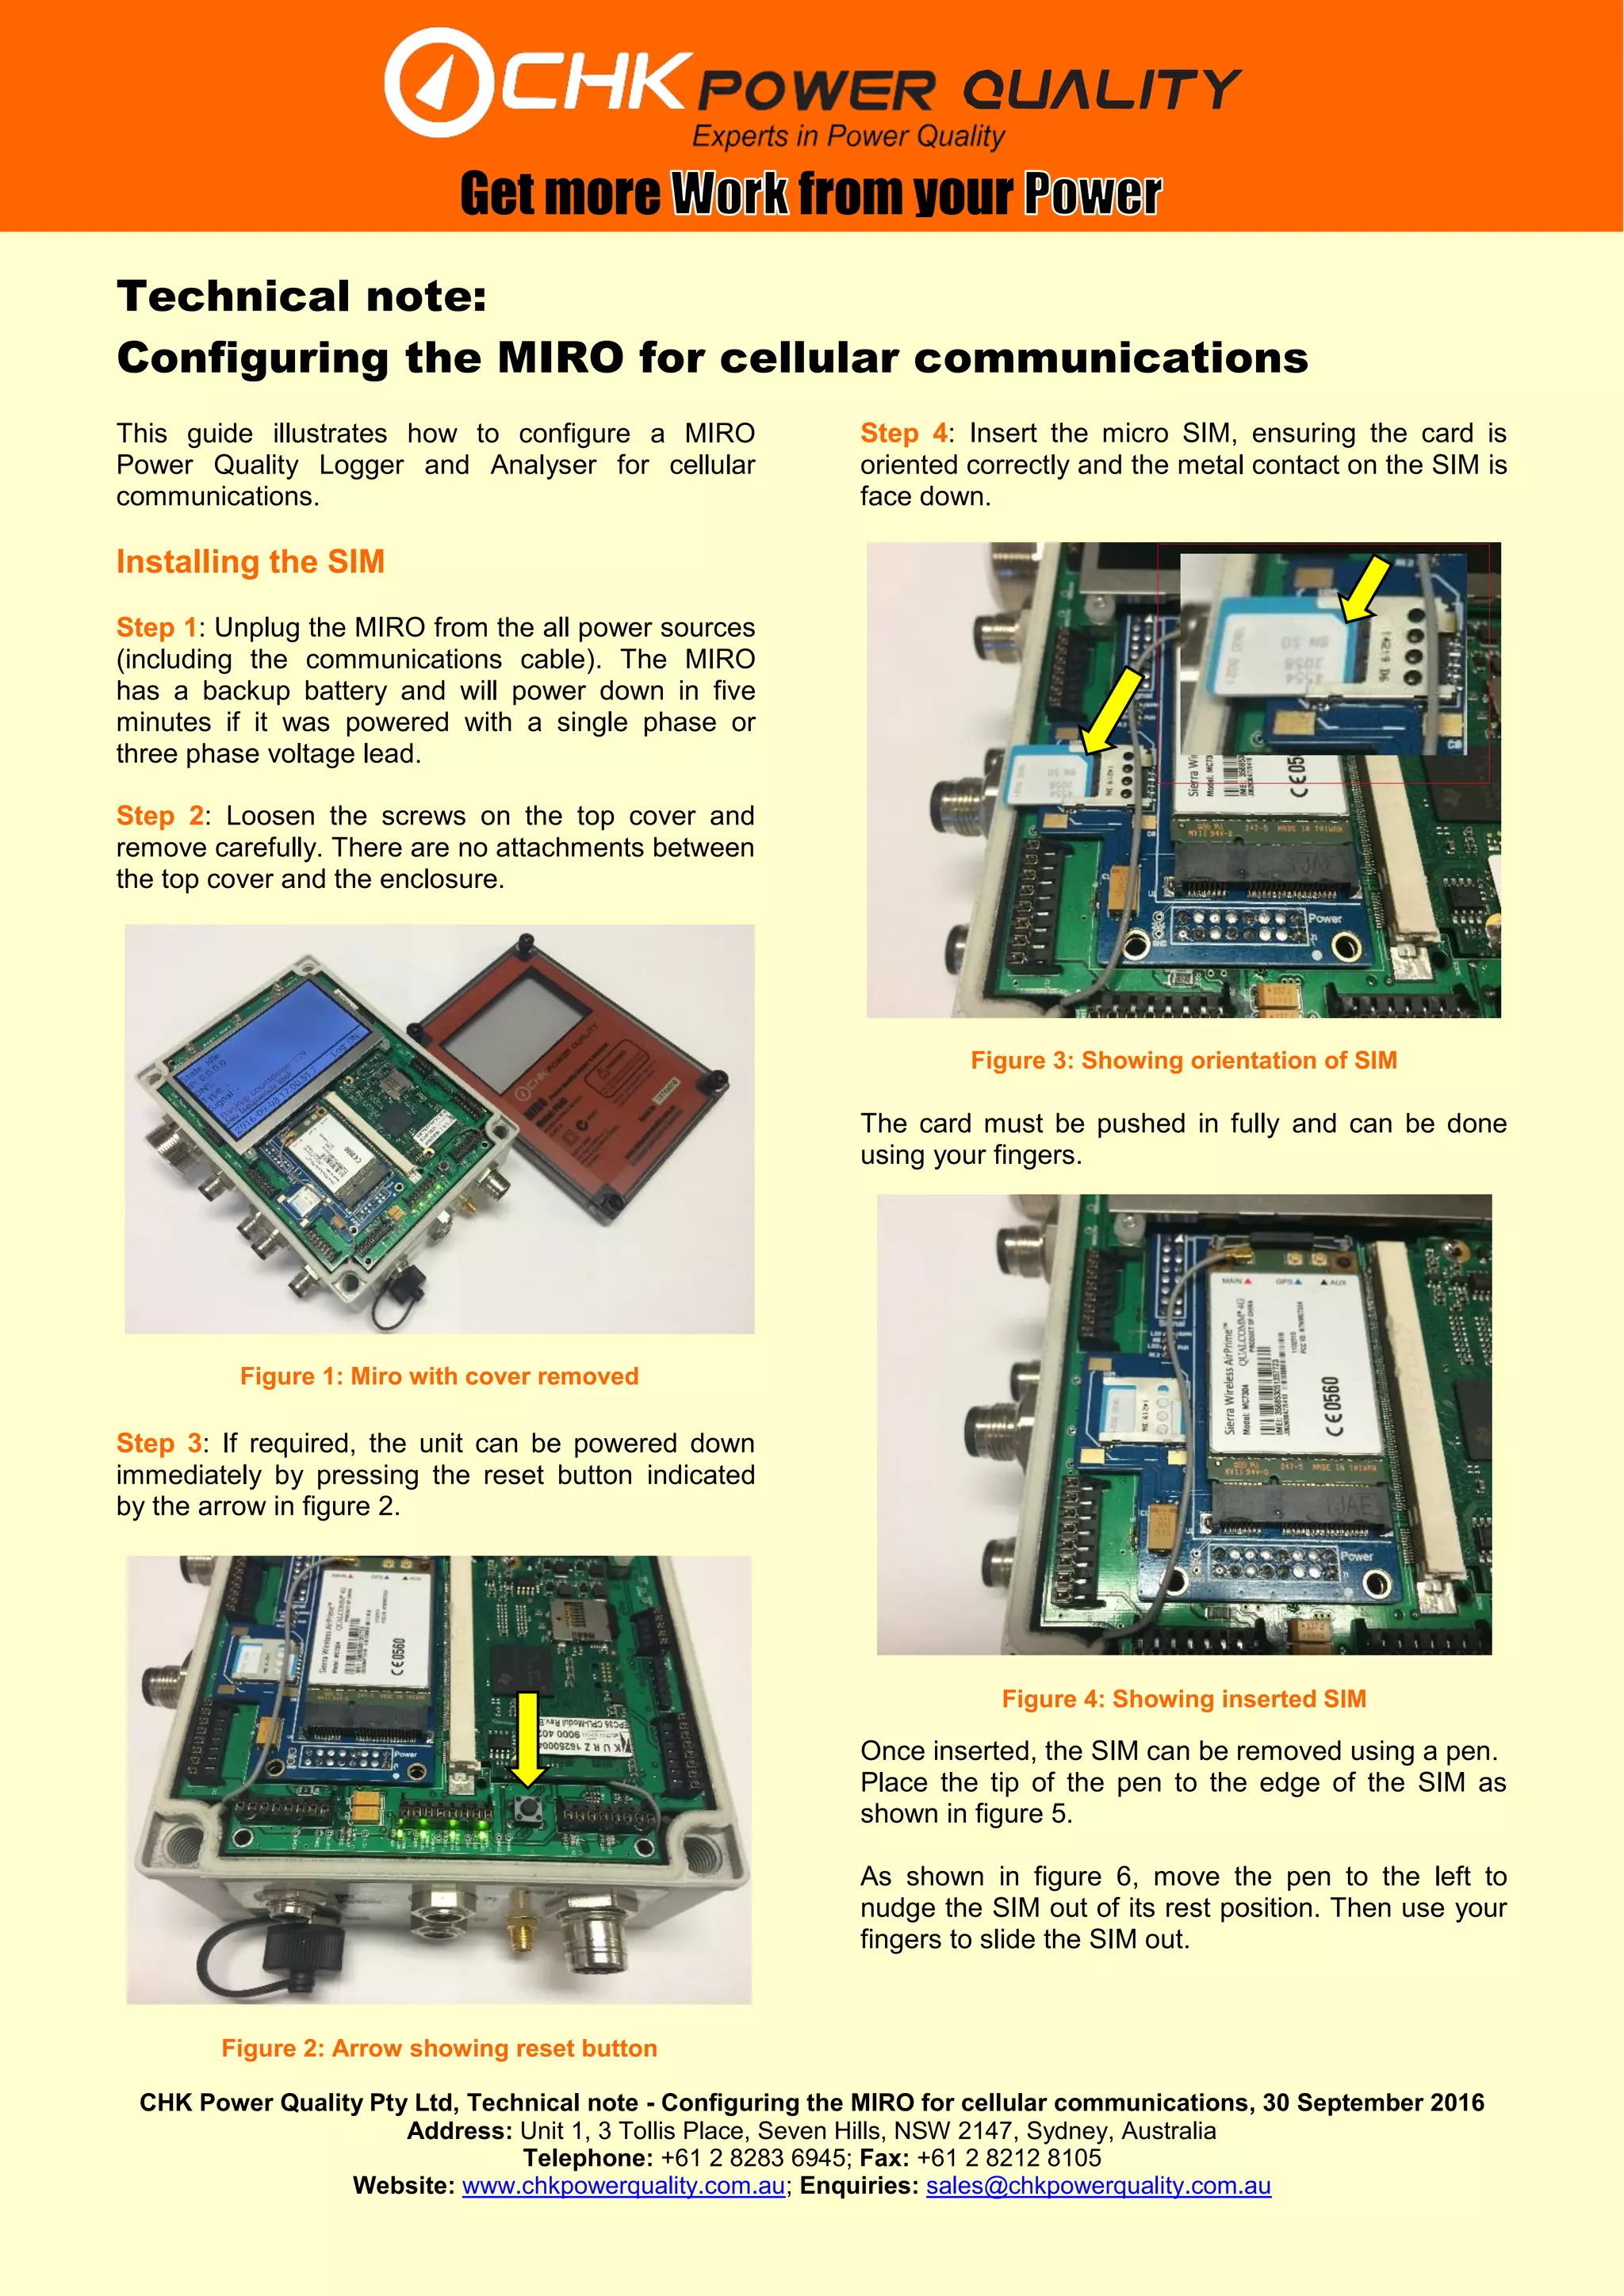
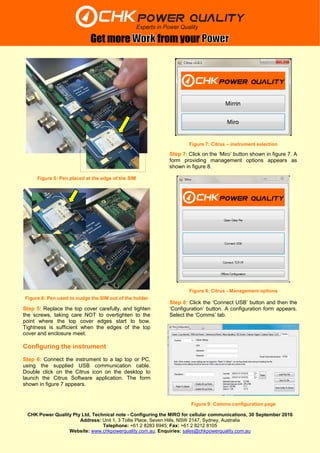
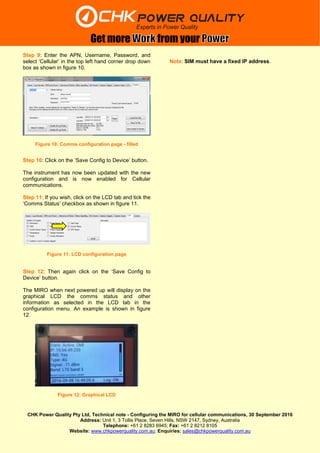

The document provides a 12-step process to configure a MIRO Power Quality Logger and Analyser for cellular communications. It details how to insert a SIM card into the device, connect it to a computer, and use configuration software to set the APN, username, password and select cellular communications. Once configured, the device will display communication status and other selected information on its LCD screen.


