Downloaded 683 times
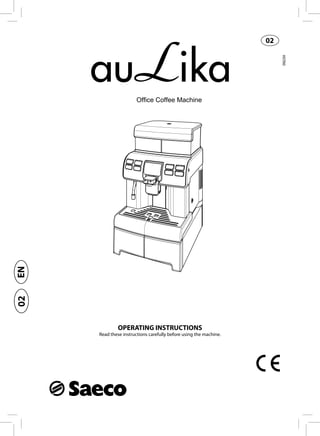
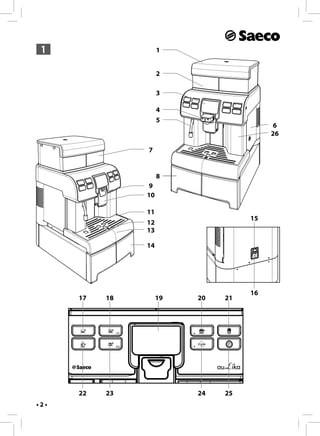
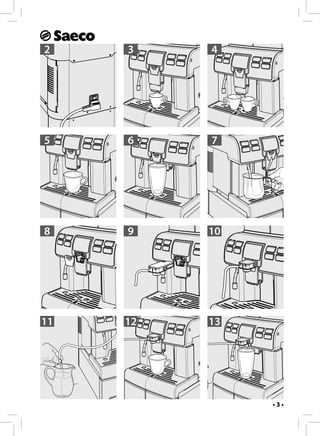


The document provides operating instructions for an office coffee machine. It describes safety regulations, intended use, machine components, use of the machine, cleaning and maintenance procedures, and programming functions. Key points include instructions on switching the machine on and off, filling the water tank and bean hopper, brewing coffee and milk drinks, cleaning components like the cappuccinatore, and accessing the machine's programming mode. Safety warnings are provided throughout regarding electrical safety, hot surfaces, and following instructions for proper use.