The document provides information about using iDRAC8 interfaces to perform real-time storage configuration on Dell PowerEdge 13th generation servers featuring PERC9 controllers. It describes prerequisites for real-time configuration and provides examples of using WSMAN, RACADM and the iDRAC GUI to create a virtual disk, assign a hot spare, and delete a virtual disk without rebooting the server.


![26 Storage Real Time Configuration in Dell PowerEdge 13th Generation Servers
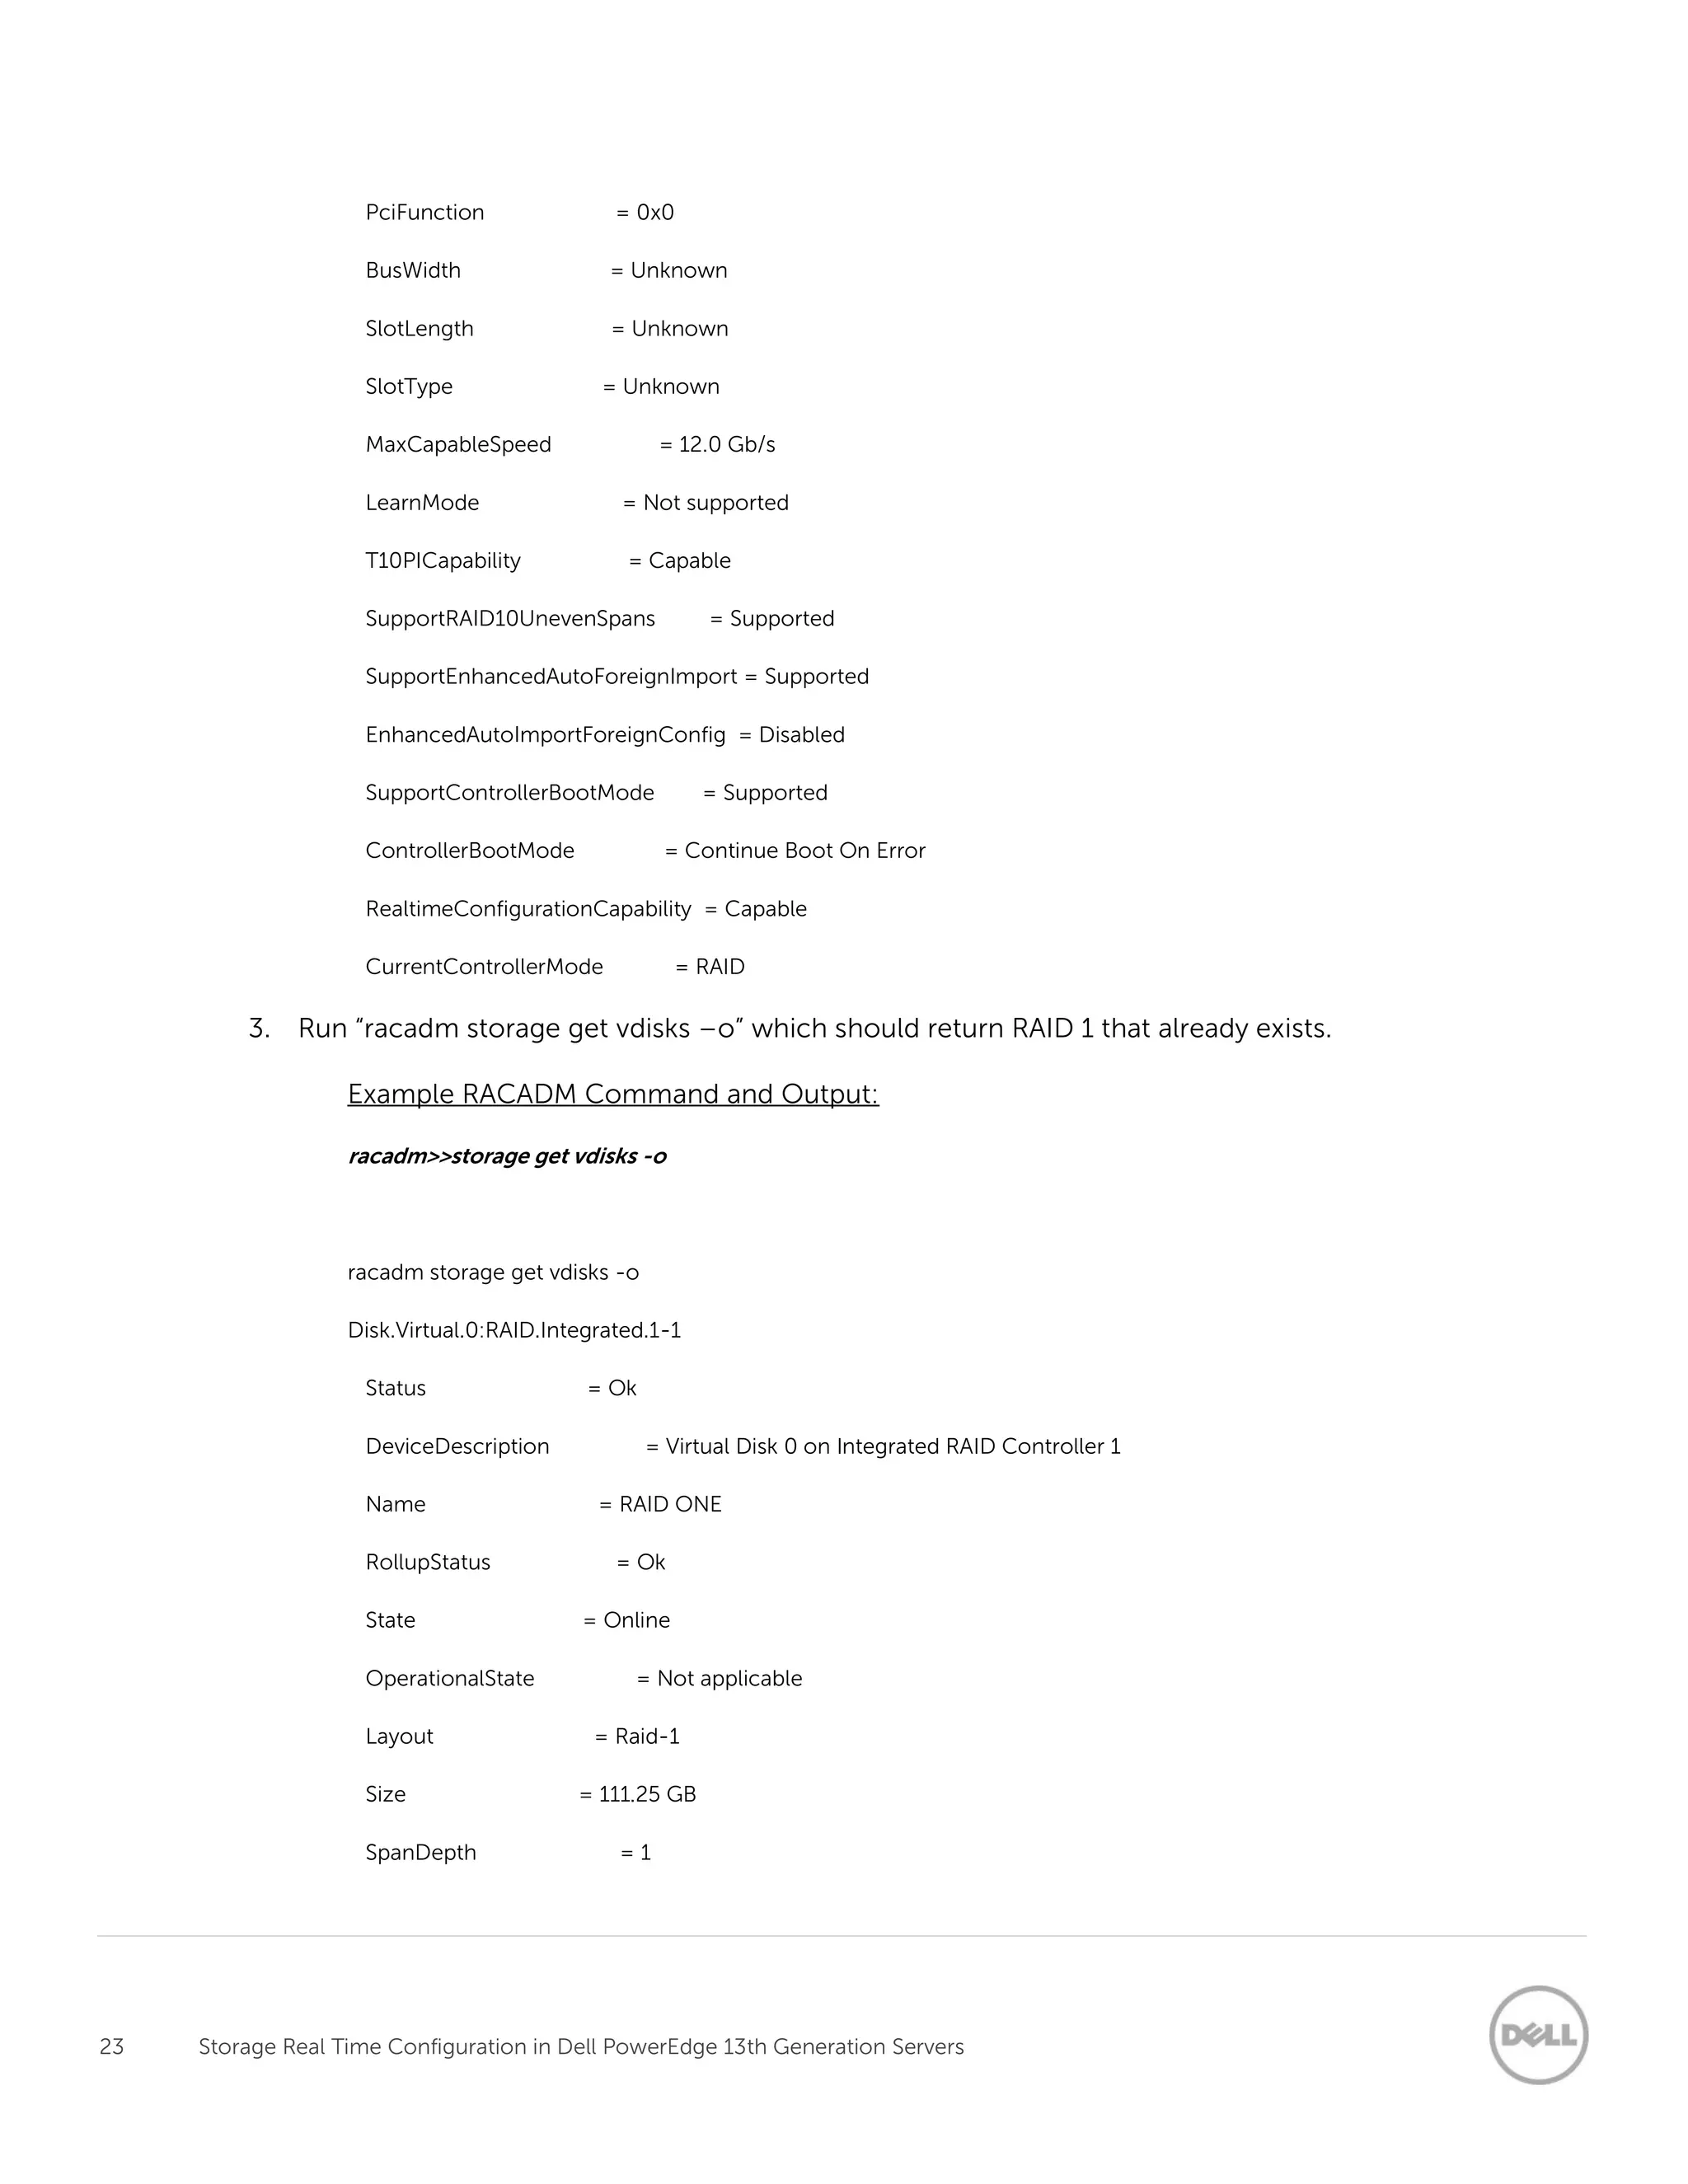
racadm>>racadm jobqueue create RAID.Integrated.1-1 -s TIME_NOW --realtime
racadm jobqueue create RAID.Integrated.1-1 -s TIME_NOW --realtime
RAC1024: Successfully scheduled a job.
Verify the job status using "racadm jobqueue view -i JID_xxxxx" command.
Commit JID = JID_110005275595
racadm>>racadm jobqueue view -i JID_110005275595
racadm jobqueue view -i JID_110005275595
---------------------------- JOB -------------------------
[Job ID=JID_110005275595]
Job Name=Configure: RAID.Integrated.1-1
Status=Completed
Start Time=[Now]
Expiration Time=[Not Applicable]
Message=[PR19: Job completed successfully.]
Percent Complete=[100]
----------------------------------------------------------
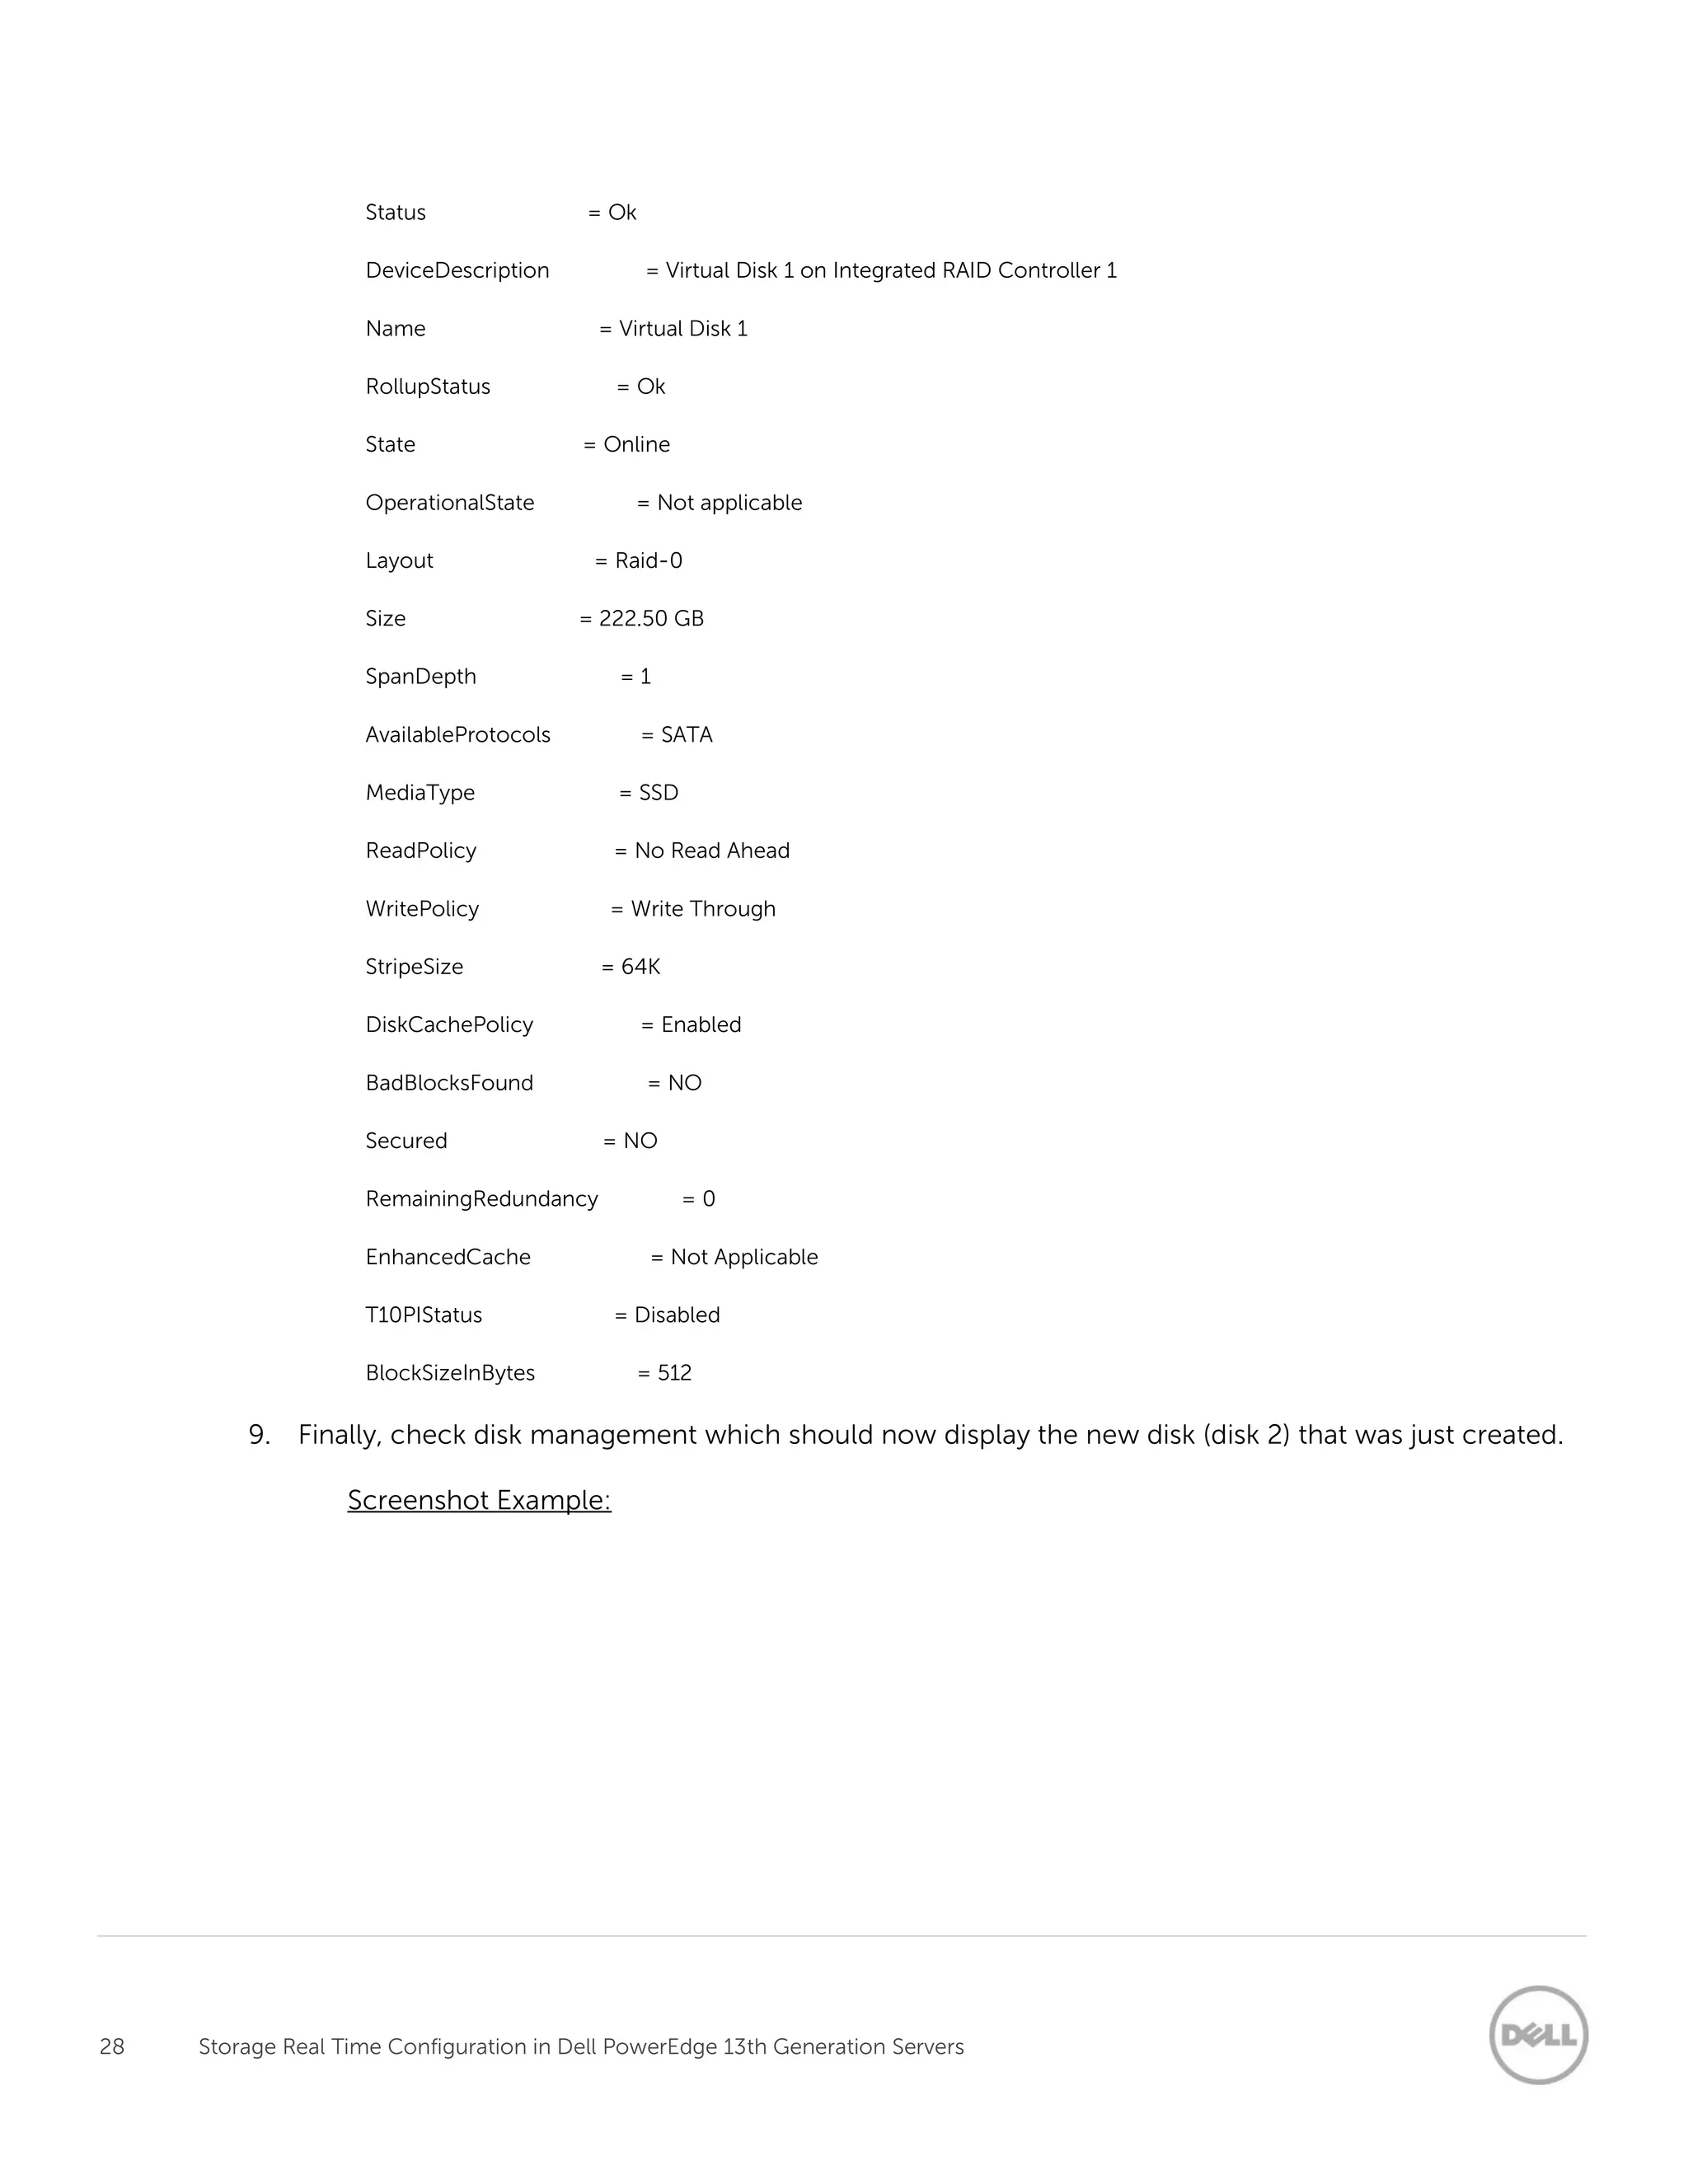
7. Using the configuration job ID, run “racadm lclog viewconfigresult –j JID_110005275595” to validate
the configuration results.
RACADM Example Command and Output:
racadm>>racadm lclog viewconfigresult -j JID_110005275595
racadm lclog viewconfigresult -j JID_110005275595
SeqNumber = 12592
FQDD = RAID.Integrated.1-1
DisplayValue = Virtual Disk 1
Name = Virtual Disk 1
Status = Success](https://image.slidesharecdn.com/fdf18d8e-5e69-4d40-ab35-83ec893c4287-150305110031-conversion-gate01/75/Real-Time-Storage-Configuration-Using-PERC9-on-Dell-13th-Generation-PowerEdge-Servers-26-2048.jpg)


![[KubeCon EU 2022] Running containerd and k3s on macOS](https://cdn.slidesharecdn.com/ss_thumbnails/lima-220519142933-3d747f68-thumbnail.jpg?width=640&height=640&fit=bounds)