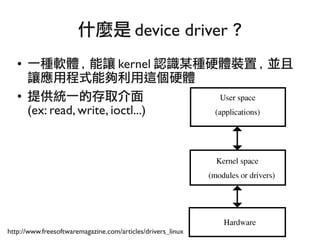
本文档介绍了如何使用 Raspberry Pi 学习 Linux 驱动程序,包括 GPIO 控制、设备驱动程序的基本概念及其与用户空间应用程序的关系。内容涵盖了驱动程序的写作准备、内核模块的加载与卸载、以及通过通信协议读取传感器数据等实用步骤。作者提供了多个示例代码片段和相关说明,以帮助读者理解设备驱动程序的实际开发过程。


![21
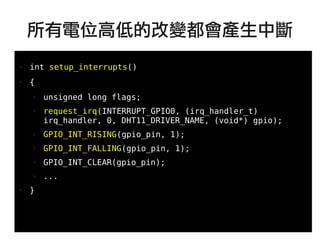
●
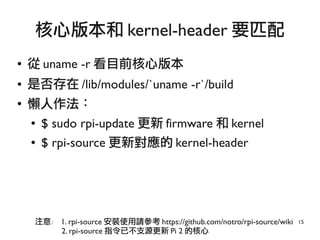
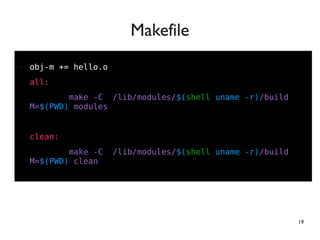
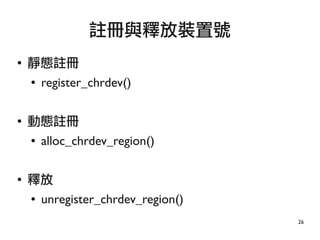
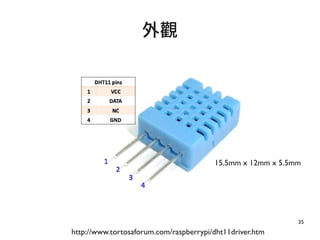
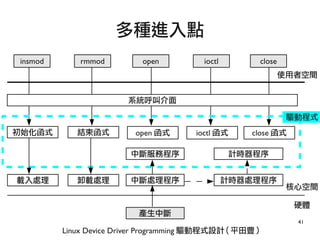
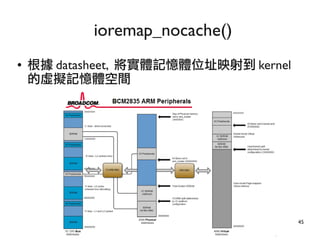
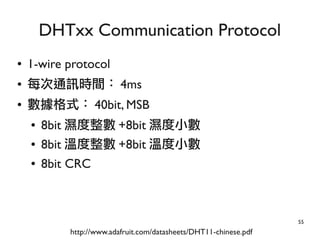
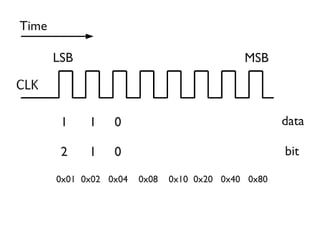
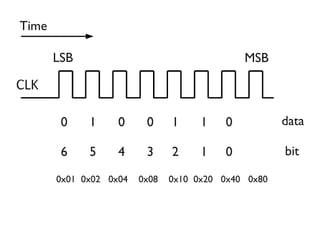
● pi@raspberrypi ~ $ sudo insmod ./hello.ko
● pi@raspberrypi ~ $ dmesg | tail
[ 805.268569] hello world!
● pi@raspberrypi ~ $ cat /proc/modules | grep hello
hello 792 0 - Live 0xbf0d2000 (O)
●
pi@raspberrypi ~ $ sudo rmmod hello
● pi@raspberrypi ~ $ dmesg | tail
[ 840.639390] goodbye world!
載入並查看 kernel module](https://image.slidesharecdn.com/write-a-device-driver-on-raspberry-pi-howto-140710223952-phpapp01-150430054515-conversion-gate01/85/Raspberry-PI-Linux-21-320.jpg)


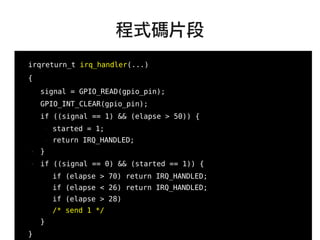


![80
●
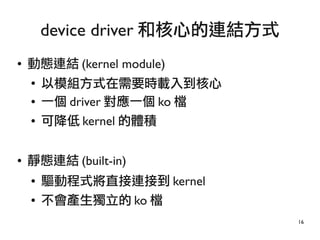
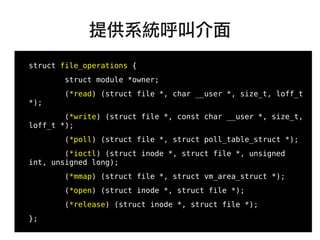
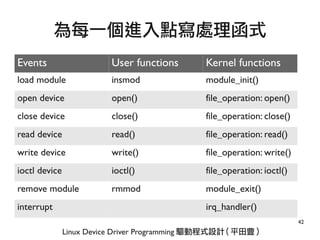
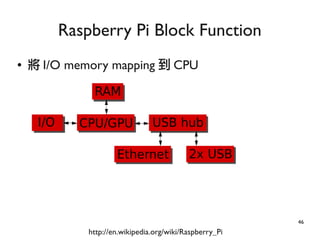
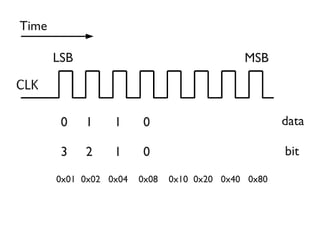
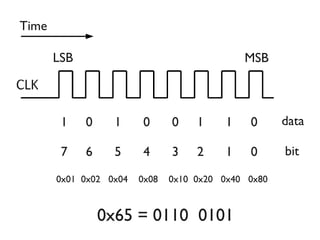
● unsigned int bitcnt = 0;
● unsigned int bytecnt = 0;
● unsigned char dht[5];
● ...
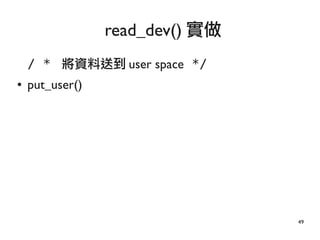
irq_handler()
● {
● /* send 1 if elapse time > 70us */
● if ( elapse > 60 )
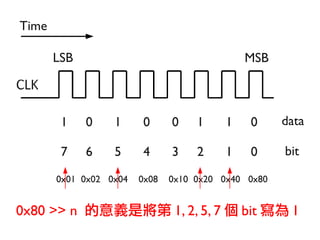
dht[ bytecnt ] = dht[bytecnt] | ( 0x80 >> bitcnt);
}
用 bitwise operation 設值](https://image.slidesharecdn.com/write-a-device-driver-on-raspberry-pi-howto-140710223952-phpapp01-150430054515-conversion-gate01/85/Raspberry-PI-Linux-80-320.jpg)


![[嵌入式系統] 嵌入式系統進階](https://cdn.slidesharecdn.com/ss_thumbnails/advembedded-150613071653-lva1-app6892-thumbnail.jpg?width=640&height=640&fit=bounds)