Download to read offline

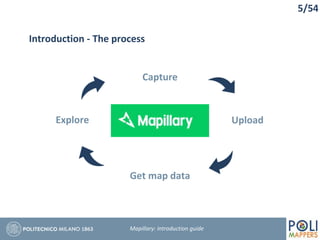

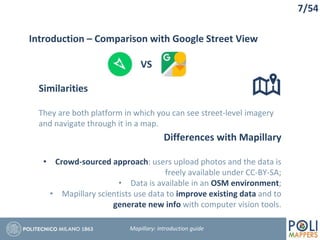
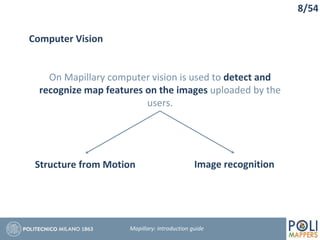


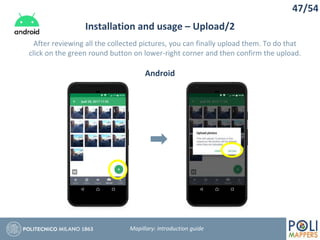


Mapillary is a collaborative street-level imagery platform that uses computer vision to extract map data, which began in Malmö, Sweden, in 2013. The platform allows users to upload photos for various applications, such as urban planning and disaster recovery, and is distinguished from Google Street View by its crowd-sourced approach and the integration of computer vision for data enhancement. The document provides details on the process of contributing to Mapillary, including the use of mobile applications, community events, and best practices for capturing and uploading images.


![[EN] Maps and Digital Tools For Activists [RO] Hărți și instrumente digitale ...](https://cdn.slidesharecdn.com/ss_thumbnails/hriiinstrumentedigitalepentruactiviti-150817180833-lva1-app6892-thumbnail.jpg?width=640&height=640&fit=bounds)


