Download as PDF, PPTX


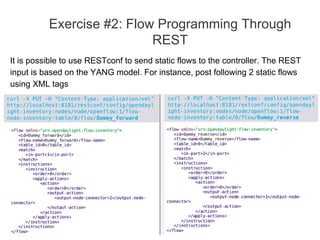


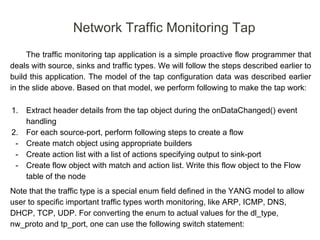


![3. Add flows using RESTFul. Open a terminal in the VM and copy the box
below
$ curl -u admin:admin -H "Content-Type:application/json" -X PUT -d '{"tap-spec":
{"tap":[
{"id":"1",
"node":"openflow:1",
"traffic-match":"HTTP",
"src-node-connector":["openflow:1:1"],
"sink-node-connector":["openflow:1:2"]
}
]
}
}' http://localhost:8181/restconf/config/tap:tap-spec
Network Traffic Monitoring Tap
You can open a browser and inspect the data store at
http://localhost:8181/restconf/config/tap:tap-spec](https://image.slidesharecdn.com/opendaylight-sdn-nfvtutorial-170420052232/85/Open-Dayligth-usando-SDN-NFV-33-320.jpg)


This document outlines a tutorial on OpenDaylight focusing on SDN and NFV, detailing its architecture, essential tools, and components for application development. It includes hands-on exercises for creating a learning switch, flow programming through REST APIs, and building a traffic monitoring tap application. The tutorial emphasizes the use of Java, Maven, and OSGi for modular application development, demonstrating how to set up and run a project within a virtual machine environment.