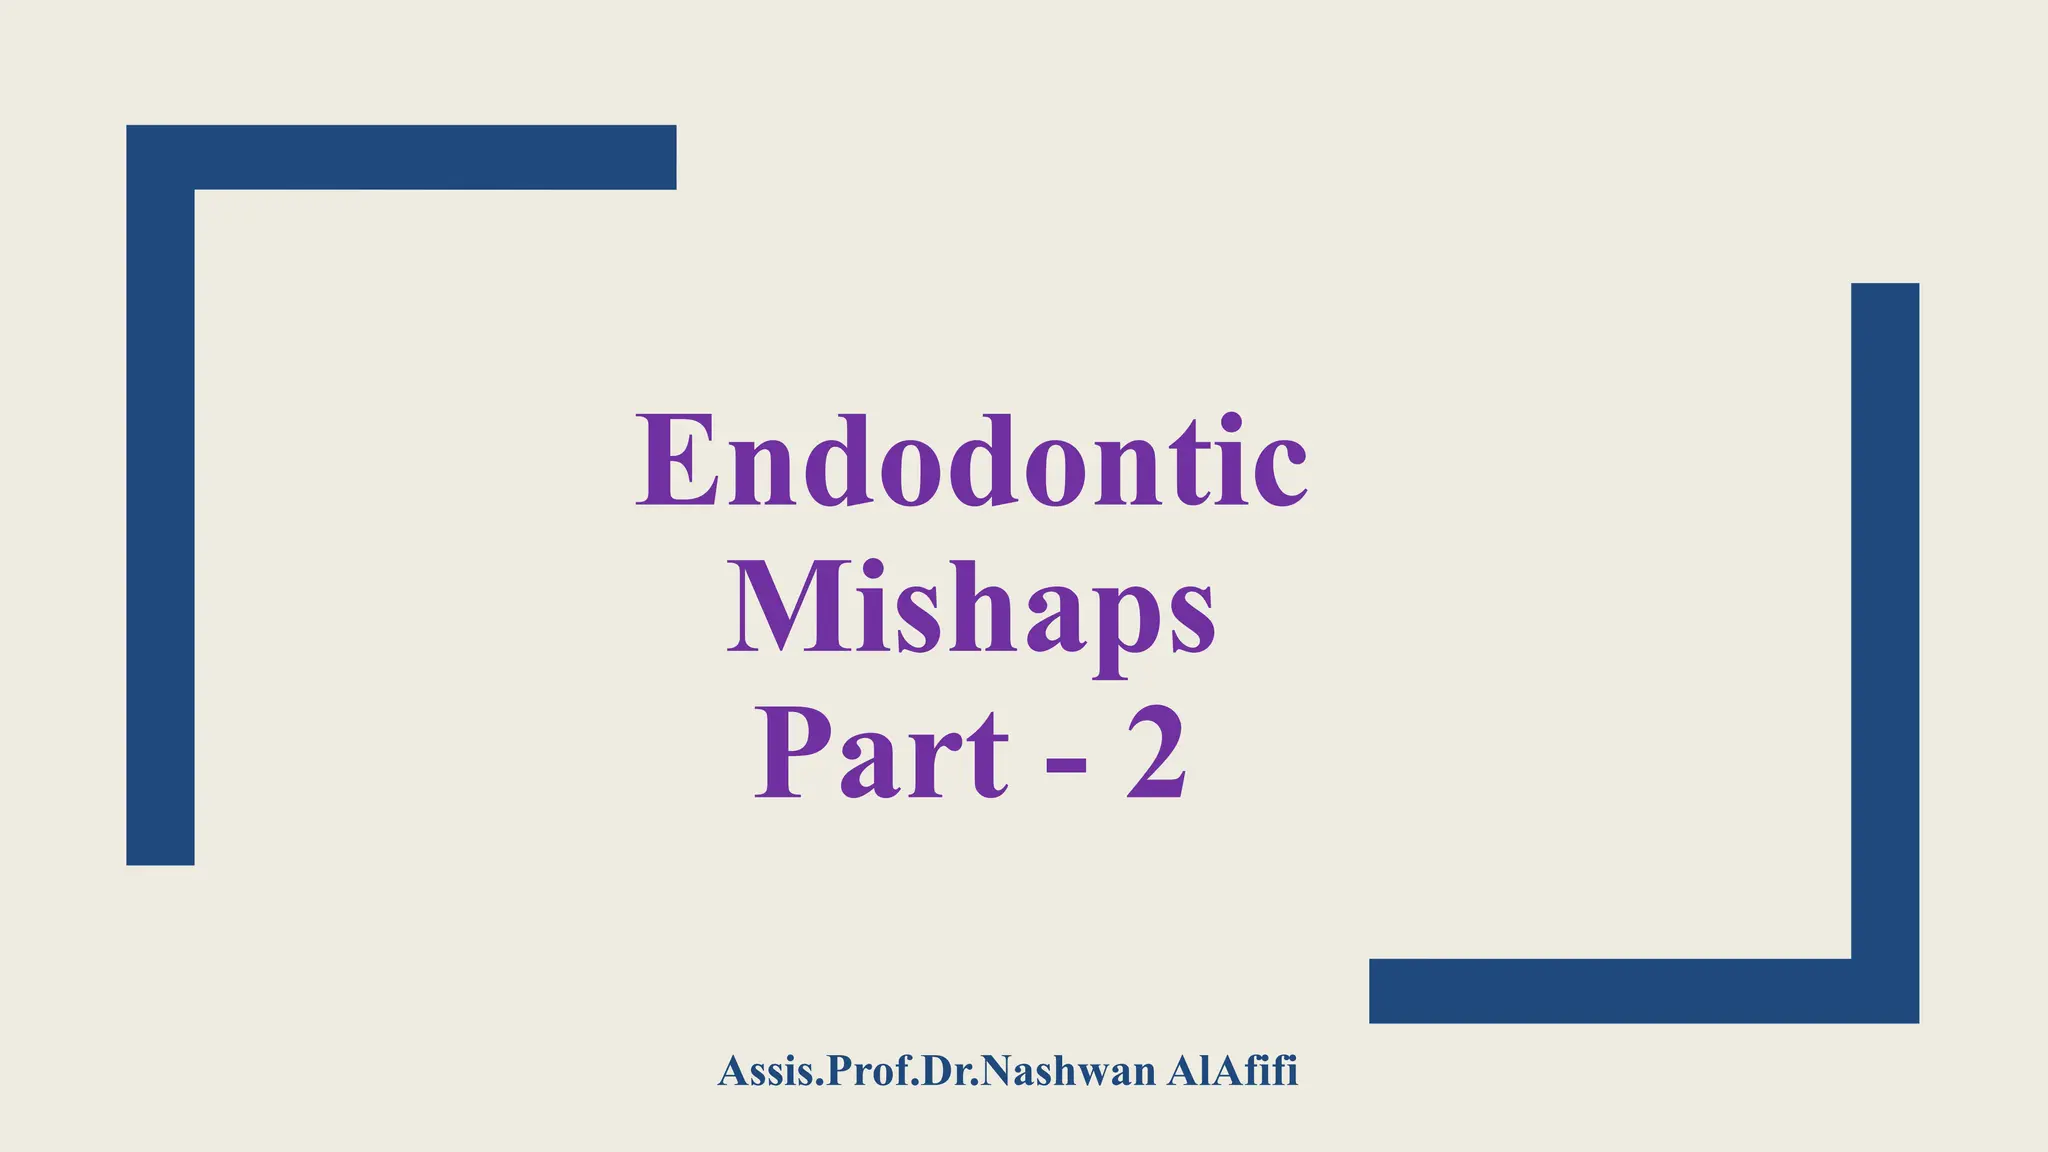
3. Root canalperforation
■ A) Cervical canal perforation:
• During the process of locating and widening the canal orifice.
• Inappropriate use of Gates-Glidden burs.
Causes
• Sudden appearance of blood.
• Use of a magnification. Or by using Apex locator.
• Confirmed by taking a radiograph of the tooth with a file.
Recognition
• A small area: may be sealed from inside the tooth.
• A large area: may be sealed from the inside and then the
external aspect may repaired surgically.
• The recommended material: Calcium hydroxide, calcium
sulfate or MTA.
Correction
3.
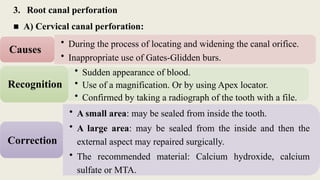
■ B) Mid-rootperforation:
■ Lateral perforations at mid-root level tend to occur mostly in curved canals.
Fig. 9. A perforating along the
inside curvature of the root as
the canal is straightened out is
often referred to as canal
“stripping”.
• As a result of perforating when a ledge has formed during initial
instrumentation.
• Along the inside curvature of the root as the canal is
straightened out. This is often referred to as canal “stripping”.
E.g.: Distal wall of the mesial root of the mandibular first molar
(Fig. 9).
Causes
4.
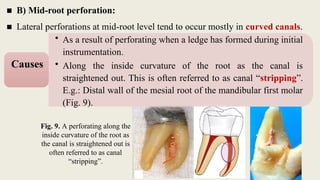
• Use ofpre-curved files for curved
canals.
• Anticurvature filing (See pic).
Here more filing pressure is placed
on tooth structure away from
Prevention
Fig. 10. Anticurvature filling
• Sudden appearance of haemorrhage in a previously dry canal.
• A sudden complaint by patient.
• Or by using Apex locator.
Recognition
• Access to mid root perforation is most often difficult and
repair is not predictable. Mineral trioxide aggregate
(MTA) or Calcium hydroxide can be used as a biological
barrier against which filling material is packed.
Correction
5.
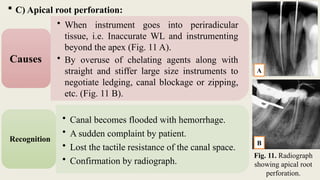
C) Apicalroot perforation:
• When instrument goes into periradicular
tissue, i.e. Inaccurate WL and instrumenting
beyond the apex (Fig. 11 A).
• By overuse of chelating agents along with
straight and stiffer large size instruments to
negotiate ledging, canal blockage or zipping,
etc. (Fig. 11 B).
Causes
• Canal becomes flooded with hemorrhage.
• A sudden complaint by patient.
• Lost the tactile resistance of the canal space.
• Confirmation by radiograph.
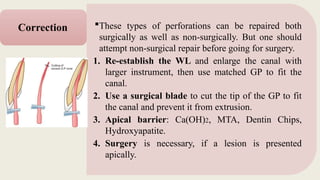
Recognition
Fig. 11. Radiograph
showing apical root
perforation.
A
B
6.
These types ofperforations can be repaired both
surgically as well as non-surgically. But one should
attempt non-surgical repair before going for surgery.
1. Re-establish the WL and enlarge the canal with
larger instrument, then use matched GP to fit the
canal.
2. Use a surgical blade to cut the tip of the GP to fit
the canal and prevent it from extrusion.
3. Apical barrier: Ca(OH)2, MTA, Dentin Chips,
Hydroxyapatite.
4. Surgery is necessary, if a lesion is presented
apically.
Correction
7.
• Proper workinglengths must be established and
maintained throughout the procedure.
• In curved canals, the flexibility of files with respect to
size must be considered.
• Cleaning and shaping procedures straighten the canal
somewhat and effectively decrease the working length by
as much as 1 to 2 mm, requiring compensation.
• The working length should be verified with an apex
locator after completion of cleaning and shaping steps.
Prevention
Prognosis: Less adverse effect than coronal perforations.
8.
■ Technique oftreatment of Apical root perforation with MTA:
1. Apply rubber dam and debride the root canal system.
2. Dry the canal system with paper points and isolate the perforation site.
3. Prepare the MTA material according to manufacturer’s instructions.
4. Using the carrier provided, dispense the material into perforation site.
Condense the material using pluggers or paper points.
5. While placing MTA, instrument is placed into the canal and moved up and
down in short strokes till the MTA sets. It is done to avoid file getting frozen
in the MTA. Place the temporary restoration to seal chamber.
6. In next appointment, one sees the hard-set MTA, the obturation can be done
against it.
9.
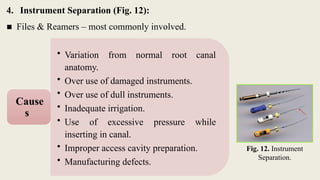
4. Instrument Separation(Fig. 12):
■ Files & Reamers – most commonly involved.
Fig. 12. Instrument
Separation.
• Variation from normal root canal
anatomy.
• Over use of damaged instruments.
• Over use of dull instruments.
• Inadequate irrigation.
• Use of excessive pressure while
inserting in canal.
• Improper access cavity preparation.
• Manufacturing defects.
Cause
s
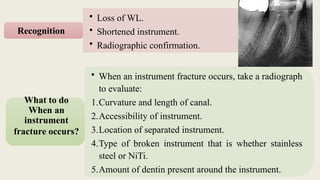
10.
• Loss ofWL.
• Shortened instrument.
• Radiographic confirmation.
Recognition
• When an instrument fracture occurs, take a radiograph
to evaluate:
1.Curvature and length of canal.
2.Accessibility of instrument.
3.Location of separated instrument.
4.Type of broken instrument that is whether stainless
steel or NiTi.
5.Amount of dentin present around the instrument.
What to do
When an
instrument
fracture occurs?
11.
It willvary depending upon the location and nature of
the broken instrument.
1. Stay calm. It is not the end of the world.
2. Try to remove it only if the separated portion is in the
coronal segment of the tooth and not past the root
curvature. This step also requires good magnification,
illumination and proper tools (such as different ultrasonic
tips).
3. Bypass it if the separated segment is apical to the
curvature of the root using hand-instruments and finish
the shaping of that canal with hand-files. Sometimes the
separated file comes loose and can be easily flushed out.
Correction
12.
4. Make itpart of the filling if the file has completely
blocked the canal. This may not affect the prognosis
negatively [Crump and Natkin 1970, Spili et al. 2005]
depending on the initial status of the pulp and whether
the separation happened towards the beginning or the
end of cleaning and shaping stage.
5. Follow up the healing and the resolution of symptoms.
Endodontic surgery may be needed if symptoms persist
or the PA lesion does not heal.
Correction
13.
Different situationsrelated to Remove a
separated instrument:
1. Removal or Retrieval Is Possible:
If one third of the overall length of an obstruction
(broken file) can be exposed and /or Instrument
that lie in the straight portion of the canal.
2. Removal is Difficult But Still Possible:
Instrument lies partially around the canal curvature and if access can be
established to its most coronal extent.
3. Removal or Retrieval is Impossible:
If the entire segment of the broken instrument is apical to the curvature / or if
the canal and safe straight access cannot be accomplished.
14.
■ Prevention:
1. Examineeach instrument before placing it into the canal. One should always
discard instrument when there is:
Bending of instruments.
Corrosion of instrument.
Excessively heating of instrument.
2. Always use the instruments in sequential order.
3. Never force the instrument into the canal.
4. Canals should be copiously irrigated during cleaning and shaping procedure.
5. Always clean the instrument before placing it into the canal. Why?
Because debris collected between the flutes retard the cutting efficiency and
increase the frictional torque between the instrument and canal wall.
15.
5. Canal blockage(sometimes referred to as a “blockout”) :
• When a canal suddenly does not permit a working file
to be advanced to the apical stop.
Definition
• When files compact apical debris into a hardened
mass.
• When vital pulp tissue is compacted and solidified
against the apical constricture a “fibrous blockage
occurs.
Causes
16.
• Occurs whenthe confirmed working length is no longer
attained.
• Evaluation radiographically will demonstrate that the file is
not near the apical terminus.
Recognition
1. When a blockage occurs, place a small amount of EDTA
lubricant on a fine instrument (e.g. # 08 or # 10) and
introduce into the canal. Use a gentle watch winding motion
along with copious irrigation of the canal to remove the
dentin chips or tissue debris.
2. If this does not solve the problem, endosonics (ultrasonic
device) may be used to dislodge the dentin chips by the action
of acoustic streaming.
Correction
17.
3. Do notforce the instrument into the blockage as it may
further pack the dentinal debris and worsen the condition.
Moreover, forcing instruments may cause the perforation of
the canal.
Correction
1. Remove all the caries, unsupported tooth structure,
restorations before completion of the access cavity
preparation.
2. Keep the pulp chamber filled with an irrigant during canal
preparation.
3. Intracanal instruments must always be wiped clean before
they are inserted into the canal system.
4. Recapitulation must be done during instrumentation.
Prevention
18.
C. Obturation-related mishaps
1.Under Filling / Incompletely Filled Root Canals
■ Under filling of the root canals is more than 2 mm short of radiographic
apex.
1. Inaccurate working length determination.
2. Inadequate irrigation and recapitulation during
biomechanical preparation which can lead to accumulation
of dentin chips and tissue debris, and thus canal blockage.
3. Due to ledge formation.
Causes
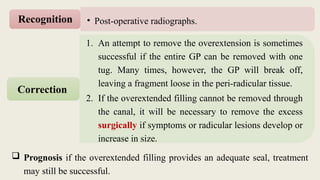
• Post-operative radiographs.
Recognition
19.
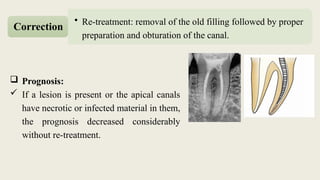
Prognosis:
Ifa lesion is present or the apical canals
have necrotic or infected material in them,
the prognosis decreased considerably
without re-treatment.
• Re-treatment: removal of the old filling followed by proper
preparation and obturation of the canal.
Correction
20.
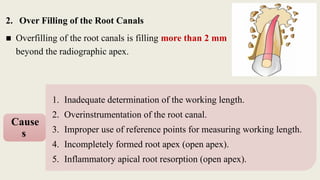
2. Over Fillingof the Root Canals
■ Overfilling of the root canals is filling more than 2 mm
beyond the radiographic apex.
1. Inadequate determination of the working length.
2. Overinstrumentation of the root canal.
3. Improper use of reference points for measuring working length.
4. Incompletely formed root apex (open apex).
5. Inflammatory apical root resorption (open apex).
Cause
s
21.
1. An attemptto remove the overextension is sometimes
successful if the entire GP can be removed with one
tug. Many times, however, the GP will break off,
leaving a fragment loose in the peri-radicular tissue.
2. If the overextended filling cannot be removed through
the canal, it will be necessary to remove the excess
surgically if symptoms or radicular lesions develop or
increase in size.
Correction
Prognosis if the overextended filling provides an adequate seal, treatment
may still be successful.
• Post-operative radiographs.
Recognition
22.
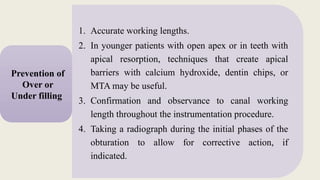
1. Accurate workinglengths.
2. In younger patients with open apex or in teeth with
apical resorption, techniques that create apical
barriers with calcium hydroxide, dentin chips, or
MTA may be useful.
3. Confirmation and observance to canal working
length throughout the instrumentation procedure.
4. Taking a radiograph during the initial phases of the
obturation to allow for corrective action, if
indicated.
Prevention of
Over or
Under filling
23.
D. Miscellaneous Mishaps
1.Irrigant-Related Mishaps.
2. Tissue Emphysema.
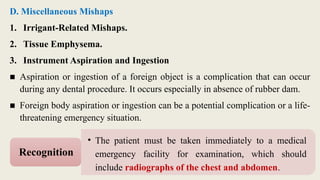
3. Instrument Aspiration and Ingestion
■ Aspiration or ingestion of a foreign object is a complication that can occur
during any dental procedure. It occurs especially in absence of rubber dam.
■ Foreign body aspiration or ingestion can be a potential complication or a life-
threatening emergency situation.
• The patient must be taken immediately to a medical
emergency facility for examination, which should
include radiographs of the chest and abdomen.
Recognition
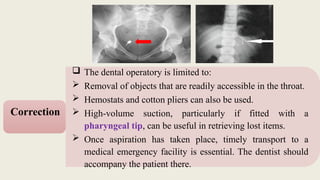
24.
The dentaloperatory is limited to:
Removal of objects that are readily accessible in the throat.
Hemostats and cotton pliers can also be used.
High-volume suction, particularly if fitted with a
pharyngeal tip, can be useful in retrieving lost items.
Once aspiration has taken place, timely transport to a
medical emergency facility is essential. The dentist should
accompany the patient there.
Correction
25.
1. Use ofa rubber dam during all phases of endodontic
therapy.
2. If a rubber dam clamp is placed on the tooth before
rubber dam placement, aspiration of a loosened clamp
can be avoided by attaching floss to the clamp before
placement.
Prevention
Big Stick Pharyngeal Suction
Tip, 25in L
#7 Decreasing the force can be done by the following.
Precurving the file
A precurved file traverses the curve better than a straight file. Precurving is done in two ways:
Placing a gradual curve for the entire length of the file
Placing a sharp curve of nearly 45° near the apical end of the instrument
Extravagant use of smaller number files as they can follow canal curvature
Because of their flexibility, they should be used until larger files are able to negotiate the canal without force.
Use of intermediate size of files
It allows smoother transition of the instrument sizes to cause smoother cutting in curved canals, e.g. cutting 1 mm of No. 15 file makes it No. 17 file as there is an increase of 0.02 mm of diameter per millimeter of length.
Use of flexible files
As they help in maintaining shape of the curve and avoid errors like ledge, elbow or zipping of the canal.
Decrease in length of actively cutting files is achieved by the following:
Anti-curvature filing.
Modifying cutting edges of the instrument by dulling the flute on outer surface of apical third and inner portion of middle third, which can be done by diamond file.
Changing canal preparation techniques, i.e. use of crown-down technique. Tendency to create narrow canal shapes minimizing access of irrigants and creating potential to allow debris to be pushed apically. Attempts at overcoming the deficiencies of these instruments resulted in a number of preparation techniques that aimed to reduce iatrogenic defects and produce canals with a more flared shape.[5]
A significant advancement in root canal preparation with hand instruments was made with the introduction of balanced force movements of files. The balanced force movements of the file are:[5]
– clockwise 60°, so that it binds against the wall and advances apically.
– anticlockwise 120° with apical pressure, so as to crush and break off the engaged dentinal wall.
– clockwise 60° without apical advancement, allows flutes to be loaded with debris and removed from the canal.

![4. Make it part of the filling if the file has completely
blocked the canal. This may not affect the prognosis
negatively [Crump and Natkin 1970, Spili et al. 2005]
depending on the initial status of the pulp and whether
the separation happened towards the beginning or the
end of cleaning and shaping stage.
5. Follow up the healing and the resolution of symptoms.
Endodontic surgery may be needed if symptoms persist
or the PA lesion does not heal.
Correction](https://image.slidesharecdn.com/lec5endodonticmishaps-2-250226150546-e0071f08/85/Lec-5-Endodontic-mishaps-for-dentists-study-level-4-12-320.jpg)


![PERI-PROSTHETIC FRACTURE NAIL-PLATE CONSTRUCT [NPC].pptx](https://cdn.slidesharecdn.com/ss_thumbnails/drarunkumardrmohamedashrafperiprostheticfrasturenail-plateconstructnpc-260209164459-7e9d15a1-thumbnail.jpg?width=640&height=640&fit=bounds)


