Download to read offline
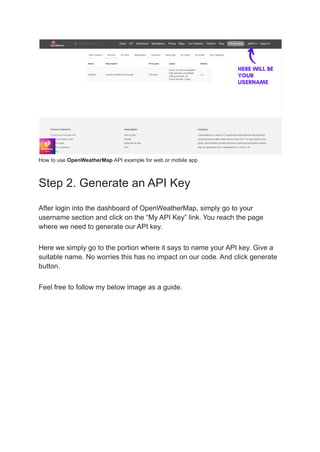
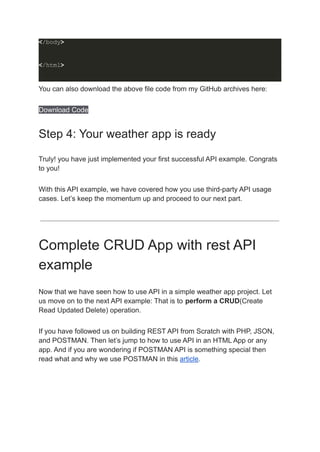
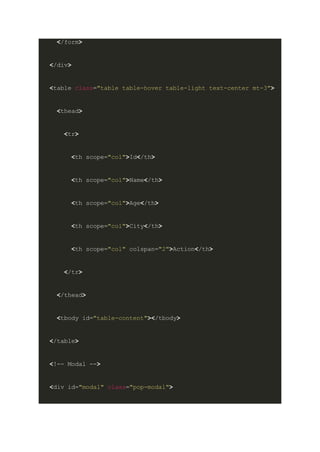
![$(document).ready(function () {
$.ajax({
url:
"https://api.openweathermap.org/data/2.5/weather?q=Delhi&appid=YOU
RAPIKEYWILLBEHERE&units=metric",
type: "GET",
dataType: "JSON",
success: function (data) {
// console.log(data);
$(".city").html(data.name);
$(".countrycode").html(data.sys.country);
$(".temp").html(data.main.temp + " Celsius");
$(".condition").html(data.weather[0].description);
$(".humid").html(data.main.humidity + " %");
}
});
});
</script>](https://image.slidesharecdn.com/learnhowtouseapiwith2apiexamples-221001184744-4eea3243/85/Learn-how-to-use-API-with-2-API-examples-pdf-7-320.jpg)
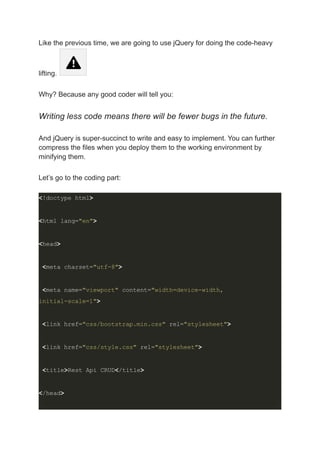
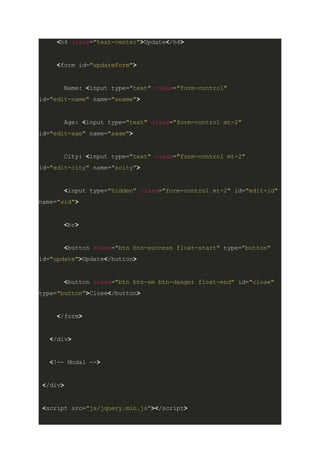
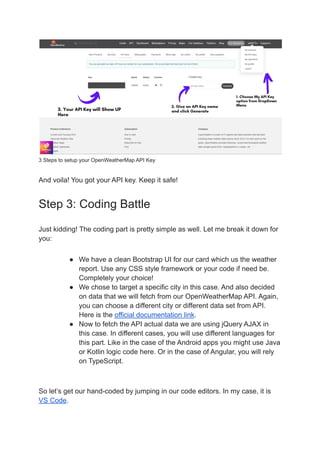
![data: json,
success: function(data) {
$("#edit-id").val(data[0].id);
$("#edit-name").val(data[0].name);
$("#edit-age").val(data[0].age);
$("#edit-city").val(data[0].city);
}
});
$("#modal").show();
});
// Update Form
$("#update").on("click", function(e) {
e.preventDefault();
array = $("#updateForm").serializeArray();
var json = giveJson(array);
console.log(json);](https://image.slidesharecdn.com/learnhowtouseapiwith2apiexamples-221001184744-4eea3243/85/Learn-how-to-use-API-with-2-API-examples-pdf-18-320.jpg)
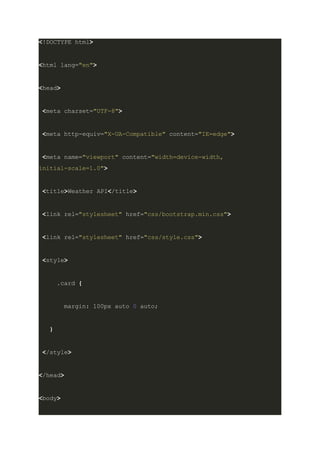
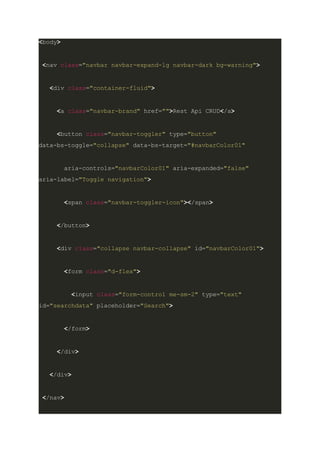
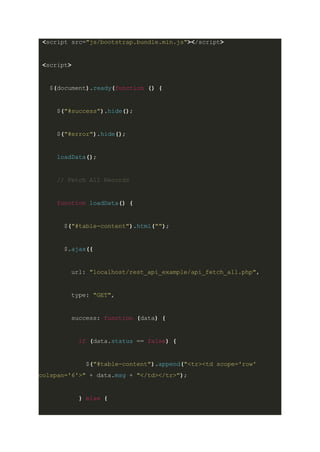
![} else {
$("#success").html(message).slideDown();
setTimeout(function() {
$("#success").slideUp();
}, 4000);
}
}
// Function that converts serialized array into JS objects
then into json itself
function giveJson(array) {
var obj = {};
for (var i = 0; i < array.length; i++) {
if(array[i].value == '') {
return false;
}
obj[array[i].name] = array[i].value;
}](https://image.slidesharecdn.com/learnhowtouseapiwith2apiexamples-221001184744-4eea3243/85/Learn-how-to-use-API-with-2-API-examples-pdf-24-320.jpg)


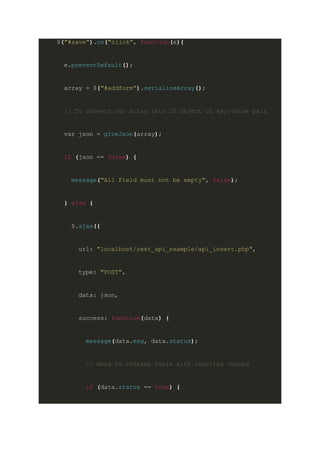
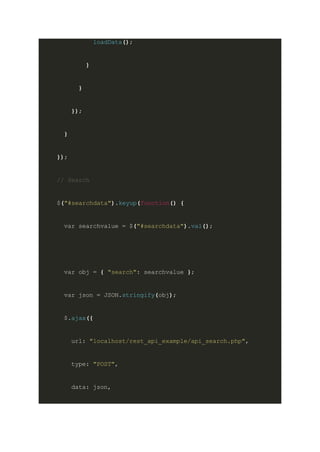
This document provides a comprehensive guide on using APIs, featuring two examples: a weather web app built using the OpenWeatherMap API and a CRUD application using a REST API. Key steps include registering for an API key, coding with jQuery for API calls, and building a user interface with Bootstrap. The guide concludes with encouragement to practice coding and addresses common usage questions.