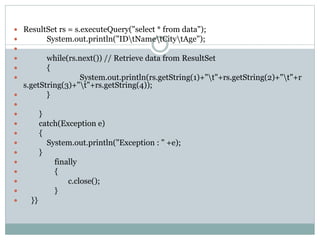
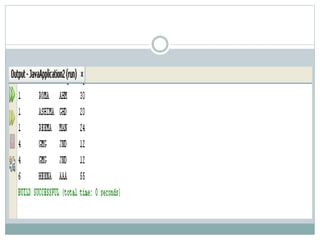
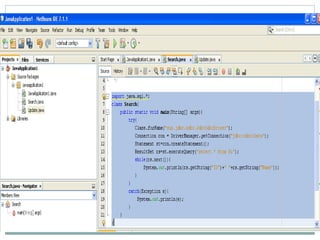
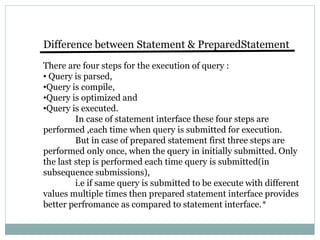
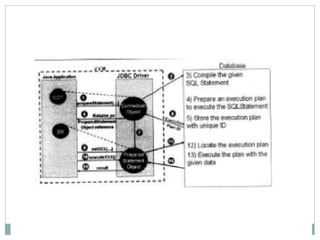
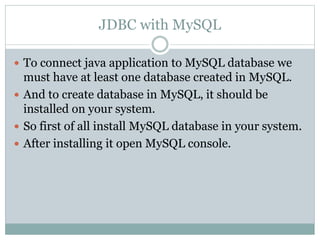
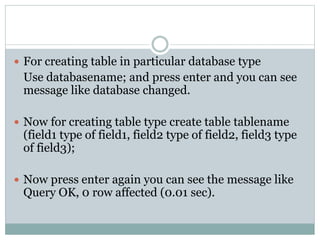
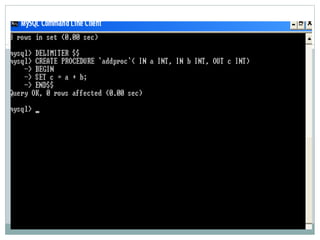
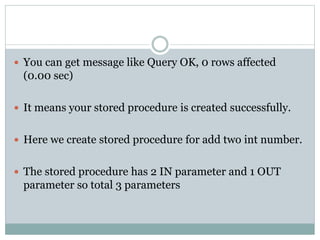
The document discusses connecting Java applications to MS Access and MySQL databases using JDBC. It provides code examples to demonstrate loading drivers, establishing connections, executing queries, retrieving results, and closing connections for basic CRUD (create, read, update, delete) operations. It also covers differences between Statement and PreparedStatement interfaces and using stored procedures with CallableStatement.


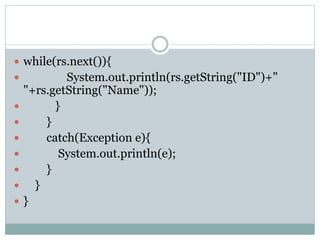
![ import java.sql.*;
class Search{
public static void main(String[] args){
try{
Class.forName("sun.jdbc.odbc.JdbcOdbcDriver");
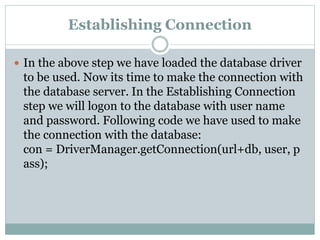
Connection con =
DriverManager.getConnection("jdbc:odbc:Data");
Statement st=con.createStatement();
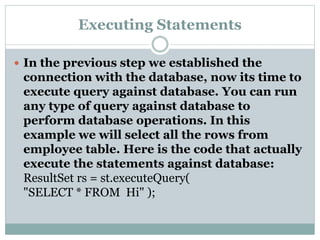
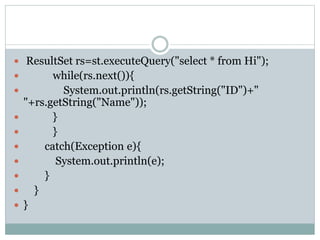
ResultSet rs=st.executeQuery("select * from
Hi");
](https://image.slidesharecdn.com/jdbcconnecticity-230222081719-baa8925f/85/JDBC-Connecticity-ppt-18-320.jpg)
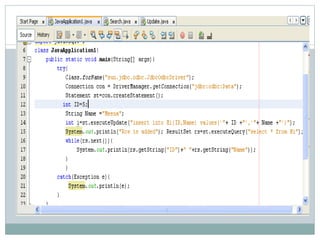
![Insert
import java.sql.*;
class JavaApplication1{
public static void main(String[] args){
try{
Class.forName("sun.jdbc.odbc.JdbcOdbcDriver");
Connection con =
DriverManager.getConnection("jdbc:odbc:Data");
Statement st=con.createStatement();
int ID=5;
String Name ="Meena";](https://image.slidesharecdn.com/jdbcconnecticity-230222081719-baa8925f/85/JDBC-Connecticity-ppt-22-320.jpg)
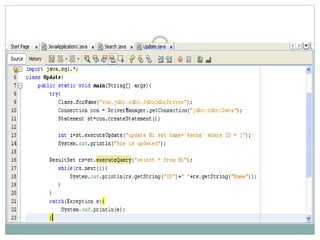
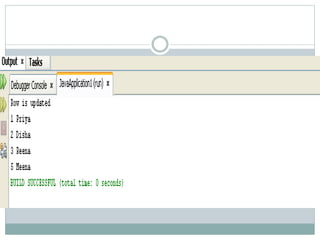
![Update
import java.sql.*;
class Update{
public static void main(String[] args){
try{
Class.forName("sun.jdbc.odbc.JdbcOdbcDriver");
Connection con =
DriverManager.getConnection("jdbc:odbc:Data");
Statement st=con.createStatement();
](https://image.slidesharecdn.com/jdbcconnecticity-230222081719-baa8925f/85/JDBC-Connecticity-ppt-26-320.jpg)
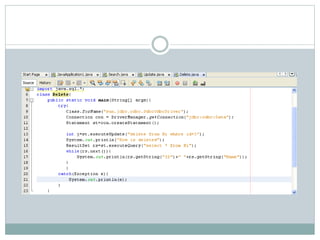
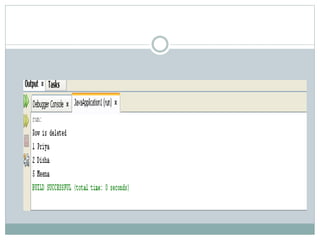
![Delete
import java.sql.*;
class Delete{
public static void main(String[] args){
try{
Class.forName("sun.jdbc.odbc.JdbcOdbcDriver");
Connection con =
DriverManager.getConnection("jdbc:odbc:Data");
Statement st=con.createStatement();
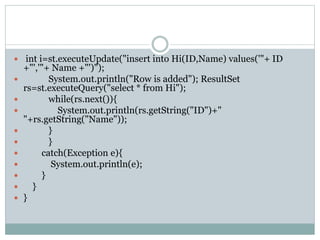
int i=st.executeUpdate("delete from Hi where
id=3");
System.out.println("Row is deleted");](https://image.slidesharecdn.com/jdbcconnecticity-230222081719-baa8925f/85/JDBC-Connecticity-ppt-30-320.jpg)
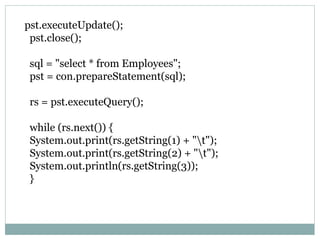
![Preapre Statement Example
import java.sql.*;
public class Prepare {
static private final String driver =
"sun.jdbc.odbc.JdbcOdbcDriver";
static private final String connection = "jdbc:odbc:emp";
public static void main(String args[]) {
Connection con = null;
PreparedStatement pst = null;
ResultSet rs = null;](https://image.slidesharecdn.com/jdbcconnecticity-230222081719-baa8925f/85/JDBC-Connecticity-ppt-41-320.jpg)
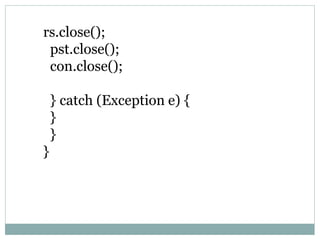

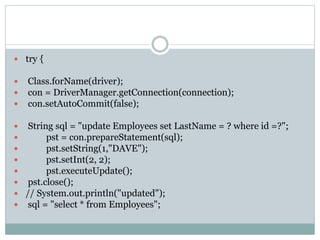
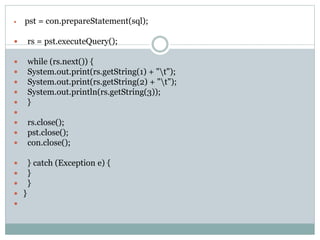
![Preapre Statement Update Example
import java.sql.*;
public class UpdatePre {
static private final String driver =
"sun.jdbc.odbc.JdbcOdbcDriver";
static private final String connection = "jdbc:odbc:emp";
public static void main(String args[]) {
Connection con = null;
PreparedStatement pst = null;
ResultSet rs = null;](https://image.slidesharecdn.com/jdbcconnecticity-230222081719-baa8925f/85/JDBC-Connecticity-ppt-46-320.jpg)
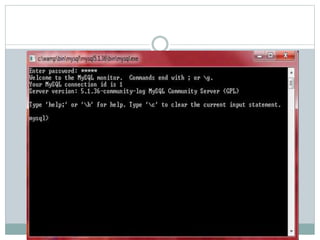
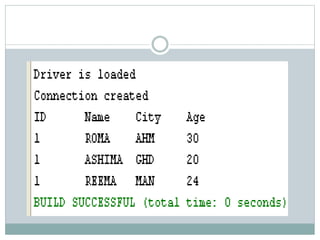
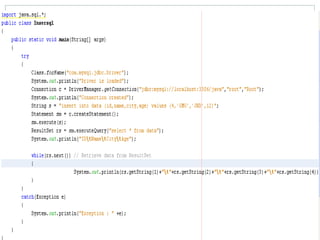
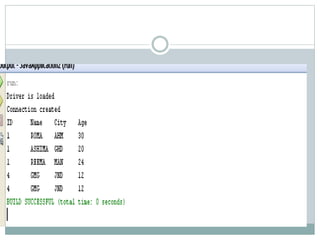
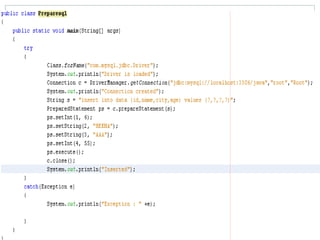
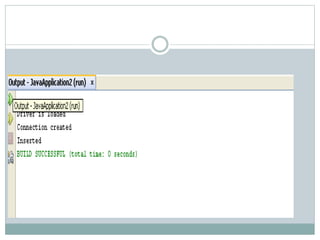
![JDBC
import java.sql.*;
public class MySqlDemo1
{
public static void main(String[] args)
{
try
{
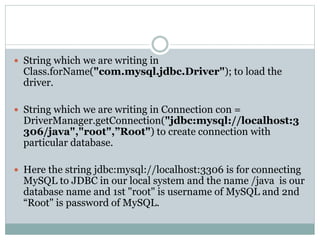
Class.forName("com.mysql.jdbc.Driver");
System.out.println("Driver is loaded");
Connection c =
DriverManager.getConnection("jdbc:mysql://localhost:3306/java",
"root","Root");
System.out.println("Connection created");
](https://image.slidesharecdn.com/jdbcconnecticity-230222081719-baa8925f/85/JDBC-Connecticity-ppt-61-320.jpg)
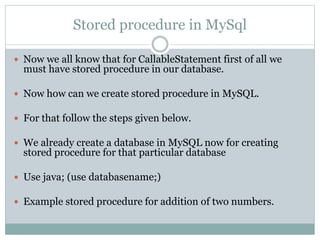
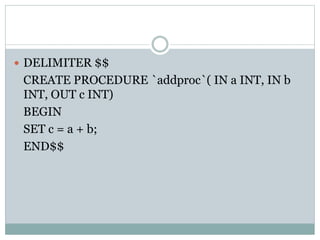
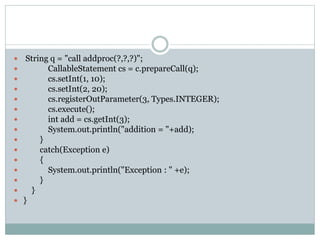
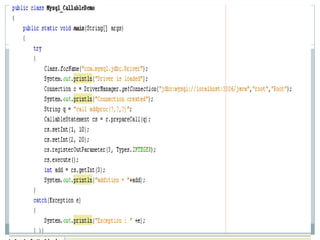
![JDBC program for Callable
mport java.sql.*;
public class Mysql_CallableDemo
{
public static void main(String[] args)
{
try
{
Class.forName("com.mysql.jdbc.Driver");
System.out.println("Driver is loaded");
Connection c =
DriverManager.getConnection("jdbc:mysql://localhost:3306/
java","root","Root");
System.out.println("Connection created");](https://image.slidesharecdn.com/jdbcconnecticity-230222081719-baa8925f/85/JDBC-Connecticity-ppt-72-320.jpg)
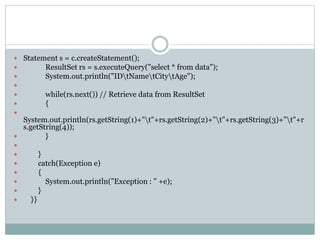
![Using finally()
import java.sql.*;
public class Mydemo
{
public static void main(String[] args) throws SQLException
{
Connection c = null;
try
{
Class.forName("com.mysql.jdbc.Driver");
System.out.println("Driver is loaded");
c =
DriverManager.getConnection("jdbc:mysql://localhost:3306/java","root","
Root");
System.out.println("Connection created");
Statement s = c.createStatement();](https://image.slidesharecdn.com/jdbcconnecticity-230222081719-baa8925f/85/JDBC-Connecticity-ppt-75-320.jpg)