Downloaded 45 times


![Notes By Niraj Bharambe
143
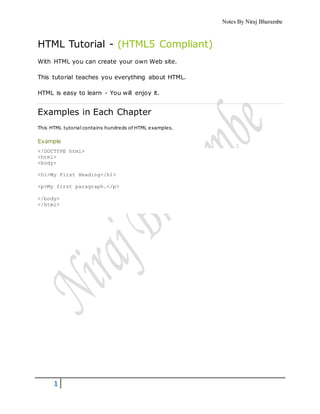
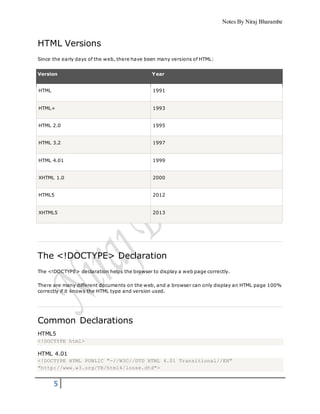
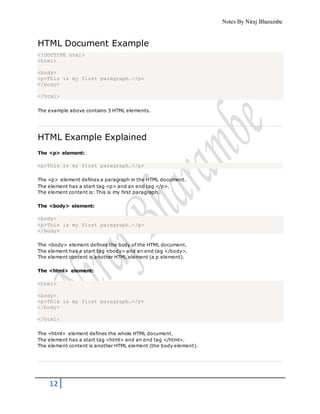
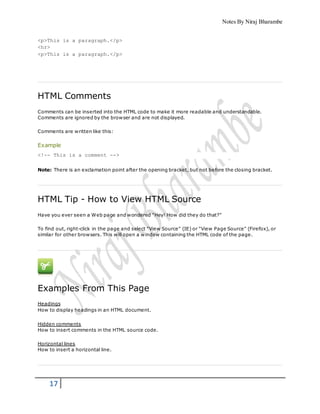
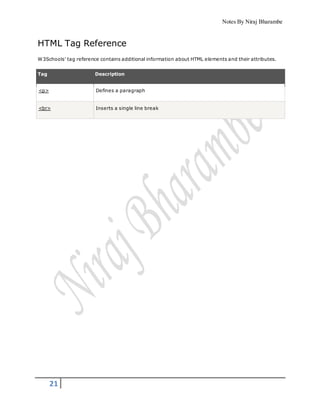
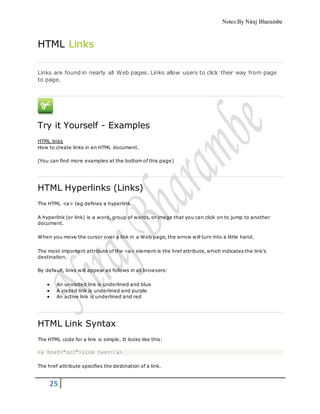
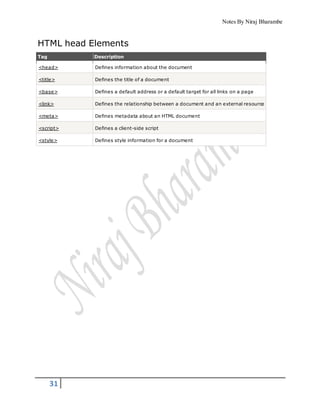
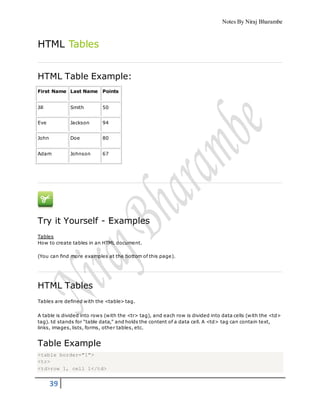
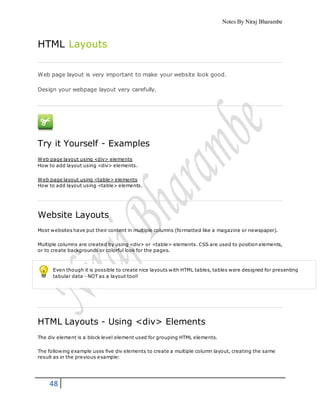
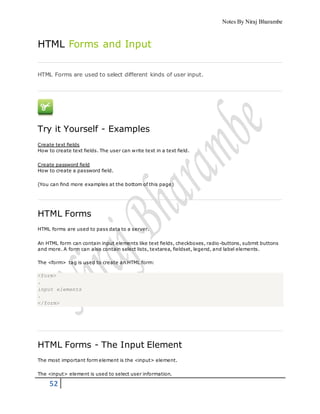
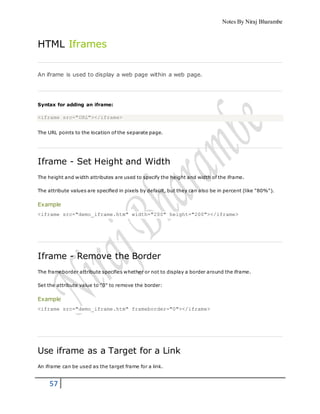
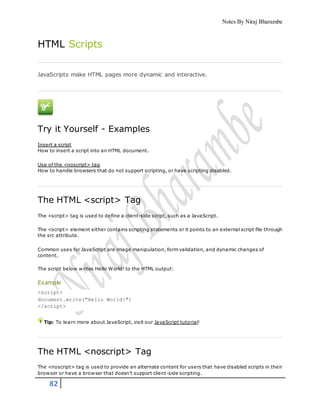
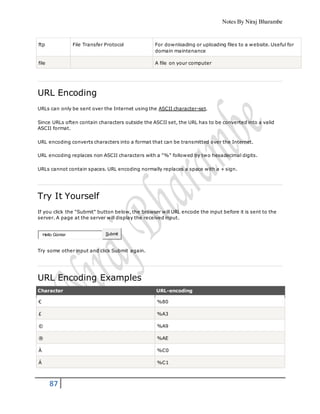
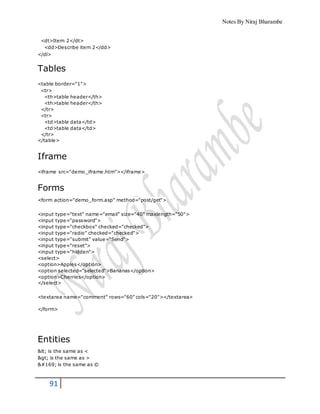
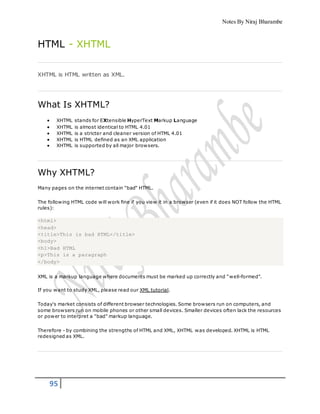
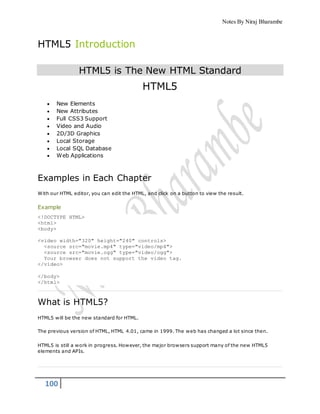
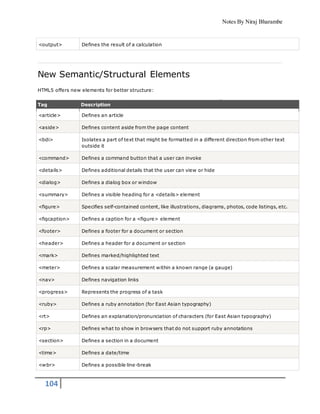
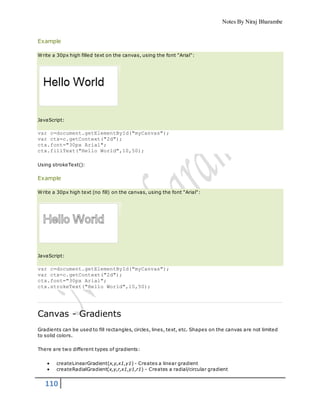
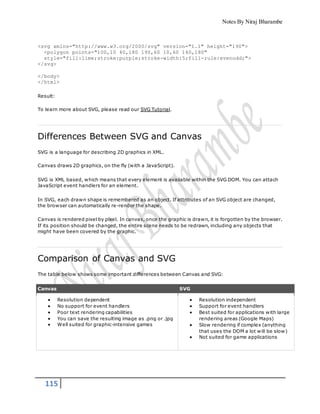
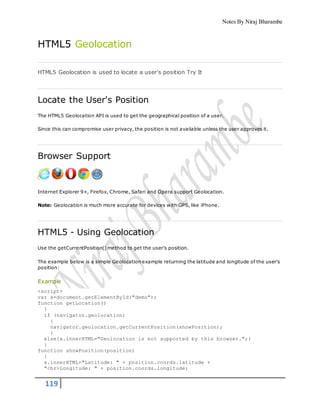
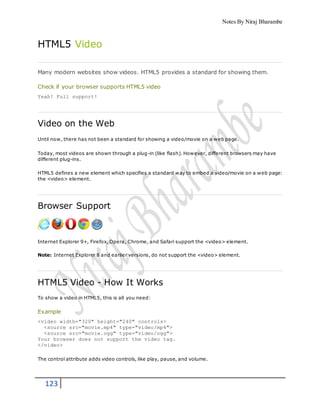
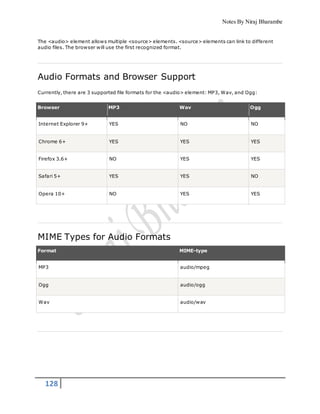
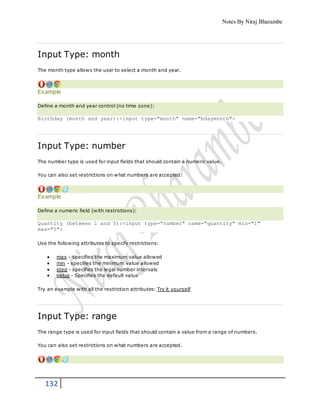
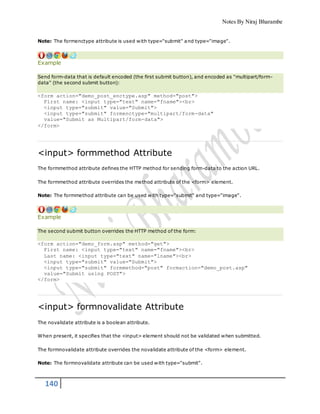
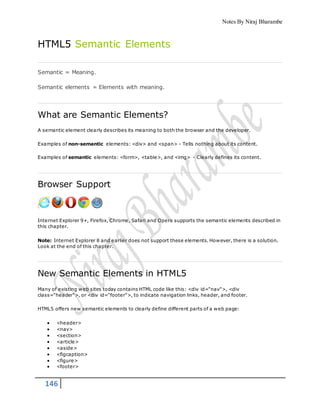
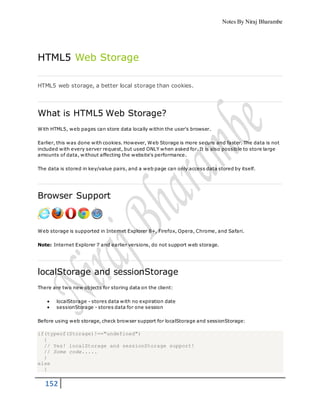
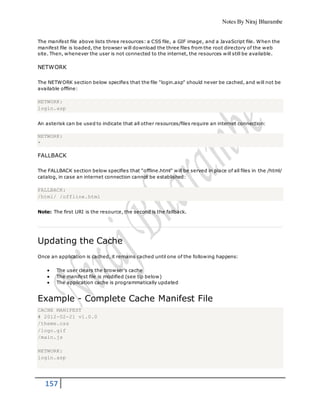
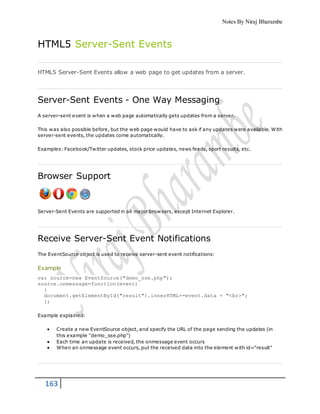
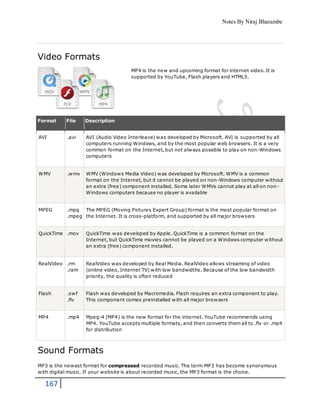
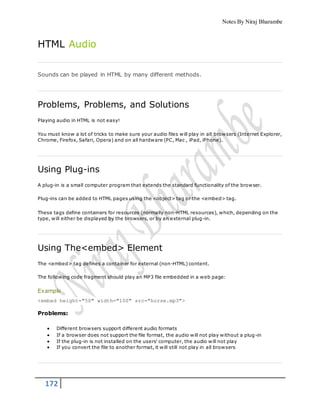
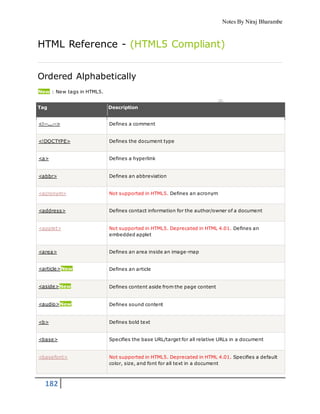
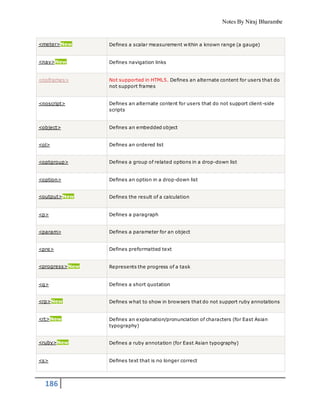
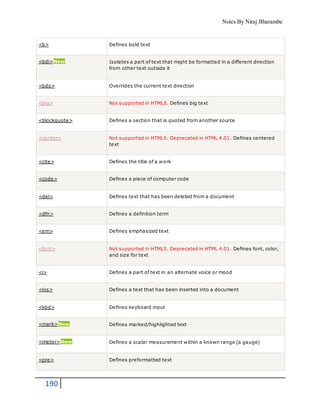
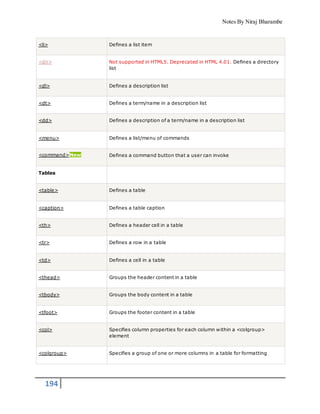
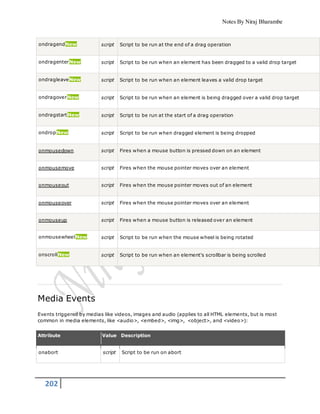
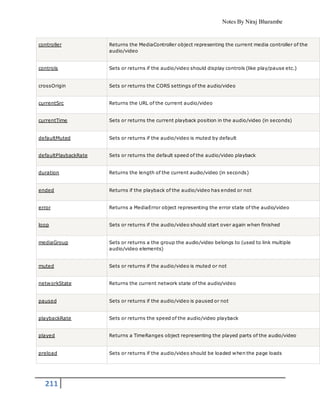
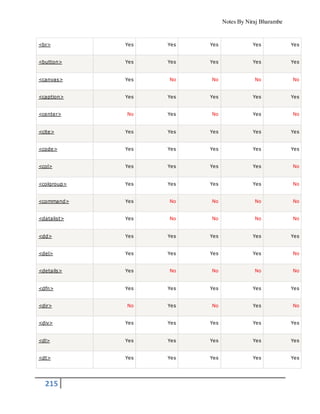
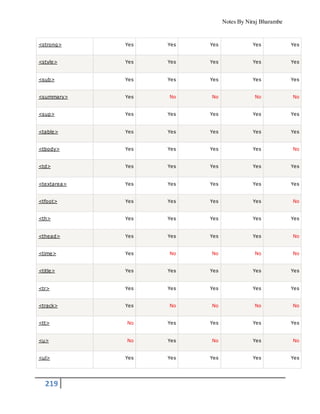
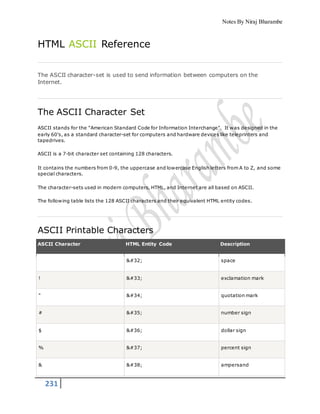
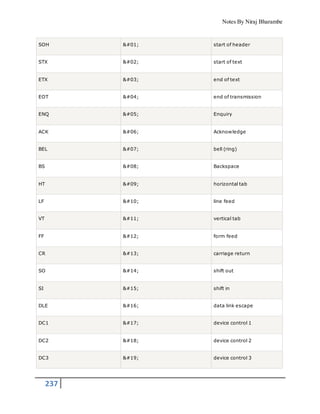
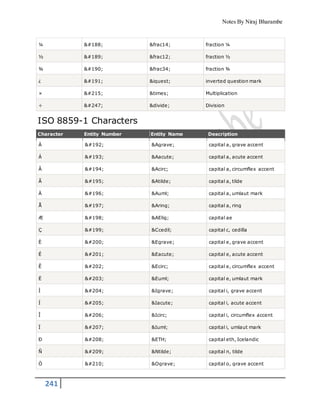
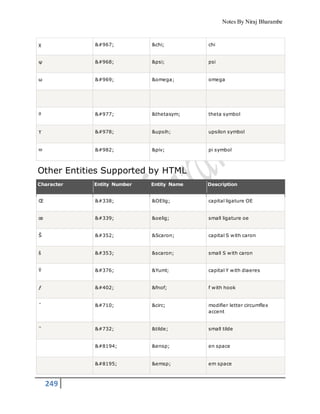
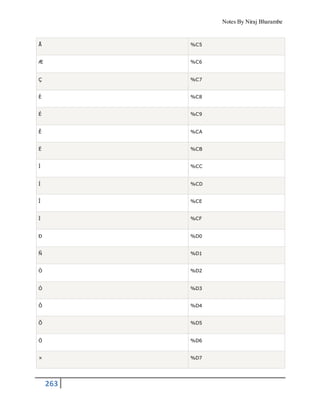
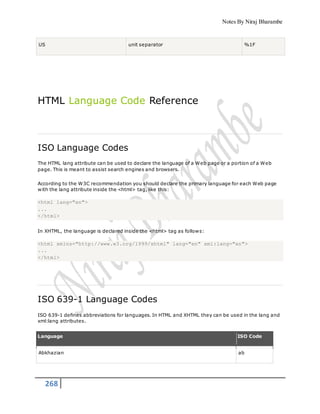
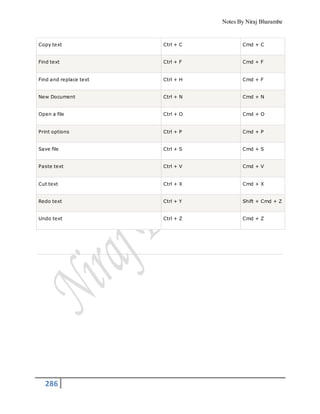
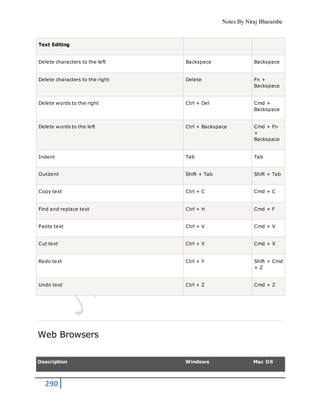
<input> multiple Attribute
The multiple attribute is a boolean attribute.
When present, it specifies that the user is allowed to enter more than one value in the <input>
element.
Note: The multiple attribute works with the following input types: email, and file.
Example
A file upload field that accepts multiple values:
Select images: <input type="file" name="img" multiple>
<input> pattern Attribute
The pattern attribute specifies a regular expression that the <input> element's value is checked
against.
Note: The pattern attribute works with the following input types: text, search, url, tel, email, and
password.
Tip: Use the global title attribute to describe the pattern to help the user.
Tip: Learn more about regular expressions in our JavaScript tutorial.
Example
An input field that can contain only three letters (no numbers or special characters):
Country code: <input type="text" name="country_code" pattern="[A-Za-z]{3}"
title="Three letter country code">
<input> placeholder Attribute
The placeholder attribute specifies a short hint that describes the expected value of an input field (e.g.
a sample value or a short description of the expected format).
The short hint is displayed in the input field before the user enters a value.
Note: The placeholder attribute works with the following input types: text, search, url, tel, email, and
password.](https://image.slidesharecdn.com/htmlnotes-150323102005-conversion-gate01-150606072723-lva1-app6891/85/Htmlnotes-150323102005-conversion-gate01-143-320.jpg)


![Notes By Niraj Bharambe
150
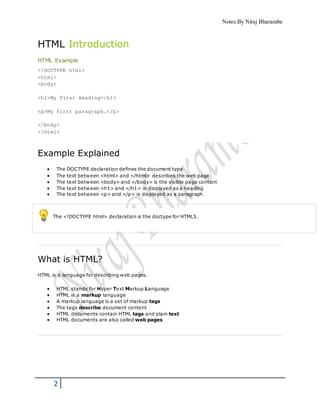
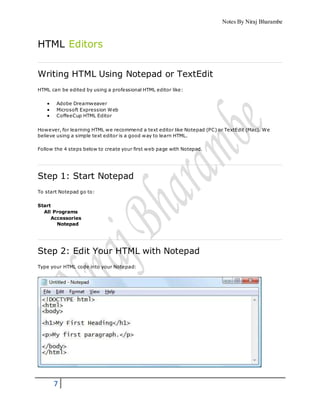
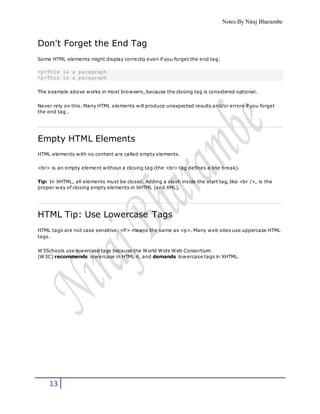
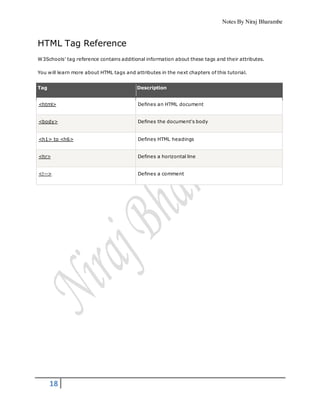
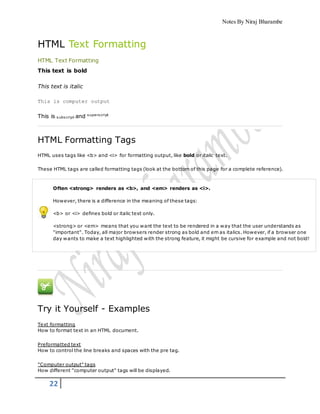
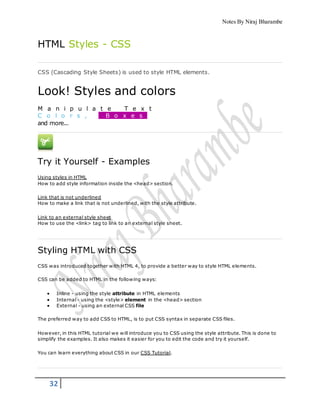
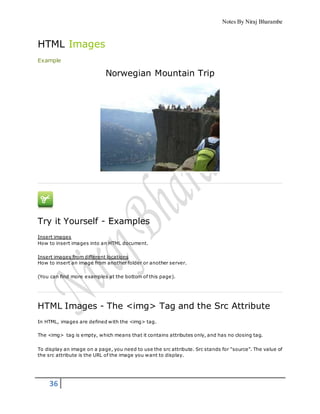
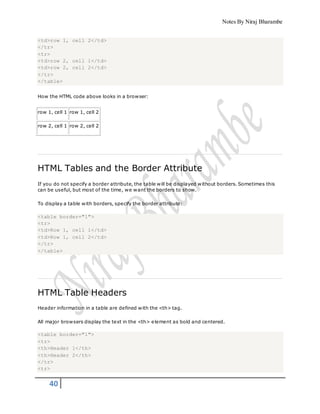
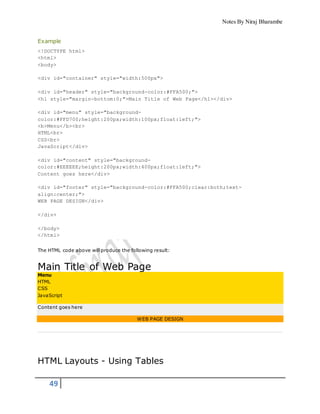
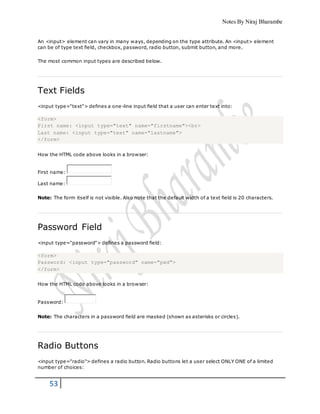
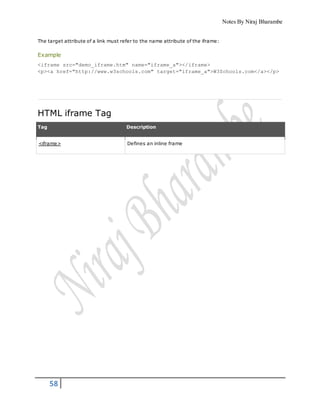
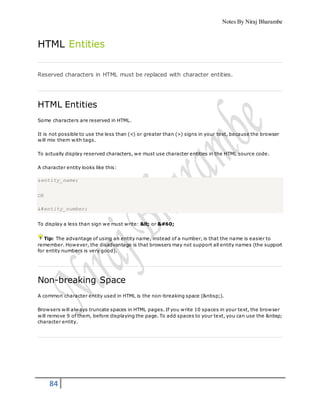
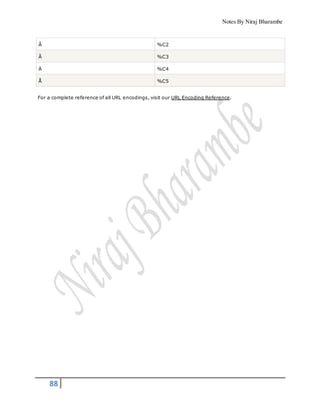
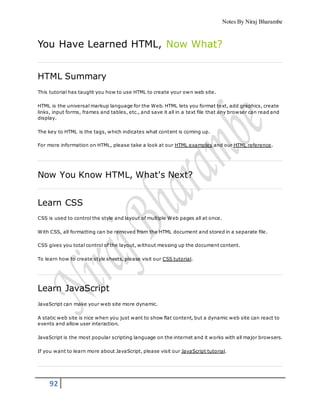
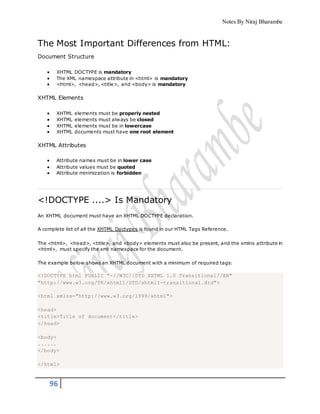
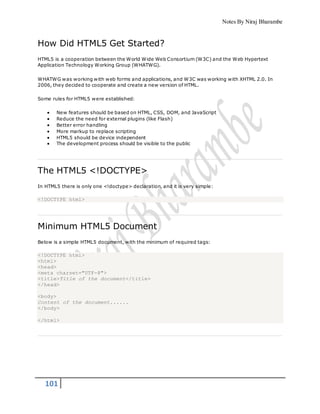
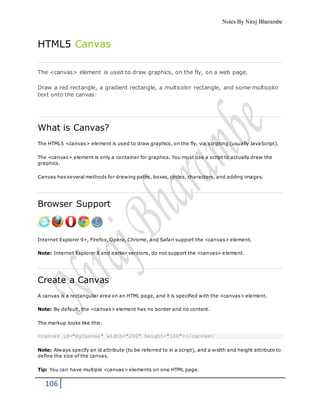
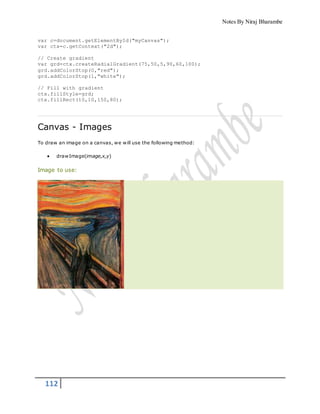
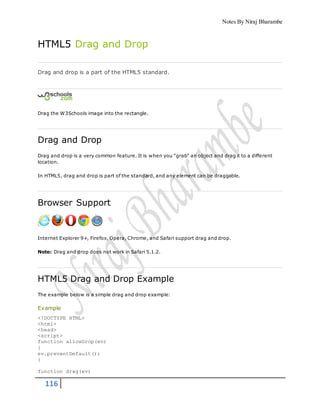
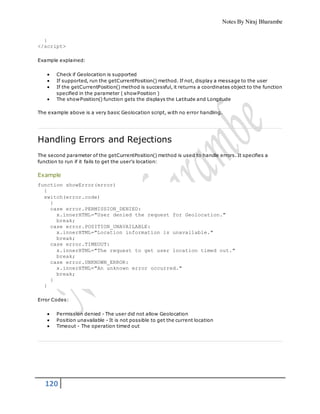
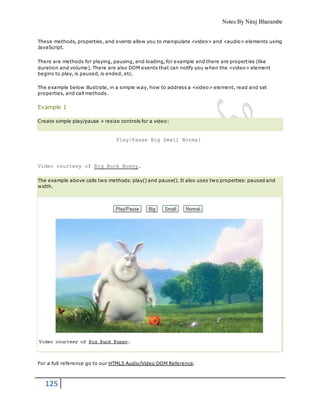
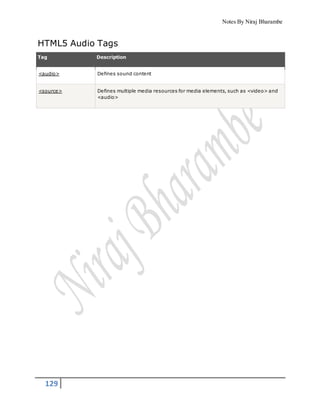
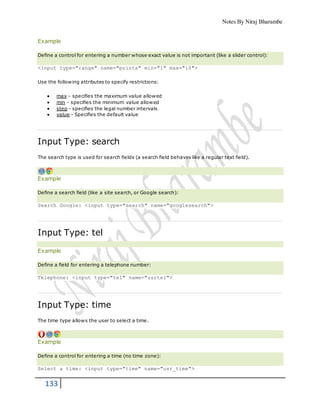
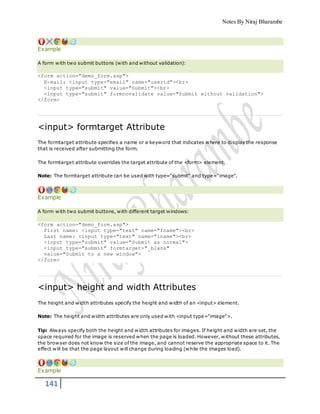
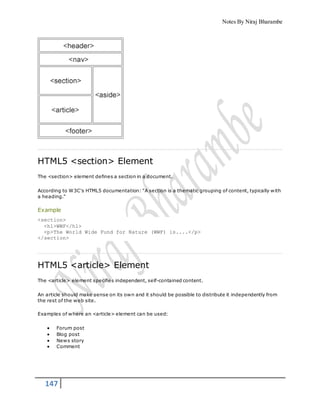
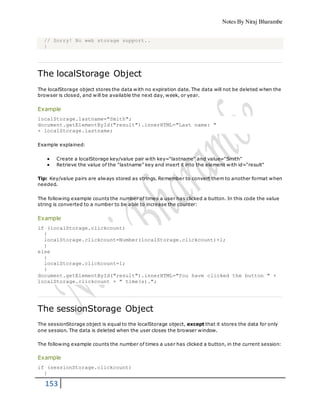
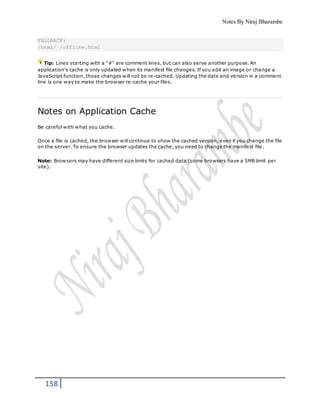
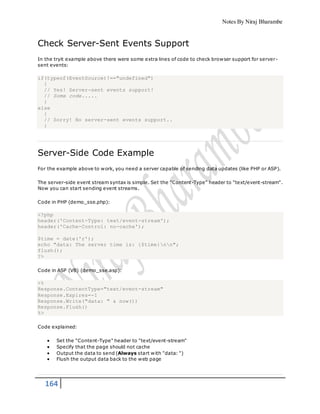
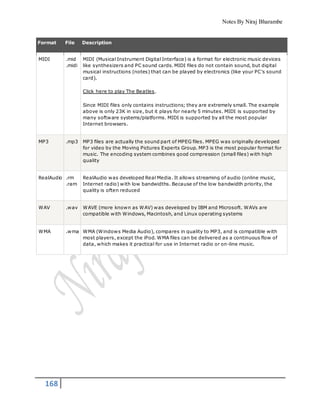
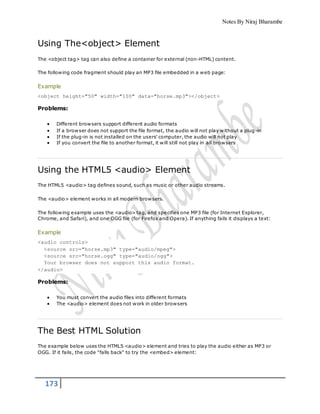
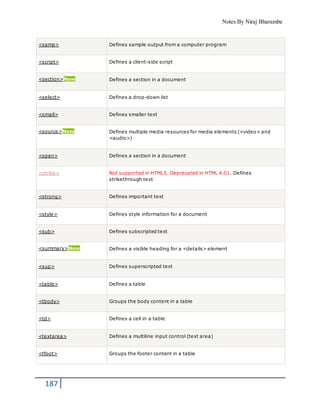
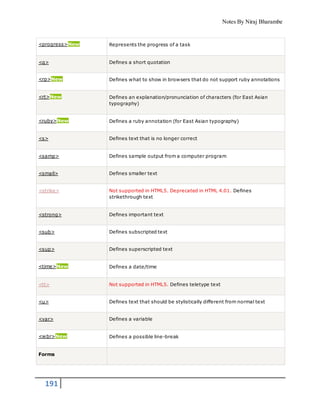
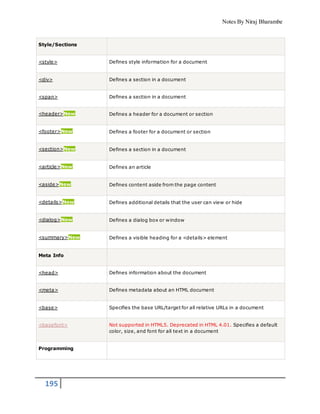
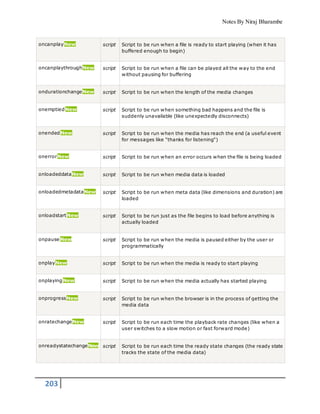
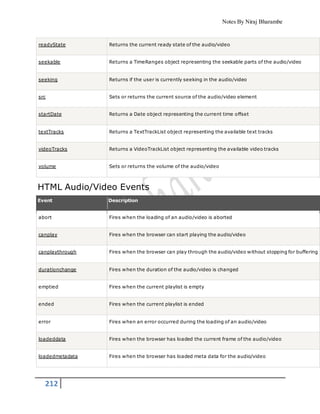
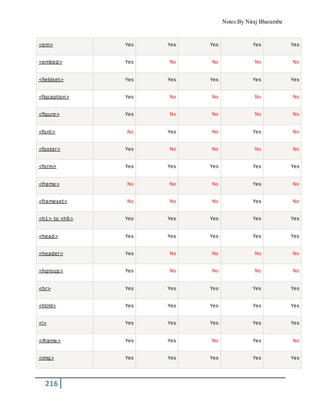
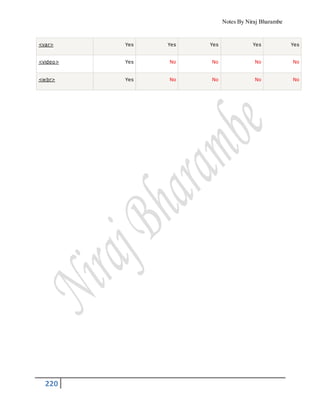
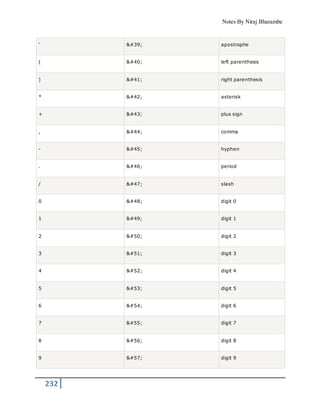
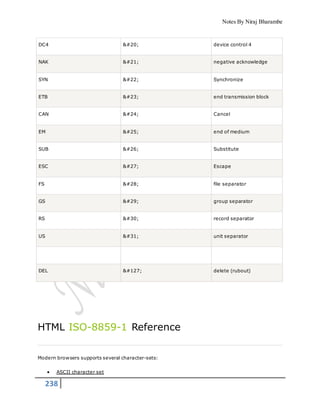
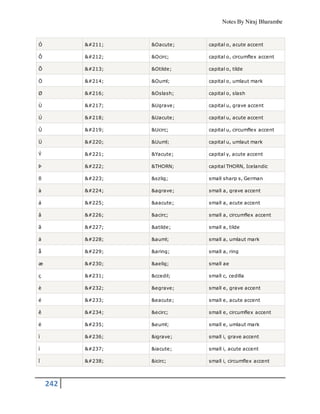
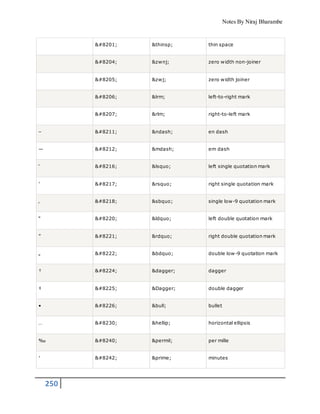
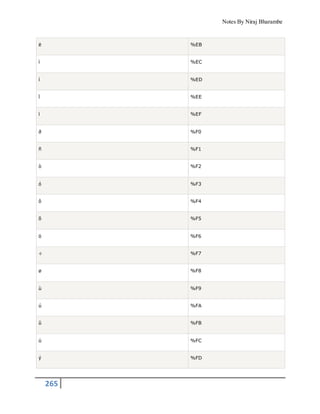
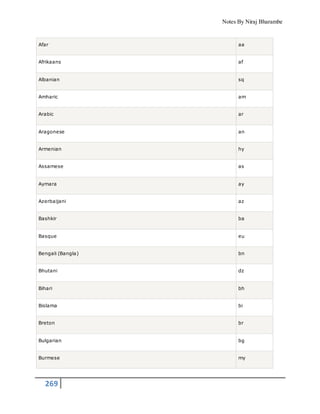
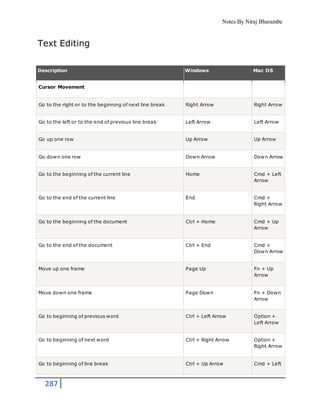
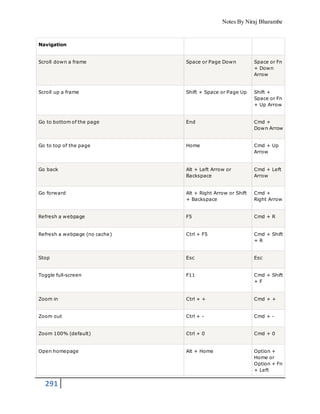
<figcaption>Fig1. - The Pulpit Pock, Norway.</figcaption>
</figure>
Can We Start Using These Semantic Elements?
The elements explained above are all block elements (except <figcaption>).
To get these elements to work properly in all (older) major browsers, set the display property to block
in your style sheet (this causes older browsers to render these elements correctly):
header, section, footer, aside, nav, article, figure
{
display: block;
}
Problem With Internet Explorer 8 And Earlier
IE8 and earlier does not know how to render CSS on elements that it doesn’t recognize. You cannot
style <header>, <section>, <footer>, <aside>, <nav>, <article>, <figure>, or other new HTML5
elements.
Thankfully, Sjoerd Visscher has discovered a JavaScript workaround called HTML5 Shiv; to enable
styling of HTML5 elements in versions of Internet Explorer prior to version 9.
You can download and read more about the HTML5 Shiv at:
http://code.google.com/p/html5shiv/
To enable the HTML5 Shiv (after downloading), insert the following code into the <head> element:
<!--[if lt IE 9]>
<script src="html5shiv.js"></script>
<![endif]-->
That code above is a comment that only IE reads, for versions earlier than IE9. It must be placed in
the <head> element because Internet Explorer needs to know about the elements before it renders
them.
Semantic Elements in HTML5
Tag Description
<article> Defines an article
<aside> Defines content aside from the page content
<figcaption> Defines a caption for a <figure> element](https://image.slidesharecdn.com/htmlnotes-150323102005-conversion-gate01-150606072723-lva1-app6891/85/Htmlnotes-150323102005-conversion-gate01-150-320.jpg)


![Notes By Niraj Bharambe
234
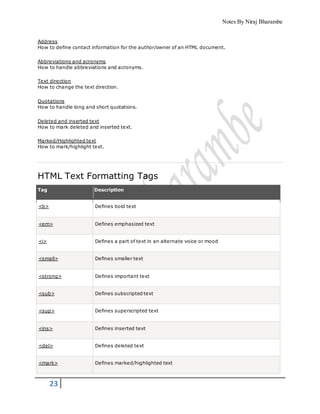
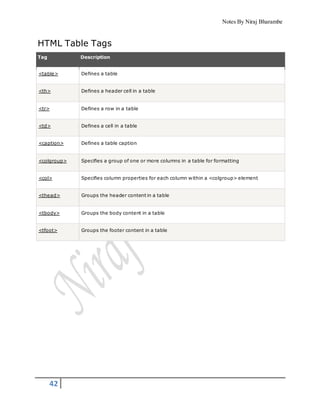
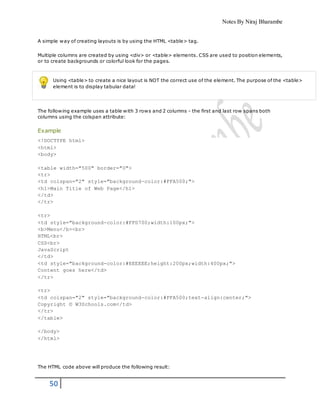
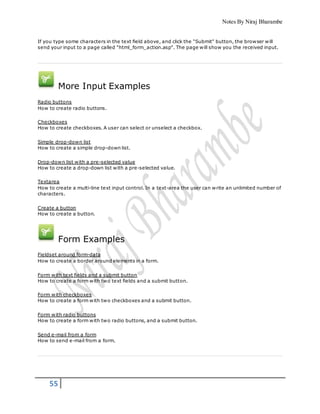
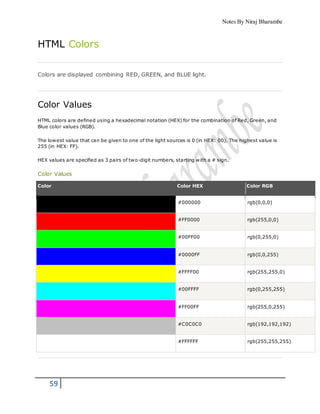
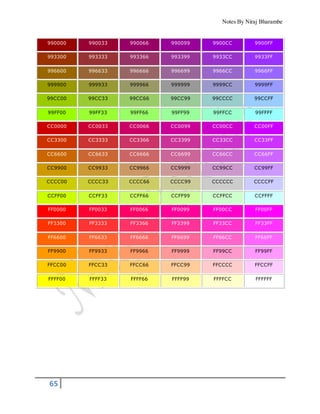
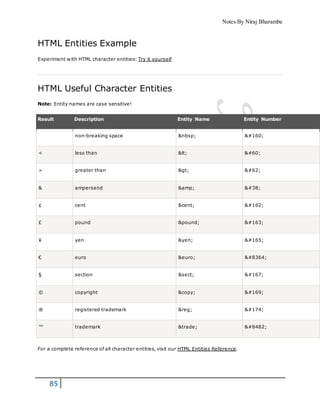
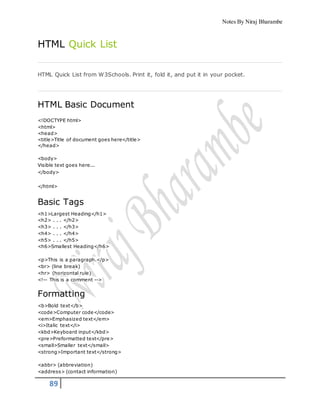
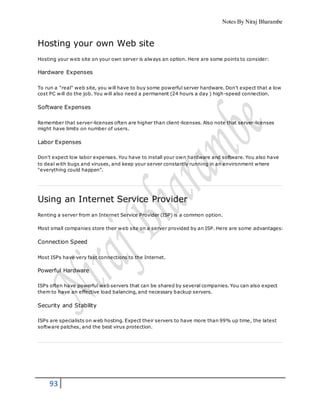
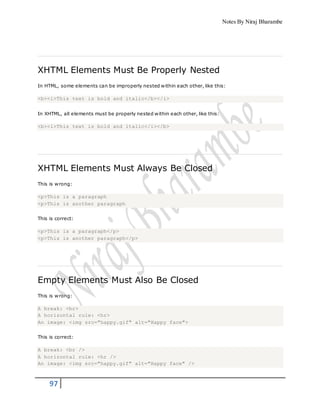
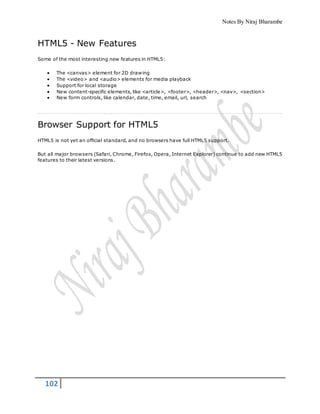
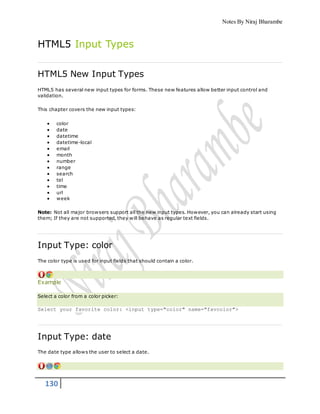
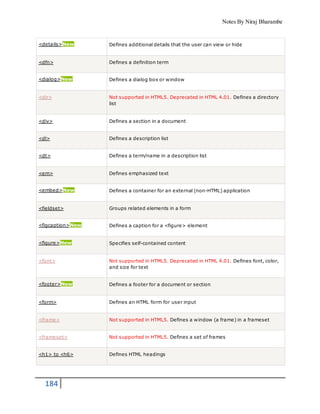
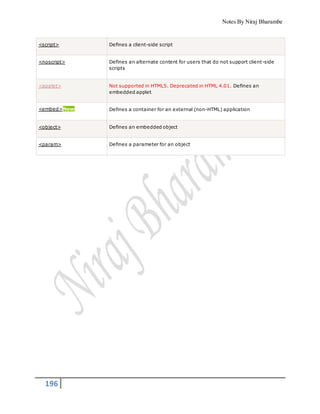
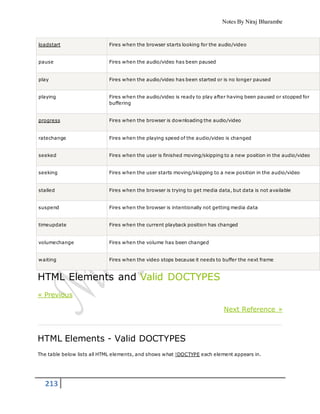
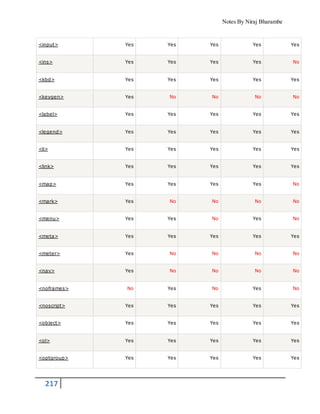
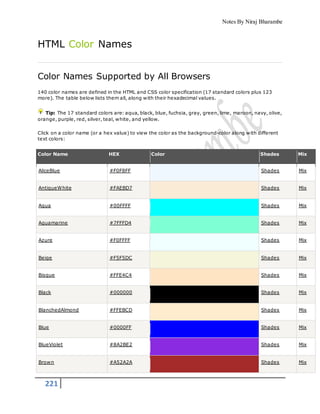
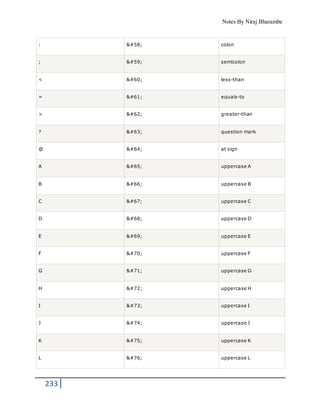
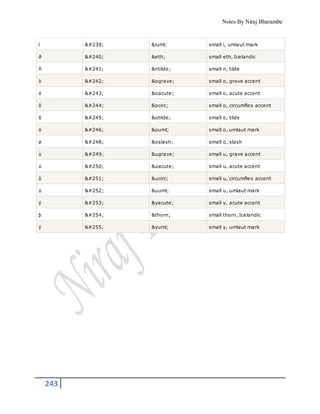
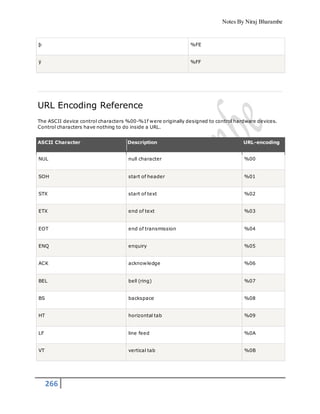
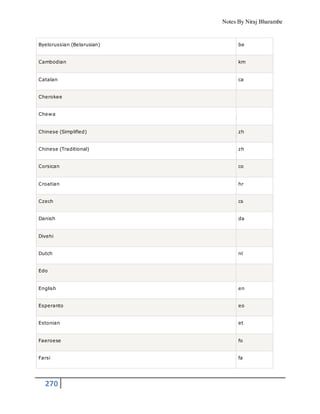
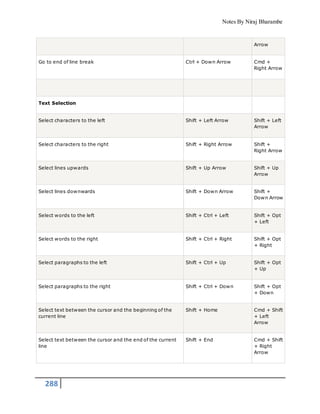
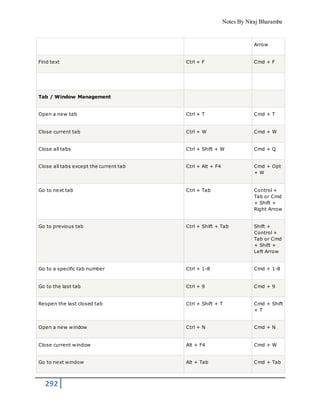
M M uppercase M
N N uppercase N
O O uppercase O
P P uppercase P
Q Q uppercase Q
R R uppercase R
S S uppercase S
T T uppercase T
U U uppercase U
V V uppercase V
W W uppercase W
X X uppercase X
Y Y uppercase Y
Z Z uppercase Z
[ [ left square bracket
\ backslash
] ] right square bracket
^ ^ caret
_ _ underscore](https://image.slidesharecdn.com/htmlnotes-150323102005-conversion-gate01-150606072723-lva1-app6891/85/Htmlnotes-150323102005-conversion-gate01-234-320.jpg)


![Notes By Niraj Bharambe
257
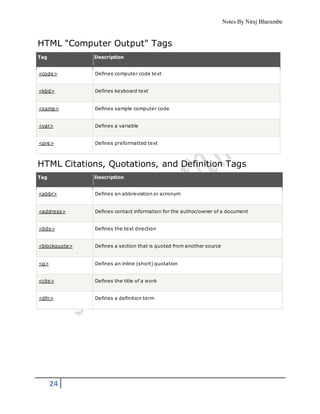
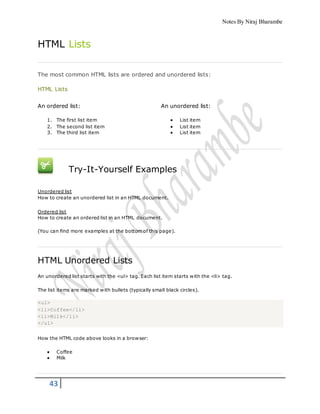
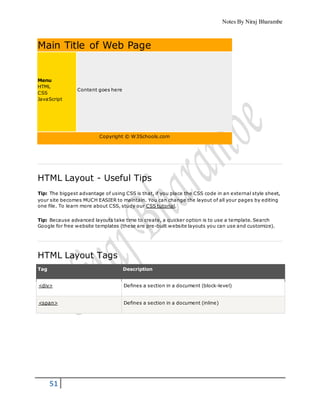
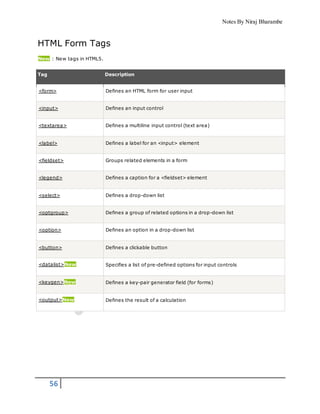
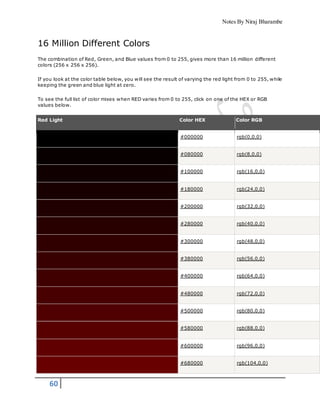
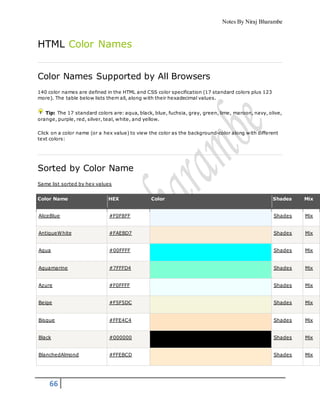
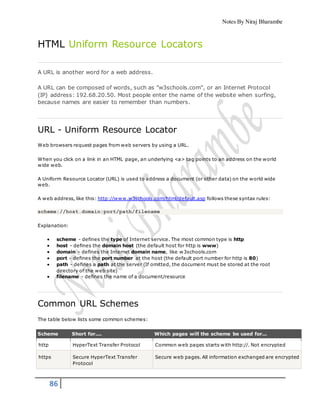
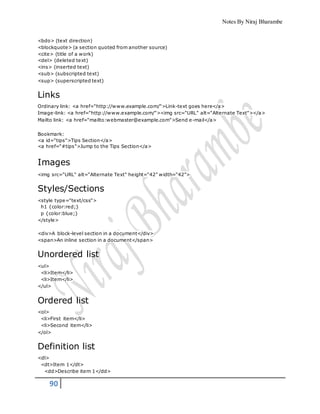
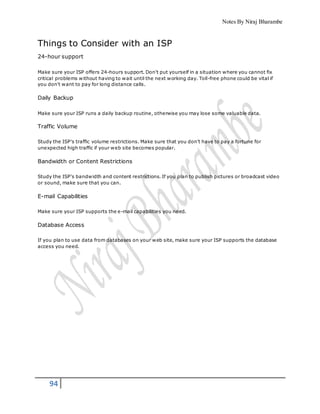
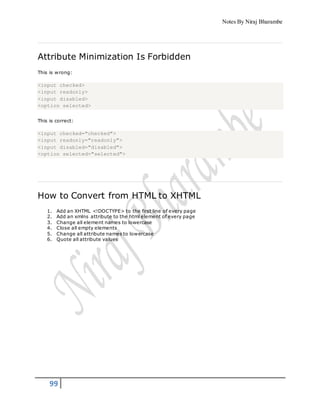
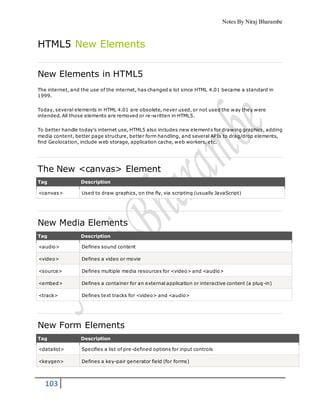
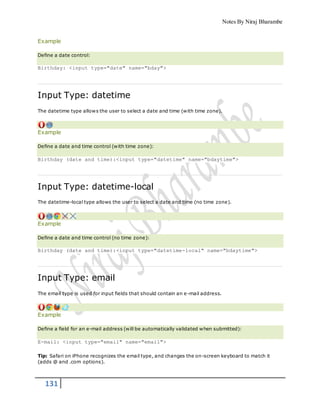
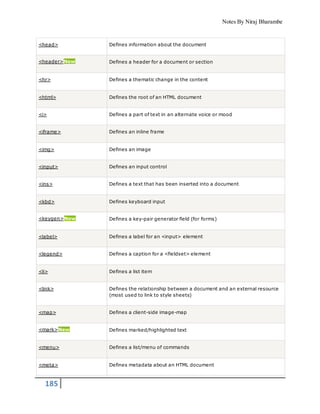
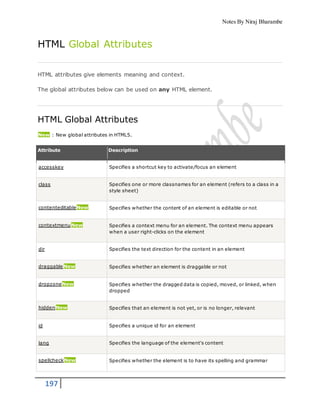
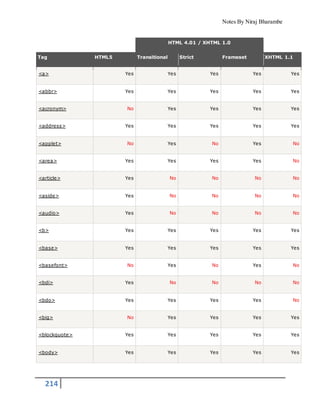
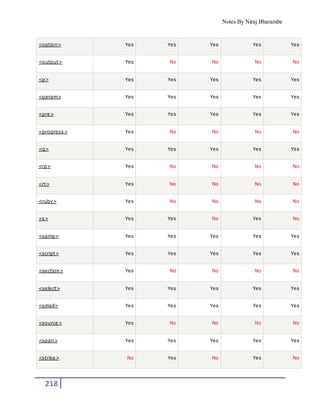
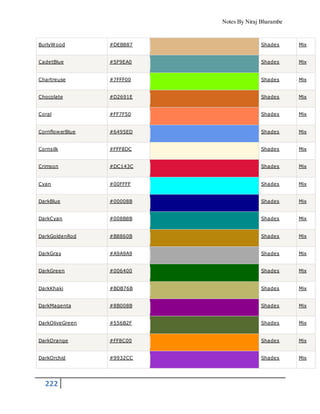
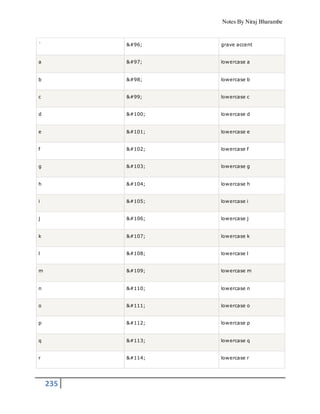
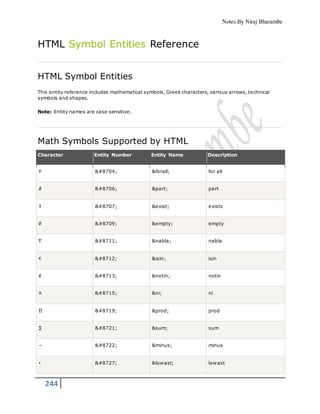
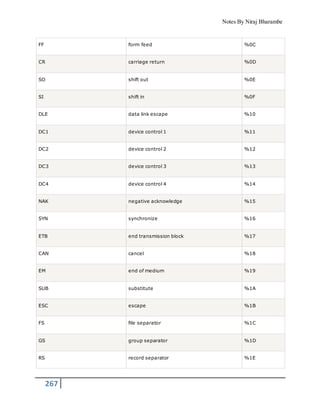
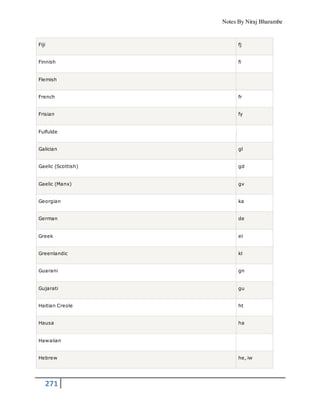
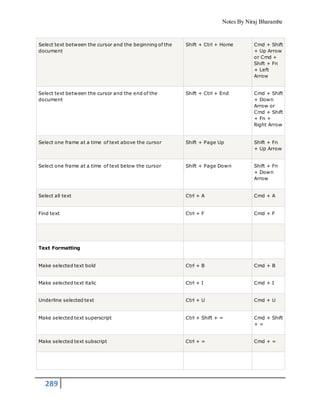
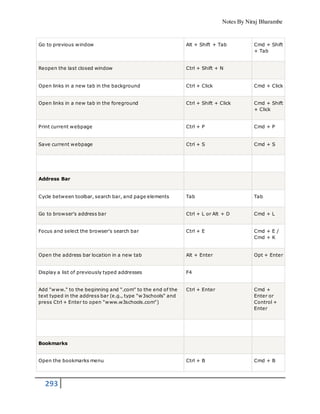
S %53
T %54
U %55
V %56
W %57
X %58
Y %59
Z %5A
[ %5B
%5C
] %5D
^ %5E
_ %5F
` %60
a %61
b %62
c %63
d %64
e %65](https://image.slidesharecdn.com/htmlnotes-150323102005-conversion-gate01-150606072723-lva1-app6891/85/Htmlnotes-150323102005-conversion-gate01-257-320.jpg)


This document provides an introduction to HTML and teaches the basics of creating web pages using HTML. It explains key HTML elements and tags like <html>, <body>, <h1>, <p>, and <img> and how they are used to structure an HTML document and define headings, paragraphs, links and images. The document also covers HTML attributes, headings from <h1> to <h6>, empty elements like <br>, and the importance of properly opening and closing all HTML tags.