Download to read offline
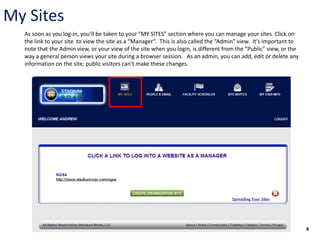
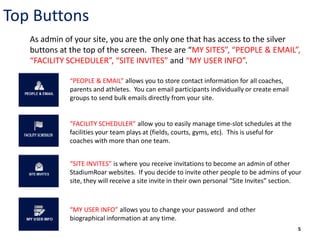
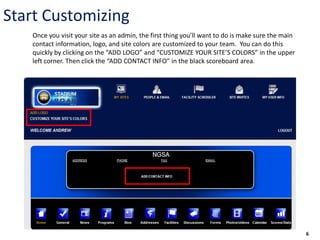
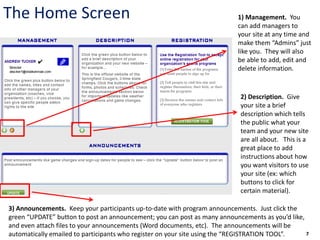
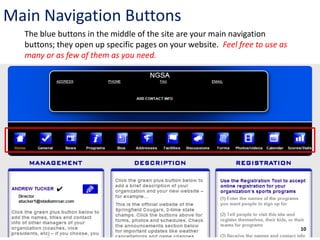
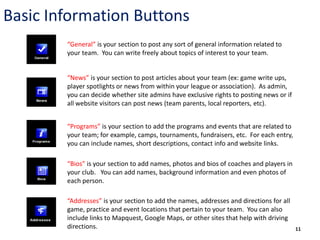
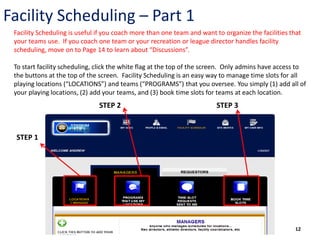
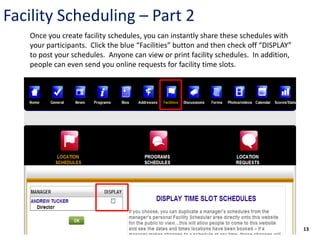
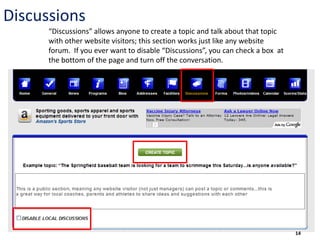
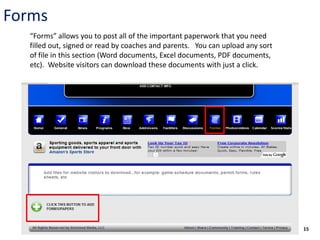
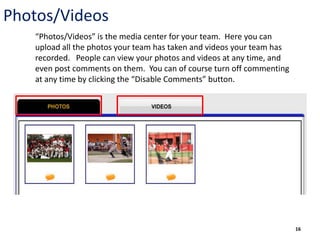
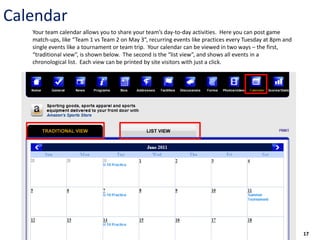
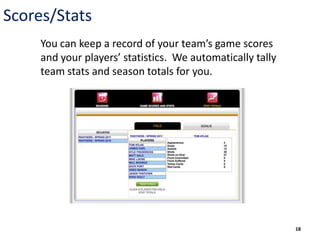


This document provides an overview of how to use the key features of a StadiumRoar website for coaches. It outlines 18 sections that allow coaches to customize their site, manage registrations, schedule facilities, share announcements and forms, and more. The sections include login/account setup, navigation buttons, home screen customization, registration tools, basic information pages, discussions, and integrating calendars, scores and photos. The document is a guide for coaches to maximize the functionality of their StadiumRoar site.