Download as PDF, PPTX

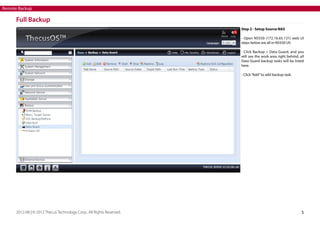
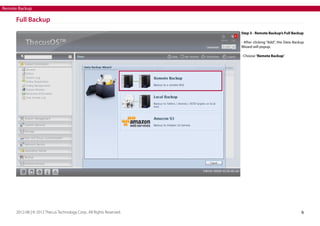

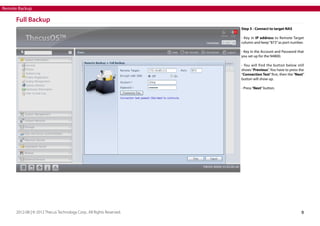
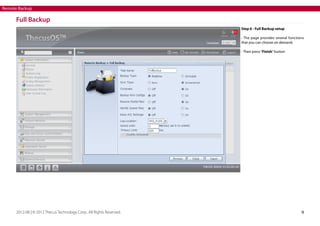


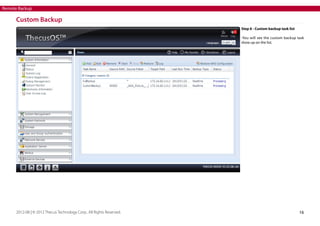
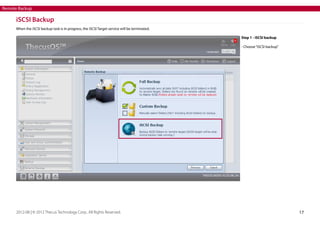
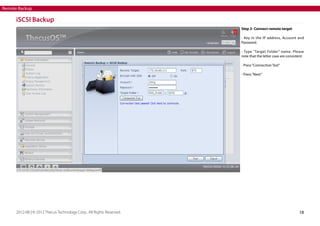
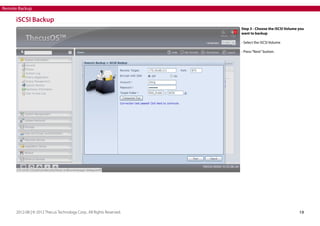
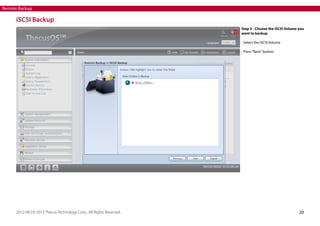
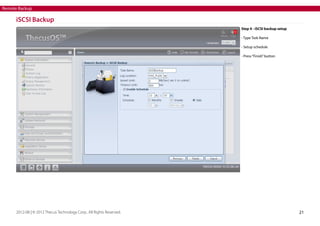
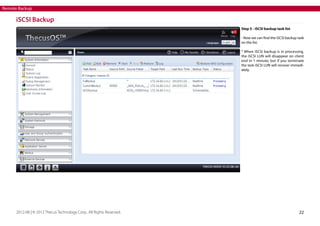
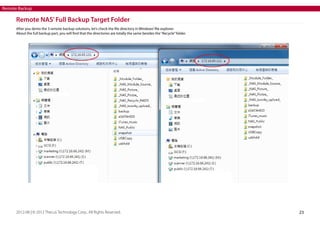


The document describes setting up remote backups from one NAS device to another using Data Guard on ThecusOS. It provides step-by-step instructions for performing full backups, custom backups that select specific folders, and iSCSI backups. For each backup type, the user must first set up the target NAS, then configure the backup task and schedule on the source NAS. Upon completion, the target NAS will contain mirrored copies of the backed up data in the designated shared folder.


