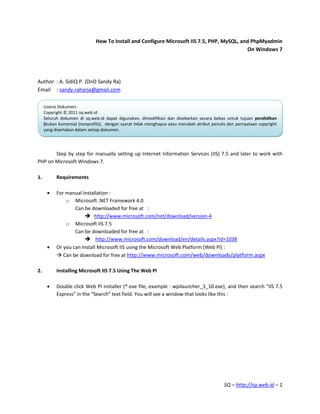
2. Click “Add” button beside IIS 7.5 Express, and then click the “Install” button at the bottom of the
screen.
On the next window click the “I Accept” button.
The next step, please wait for the finished installation.
To complete the installation process, click the "Finish" button.
To ensure that the IIS 7.5 Express installation has been done can work well, the next step open your
favorite browser and type “ http://localhost ” in the address bar and press the button enter on the
keyboard. If you will see the below page , then your IIS works fine.
SQ – http://sq.web.id – 2
3. 3. Configuring FastCGI (Enabling FastCGI support in Microsoft IIS 7.5)
FastCGI module is disabled in default installation of IIS. The steps to enable FastCGI support on
Windows 7:
1. Open Optional Features :
Click the Windows Start Menu, type “optionalfeatures” in the “Search programs and fields”
text field and then press Enter on the keyboard.
Or In the Windows Start Menu Select Uninstall a program and then click Turn
Windows features on or off.
2. In the "Windows Features" dialog expand "Internet Information Services", "World Wide Web
Services", "Application Development Features" and then enable the "CGI" checkbox.
3. Click the “OK” button and wait until the installation is complete.
SQ – http://sq.web.id – 3
4. 4. Installing PHP
For the installation of PHP you can see in the url http://www.sq.web.id/2011/11/how-to-install-
php-engine-on-windows-7.html .
But, important to note :
o In step 6 : On the window “PHP 5.3.8 Setup – Web Server Setup”, click the radio button
“IIS FastCGI”.
5. Installing PHP Manager For IIS
For manual Installation PHP Manager For IIS
Can be downloaded for free at :
o http://phpmanager.codeplex.com/releases/view/69115
Or you can Install PHP Manager For IIS using the Microsoft Web Platform (Web PI).
o Double click Web PI installer (*.exe file, example : wpilauncher_3_10.exe), and then search
“PHP Manager for IIS” in the “Search” text field. You will see a window that looks like this :
o Click “Add” button beside PHP Manager for IIS, and then click the “Install” button at the
bottom of the screen.
o On the next window click the “I Accept” button.
o The next step, please wait for the finished installation.
o To complete the installation process, click the "Finish" button.
SQ – http://sq.web.id – 4
5. 6. Configuring PHP Manager for IIS
Open PHP Manager for IIS, Click the Windows Start Menu, type “IIS Manager” in the “Search
programs and fields” text field and then press Enter on the keyboard.
On the window “Internet Information Service (IIS Manager)”, Find the "PHP Manager" feature, see
the below image :
Click on "Register new PHP version" task and then provide the full path to the location of the main
php executable file: php-cgi.exe (Example : C:Program FilesPHPv5.3php-cgi.exe).
SQ – http://sq.web.id – 5
6. Click on "Check phpinfo()", and then click the “Ok” button.
SQ – http://sq.web.id – 6
7. If you will see the below page , then your PHP works fine.
7. Installing MySQL
For the installation of mysql you can see in the url http://www.sq.web.id/2011/11/how-to-
install-mysql-database-server-on.html .
SQ – http://sq.web.id – 7
8. 8. Installing PhpMyAdmin
For the installation of PhpMyAdmin you can see in the url http://www.sq.web.id/2011/11/how-
to-install-phpmyadmin-on-windows-7.html .
But, important to note :
o In step 1 : Extract the zip archive (example : phpMyAdmin-3.4.7.1-all-languages.zip) to
".wwwroot" directory under drive “C:” (example : “C:inetpubwwwroot”).
9. Directory To Save The Program PHP and MySQL
MySQL
o If you create databases and tables with MySQL, then by default your database
will be stored in a directory “C:ProgramDataMySQLMySQL Server 5.5data”.
PHP
o If you create a program with PHP, so can be run on localhost, then it must be stored in
".. wwwroot" directory. “C:inetpubwwwroot”.
SQ – http://sq.web.id – 8