Download to read offline


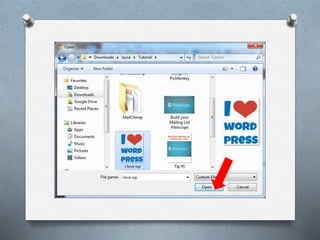


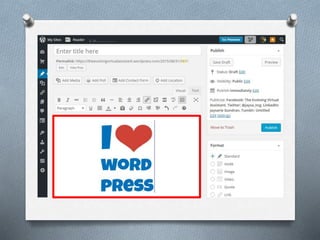


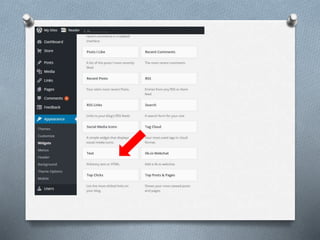


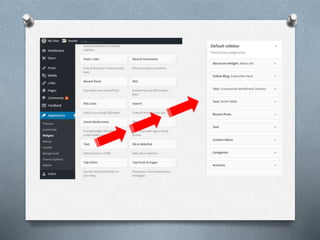
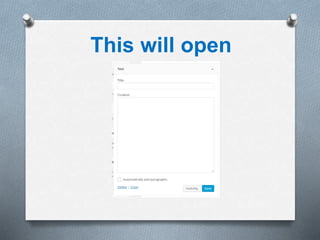


This document provides a step-by-step guide on embedding a customized widget in a WordPress site. It covers logging into WordPress, creating a new post, inserting the widget code, and positioning it in the desired sidebar area. After saving the changes, users can view the customized widget displayed on their site.


![[AIESEC HCMC][IC] Wiki making](https://cdn.slidesharecdn.com/ss_thumbnails/icwikimaking-121219222028-phpapp01-thumbnail.jpg?width=640&height=640&fit=bounds)