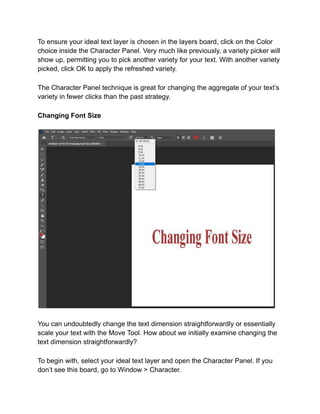
This document provides instructions for editing text in Photoshop in 3 steps:
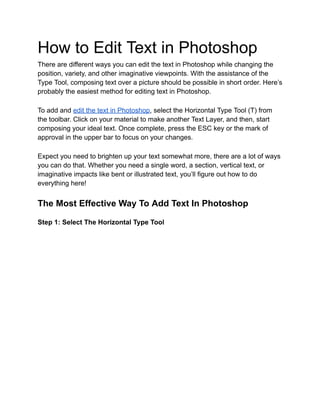
1. Select the Horizontal Type Tool from the toolbar
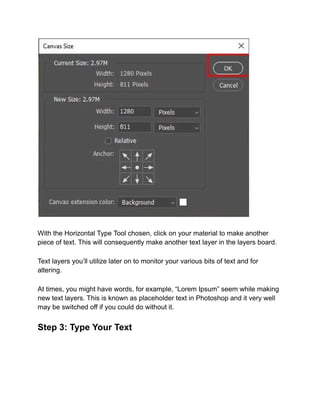
2. Click on your image to create a new text layer and start typing your text
3. Press the ESC key or click the checkmark in the top bar to apply your changes