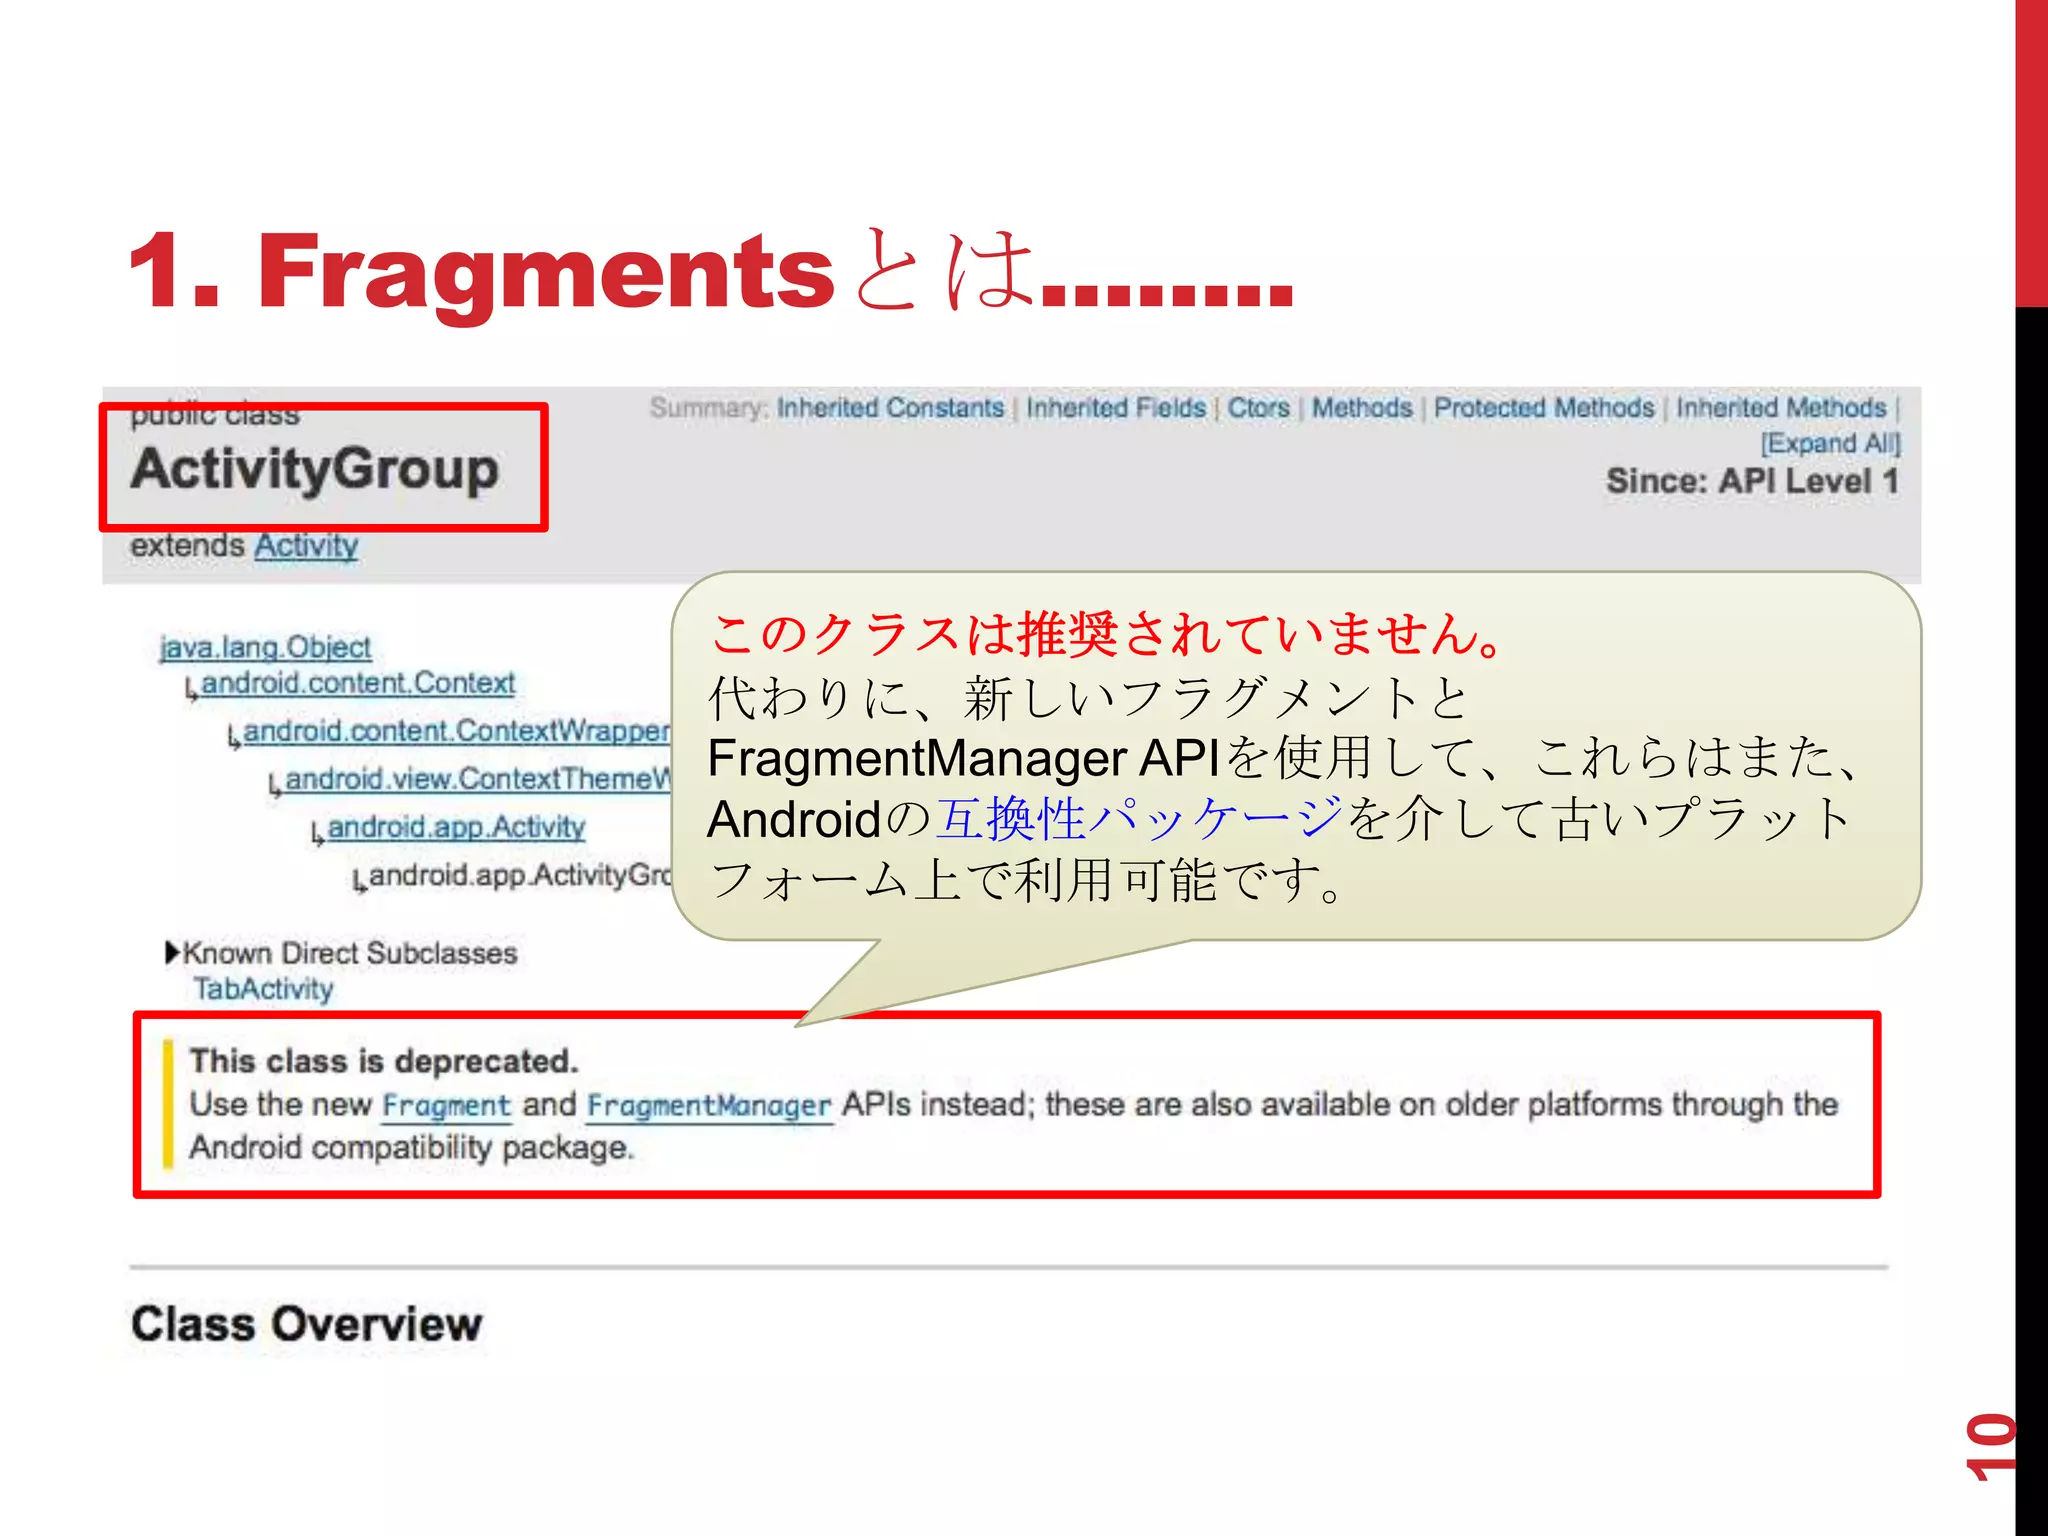
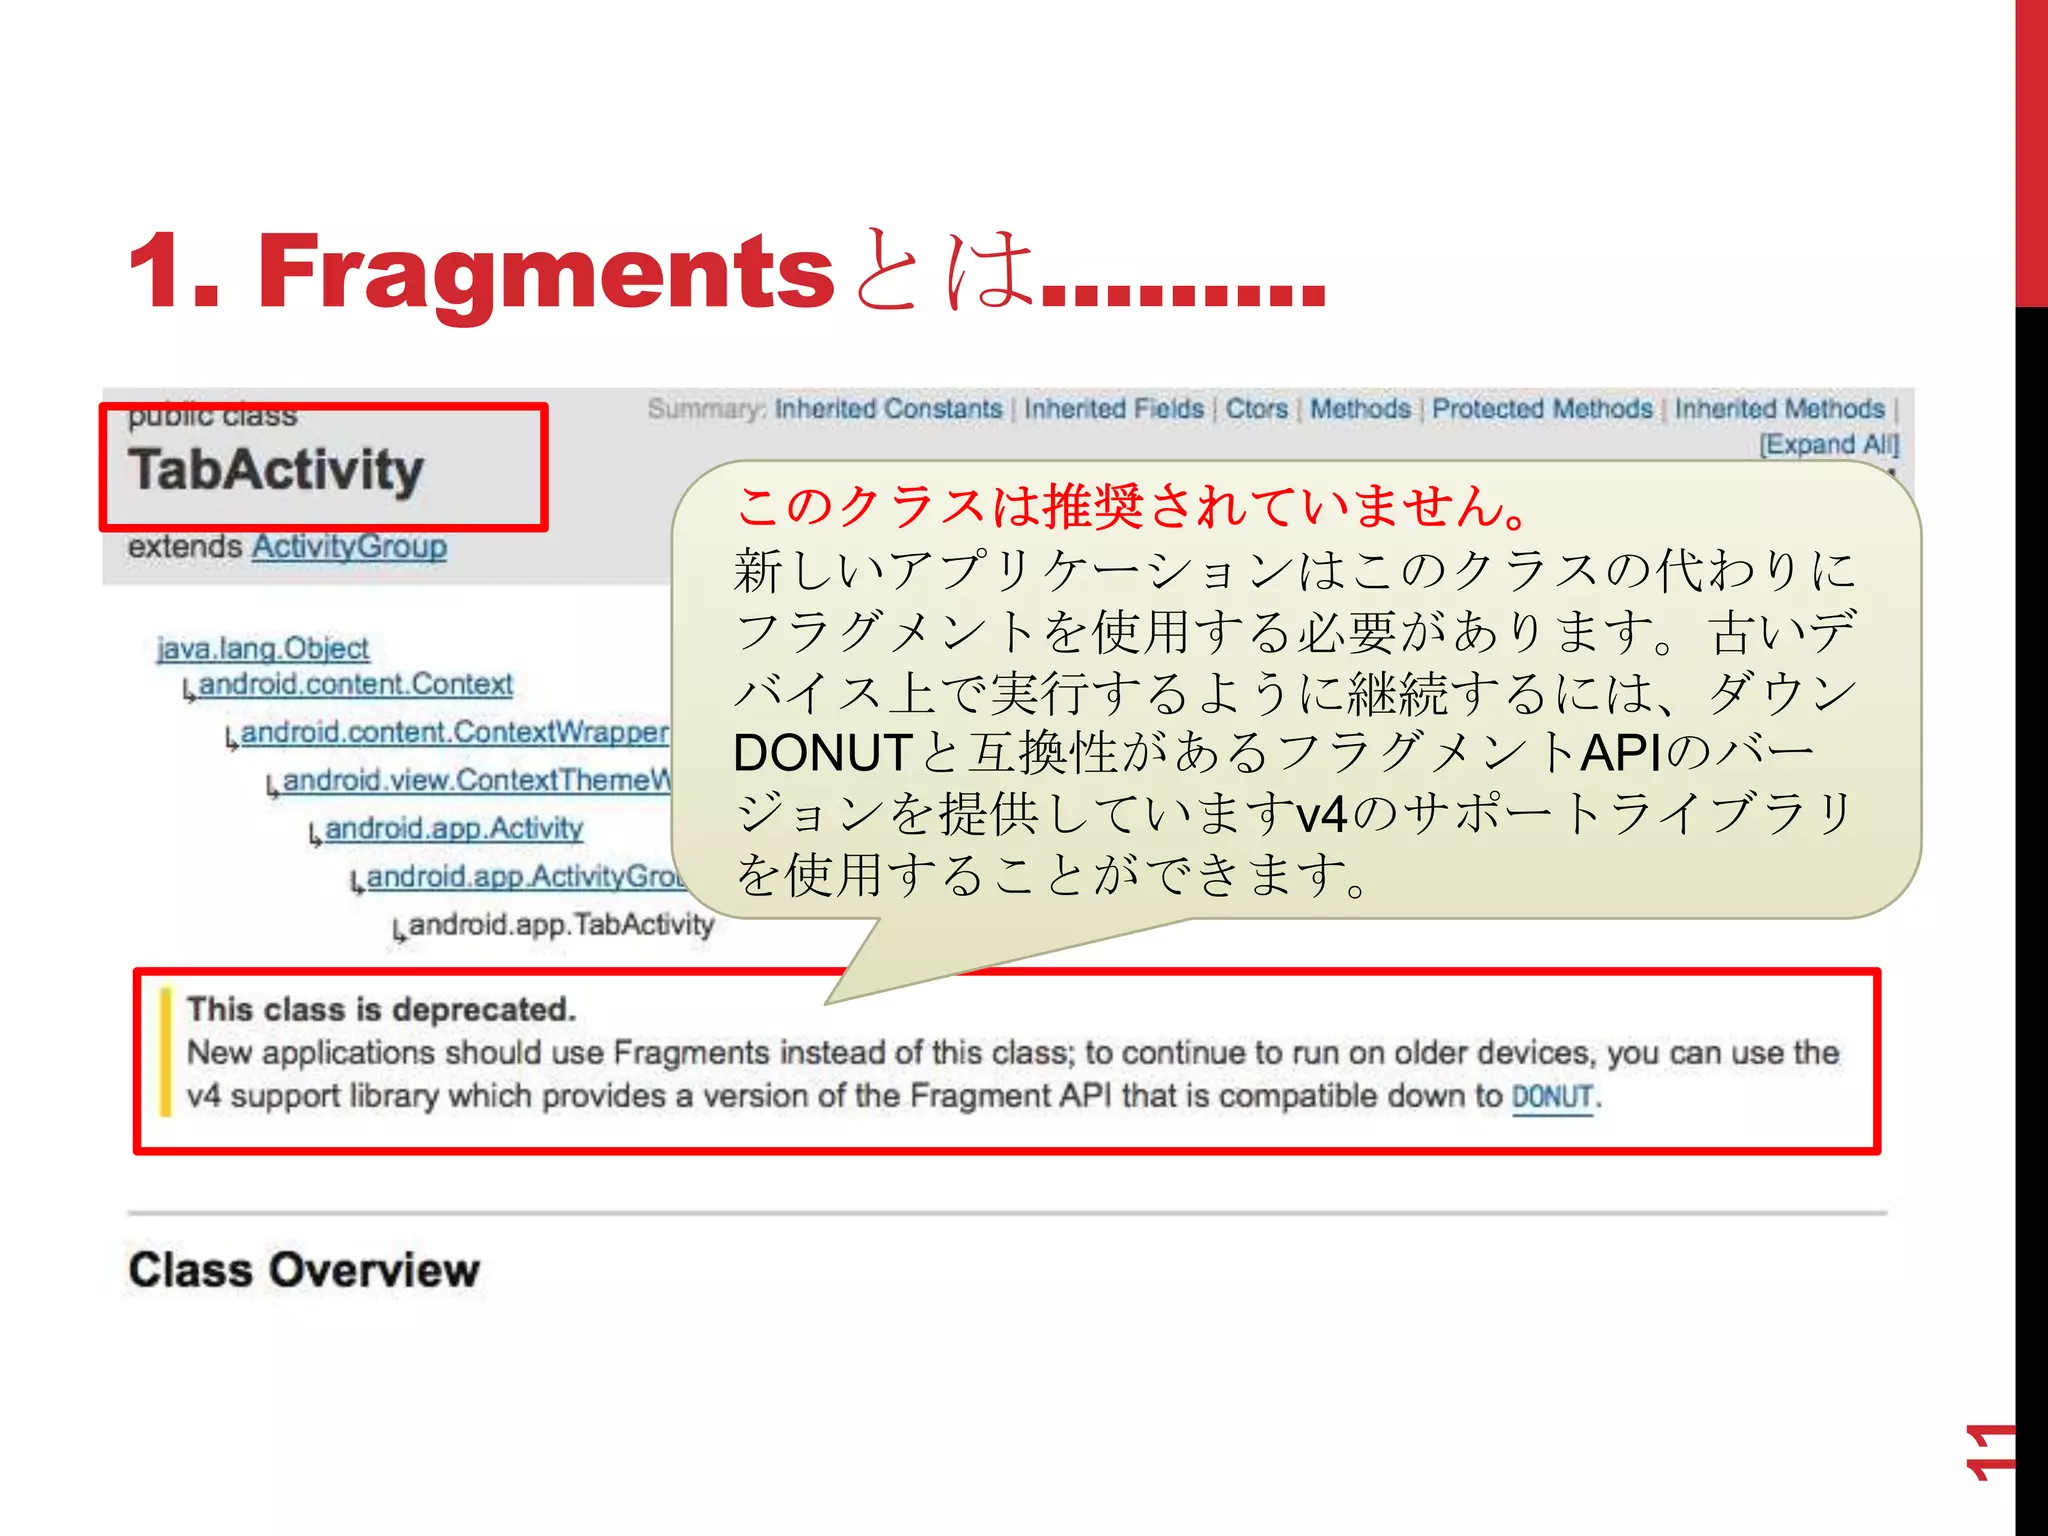
1. Fragmentsとは...
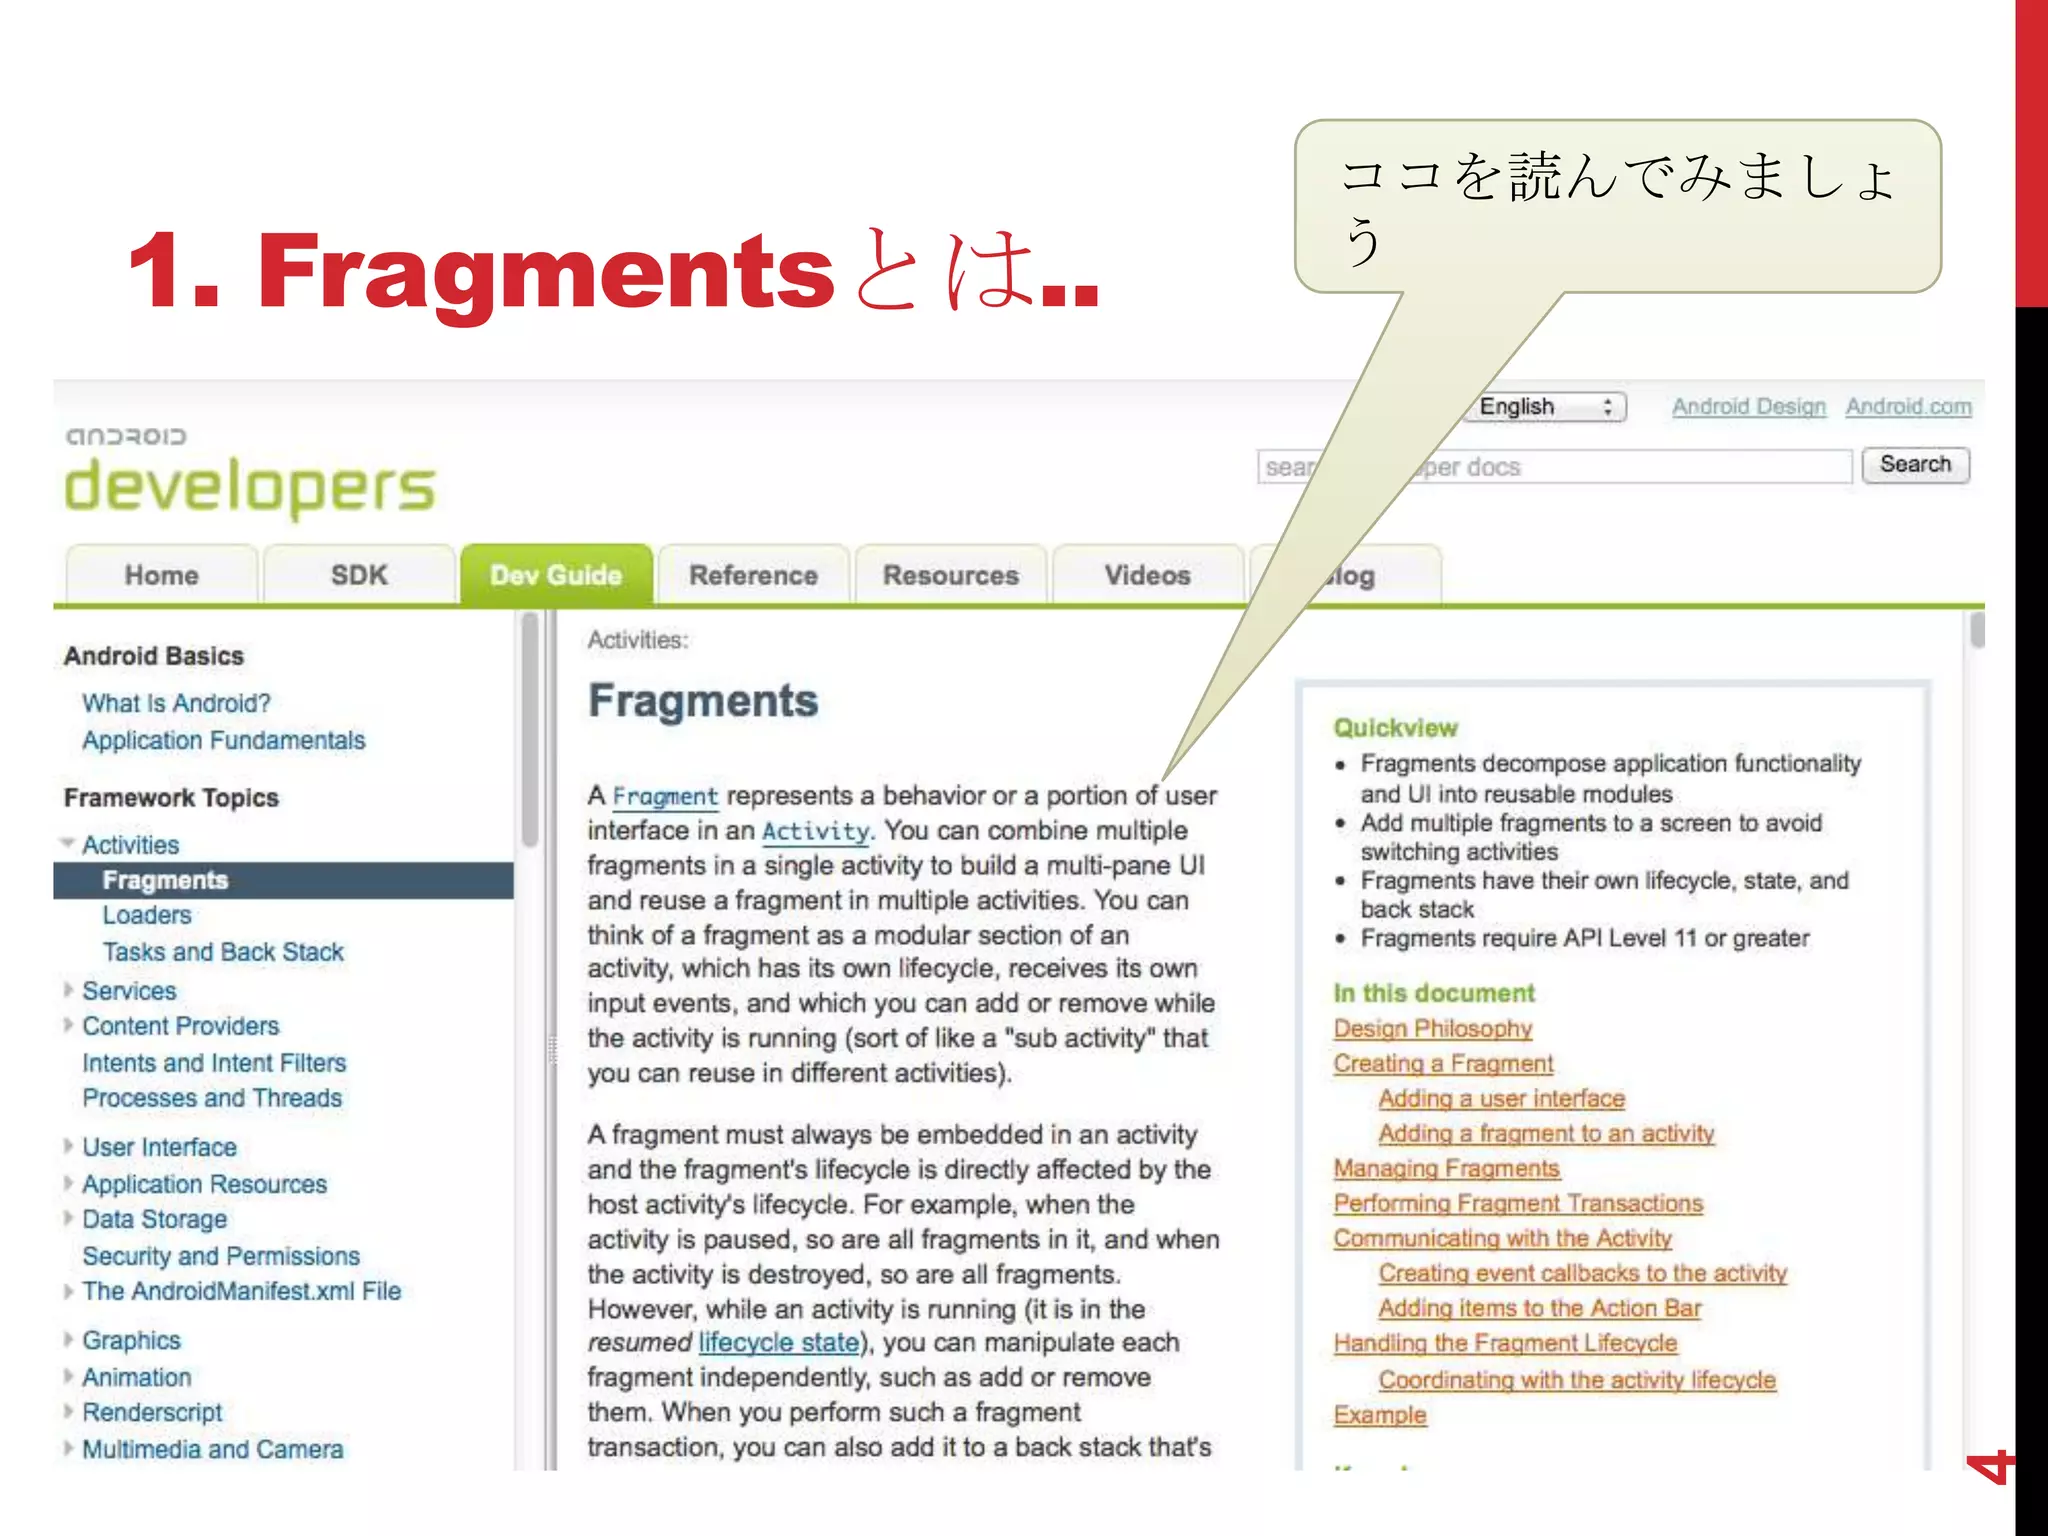
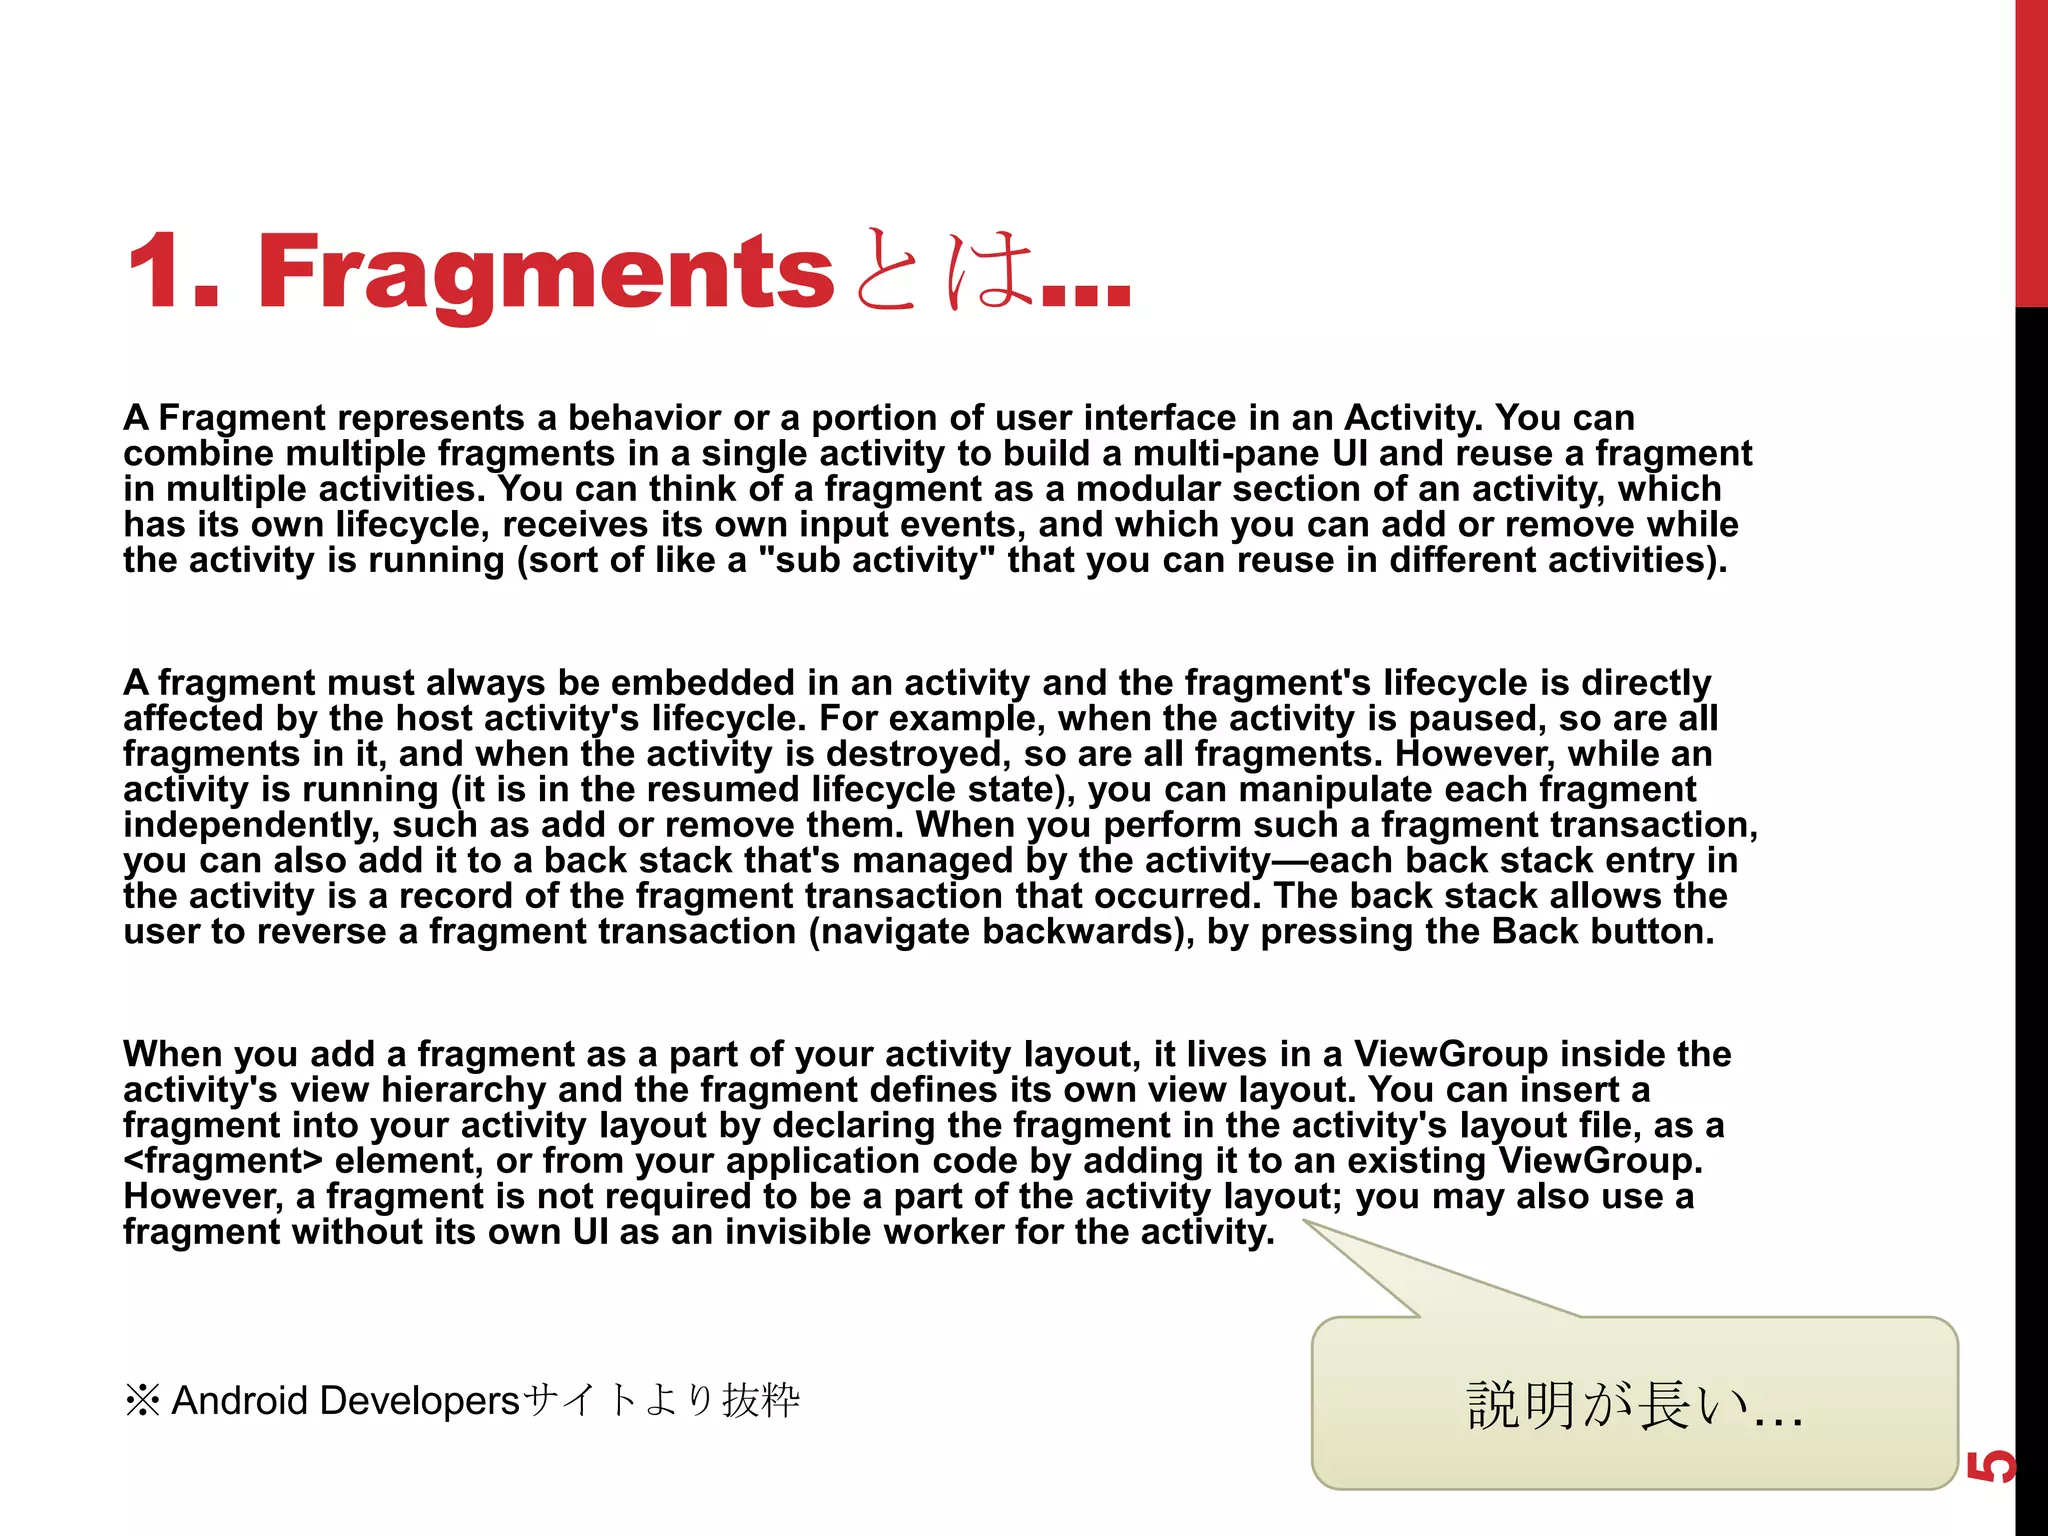
A Fragmentrepresents a behavior or a portion of user interface in an Activity. You can
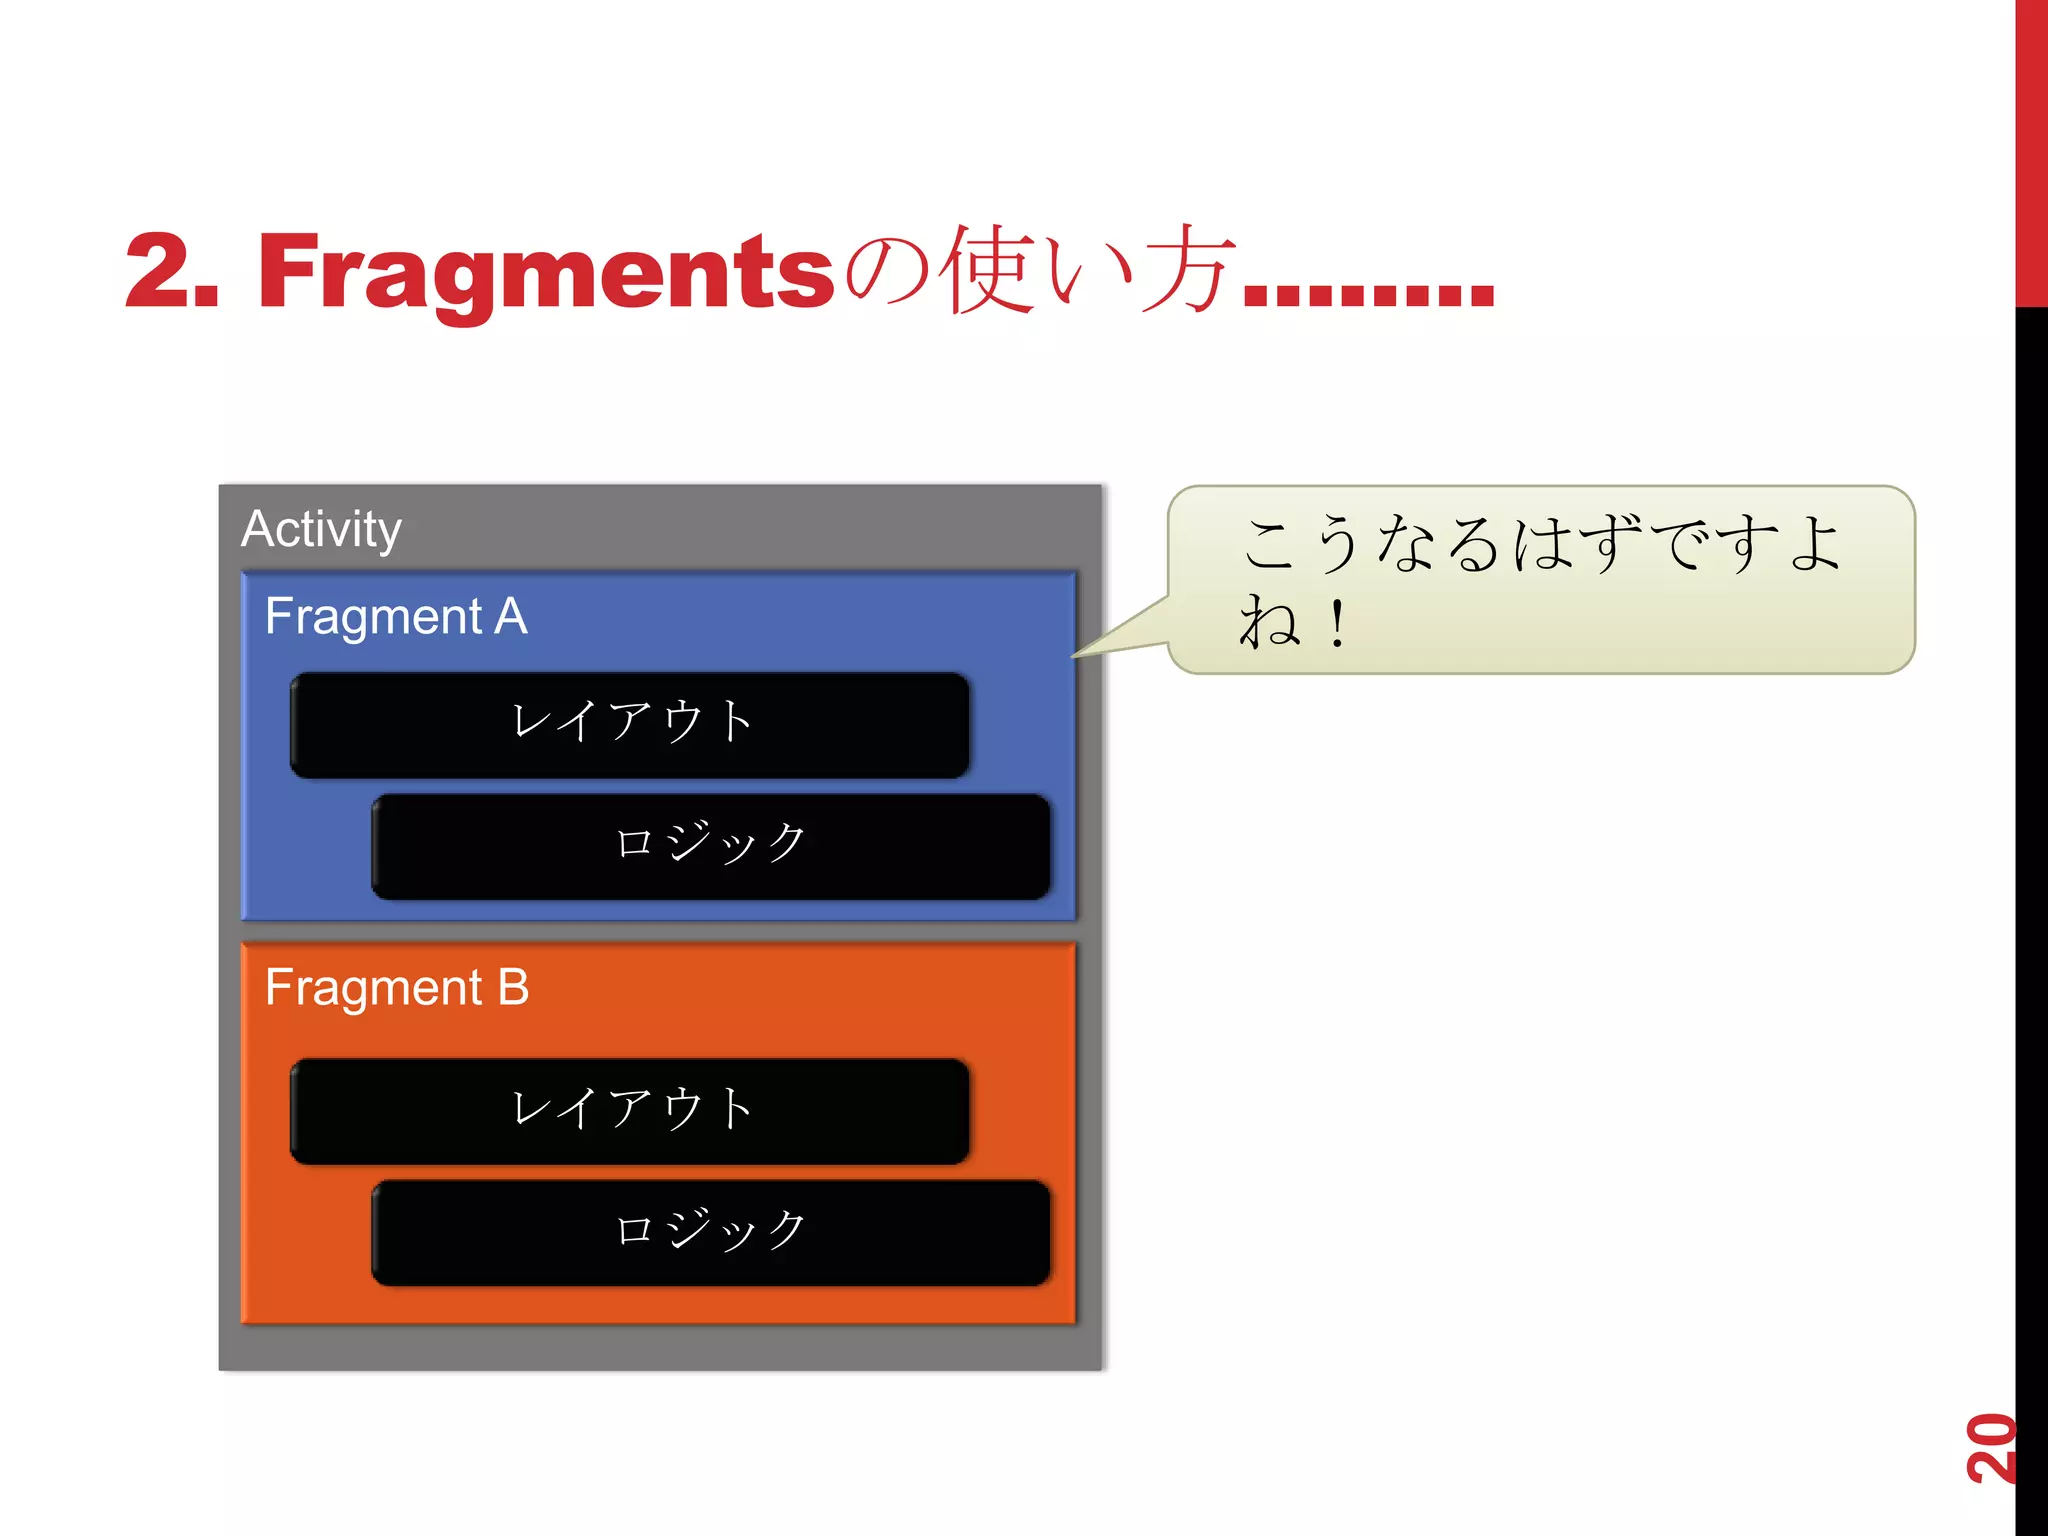
combine multiple fragments in a single activity to build a multi-pane UI and reuse a fragment
in multiple activities. You can think of a fragment as a modular section of an activity, which
has its own lifecycle, receives its own input events, and which you can add or remove while
the activity is running (sort of like a "sub activity" that you can reuse in different activities).
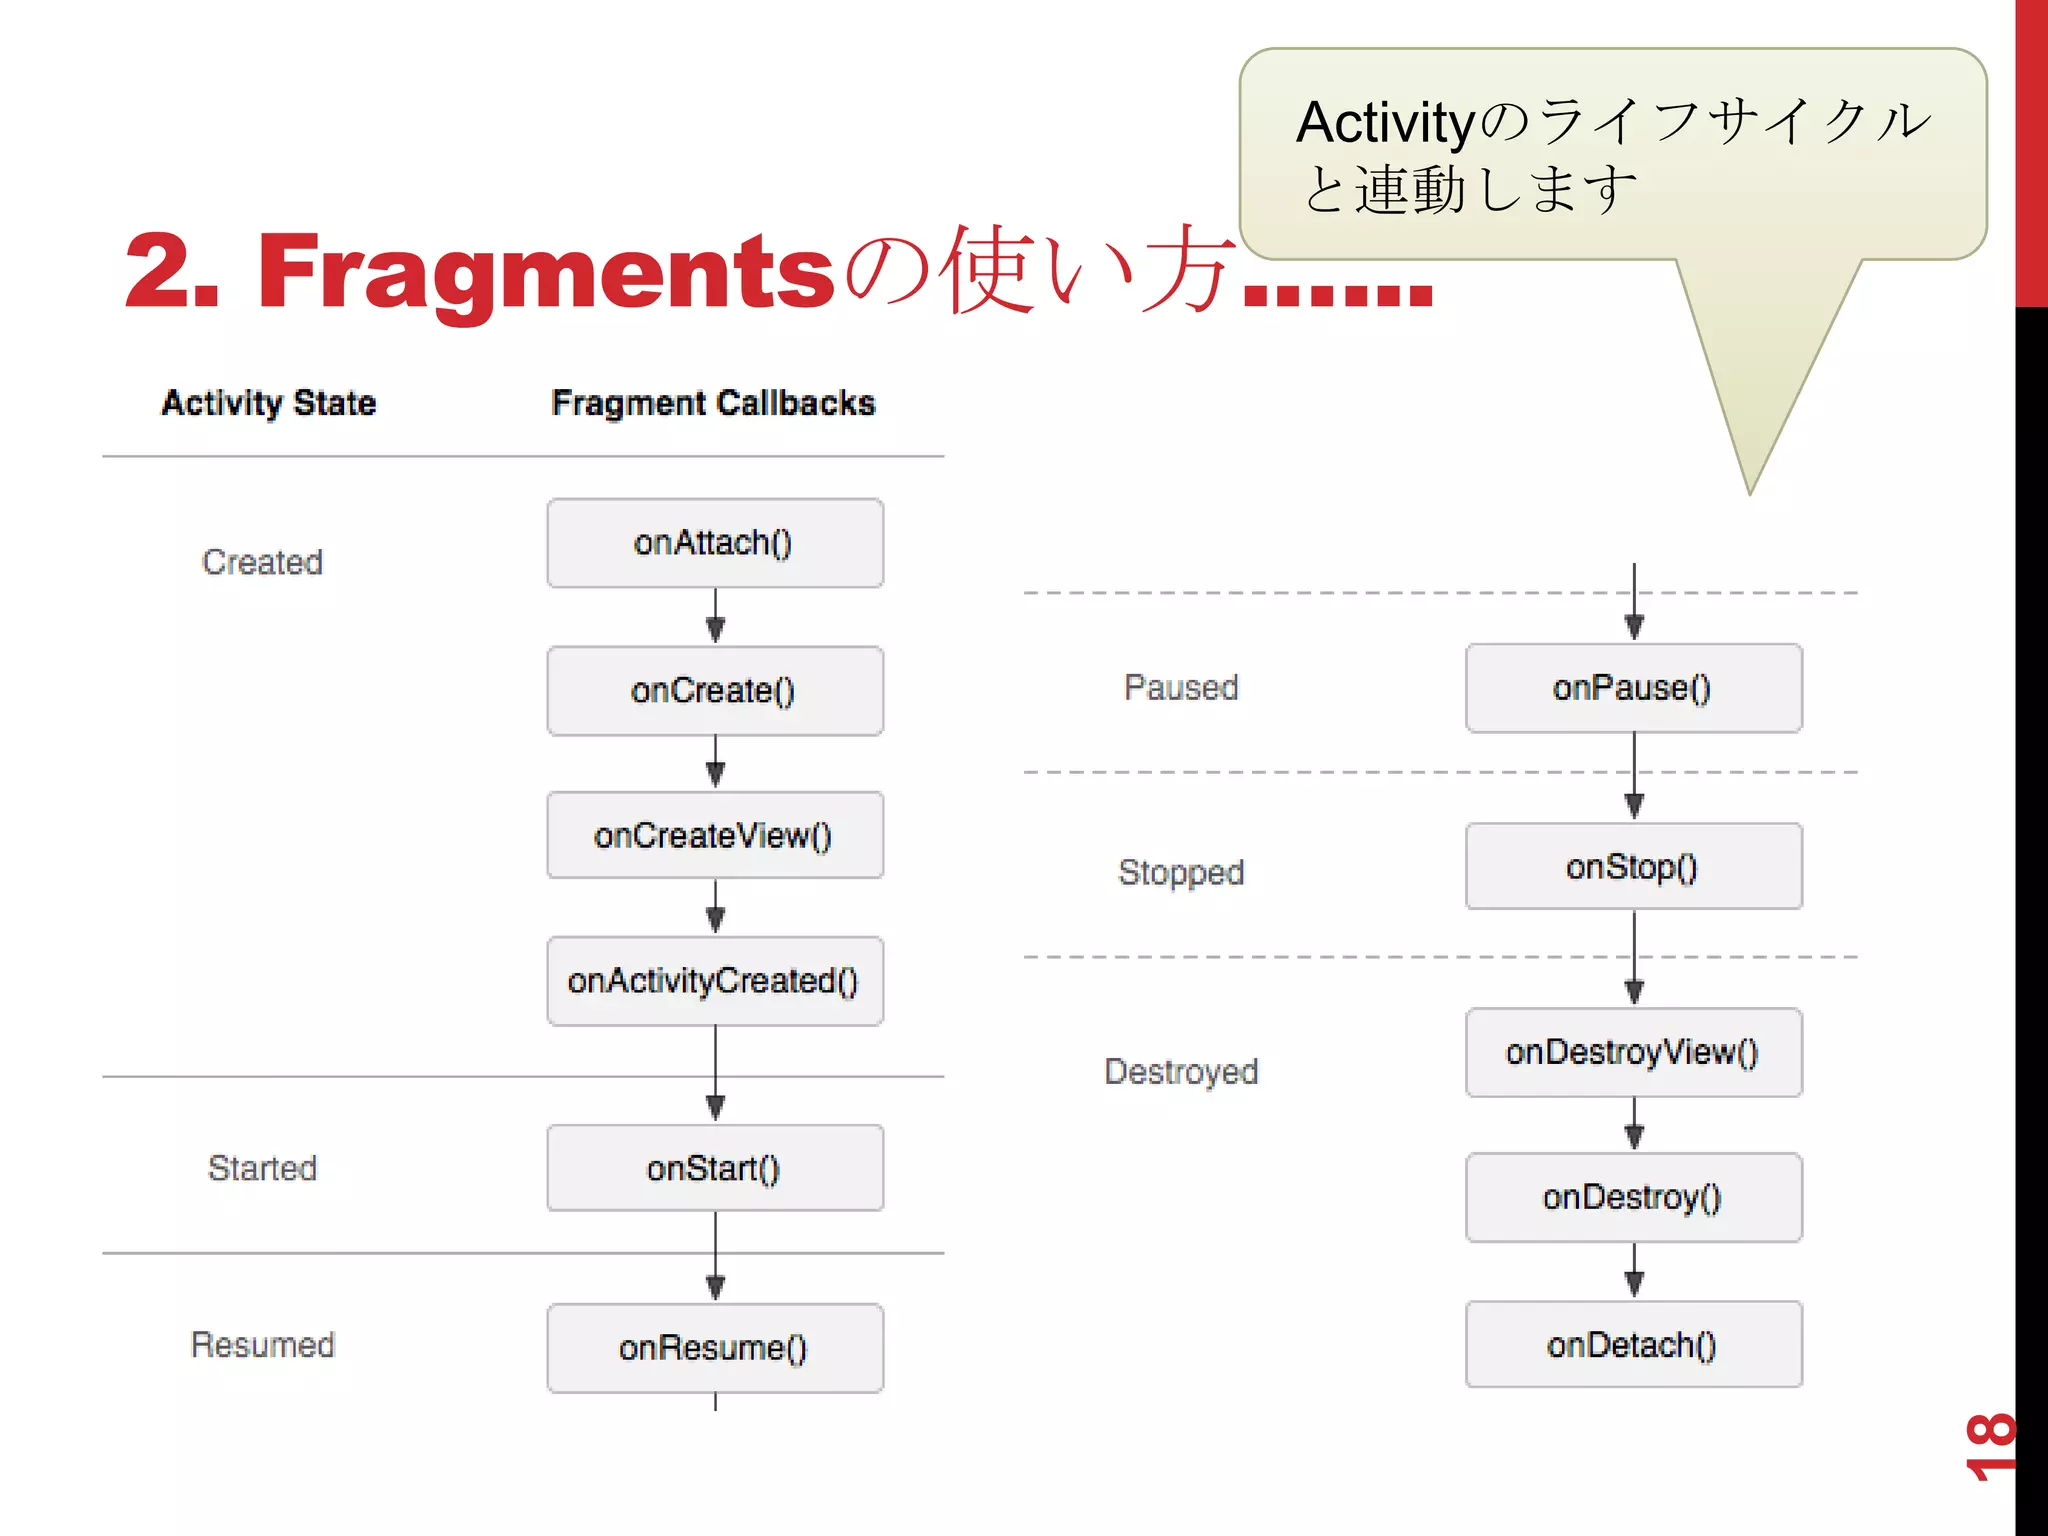
A fragment must always be embedded in an activity and the fragment's lifecycle is directly
affected by the host activity's lifecycle. For example, when the activity is paused, so are all
fragments in it, and when the activity is destroyed, so are all fragments. However, while an
activity is running (it is in the resumed lifecycle state), you can manipulate each fragment
independently, such as add or remove them. When you perform such a fragment transaction,
you can also add it to a back stack that's managed by the activity—each back stack entry in
the activity is a record of the fragment transaction that occurred. The back stack allows the
user to reverse a fragment transaction (navigate backwards), by pressing the Back button.
When you add a fragment as a part of your activity layout, it lives in a ViewGroup inside the
activity's view hierarchy and the fragment defines its own view layout. You can insert a
fragment into your activity layout by declaring the fragment in the activity's layout file, as a
<fragment> element, or from your application code by adding it to an existing ViewGroup.
However, a fragment is not required to be a part of the activity layout; you may also use a
fragment without its own UI as an invisible worker for the activity.
※ Android Developersサイトより抜粋 説明が長い…
5

![1. Fragmentsとは.... 翻訳を抜粋
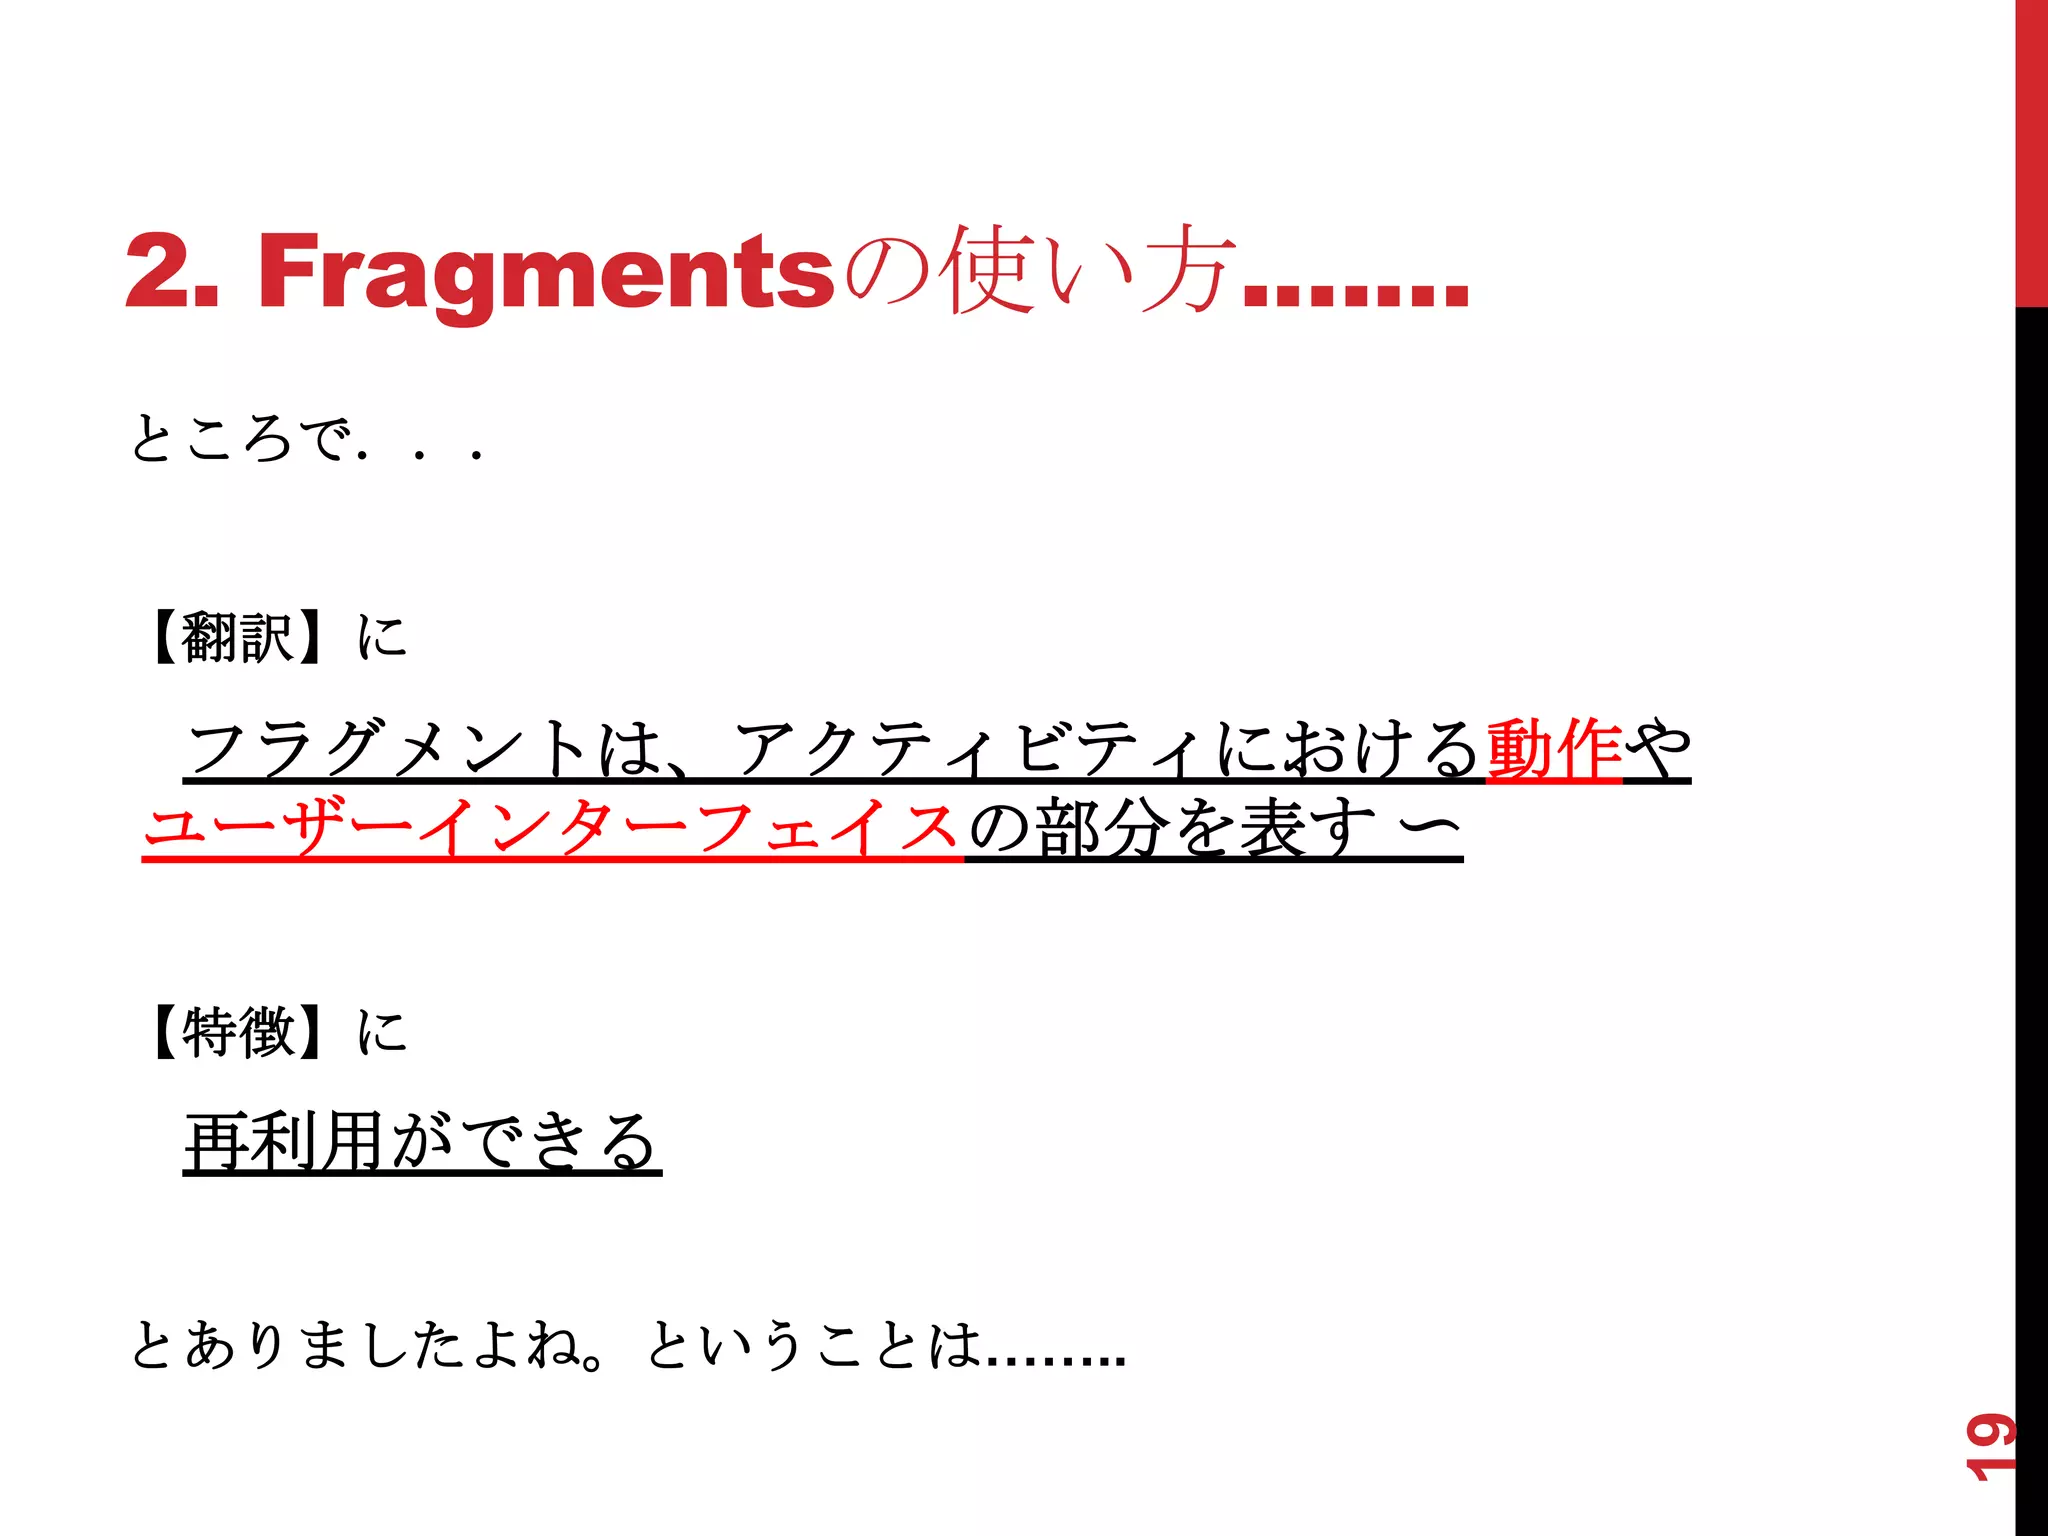
フラグメントは、アクティビティにおける動作やユーザーイン
ターフェイスの部分を表す 〜 マルチペインのUIを構築し、複数
のアクティビティでフラグメントを再利用するために単一のアク
ティビティに複数のフラグメントを組み合わせることができます
〜 アクティビティの実行中に追加または削除することができま
す。
フラグメントは常にアクティビティに埋め込まなければならず、
フラグメントのライフサイクルは直接ホスト·アクティビティの
ライフサイクルに影響されます 〜 追加または削除するように、
独立して各フラグメントを操作することができます 〜 フラグメ
ントのトランザクションを実行するときには、バックスタックに
追加することができ、ユーザーが[戻る]ボタンを押すことによっ
て、フラグメントのトランザクションを逆にすることができます。
〜
〜アクティビティのレイアウト ファイル内に<fragment>要素
として宣言することによって、またはアプリケーションコードか
らフラグメントを挿入することができます。 〜
6](https://image.slidesharecdn.com/fragments20120424-120423214423-phpapp01/75/Using-the-Fragments-Android-7-2048.jpg)

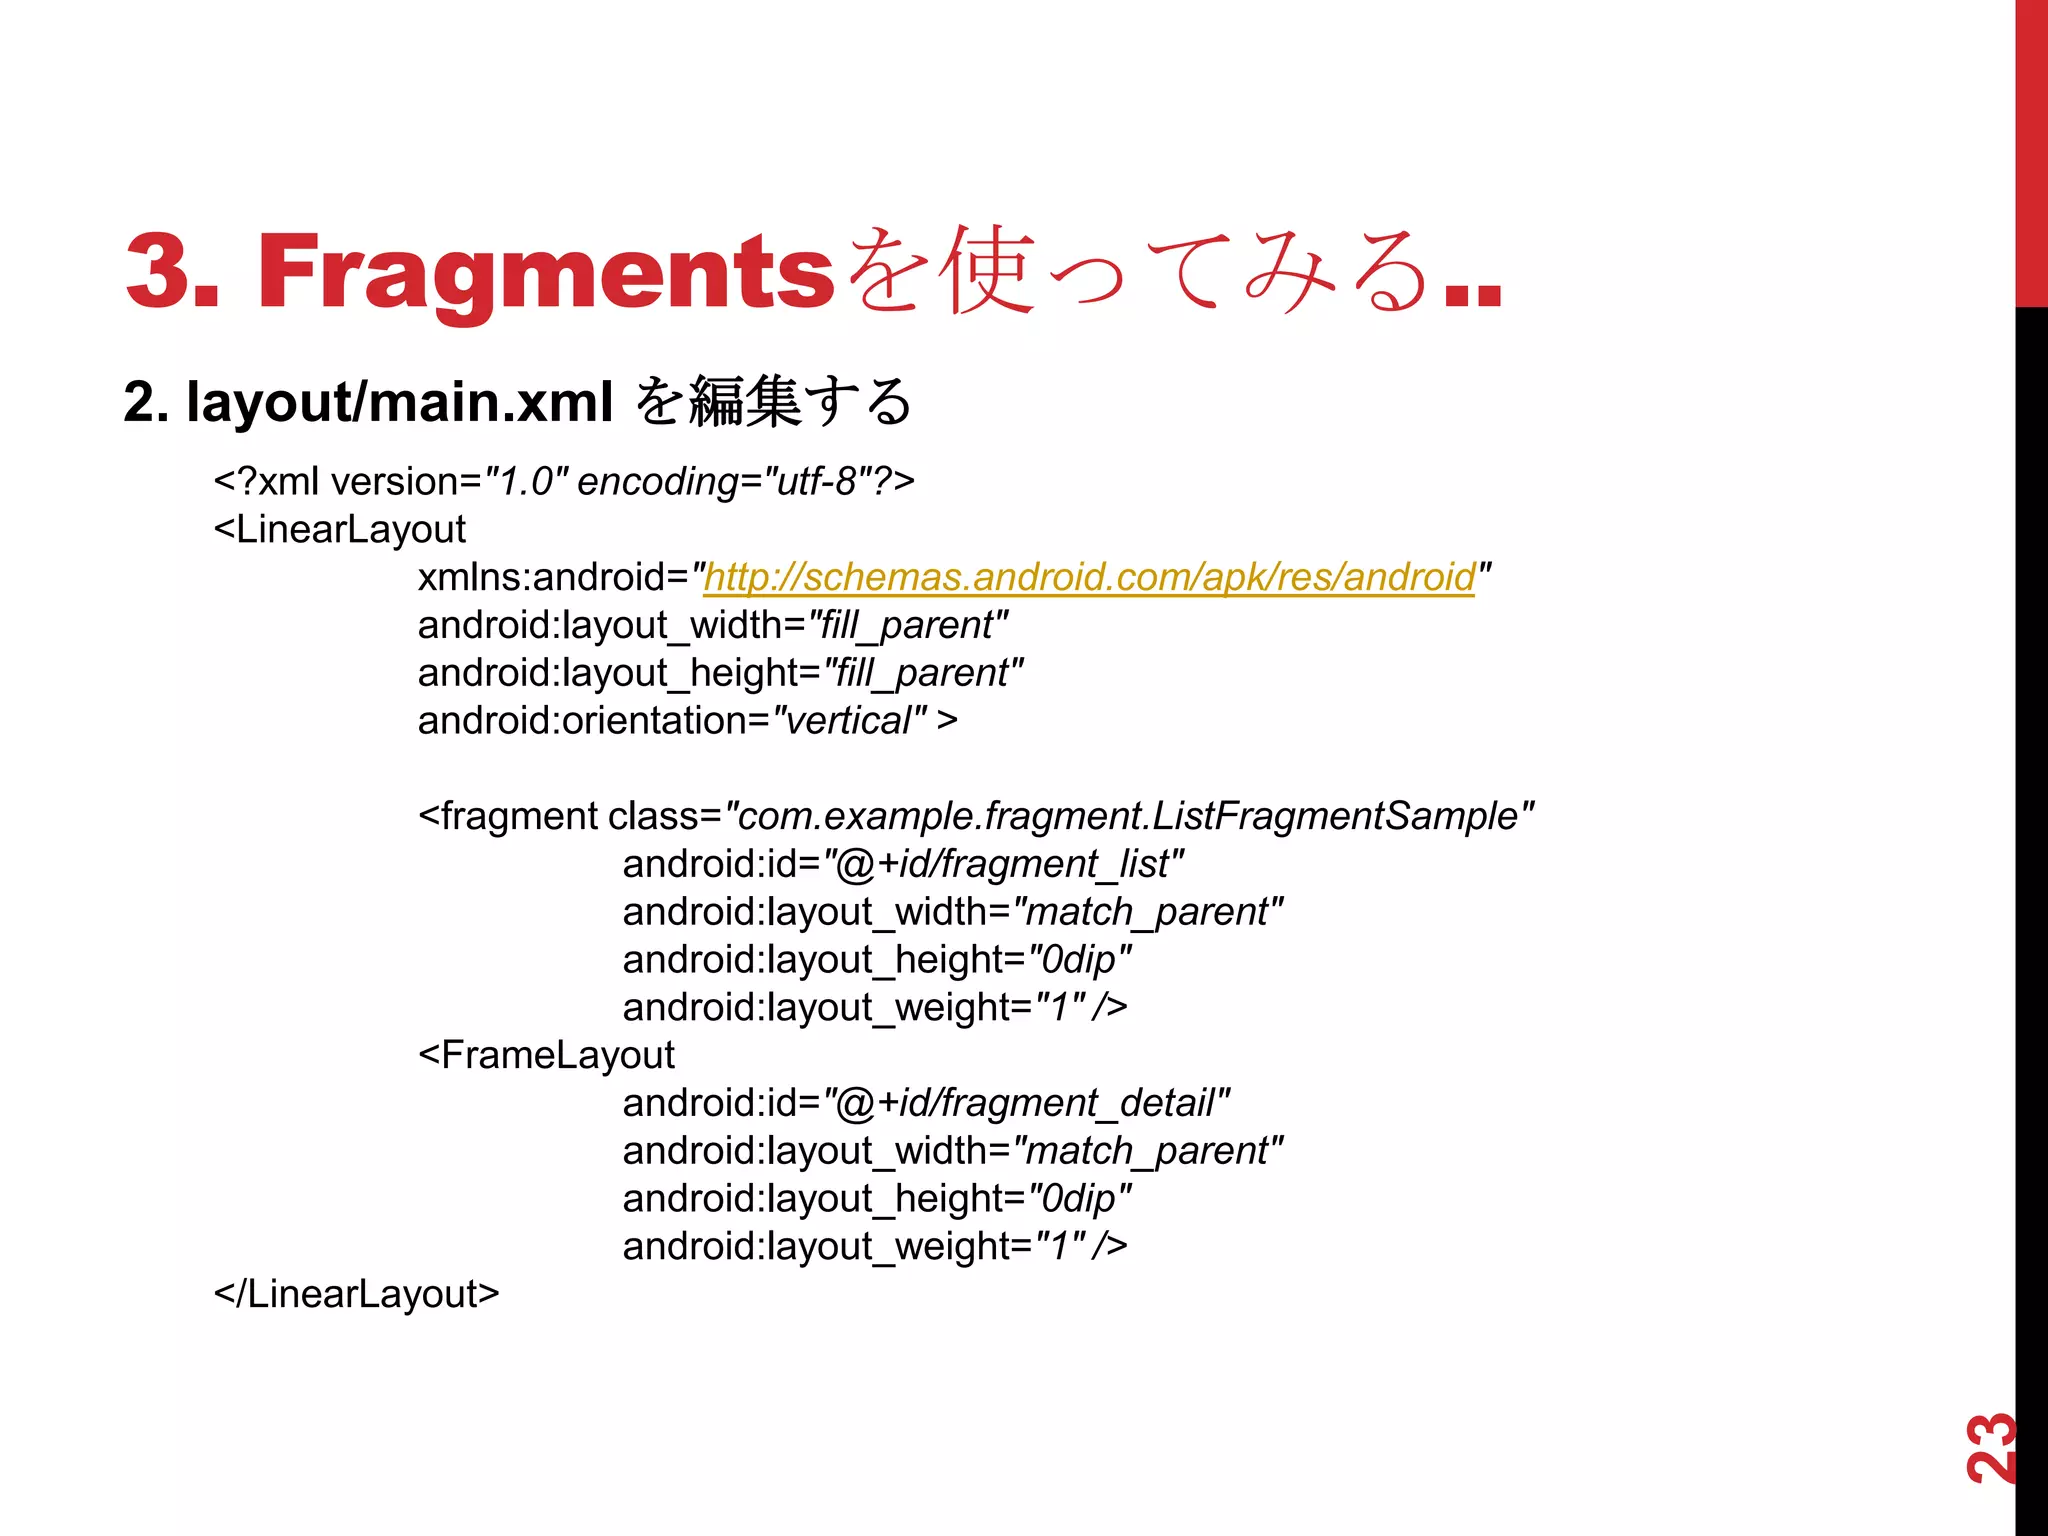
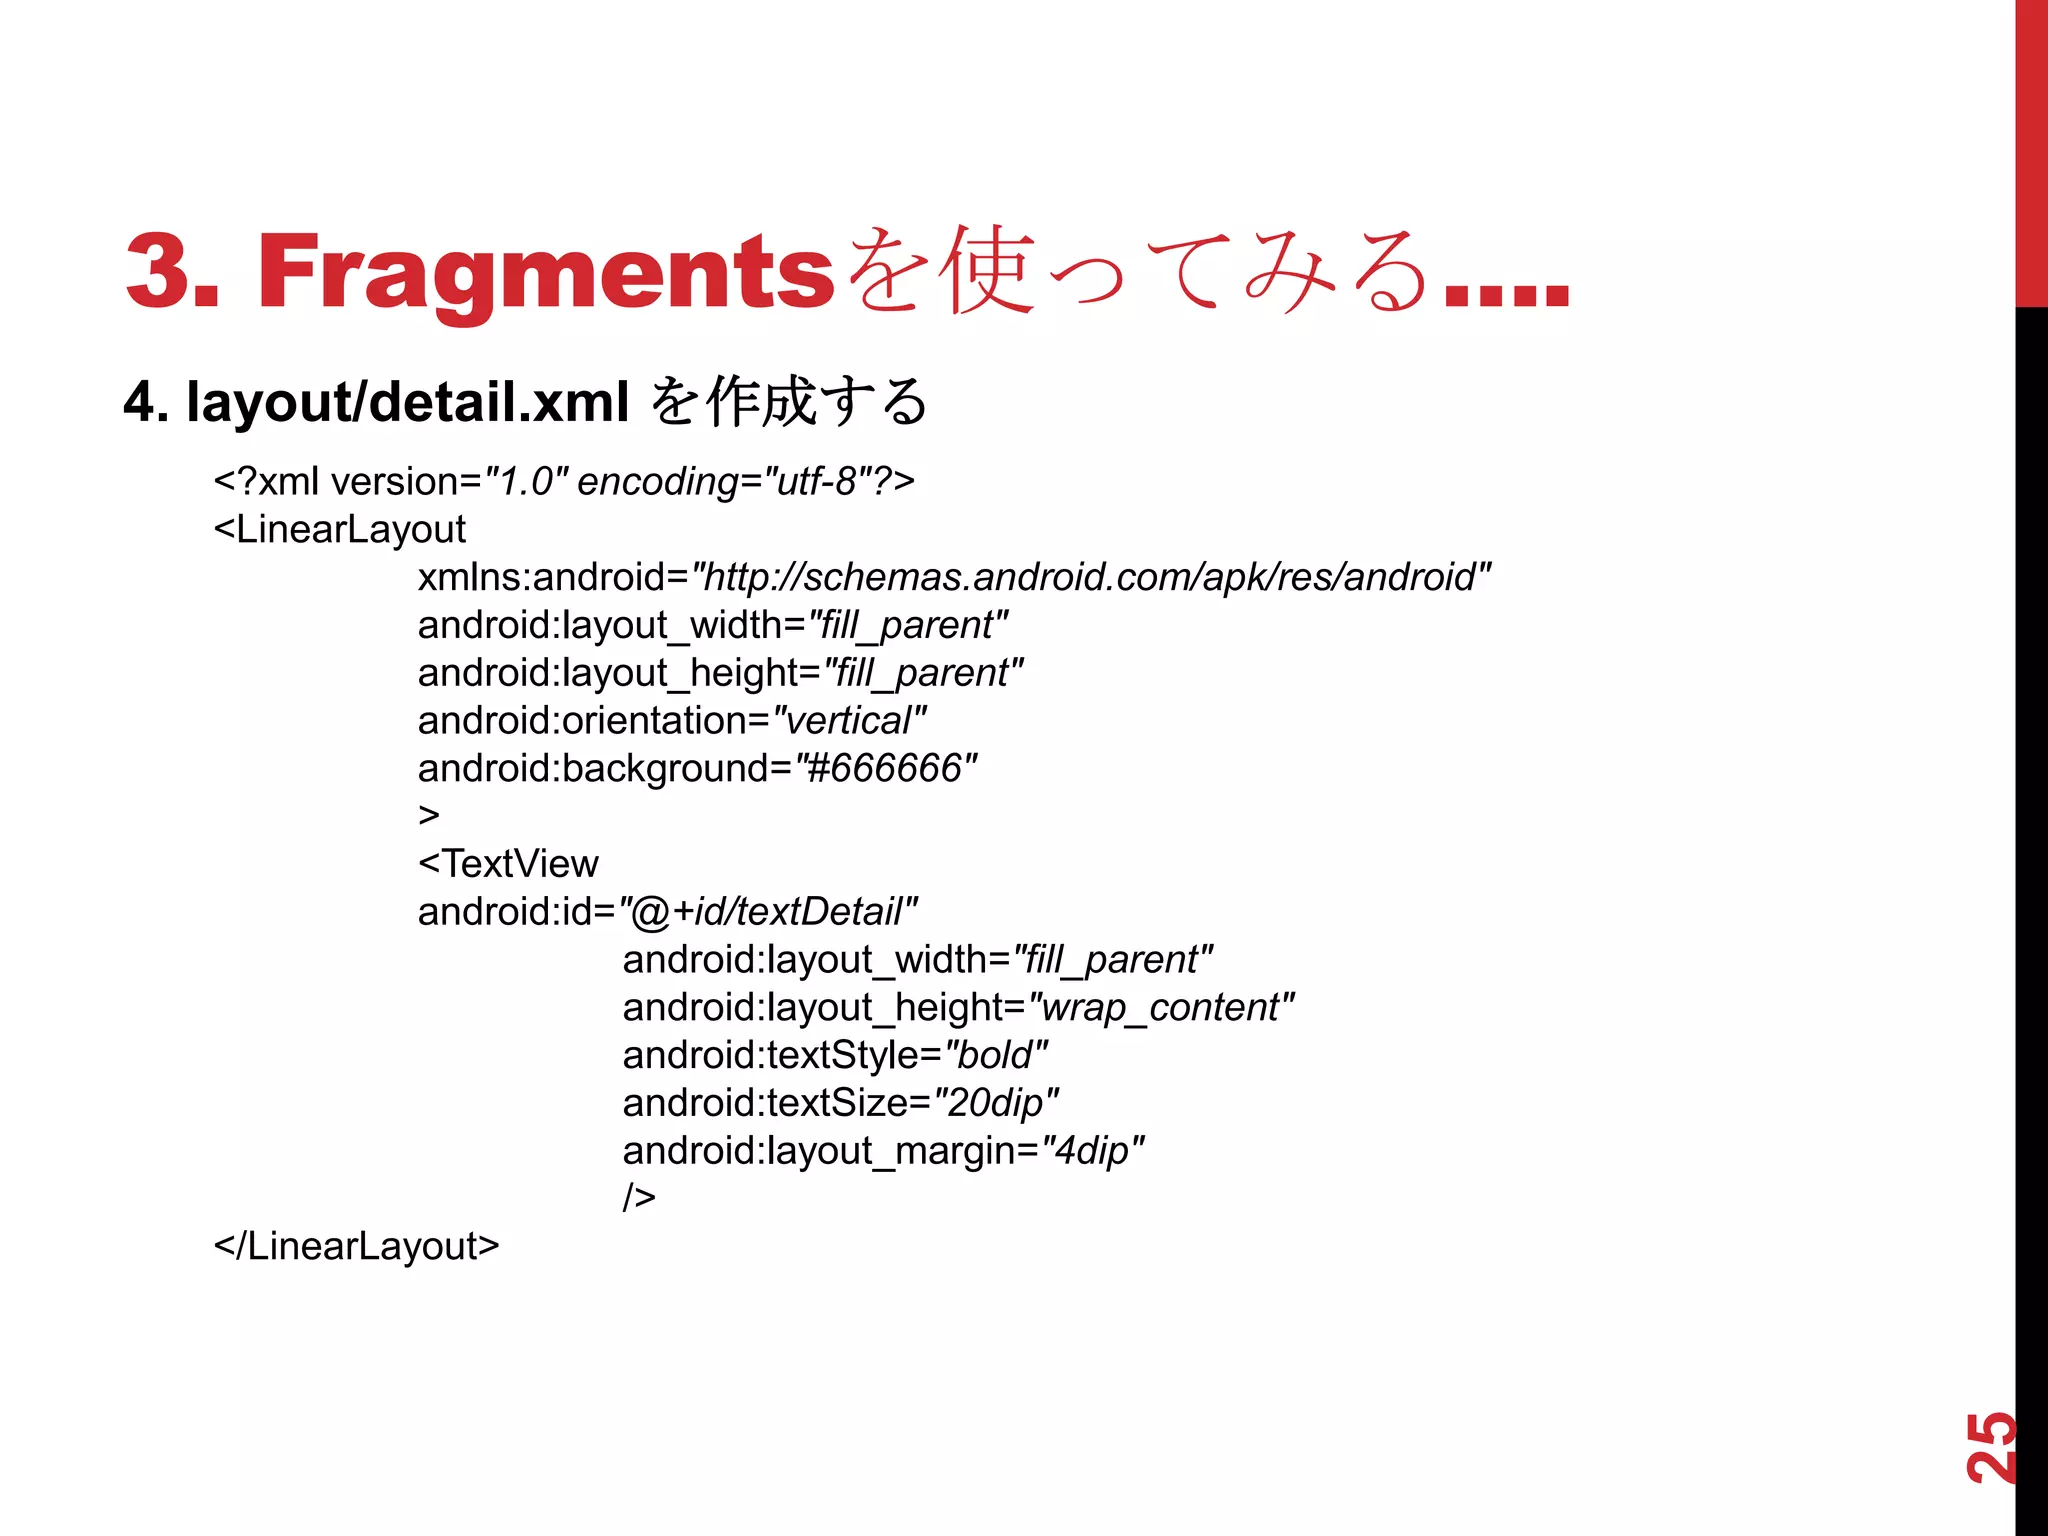
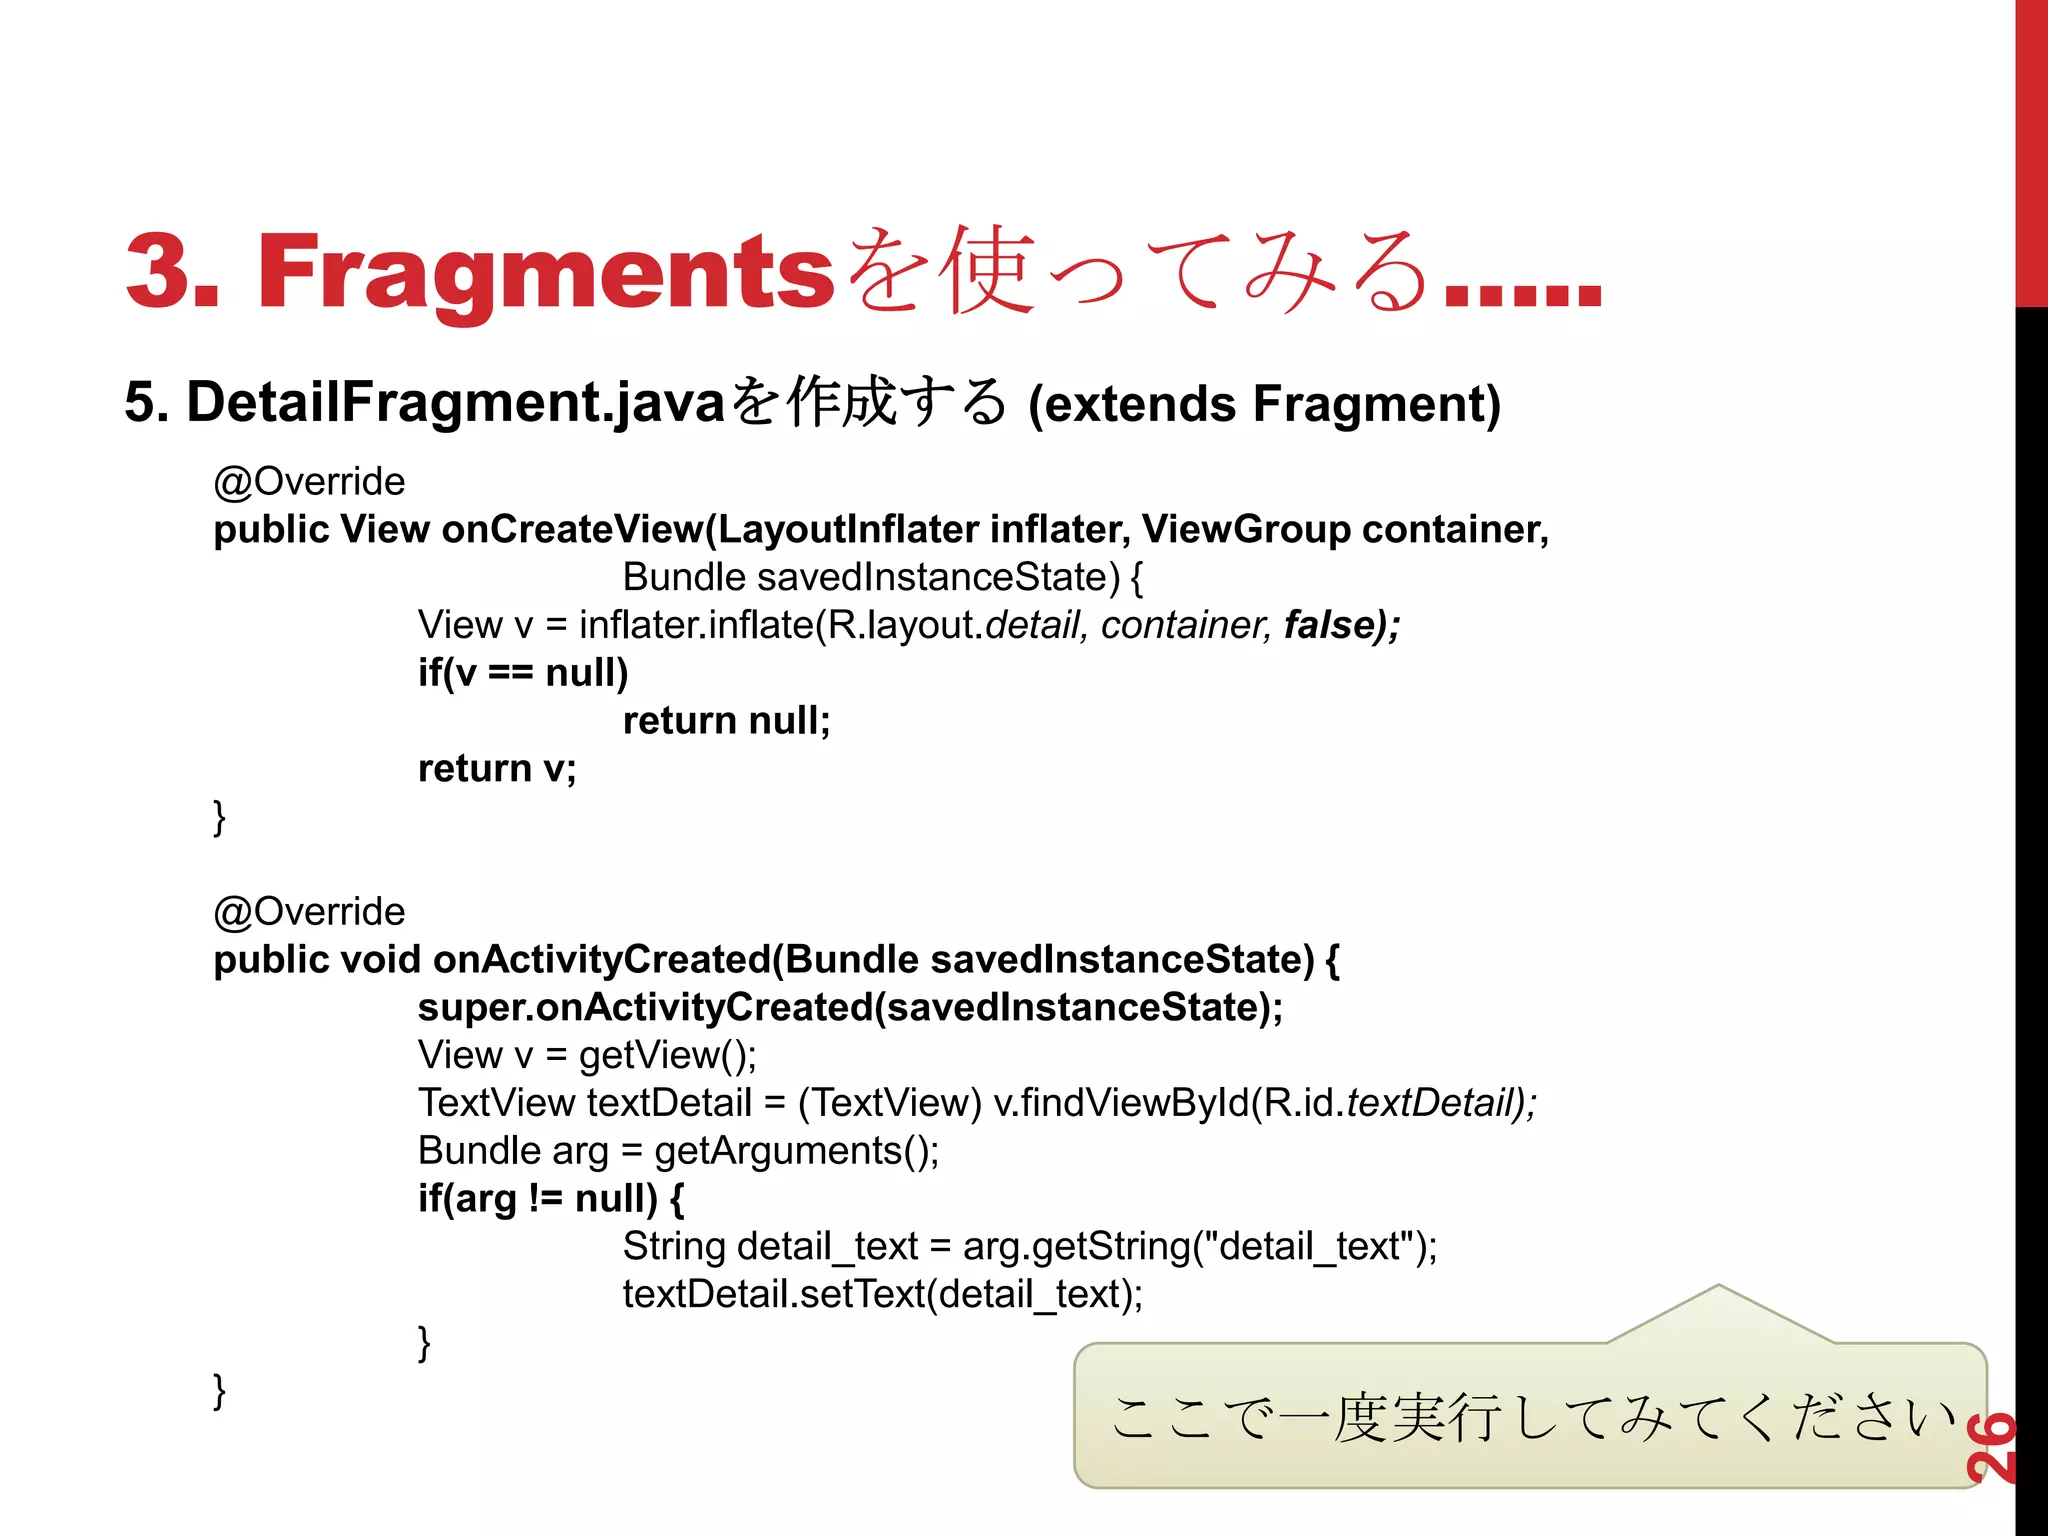
![3. Fragmentsを使ってみる…
3. ListFragmentSample.javaを作成する (extends ListFragment)
private List<Map<String, Object>> list = new ArrayList<Map<String, Object>>();
@Override
public void onActivityCreated(Bundle savedInstanceState) {
super.onActivityCreated(savedInstanceState);
Map<String, Object> item1 = new HashMap<String, Object>();
item1.put("ICON", Integer.valueOf(android.R.drawable.ic_menu_delete));
item1.put("LABEL", "ゴミ箱");
list.add(item1);
Map<String, Object> item2 = new HashMap<String, Object>();
item2.put("ICON", Integer.valueOf(android.R.drawable.ic_menu_camera));
item2.put("LABEL", "カメラ");
list.add(item2);
SimpleAdapter adapter = new SimpleAdapter(
getActivity(),
list,
android.R.layout.activity_list_item,
new String[] { "LABEL", "ICON" },
new int[] { android.R.id.text1, android.R.id.icon });
setListAdapter(adapter);
24
}](https://image.slidesharecdn.com/fragments20120424-120423214423-phpapp01/75/Using-the-Fragments-Android-25-2048.jpg)


![[ABC2012S]Android2x/3x/4x対応アプリ開発Tips](https://cdn.slidesharecdn.com/ss_thumbnails/abc2012sandroid234kanbara-120324082804-phpapp02-thumbnail.jpg?width=640&height=640&fit=bounds)


