Download as PPSX, PPTX


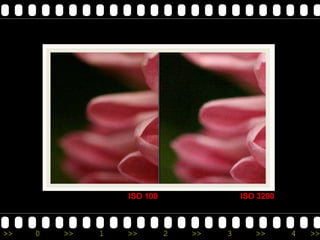

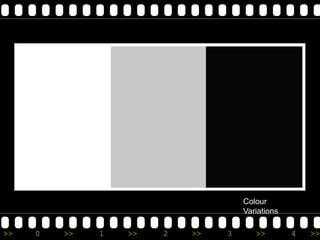


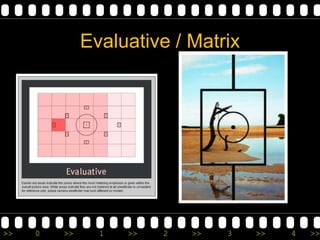


Exposure is determined by the amount of light recorded by a camera's sensor during photography. The three elements that determine exposure are aperture, shutter speed, and ISO. These elements work together and adjusting one affects the overall brightness of the photo. Metering a scene on a mid-tone gray allows for a properly exposed photo, while metering on black or white can result in under or overexposure if the meter reading is followed.


