Download as PDF, PPTX


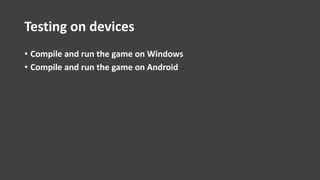
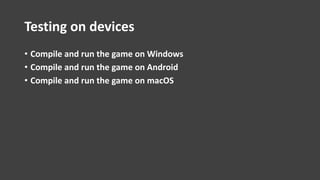
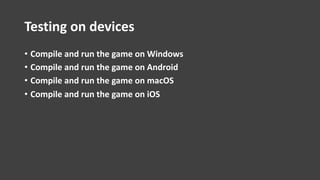


The document provides a guide for creating a multi-device game using the FireMonkey framework, which allows development for platforms like iOS, Android, macOS, and Windows. It outlines the project setup, sprite and button creation, screen design, coding basics, and testing on multiple devices. The session concludes with encouragement to modify the provided game template to create new games.