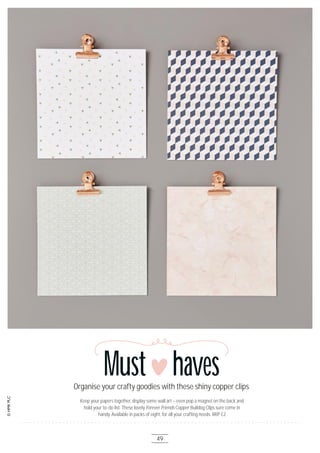
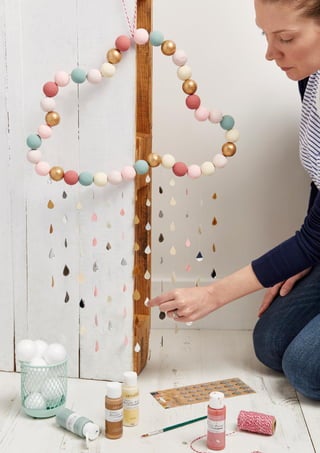
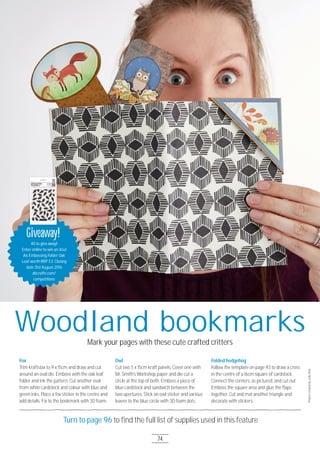
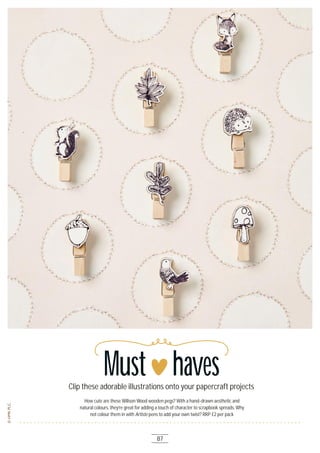
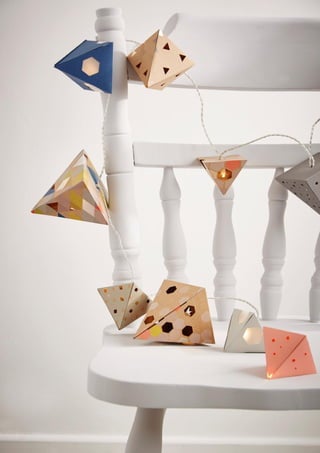
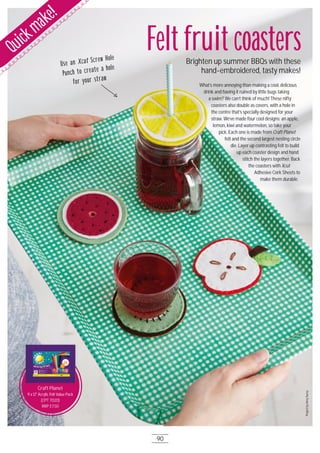
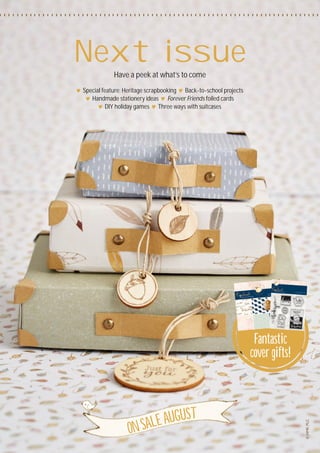
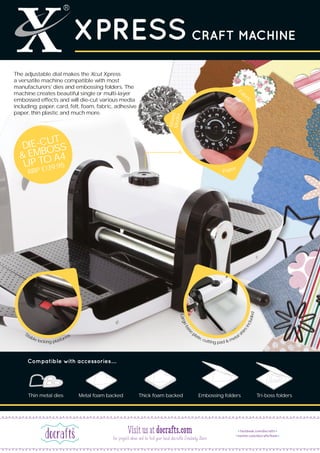
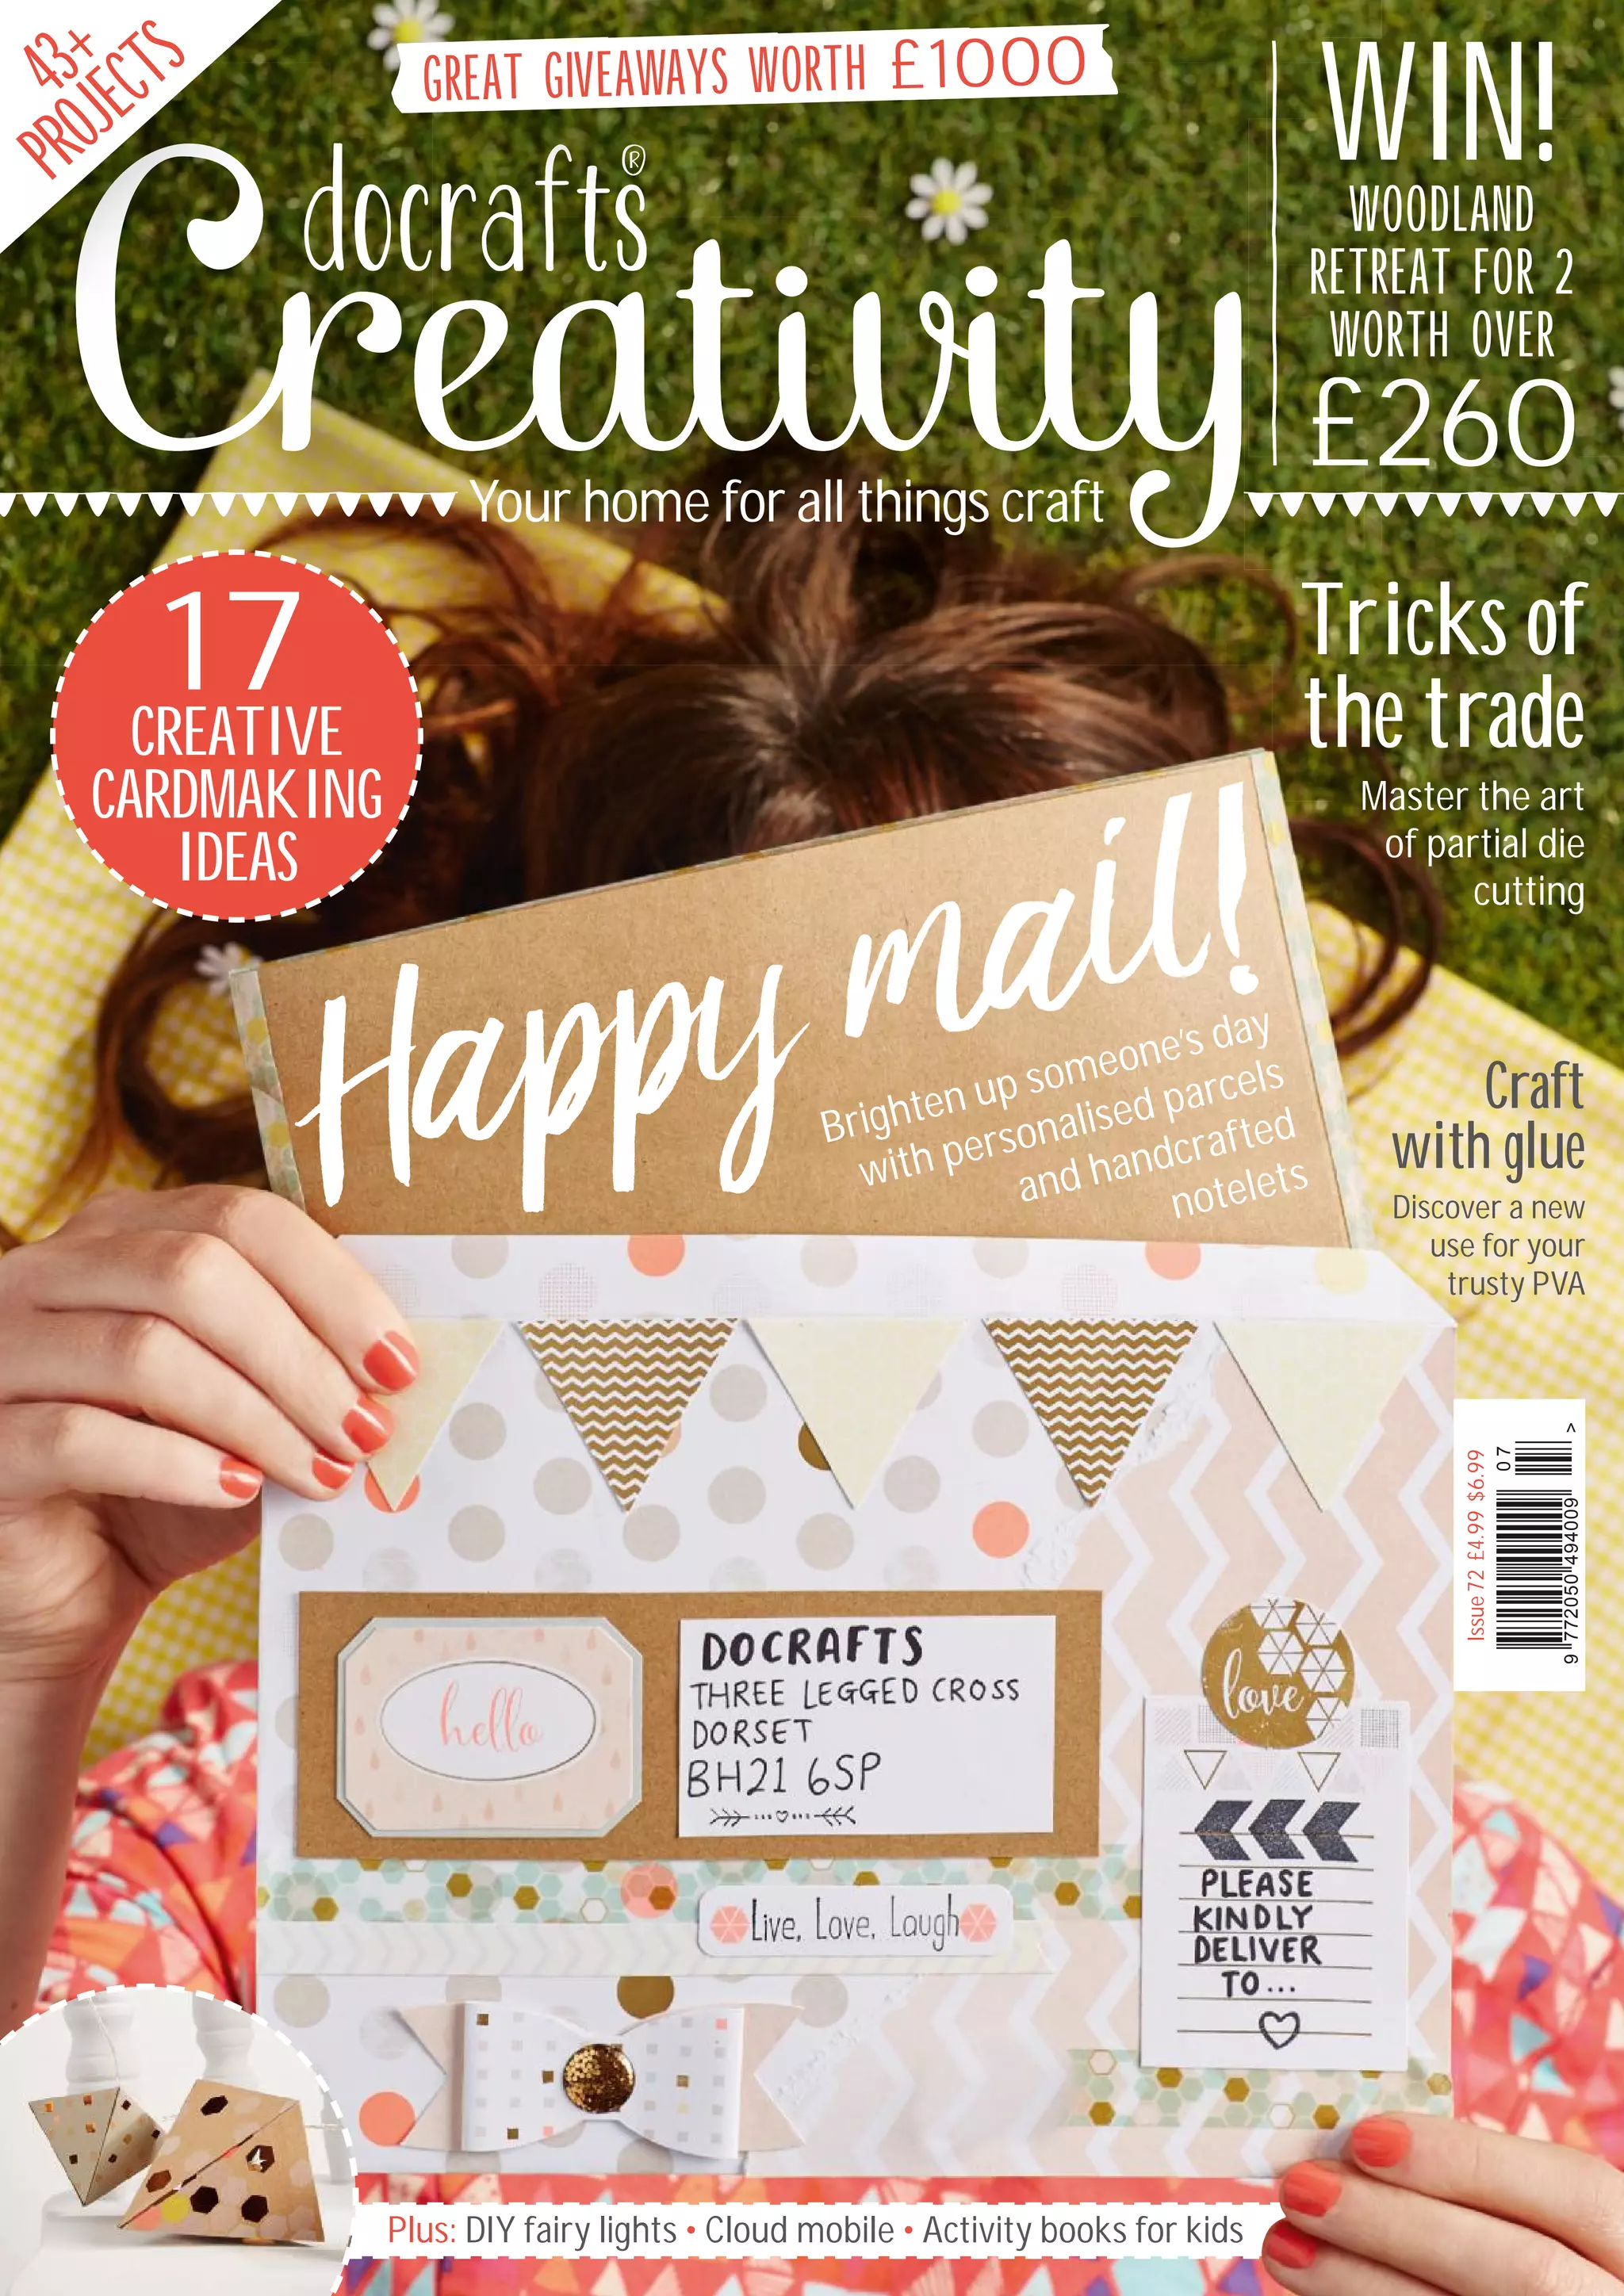
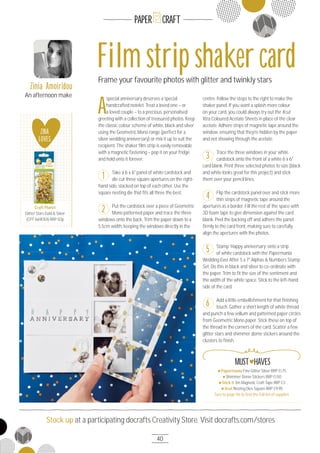
This magazine issue features over 100 pages of craft inspiration and projects. It includes competitions to win prizes worth over £1000, including a woodland retreat getaway. The issue highlights 17 creative cardmaking ideas, tricks for partial die cutting, and new uses for glue in crafts. It also features articles on crafting with apertures, scrapbooking for babies, origami plant holders, and more. The magazine provides profiles of the craft designers and artists behind many of the projects.


![Write to us at Creativity@docrafts.com. Find our postal address on page 5
43
#docrafts
Hello,
I've seen the new
Gorjuss watercolour
pens, but I have no
idea how to use them. I
can't see any videos of
anything showing the
new colours in action.
Can anyone give me
any tips?
nannybuttons via the
docrafts Forum
Creativity says:
The Santoro
Watercolour Dual-tip
Pens work in the same
way as our Artiste pens.
For best effects, scribble
a little ink onto a clear
stamp block, add water
and paint the colour
with a paintbrush. For
more tips, take a look at
our website for a brand
new video!
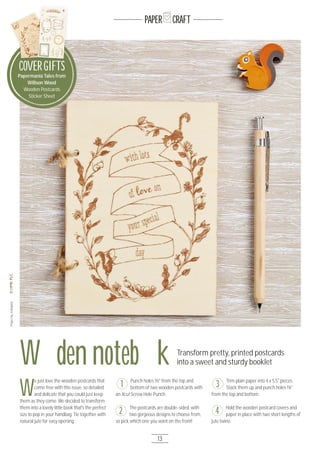
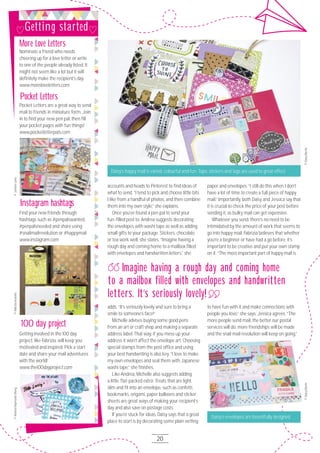
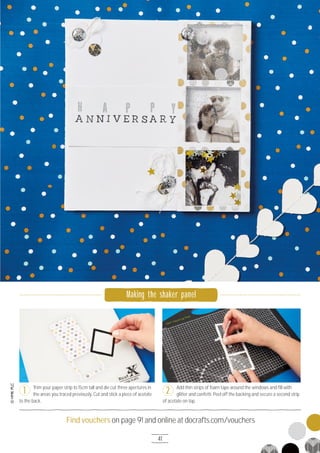
Forget covering pre-made
notebooks, craft your own
with this super-impressive
link-stitched binding
technique. Visit http://bit.
ly/1TqcYpg to learn how.
Watch more crafty videos
at youtube.com/docrafts.
Got a question?
Get in touch!
Ask the
team
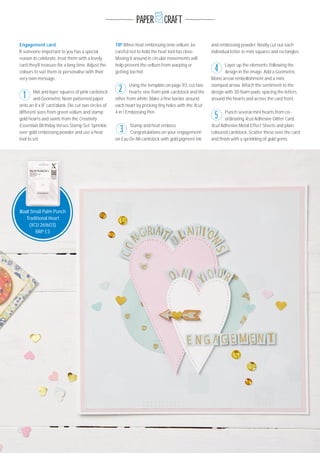
Some of our favourite projects
shared with us online
In the gallery
@zoewilson19 #docrafts via Instagram
@sticker.kitten
#docrafts via Instagram
@aladinecreations
#docrafts via Instagram
Dianne Herbert via Facebook
#docraftsmonday
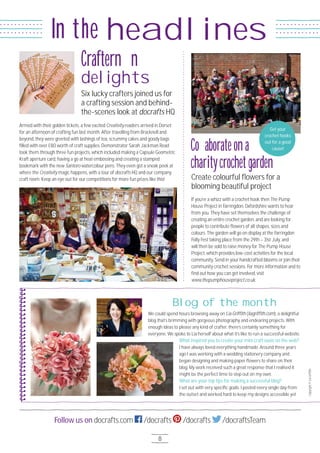
Master the art
of bookbinding
Video of
the month
Get
featured!
docrafts.com
Instagram
Facebook
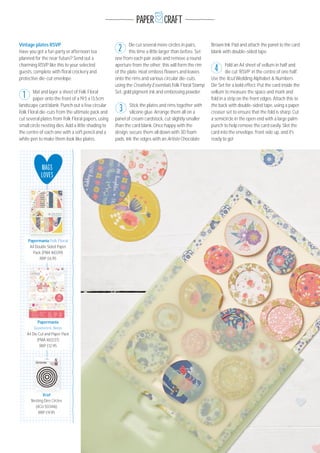
Dear docrafts,
I was inspired by the hello stamp [given away
free in Creativity issue 66] to make this card. I
stamped with masking fluid, blended over the top
with inks and then added stamping using the Folk
Floral stamp set. I really liked the finished card, so I
thought I would send it to you. Hope you like it.
Kindest regards,
Christine Smith
Creativity says: Thank you so much for sending
your card to us Christine, it is beautiful! Receiving
cards in the post always makes our day – it's
amazing what a big difference a little treat makes!
Lovely colour choice and wonderful use of the Folk
Floral stamps. We loved that free cover gift too – it's
so versatile!
STAR LETTER
Star letter
wins £5O
worth of craft
goodies!
Demo card](https://image.slidesharecdn.com/docraftscreativity-072-180206155733/85/Docrafts-creativity-072-43-320.jpg)