Download as PDF, PPTX
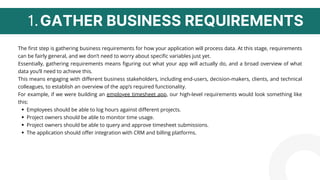

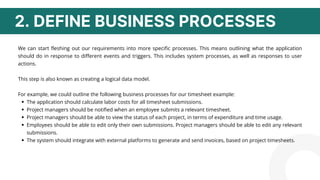
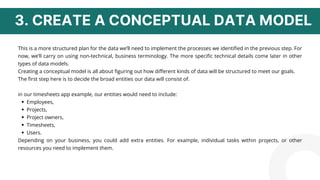
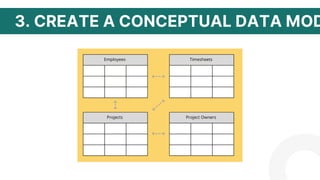


This document provides steps for creating a data model: 1. Gather business requirements by engaging stakeholders to understand the app's functionality at a high level. 2. Define business processes by outlining what the app should do in response to events and user actions, creating a logical data model. 3. Create a conceptual data model by identifying main entities like employees, projects, timesheets, and determining how their attributes will be structured to meet goals. 4. Define specific attributes for each entity and translate entities into database tables with rows for instances and columns for attributes. 5. Identify internal and external data sources for existing data and determine if new sources need to be created. 6.


![Data Models [DATABASE SYSTEMS: Design, Implementation, and Management]](https://cdn.slidesharecdn.com/ss_thumbnails/coronelpptch02-datamodels-190903105908-thumbnail.jpg?width=640&height=640&fit=bounds)