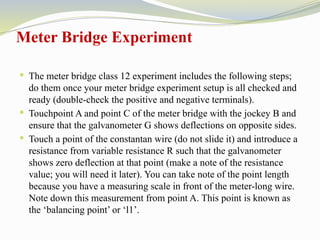
The document explains the meter bridge experiment, which operates on the principle of the Wheatstone bridge to measure resistance using a 1-meter constantan or manganin wire. It provides detailed steps for setting up and conducting the experiment, including how to determine unknown resistance by finding balancing points on the meter bridge. Additionally, the document outlines the calculation of specific resistance of the wire using measured values.


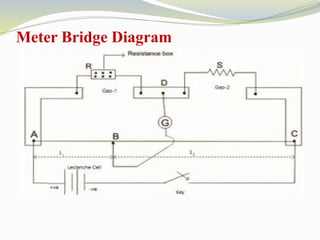


![ Change the positions of the unknown resistance ‘S’ and
resistance box ‘R’ so that Gap-1 has the unknown resistance
now and Gap-2 has the resistance box. Remove the Key
before you do this and put it back once the positions have
been changed.
Measure the distance of terminal point C of the meter bridge
from the balancing point (where the galvanometer showed
zero deflection). This length is ‘l2’.Compute the average
length ‘l’ of l1 and l2 using the formula: (l1 + l2)/2.
Use the formula to compute the value of unknown resistance
S: S = [l / (100 – l)] *R](https://image.slidesharecdn.com/pptmeterbridge-241120092224-443af26c/85/Current-Electricity-Meter-bridge-Construction-11-320.jpg)