Download to read offline

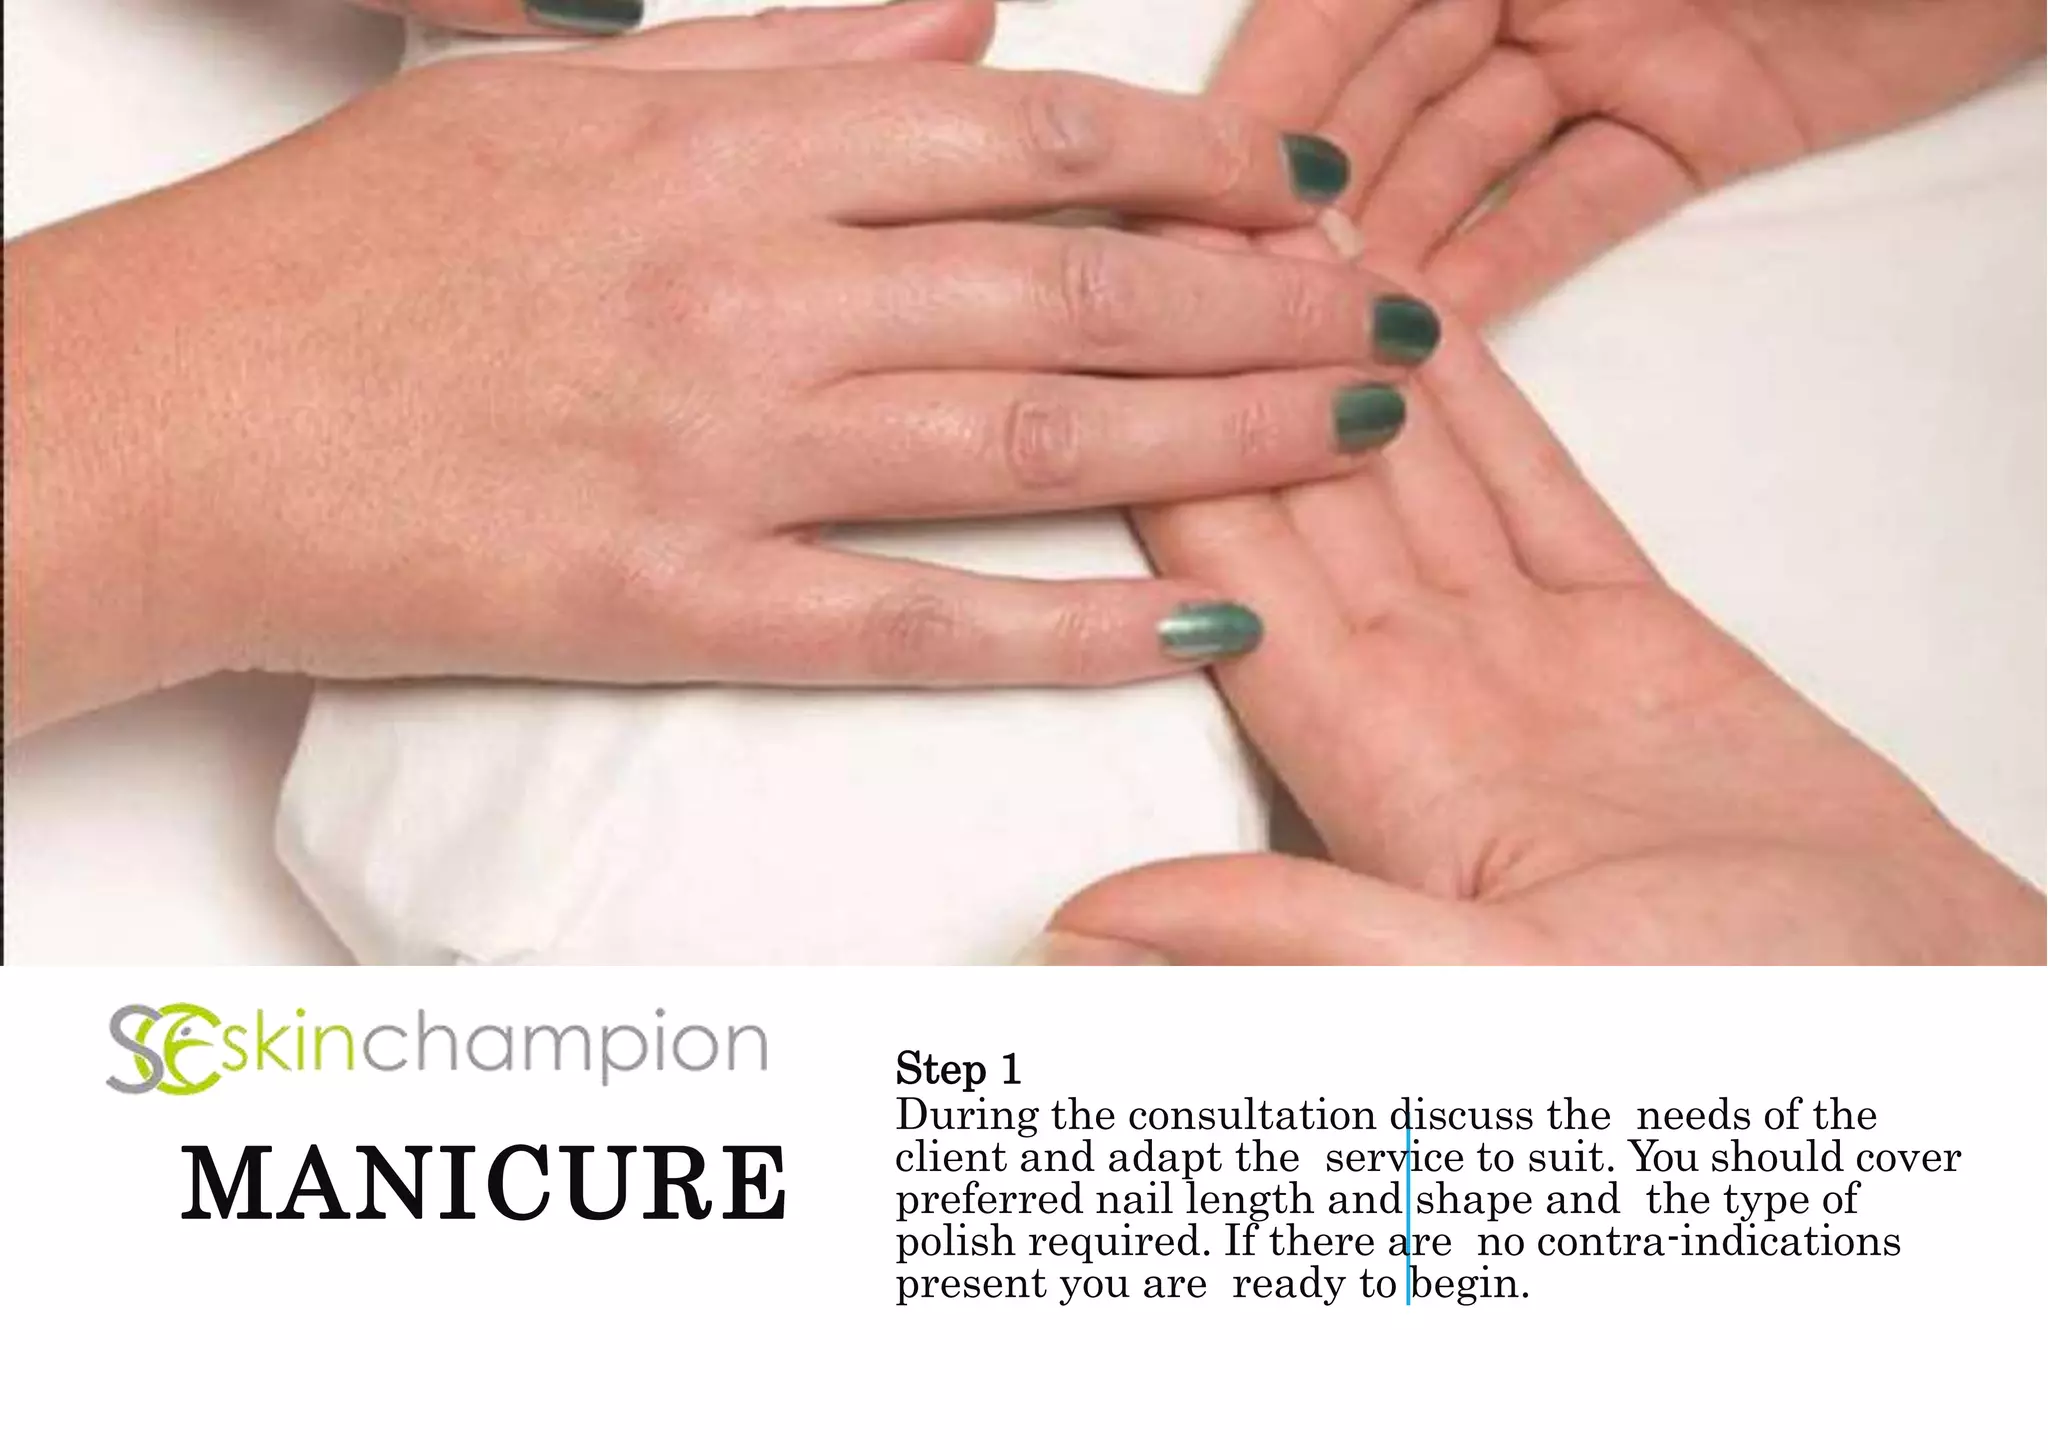
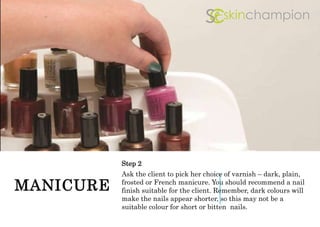
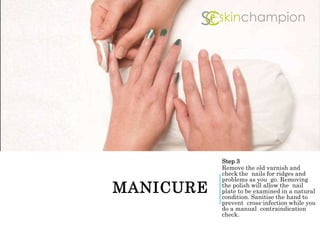
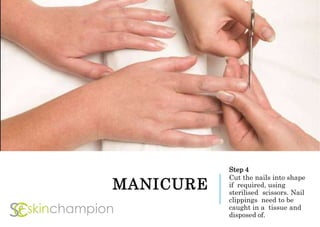
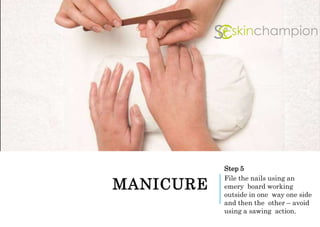
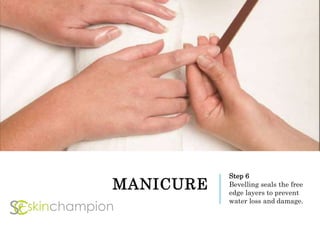
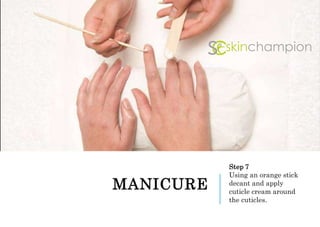
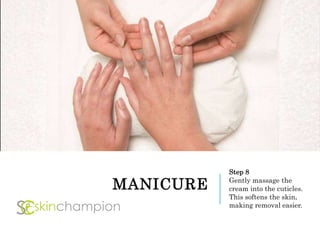
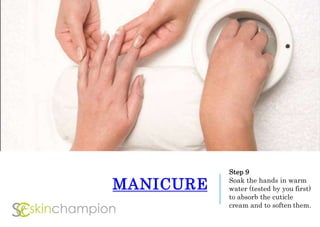
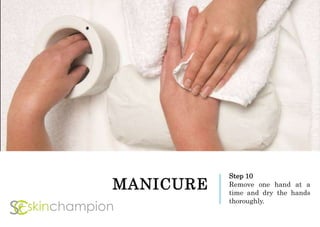
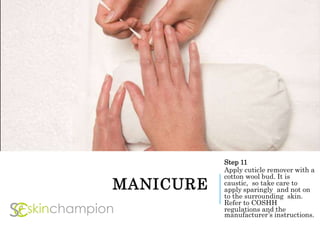

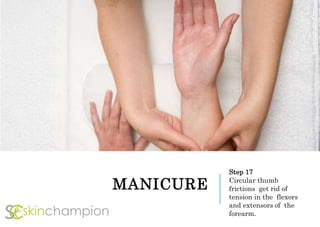
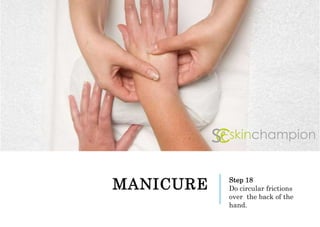
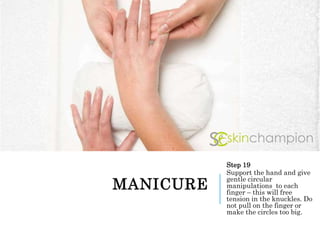
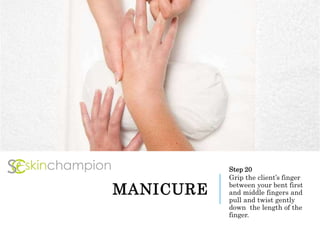


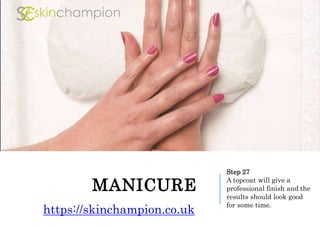

The document outlines a detailed step-by-step process for performing a manicure, which includes client consultation, nail preparation, cuticle care, and massage techniques. It emphasizes proper sanitation and the use of appropriate tools while addressing client preferences for nail colors and finishes. The procedure concludes with the application of a base coat, varnish, and topcoat for a professional result.


![Manicure [Autosaved].pptx](https://cdn.slidesharecdn.com/ss_thumbnails/manicureautosaved-230503235402-726f8201-thumbnail.jpg?width=640&height=640&fit=bounds)