The document provides help information for the HP DeskJet GT 5820 All-in-One printer. It includes sections on printer parts, loading paper and originals, control panel features and lights, printing, copying and scanning, managing ink and printheads, connecting the printer, troubleshooting issues, and technical specifications. The document contains detailed instructions and troubleshooting information to help users operate and solve problems with the printer.


![Specifications
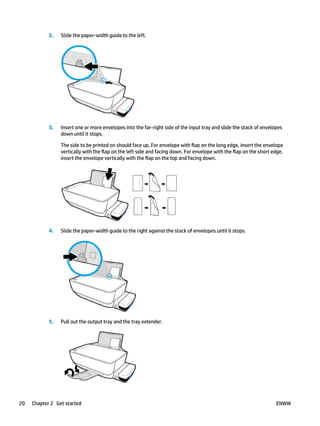
Technical specifications for the HP DeskJet GT 5820 series are provided in this section. For more product
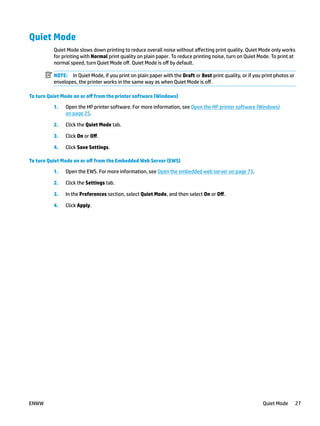
specifications, see the Product Data Sheet at www.hp.com/support .
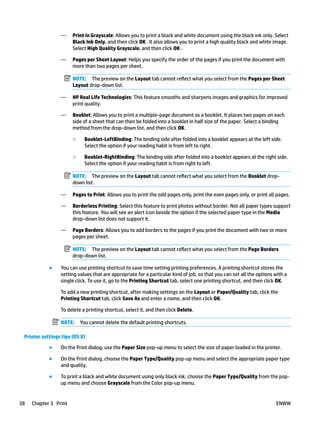
System requirements
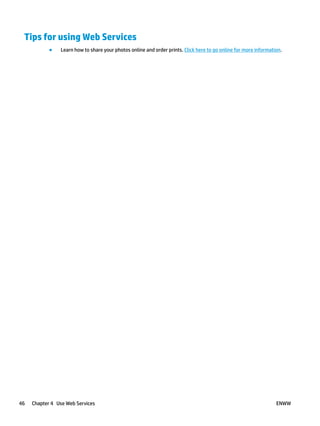
● Software and system requirements can be found in the Readme file, which is available on the HP printer
software CD provided with your printer.
● For information about future operating system releases and support, visit the HP online support website
at www.hp.com/support .
Environmental specifications
● Recommended operating temperature range: 15ºC to 30ºC (59ºF to 86ºF)
● Allowable operating temperature range: 5ºC to 40ºC (41ºF to 104ºF)
● Humidity: 15% to 80% RH non-condensing; 28ºC maximum dewpoint
● Nonoperating (Storage) temperature range: –40ºC to 60ºC (–40ºF to 140ºF)
● In the presence of high electromagnetic fields, it is possible the output from the HP DeskJet GT 5820
series may be slightly distorted
● HP recommends using a USB cable less than or equal to 3 m (10 feet) in length to minimize injected
noise due to potential high electromagnetic fields
Input tray capacity
● Plain paper sheets (80 g/m2 [20lb]): Up to 60
● Envelopes: Up to 5
● Index cards: Up to 20
● Photo paper sheets: Up to 20
Output tray capacity
● Plain paper sheets (80 g/m2 [20lb]): Up to 25
● Envelopes: Up to 5
● Index cards: Up to 10
● Photo paper sheets: Up to 10
Paper size
● For a complete list of supported media sizes, see the printer software.
Paper weights
● Plain Paper: 64 to 90 g/m² (16 to 24 lb)
● Envelopes: 75 to 90 g/m² (20 to 24 lb)
112 Appendix A Technical information ENWW](https://image.slidesharecdn.com/c04937829-231010053038-52db77d2/85/c04937829-pdf-118-320.jpg)