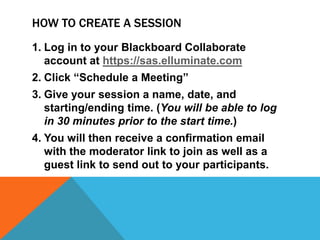
To create a Blackboard Collaborate session, you:
1. Log into your Blackboard Collaborate account and click "Schedule a Meeting".
2. Give the session a name, date, start/end time and you will receive a confirmation email.
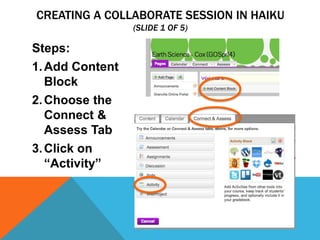
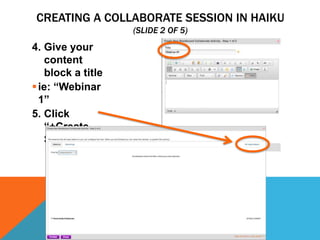
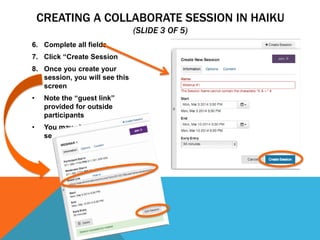
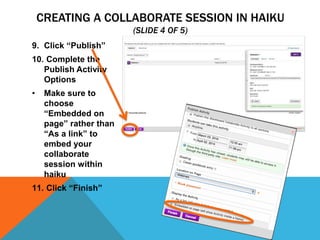
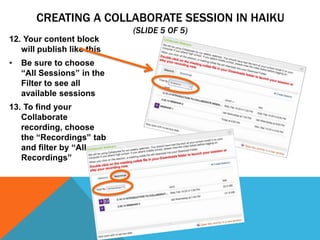
3. Within Haiku, add a content block, click "Activity", give it a title, click "+Create Session", complete the fields, and click "Publish" to embed the session on a page.