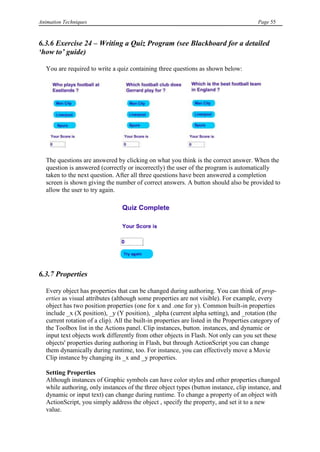
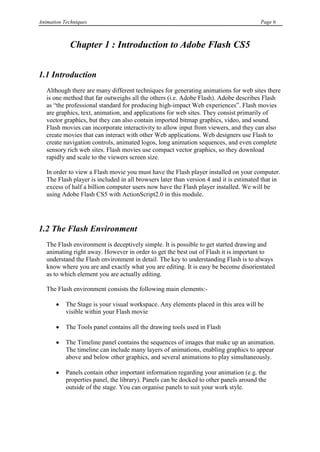
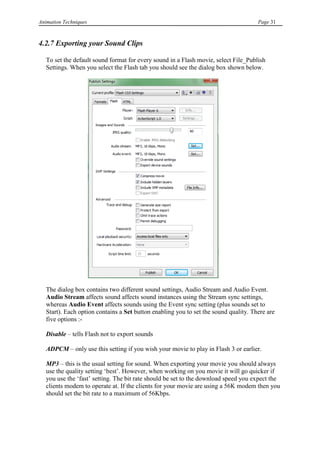
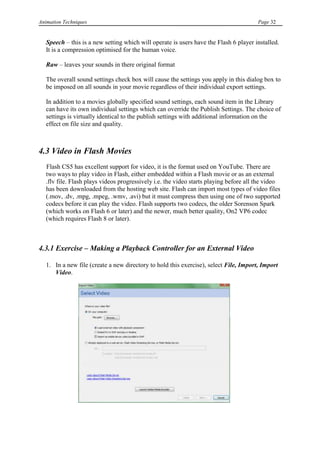
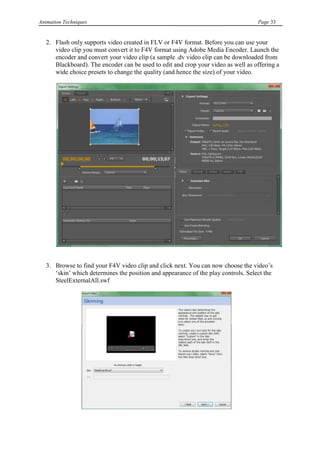
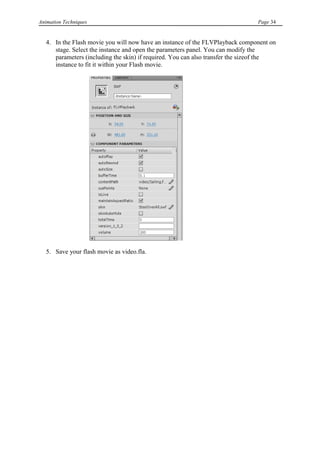
This document provides an overview of animation techniques in Adobe Flash. It discusses the Flash environment including the stage, timeline, tools panel, properties panel, and library. It also covers drawing and painting tools, importing graphics, using layers, animating, adding sound and video, interactivity using buttons and ActionScript, and publishing Flash movies. The document is intended as course content for a 12-week class covering these Flash animation topics.

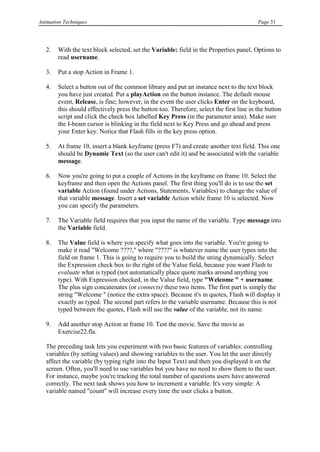
![Animation Techniques Page 37
is noticeably larger. Go back and set tweening in frame 1 and frame 15 to Motion
(right click on each keyframe individually and select Create Classic Tween). Scrub
the timeline to quickly view your animation.
4. Go back to the main scene (click Scene 1 at the top left of the Timeline). Delete
everything onstage (select Edit, Select All; then Edit, Clear). Open the Library
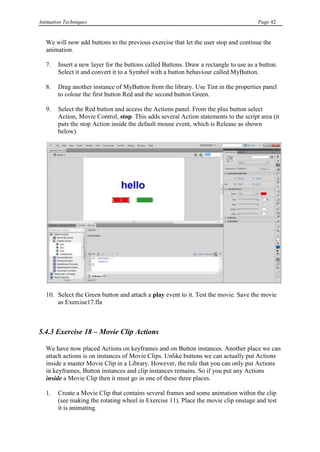
(Ctrl+L) and drag an instance of the „Plain Text‟ onstage. With the „Plain Text‟
instance selected, convert it to a symbol, name it Animating Button and save it with
the button behaviour set.
5. Now we can edit our button and animate it. Double-click the instance onstage (the
Animating Button symbol) and you are taken inside the button which should have an
instance of „Plain Text‟ in frame 1. [We could place an instance of the Animating
Text Movie clip in the buttons Over state but there is an easier way.]
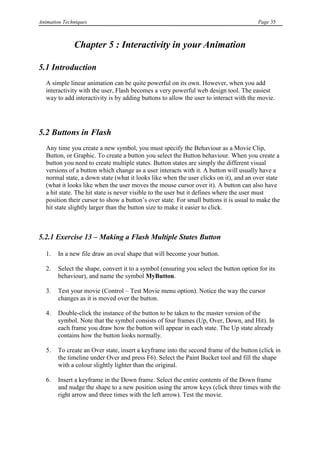
6. Insert a keyframe in the Over state (this will copy everything from the Up state). In
the Over state of the button (as shown below), access the properties panel and select
the Plain Text instance onstage. Click Swap button in the properties panel. A Swap
Symbol dialog box will open showing all the Symbols in your library with a dot next
to the one your current instance is linked to. Select Animating Text and click OK.
7. The button is lacking a large Hit state. Create a large Oval hit state as we did in the
previous exercise to cover the word „Enter‟. After you draw the oval you can delete
the instance of „Animating Text‟ that was automatically place in your Hit state as it is
not necessary. Test the movie. Save the movie as Exercise14.fla](https://image.slidesharecdn.com/animation-101029041825-phpapp02/85/Animation-37-320.jpg)