Download to read offline


![61
protected void onCreate(Bundle savedInstanceState) {
super.onCreate(savedInstanceState);
setContentView(R.layout.activity_main);
String[] data = new String[] { "Item 1", "Item 2", "Item 3",
"Item 4" };
ArrayAdapter<String> adapter = new ArrayAdapter<String>(this,
android.R.layout.simple_list_item_1, data);
ListView listView = (ListView) findViewById(R.id.listView);
listView.setAdapter(adapter);
}
}
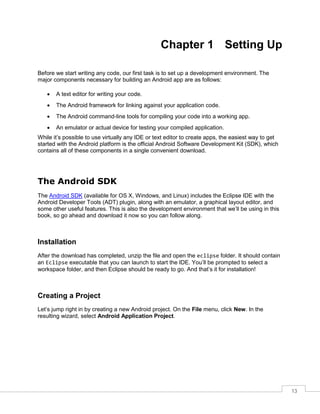
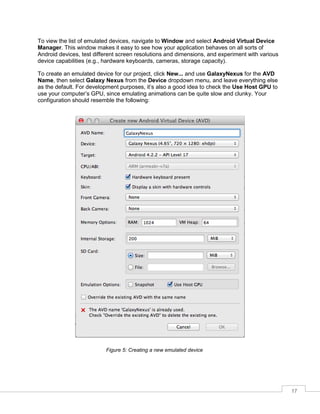
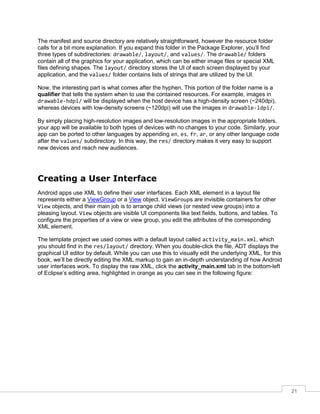
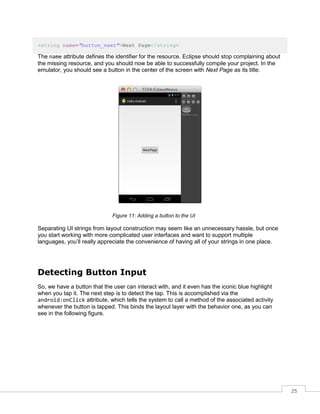
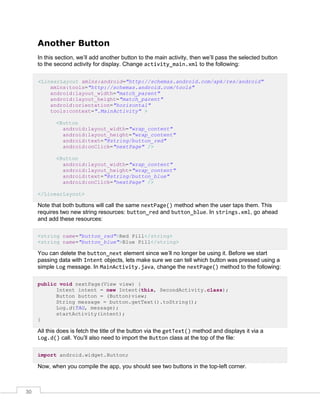
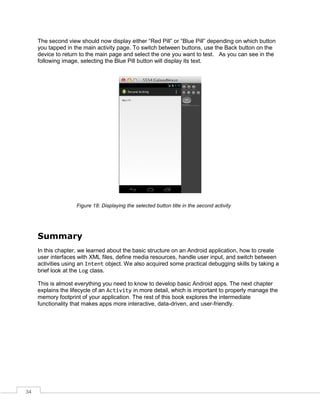
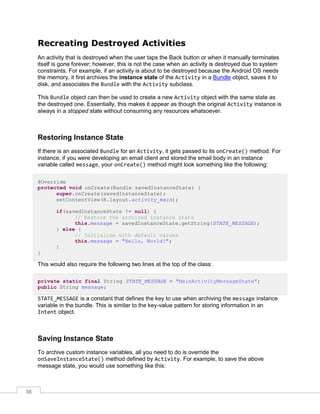
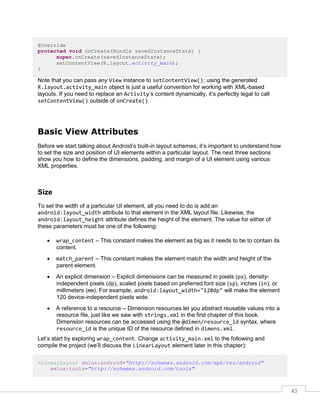
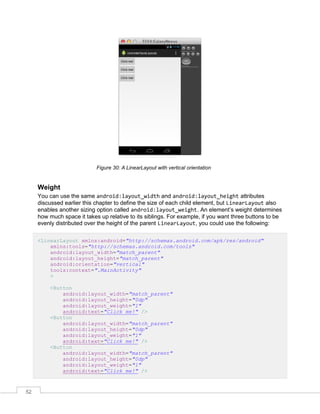
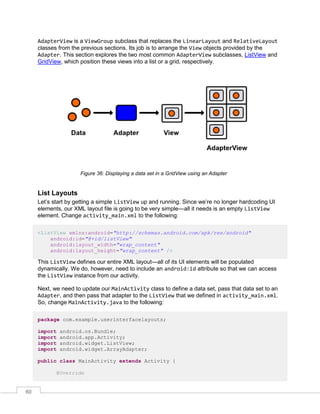
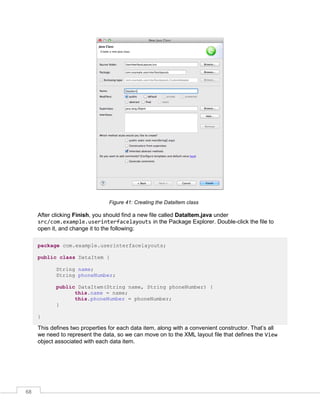
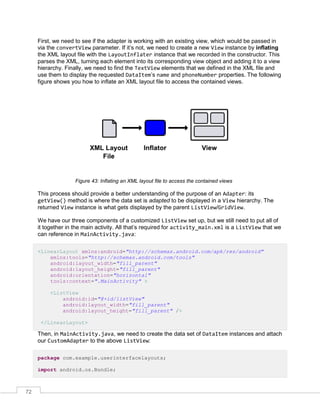
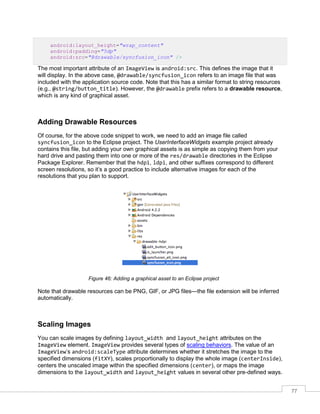
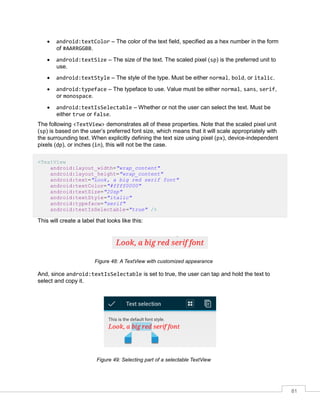
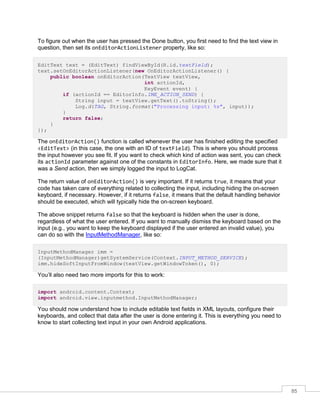
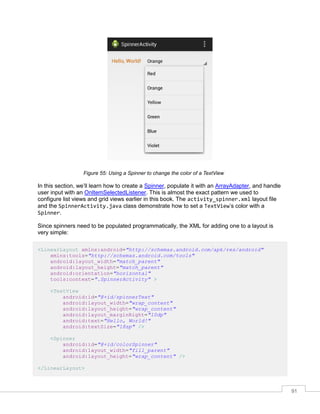
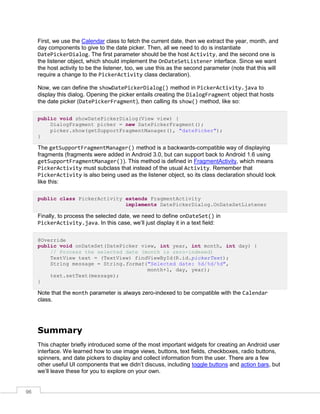
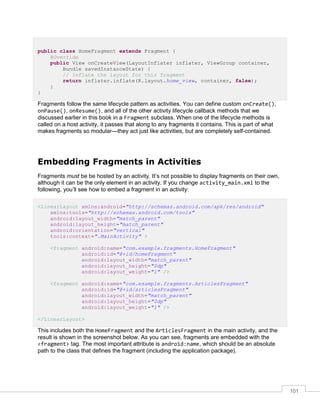
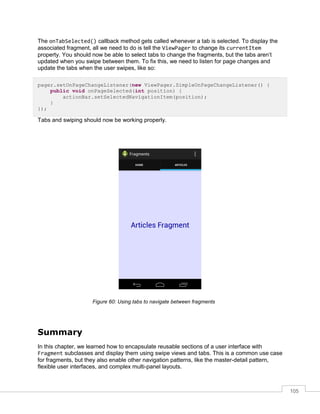
First, we create an array of Strings to serve as our data set and assign it to the local data
variable. Then, we create an ArrayAdapter, which generates a TextView from each String in
the array. Its constructor takes an Activity context, the ID of the prototypical TextView, and
the array of data. The android.R.layout.simple_list_item_1 snippet is a reference to one
of Android’s convenient built-in layouts. You can find the complete list in the R.layout
documentation. Next, we have to find the ListView that we added to activity_main.xml via
findViewById(), and then we need to set its adapter property to the ArrayAdapter instance
that we just configured.
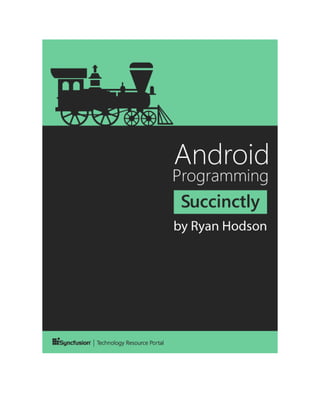
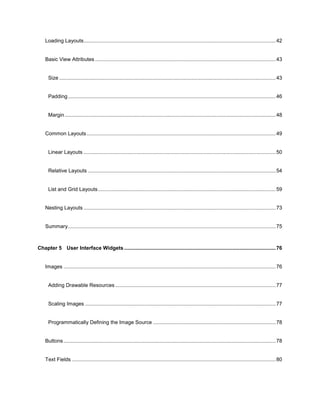
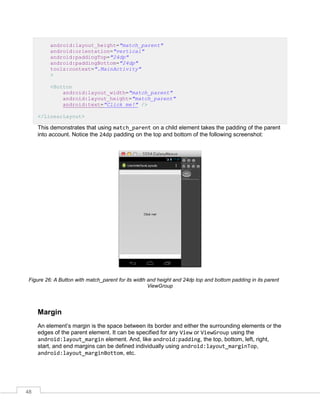
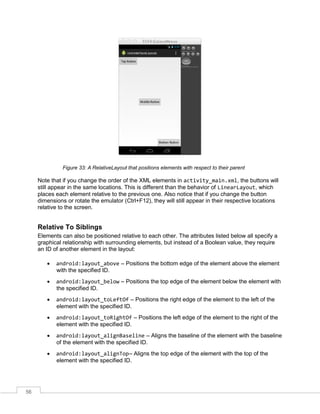
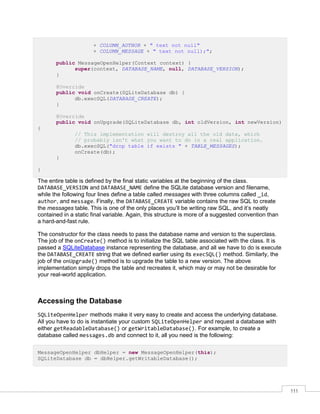
You should now be able to compile the project and see the four strings in the data array
displayed as a list of TextView elements:
Figure 37: A dynamic layout generated by ListView
List layouts make it incredibly easy to work with large data sets, and the fact that you can
represent each item with any view lets you display objects that have several properties (e.g., a
list of contacts that all display an image, name, and preferred phone number).](https://image.slidesharecdn.com/androidprogrammingsuccinctly-160207015353/85/Android-programming-succinctly-61-320.jpg)
![62
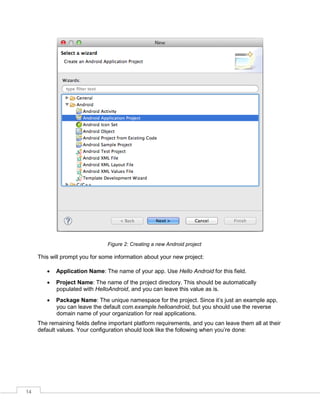
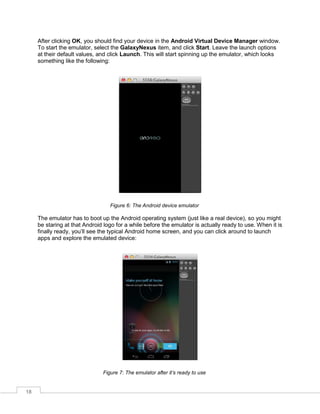
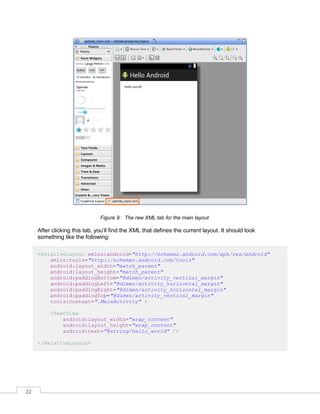
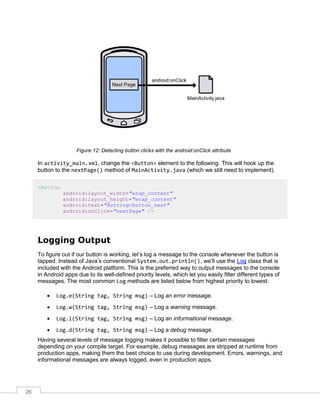
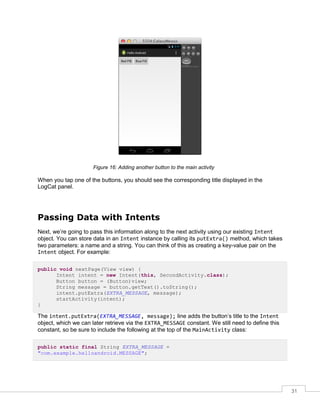
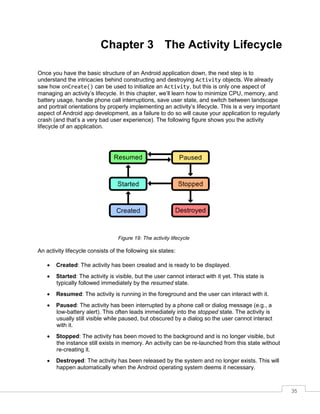
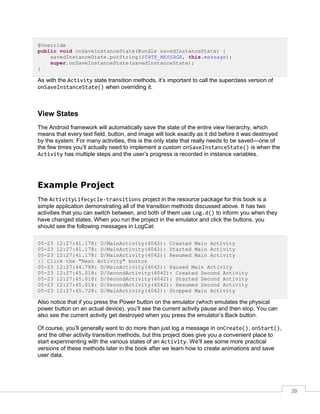
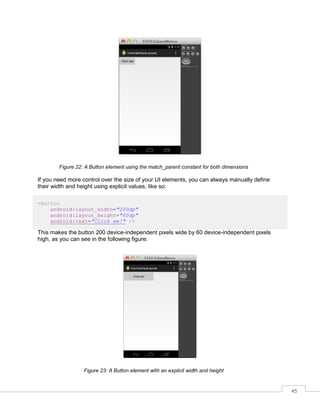
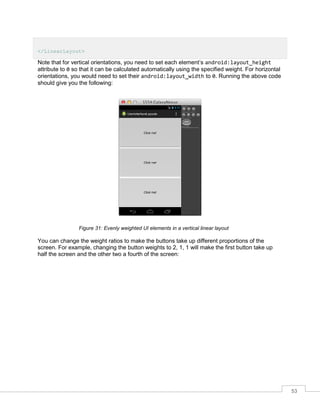
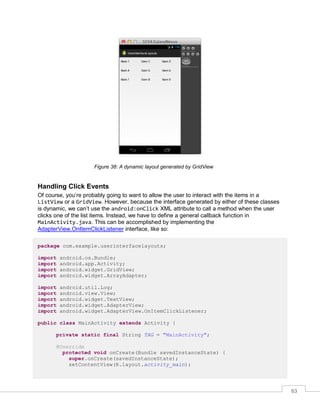
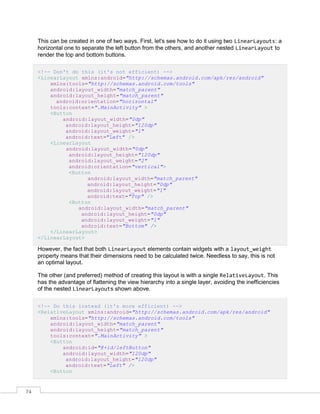
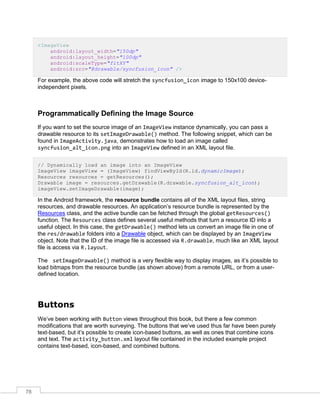
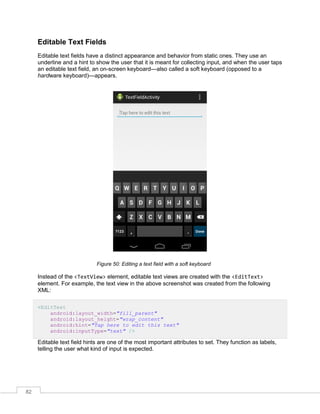
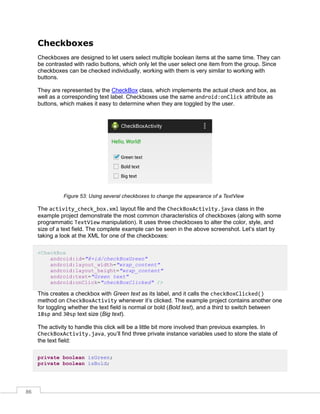
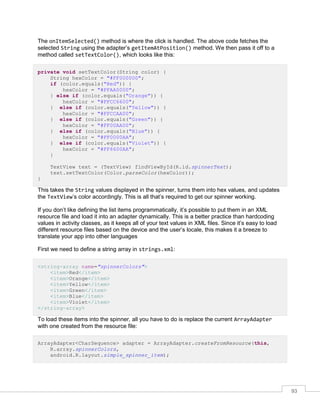
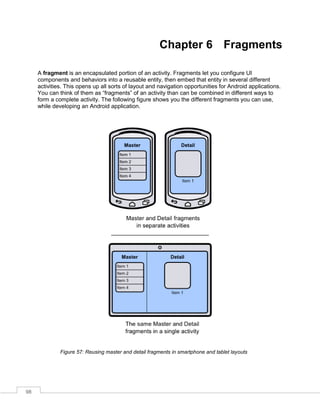
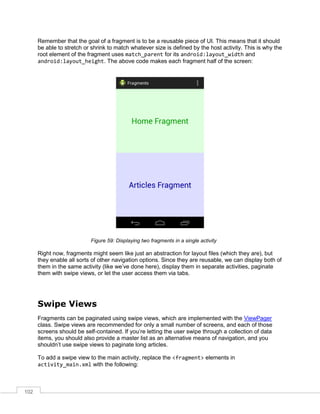
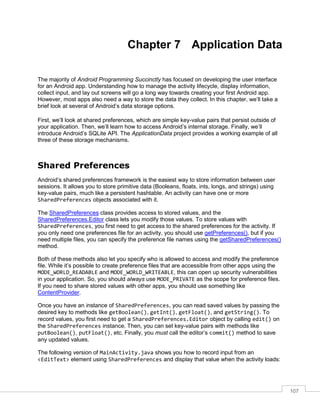
Grid Layouts
Grid layouts use the same data/Adapter/AdapterView pattern as list layouts, but instead of
ListView, you use the GridView class. GridView also defines some extra configuration options
for defining the number of columns and the spacing between each grid item, most of which are
included in the following snippet. Try changing activity_main.xml to:
<GridView xmlns:android="http://schemas.android.com/apk/res/android"
android:id="@+id/gridView"
android:layout_width="fill_parent"
android:layout_height="fill_parent"
android:columnWidth="100dp"
android:numColumns="auto_fit"
android:verticalSpacing="5dp"
android:horizontalSpacing="5dp"
android:stretchMode="columnWidth" />
The only change we need to make in MainActivity.java is to update the ListView
references to GridView:
package com.example.userinterfacelayouts;
import android.os.Bundle;
import android.app.Activity;
import android.widget.GridView;
import android.widget.ArrayAdapter;
public class MainActivity extends Activity {
@Override
protected void onCreate(Bundle savedInstanceState) {
super.onCreate(savedInstanceState);
setContentView(R.layout.activity_main);
String[] data = new String[] { "Item 1", "Item 2", "Item 3",
"Item 4", "Item 5", "Item 6",
"Item 7", "Item 8", "Item 9"};
ArrayAdapter<String> adapter = new ArrayAdapter<String>(this,
android.R.layout.simple_list_item_1, data);
GridView gridView = (GridView) findViewById(R.id.gridView);
gridView.setAdapter(adapter);
}
}
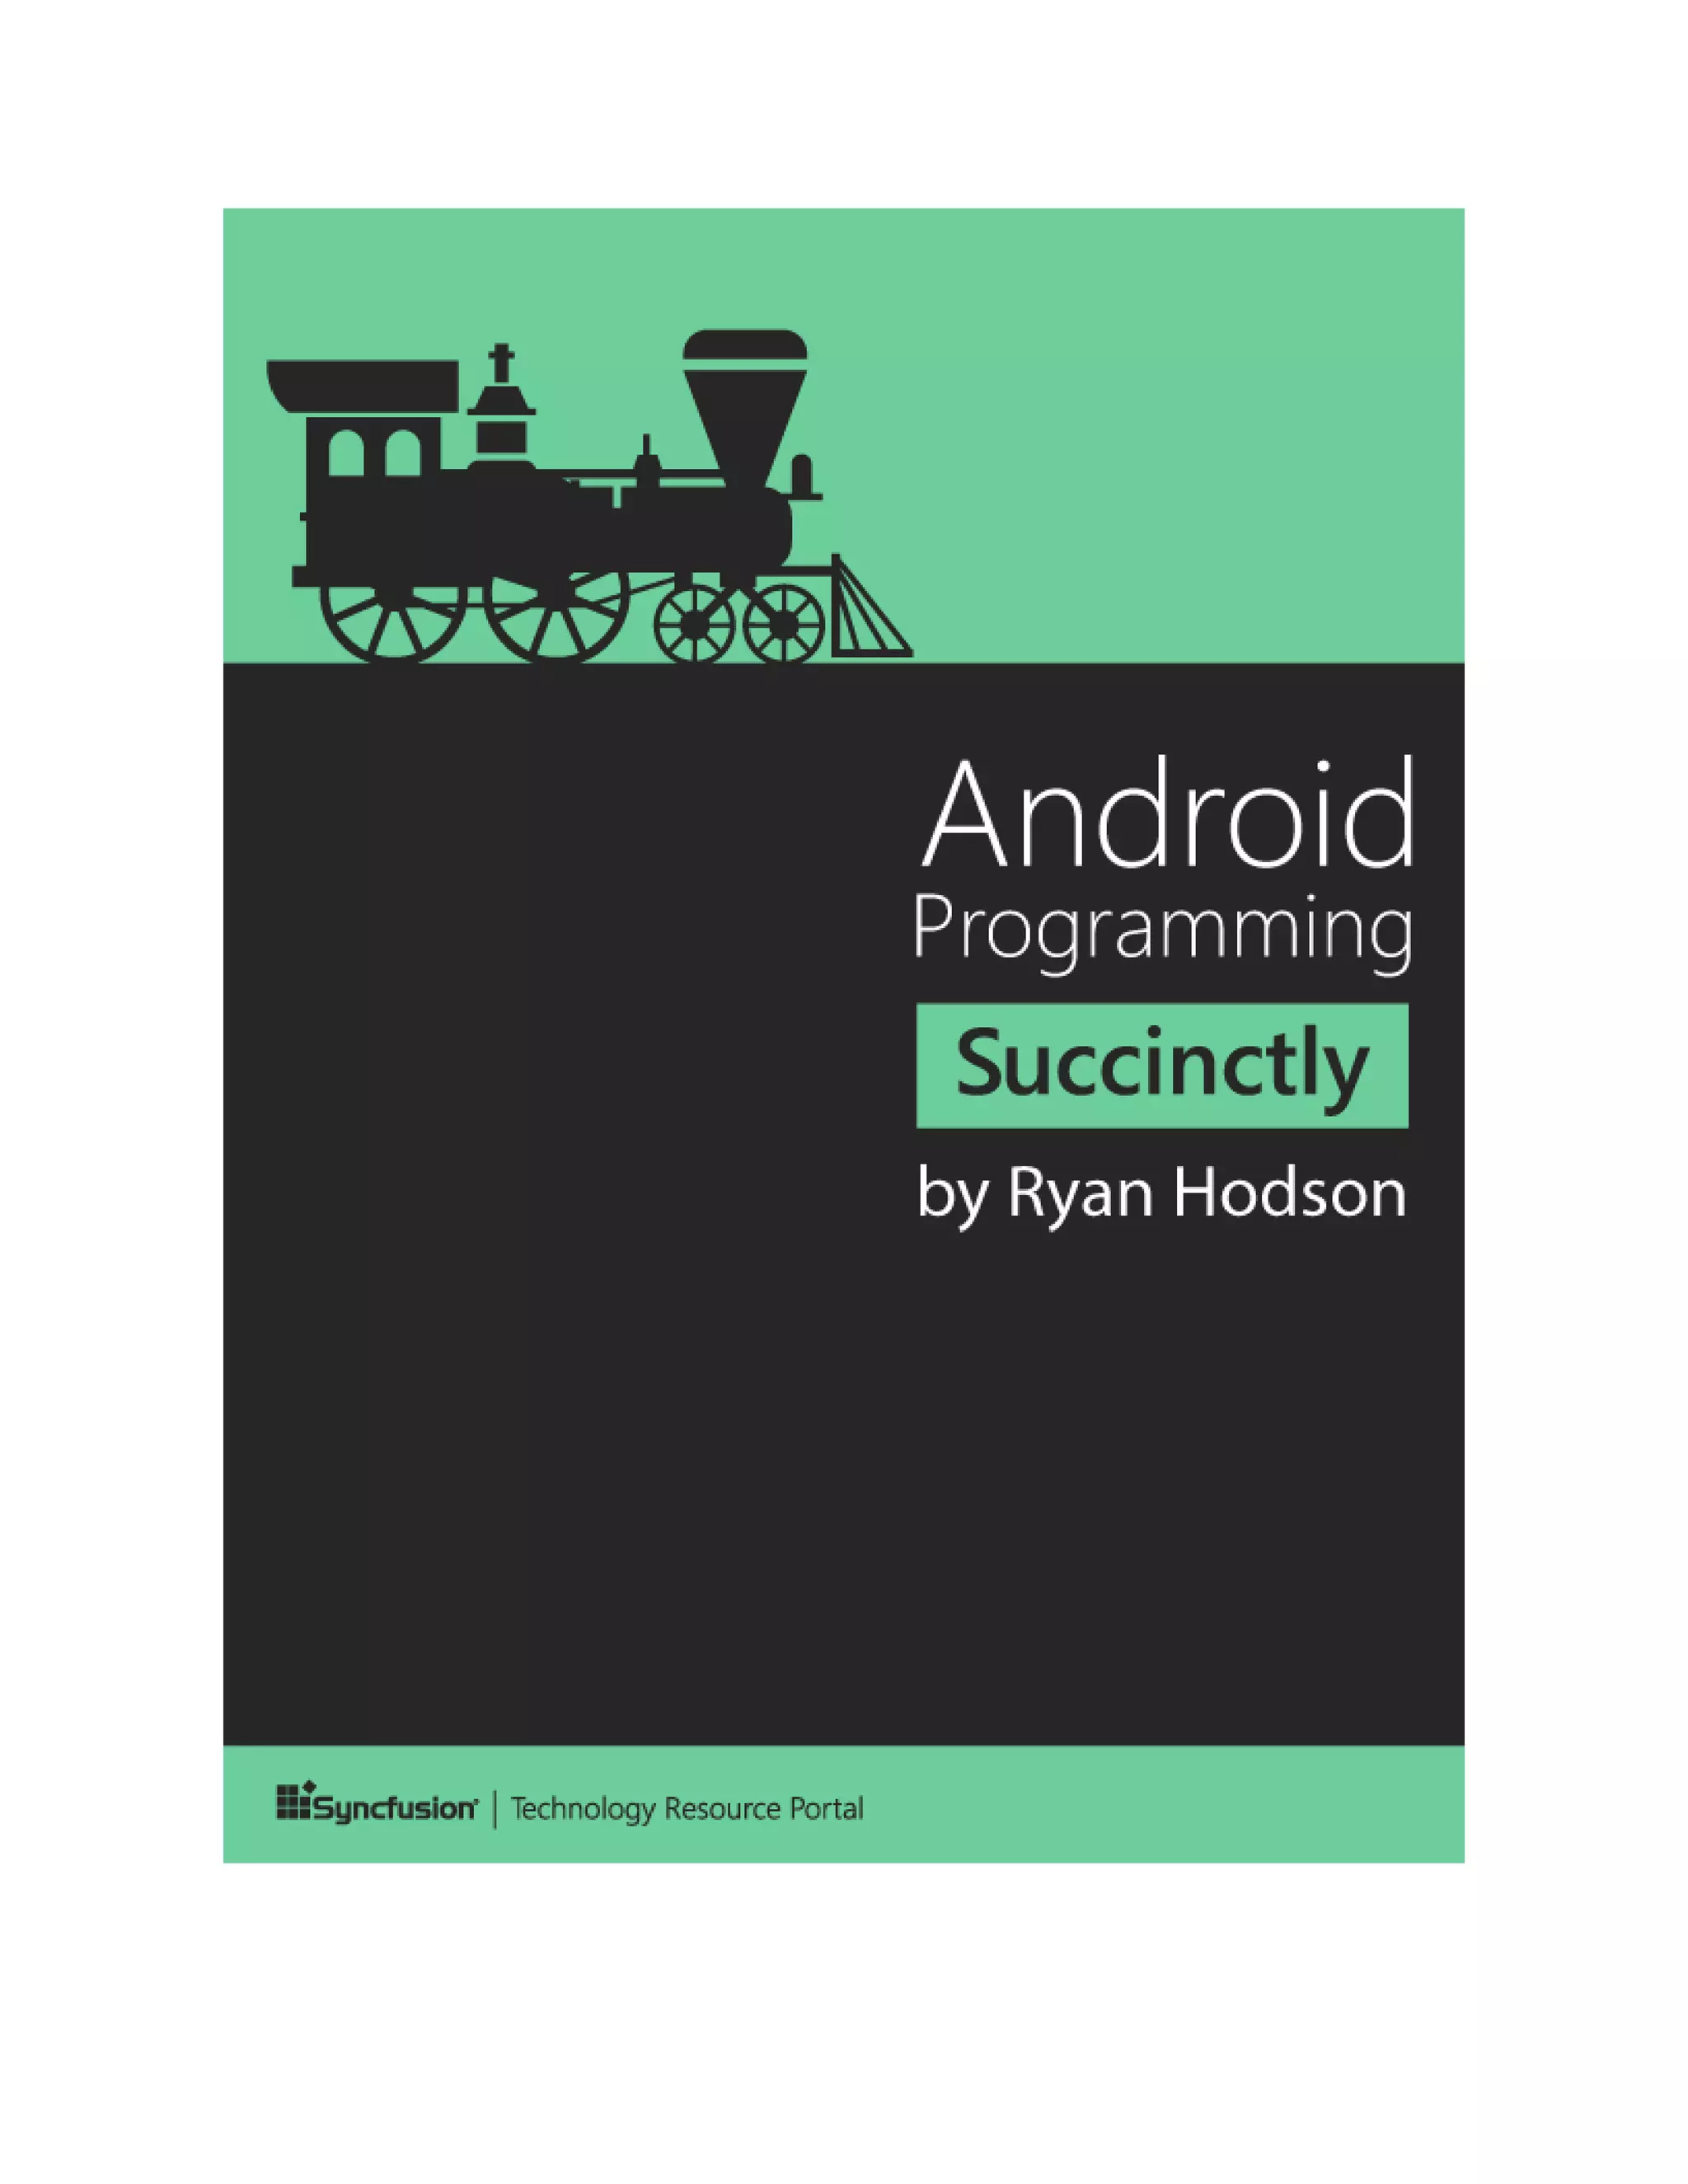
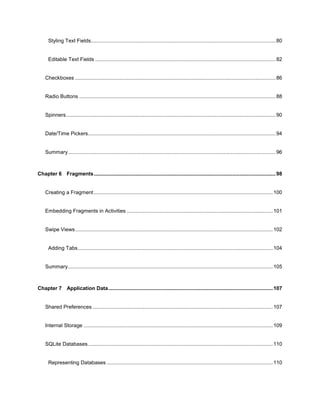
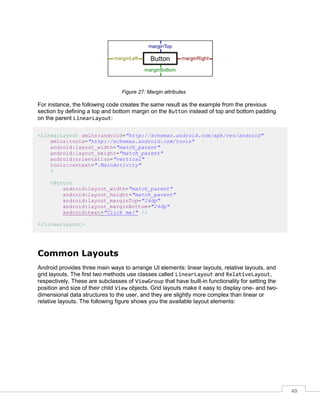
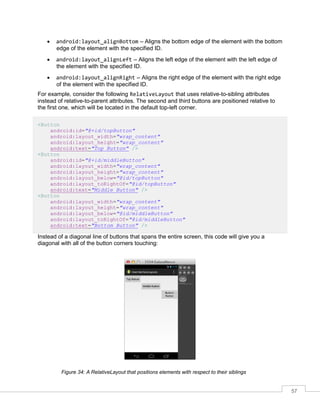
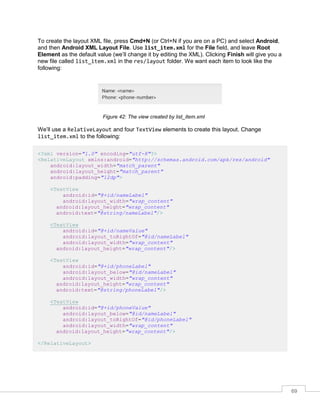
This will give you a nice grid of text fields that are 100 device-independent pixels wide with 5
device-independent pixels between each one:](https://image.slidesharecdn.com/androidprogrammingsuccinctly-160207015353/85/Android-programming-succinctly-62-320.jpg)
![64
String[] data = new String[] { "Item 1", "Item 2", "Item 3",
"Item 4", "Item 5", "Item 6",
"Item 7", "Item 8", "Item 9"};
ArrayAdapter<String> adapter = new ArrayAdapter<String>(this,
android.R.layout.simple_list_item_1, data);
GridView gridView = (GridView) findViewById(R.id.gridView);
gridView.setAdapter(adapter);
gridView.setOnItemClickListener(new OnItemClickListener() {
public void onItemClick(AdapterView<?> parent, View v,
int position, long id) {
TextView selectedView = (TextView) v;
Log.d(TAG, String.format("You clicked: %s",
selectedView.getText()));
}
});
}
}
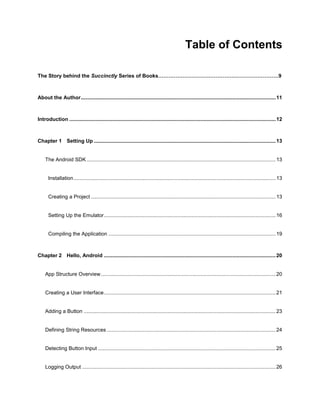
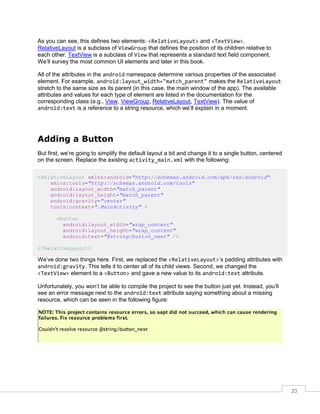
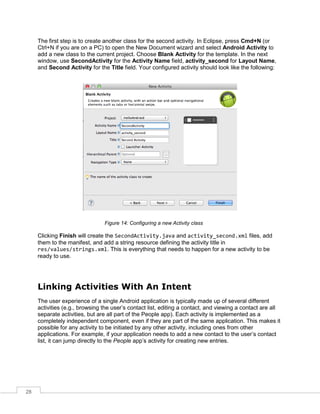
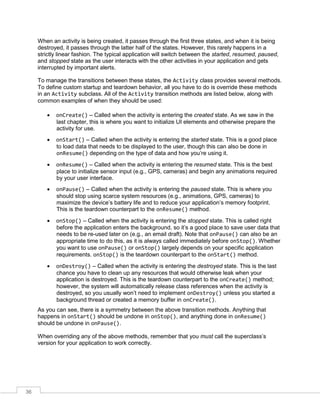
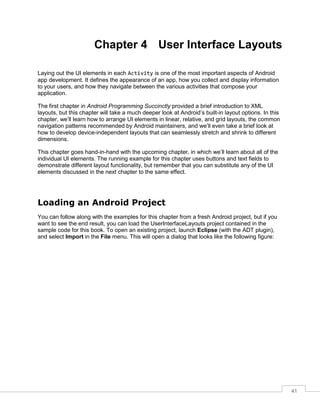
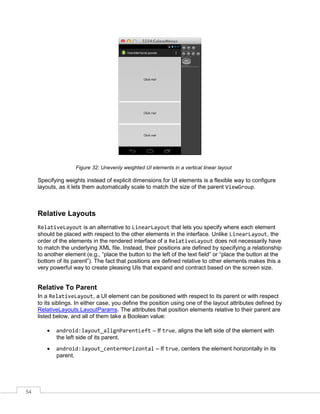
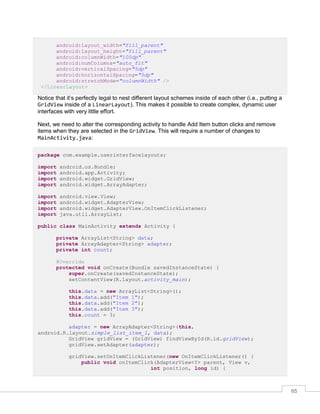
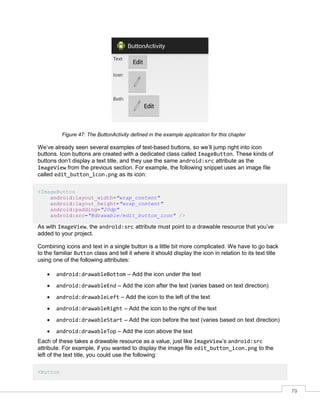
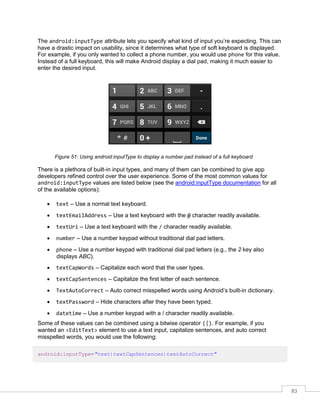
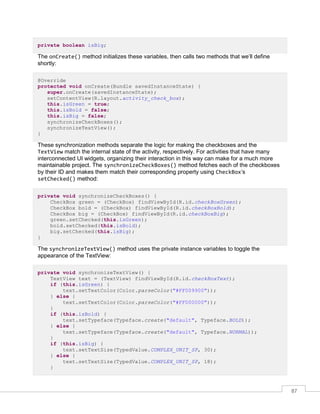
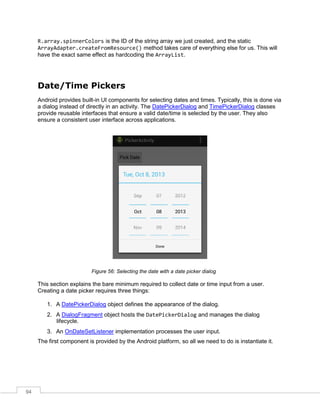
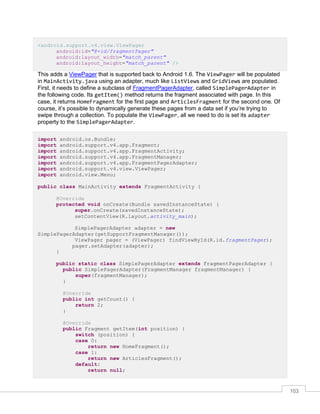
Now, the onItemClick() method will be called every time one of the GridView’s items are
clicked. All of the relevant parameters are passed to this function as parameters: the parent
AdapterView, the View item that was clicked, its position in the data set, and its row id. The
above callback simply casts the clicked View to a TextView and displays whatever text it
contains in LogCat.
Clicks can be handled in the exact same way for ListView layouts.
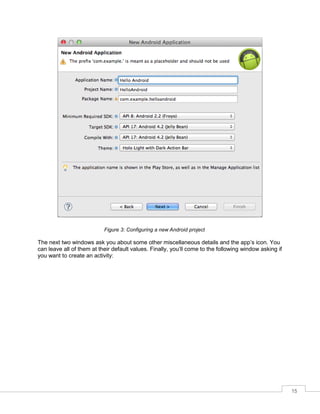
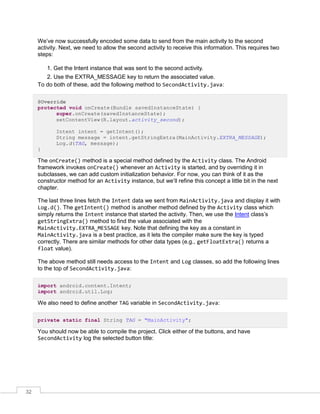
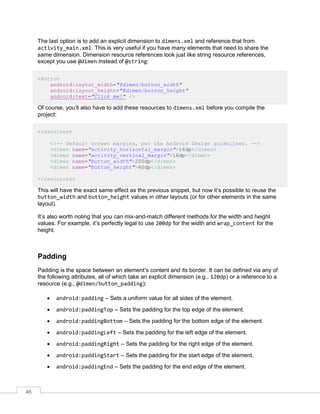
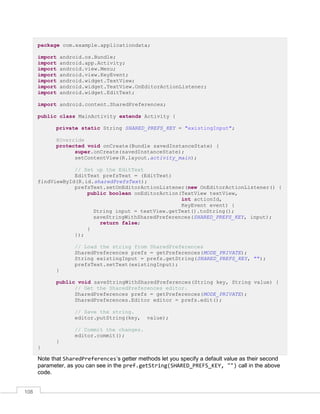
Editing The Data Set
When you want to change the data that is displayed to the user at runtime, all you have to do is
edit the underlying data set and the built-in BaseAdapter class takes care of updating the user
interface accordingly. In this section, we’ll add a button to the layout so the user can add new
items to the grid, and then we’ll re-implement the onItemClick() function to remove the
selected item from the list.
First, let’s change activity_main.xml to include a button. We’ll do this by making
LinearLayout the root XML element and giving it a Button and a GridView for children:
<LinearLayout xmlns:android="http://schemas.android.com/apk/res/android"
xmlns:tools="http://schemas.android.com/tools"
android:layout_width="fill_parent"
android:layout_height="fill_parent"
android:orientation="vertical"
tools:context=".MainActivity" >
<Button
android:layout_width="match_parent"
android:layout_height="80dp"
android:text="Add Item"
android:onClick="addItem"/>
<GridView android:id="@+id/gridView"](https://image.slidesharecdn.com/androidprogrammingsuccinctly-160207015353/85/Android-programming-succinctly-64-320.jpg)
![66
data.remove(position);
adapter.notifyDataSetChanged();
}
});
}
public void addItem(View view) {
count++;
String newItem = String.format("Item %d", count);
this.data.add(newItem);
this.adapter.notifyDataSetChanged();
}
}
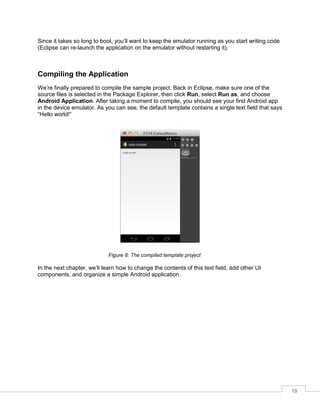
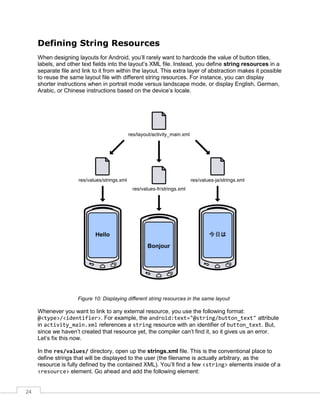
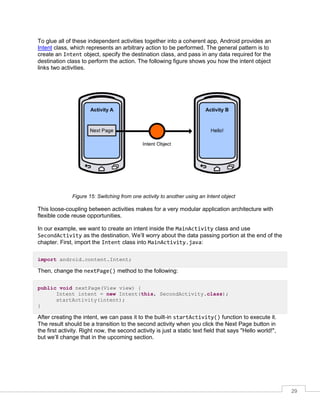
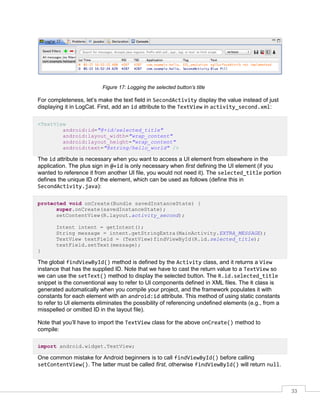
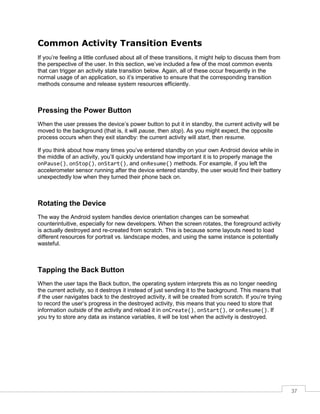
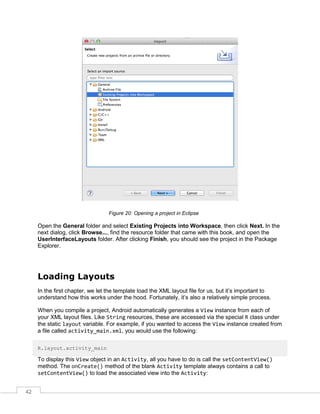
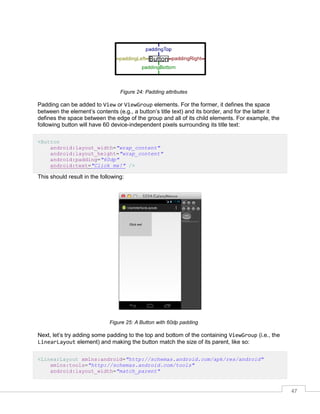
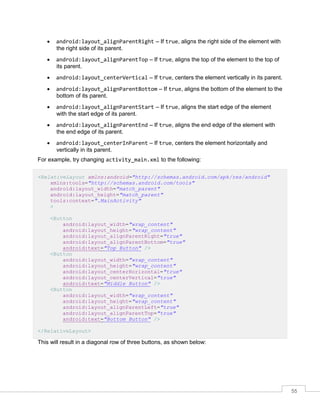
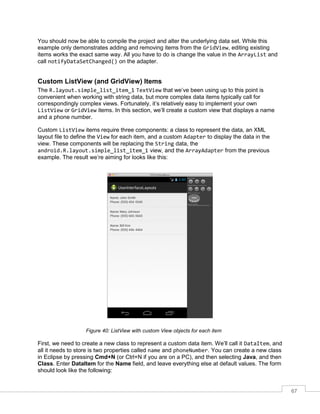
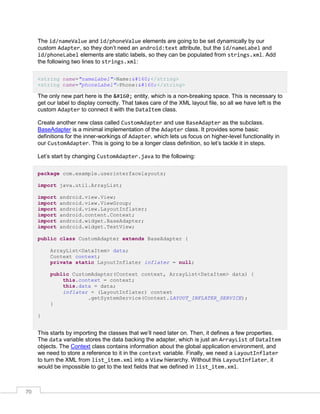
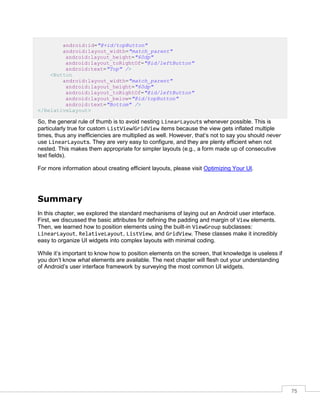
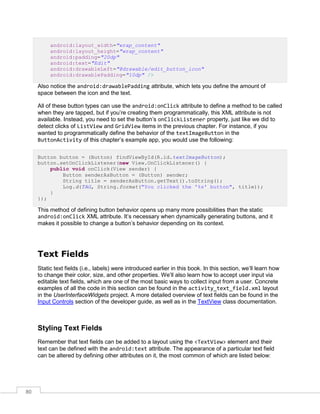
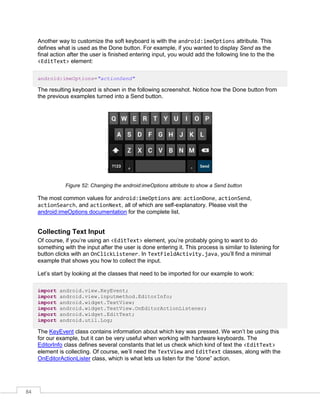
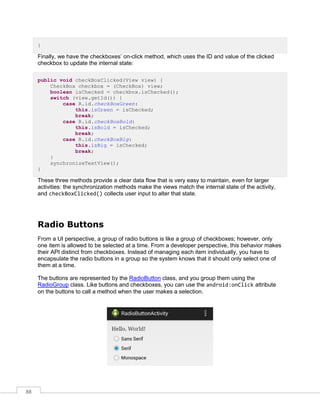
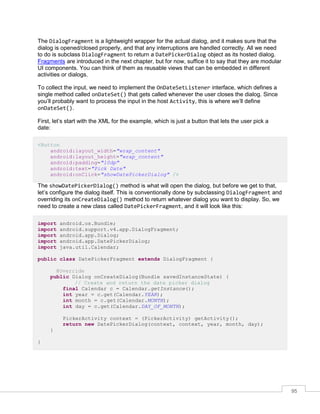
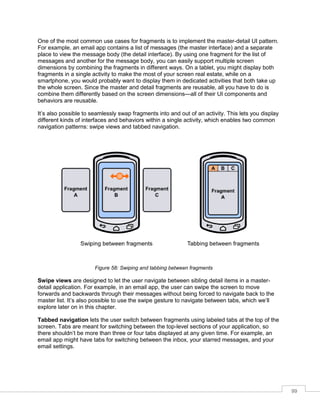
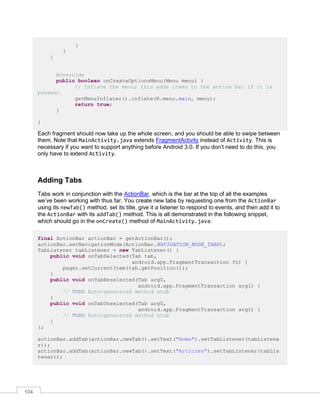
First, we have to change the static String[] array that represents our data set to a mutable
ArrayList. This will allow us to add and remove items. We also have to change the data and
adapter local variables to instance variables so that we can access them outside of
onCreate(). We also added a count variable to keep track of how many items have been
created.
To remove an item from the the GridView, all we have to do is remove it from the data set with
ArrayList’s remove() method, then call adapter.notifyDataSetChanged(). This latter
method is defined by BaseAdapter, and it tells the Adapter that it needs to synchronize its
associated AdapterView items. It should be called whenever the underlying data set has
changed.
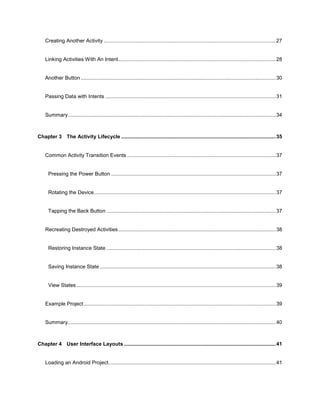
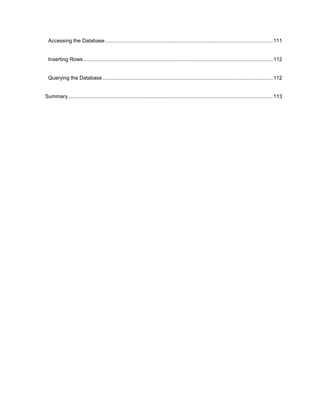
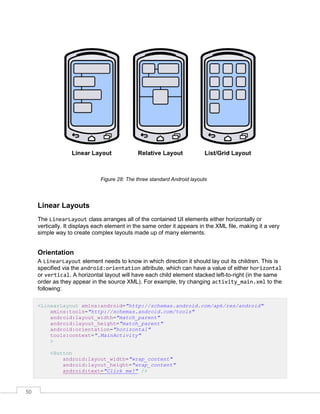
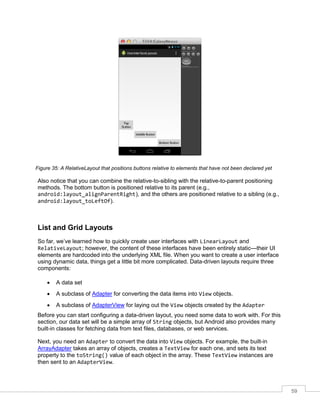
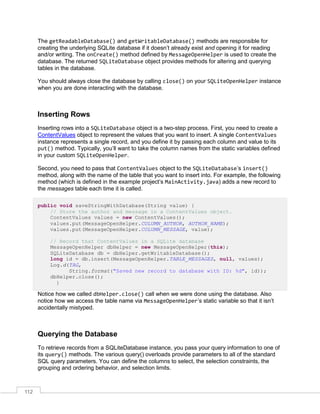
The new addItem() method is called whenever the Add Item button is clicked. First it
increments the count variable, then uses it to generate a title for the new item, adds the title to
the data set, and finally calls notifyDataSetChanged() to refresh the GridView.
Figure 39: Adding and removing items from the data set](https://image.slidesharecdn.com/androidprogrammingsuccinctly-160207015353/85/Android-programming-succinctly-66-320.jpg)


![109
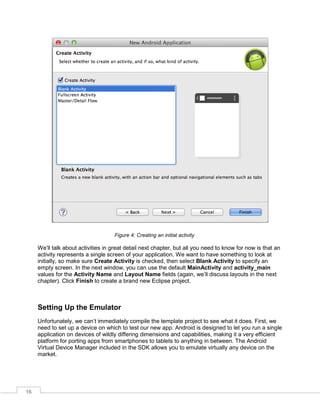
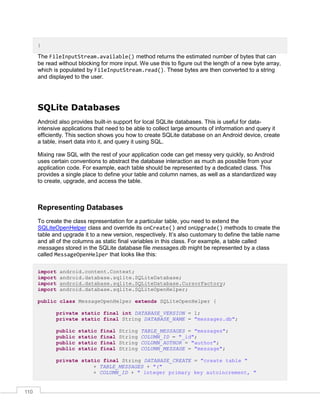
Internal Storage
While SharedPreferences offers a convenient abstraction for storing simple data, it’s not
always appropriate for more complex data structures or for recording a user’s documents. As an
alternative, Android apps can store information directly on the device’s hard drive. However, like
SharedPreferences, these files are private—other apps shouldn’t be allowed to access them
due to security vulnerabilities. Files saved to internal storage are deleted when your app in
uninstalled.
To save data to a file, you first need to open the file with Context.openFileOutput(). This returns
a FileOutputStream, whose write() method enables you to add bytes to the file. When you’re
done writing data to the file, you have to close it with its close() method. The following method
shows you how to store a string in a file:
public void saveStringWithInternalStorage(String filename,
String value) throws IOException {
FileOutputStream output = openFileOutput(filename, MODE_PRIVATE);
byte[] data = value.getBytes();
output.write(data);
output.close();
}
Note that FileOutputStream works with bytes, so the string has to be converted before
passing it to write().
To read back this string data, you need to open the file with openFileInput(), which returns a
FileInputStream object. Then you can read the file contents into a byte array. When you’re
done, don’t forget to close the input stream. The following example loads the string saved by the
previous snippet and displays it in an EditText widget:
FileInputStream input = null;
try {
// Open the file.
input = openFileInput(FILENAME);
// Read the byte data.
int maxBytes = input.available();
byte[] data = new byte[maxBytes];
input.read(data, 0, maxBytes);
while (input.read(data) != -1) {};
// Turn it into a String and display it.
String existingInput = new String(data);
prefsText.setText(existingInput);
} catch (IOException e) {
e.printStackTrace();
} finally {
if (input != null) {
try {
input.close();
} catch (IOException e) {
e.printStackTrace();
}](https://image.slidesharecdn.com/androidprogrammingsuccinctly-160207015353/85/Android-programming-succinctly-109-320.jpg)
![113
Records are returned as Cursor objects, which you can use to iterate through the selected rows
and cast the contained values to Java types. For example, the following snippet opens
messages.db and selects the _id and message columns from rows that have AUTHOR_NAME in
the author column:
// Load the most recent record from the SQLite database.
MessageOpenHelper dbHelper = new MessageOpenHelper(this);
SQLiteDatabase db = dbHelper.getReadableDatabase();
// Fetch the records with the appropriate author name.
String[] columns = {MessageOpenHelper.COLUMN_ID,
MessageOpenHelper.COLUMN_MESSAGE};
String selection = MessageOpenHelper.COLUMN_AUTHOR + " = '" + AUTHOR_NAME +
"'";
Cursor cursor = db.query(MessageOpenHelper.TABLE_MESSAGES,
columns, selection, null, null, null, null);
// Display the most recent record in the text field.
cursor.moveToLast();
long id = cursor.getLong(0);
String message = cursor.getString(1);
Log.d(TAG, String.format("Retrieved info from database. ID: %d Message: %s",
id, message));
prefsText.setText(message);
// Clean up.
cursor.close();
dbHelper.close();
The moveToLast() method moves the cursor to the last selected row, which in this case should
be the most recent record. To extract the values, you use methods like getLong() and
getString(), passing in the column position. Note that this position is defined by the columns
array that we passed to query(), not the order of the columns in the database. When we were
done with the results, we cleaned up by calling close() on both cursor and the
SQLiteOpenHelper.
While this section only covered the basics of Android’s SQLite API, keep in mind that Android
also provides more advanced SQL functionality, including database locking and transactions.
Summary
This chapter discussed three of the most common ways to store data on an Android device. We
began with shared preferences, which provide a convenient way to store key-value pairs. Then,
we learned how to store data in files on the device’s internal storage, which is more flexible than
shared preferences. Finally, we took a brief look at Android’s built-in SQLite capabilities by
creating a SQLite database, inserting some rows, and reading them back out.
The majority of this book discussed how to display and collect information from the user.
Combined with this chapter, you should now be able to collect and store almost any kind of user
data you could possibly need. I hope that, armed with these skills, you’re feeling ready to
venture out into the Android ecosystem and start building your own Android applications. Good
luck!](https://image.slidesharecdn.com/androidprogrammingsuccinctly-160207015353/85/Android-programming-succinctly-113-320.jpg)

- Android apps are composed of multiple activities, with each activity representing one screen. - Activities display user interfaces defined in XML layout files located in the res/ directory. - Intents are used to switch between activities when buttons are clicked or other events occur. This allows building multi-screen Android apps. - The chapter demonstrates creating a simple app with two activities, adding buttons, handling button clicks, and passing data between activities using intents.


![Android Cookbook 2nd [early release] Edition Ian F. Darwin](https://cdn.slidesharecdn.com/ss_thumbnails/28304-250515041521-e25534f6-thumbnail.jpg?width=640&height=640&fit=bounds)


